About Cisco Crosswork Data Gateway Base VM
A Cisco Crosswork Data Gateway instance is created as a standalone VM and can be geographically separate from the controller application (the controller application could be Crosswork Cloud or a Crosswork On-Prem application, such as Cisco Crosswork Optimization Engine). This Base VM is capable of connecting to the controller application and enable data collection from the network.
Crosswork orchestrates the collection from the distributed Cisco Crosswork Data Gateway VM instances.
The Cisco Crosswork Data Gateway VM is delivered as an OVA file and the additional functional images are delivered as Docker images.
Base VM Contents
The Base VM (OVA) is pre-packaged with basic functionality required to reach the controller application.
The Cisco Crosswork Data Gateway VM (OVA) contains the following pre-packaged contents:
-
Cisco hardened Ubuntu distribution of Linux
-
Cisco Crosswork Data Gateway services:
-
Vitals Monitor - Monitors resource usage on the VM.
-
Controller Gateway – Establishes trusted connection with the controller application via the Controller Gateway and downloads functional images and configuration files.
-
Image Manager – Coordinates between the Cisco Crosswork Data Gateway and the controller application to download functional images and configuration files.
-
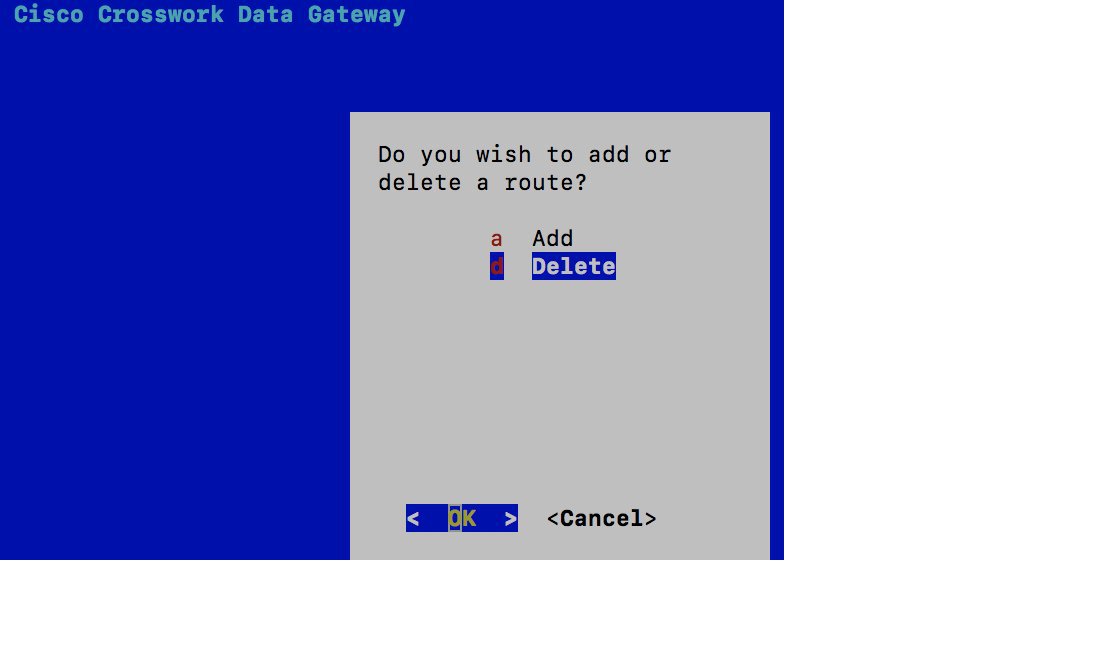
Route Manager – Directs traffic to devices on different south-bound destinations and also connects to the controller application and data devices via the north-bound interface.
-
Docker IPv6nat - Programs IPv6 routes for docker containers.
-
 Note |
Functional images (CLI, SNMP, and MDT collectors) are not included in the Base VM. They are downloaded by Cisco Crosswork Data Gateway from the controller application after successful authentication and bootstrap. |
Log In and Log Out
You can use either of the following two ways to access Cisco Crosswork Data Gateway:
Access Cisco Crosswork Data Gateway Through vCenter
Follow these steps to log in via vCenter:
Procedure
| Step 1 |
Locate the VM in vCenter and then right click and select Open Console. The Cisco Crosswork Data Gateway flash screen comes up. |
| Step 2 |
Enter username ( |
Access Cisco Crosswork Data Gateway Via SSH
Note |
The SSH process is protected from brute force attacks by blocking the client IP after a number of login failures. Failures such as incorrect username or password, connection disconnect, or algorithm mismatch are counted against the IP. Up to 4 failures within a 20 minute window will cause the client IP to be blocked for at least 7 minutes. Continuing to accumulate failures will cause the blocked time to be increased. Each client IP is tracked separately. |
Follow these steps to login via SSH.
Procedure
| Step 1 |
Run the following command: ssh <username>@<ManagementNetworkIP> where ManagementNetworkIP is the management network IP address. For example, To login as adminstrator user: ssh dg-admin@<ManagementNetworkIP> To login as operator user: ssh dg-oper@<ManagementNetworkIP> The Cisco Crosswork Data Gateway flash screen opens prompting for password. |
| Step 2 |
Input the corresponding password (the one that you created during installation process) and press Enter. |
Use the Interactive Console
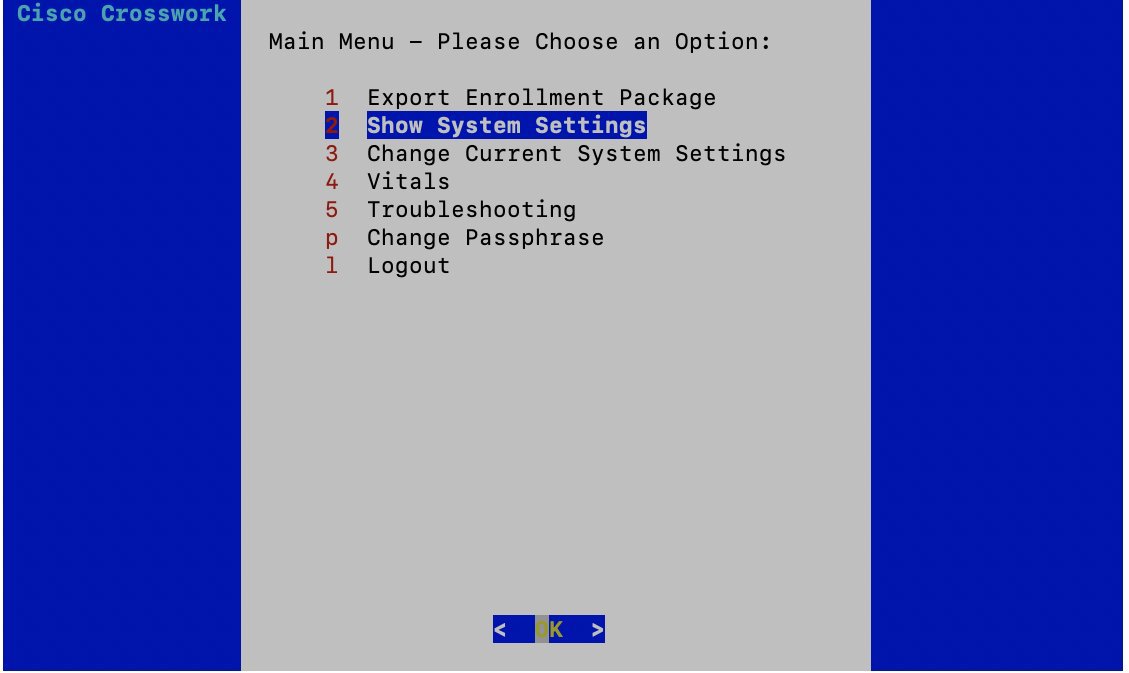
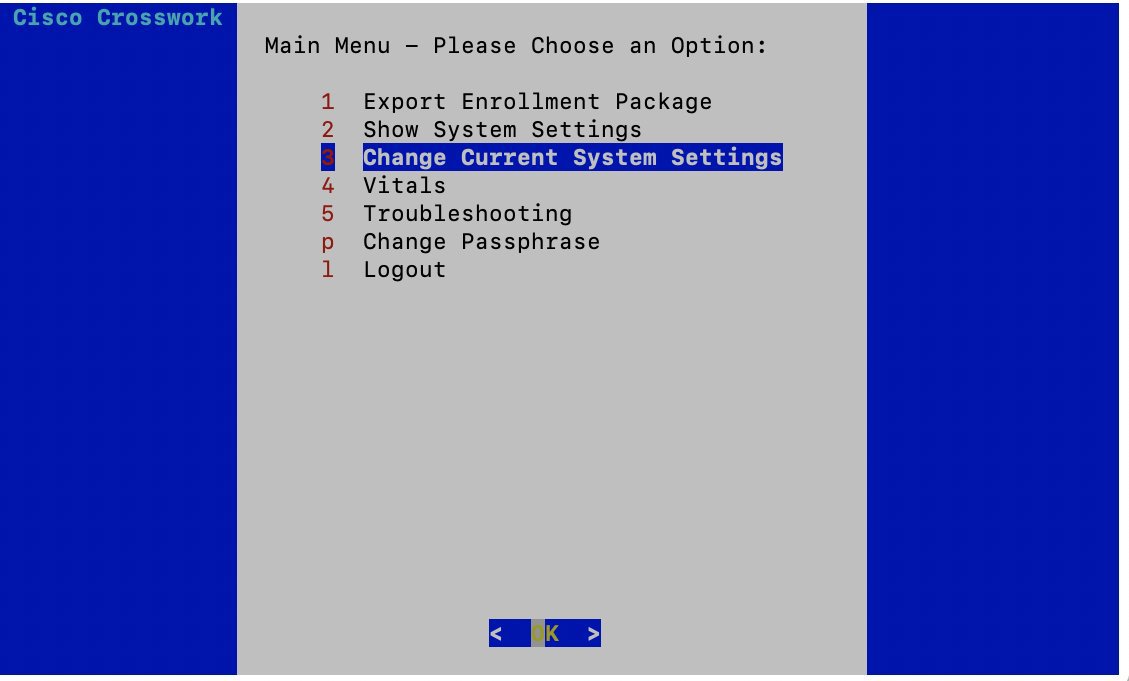
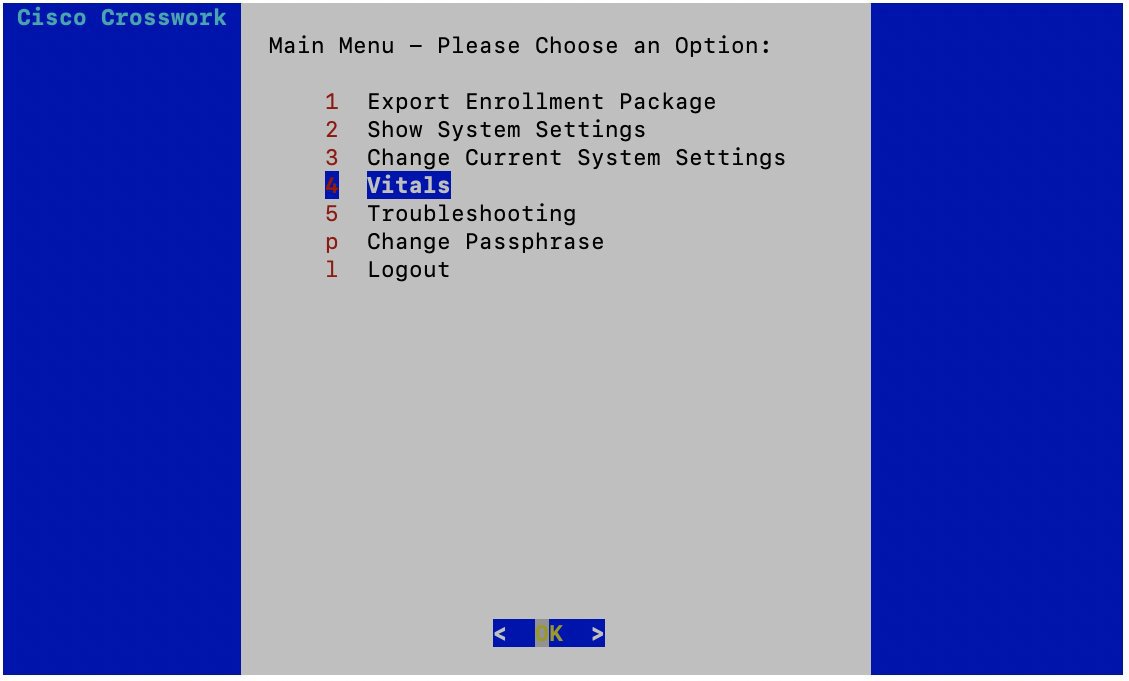
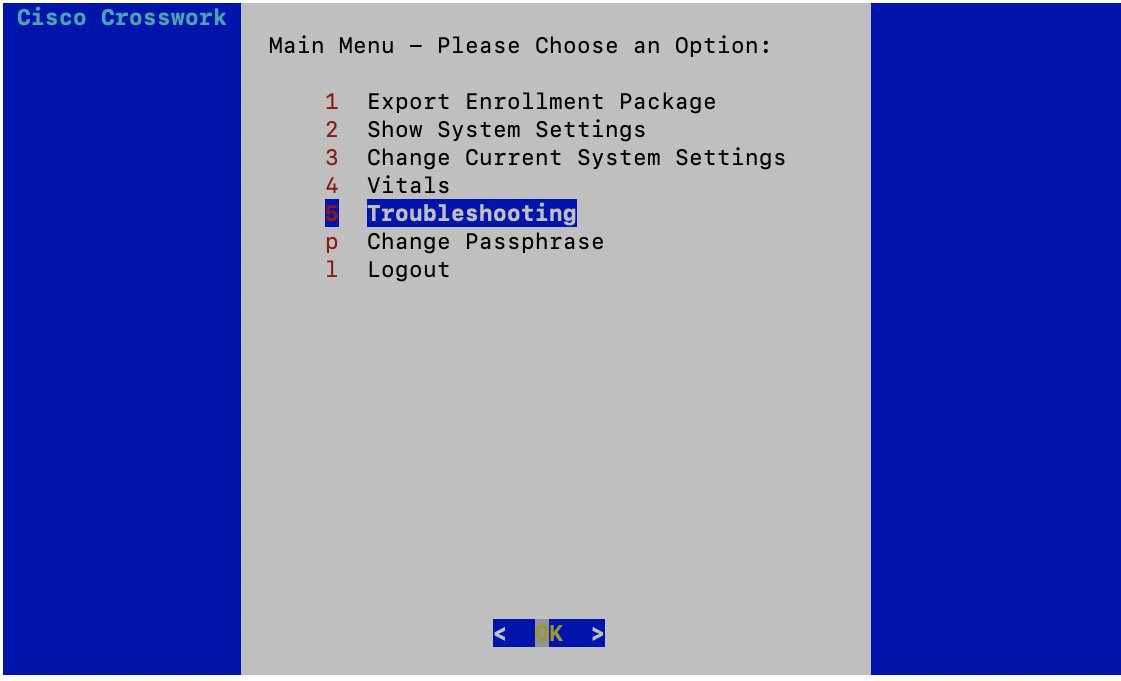
Cisco Crosswork Data Gateway launches an interactive console upon successful login. The interactive console displays the Main Menu as shown in the following figure:
Note |
The Main Menu shown here corresponds to dg-admin user. It is different for dg-oper user as the operator does not have same privileges as the adminstrator. See Supported User Roles. |
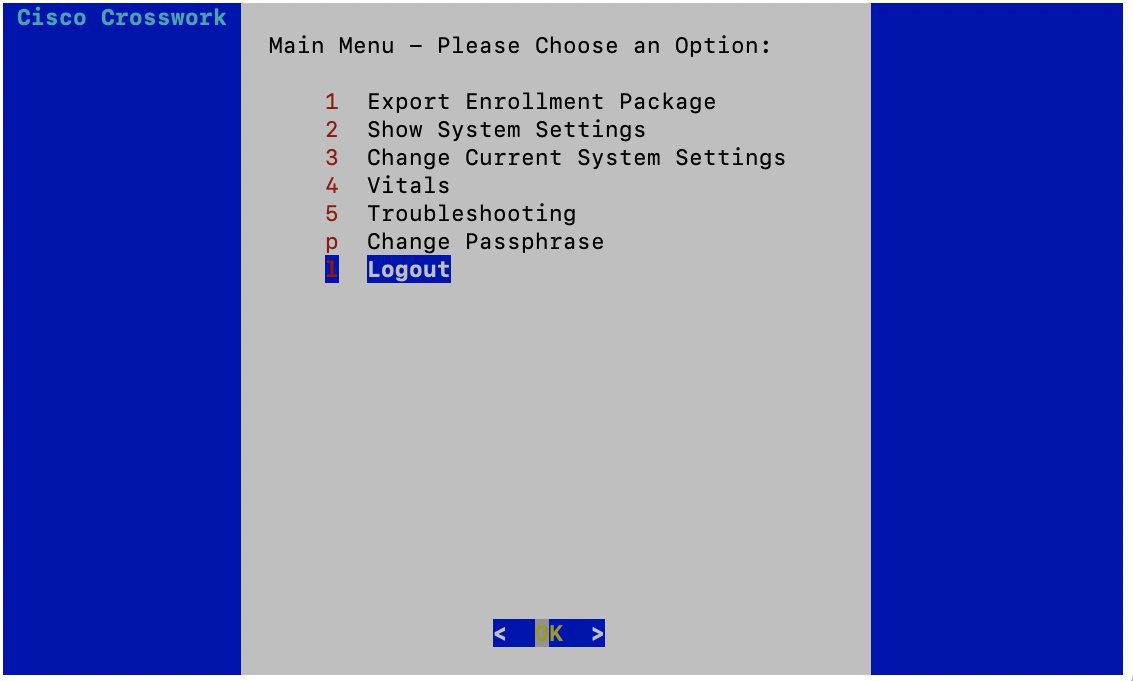
The Main Menu presents the following options:
-
Export Enrollment Package
-
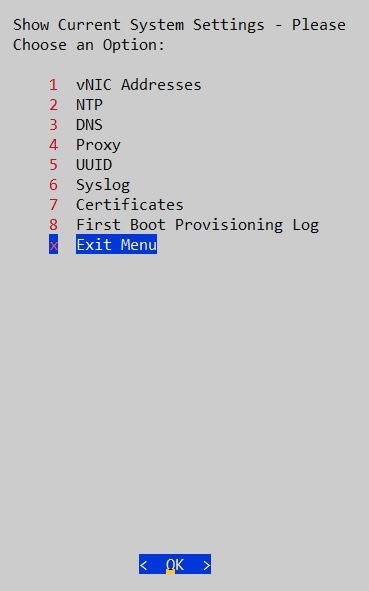
Show System Settings
-
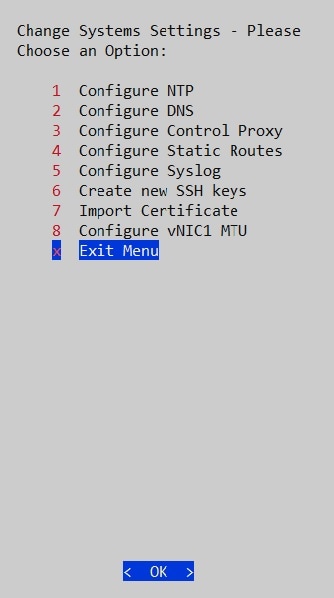
Change Current System Settings
-
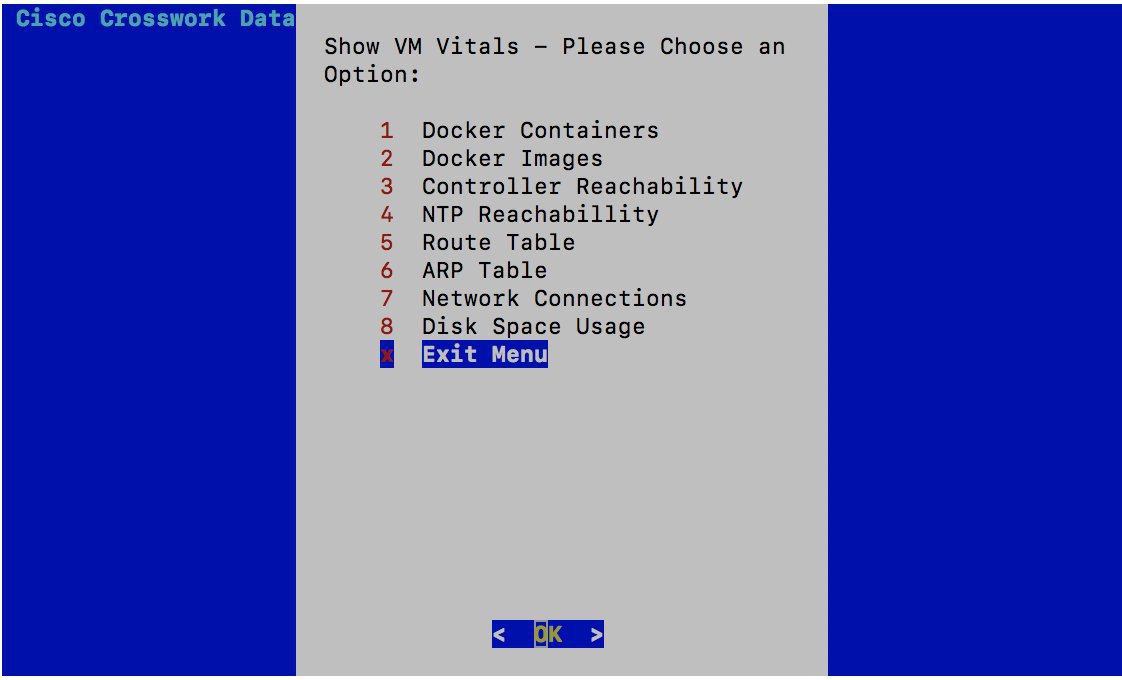
Vitals
-
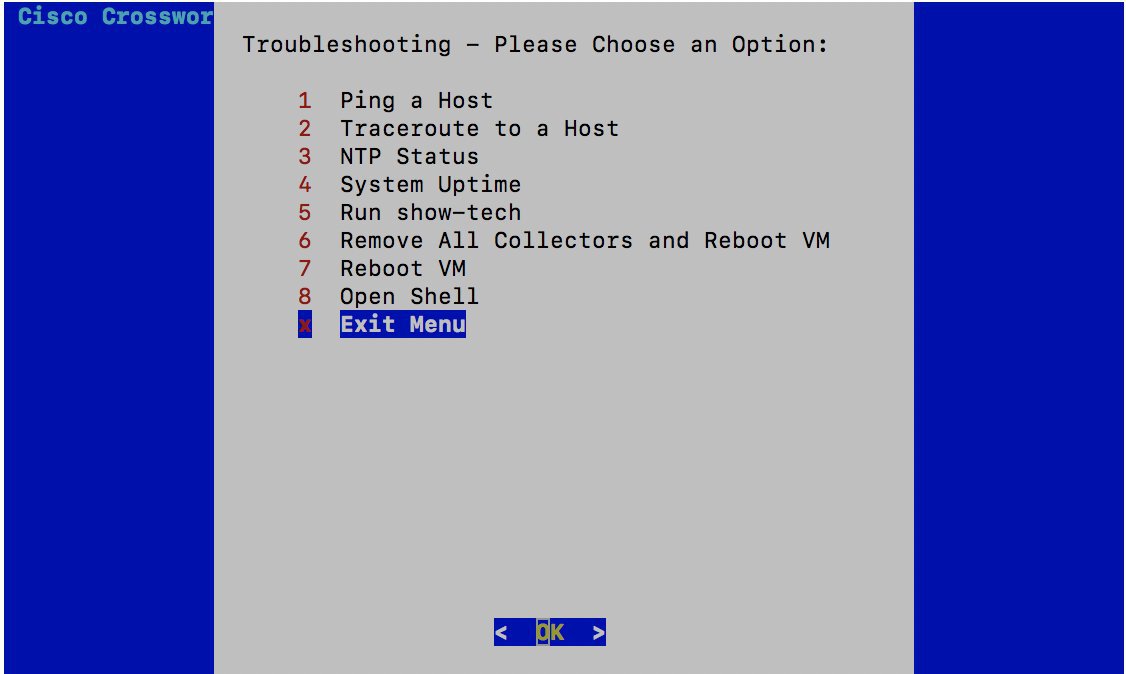
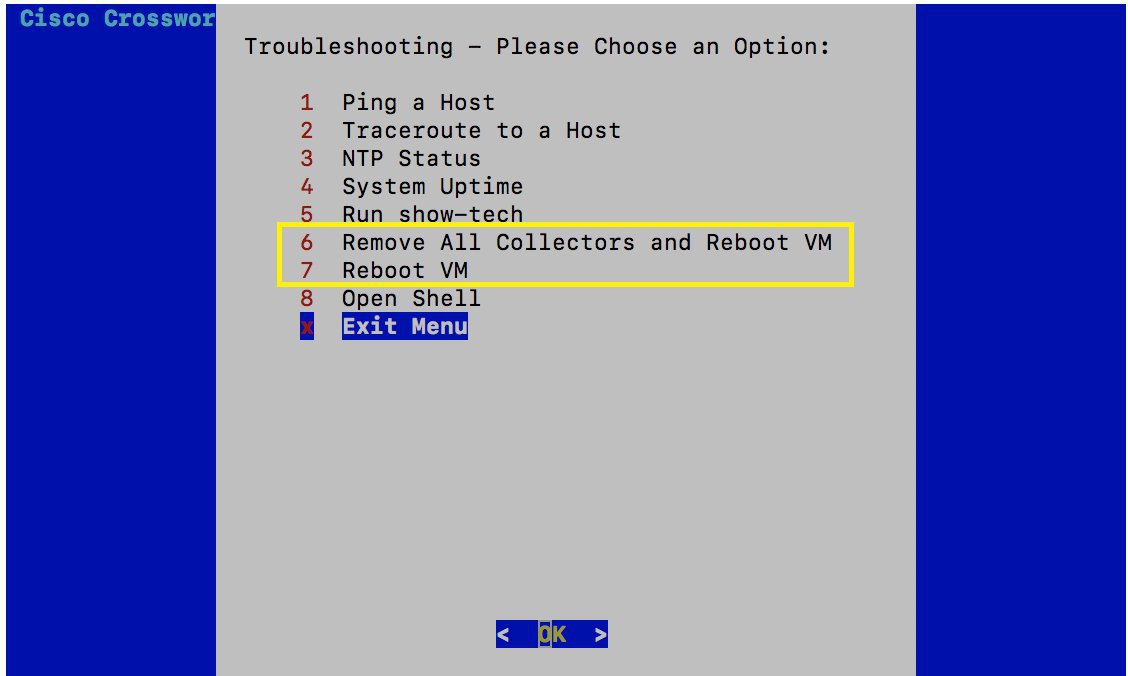
Troubleshooting
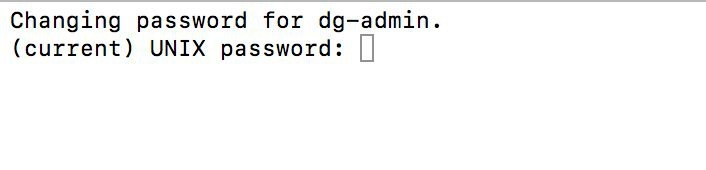
p. Change Passphrase
l. Logout


 Feedback