Introduction
This document describes the smooth SNA integration with Splunk using Cisco Security Cloud for faster incident response for the threats identified.
Prerequisites
Basic knowledge of Splunk and Cisco Devices.
Requirements
There are no specific requirements for this document.
Components Used
The information in this document is based on these hardware and software versions:
Splunk Enterprise
Secure Network Analytics v7.5.2.
The information in this document was created from the devices in a specific lab environment. All of the devices used in this document started with a cleared (default) configuration. If your network is live, ensure that you understand the potential impact of any command.
Configure
Step1: Access the Splunk Application and Install the Cisco Security Cloud Application.
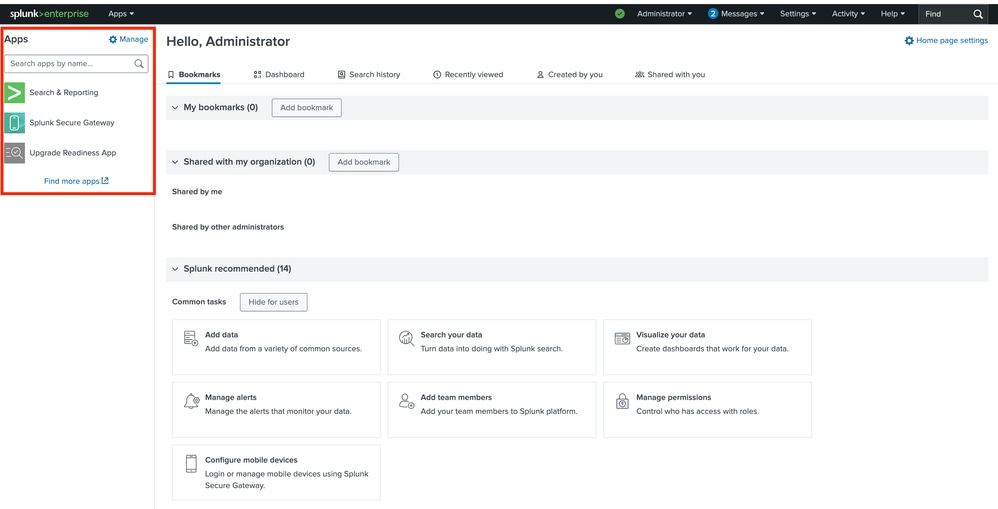
i. Log in to the Splunk web portal with the admin credentials and on successful log in, the home page can be seen with the list of installed applications on the left side under the App section:
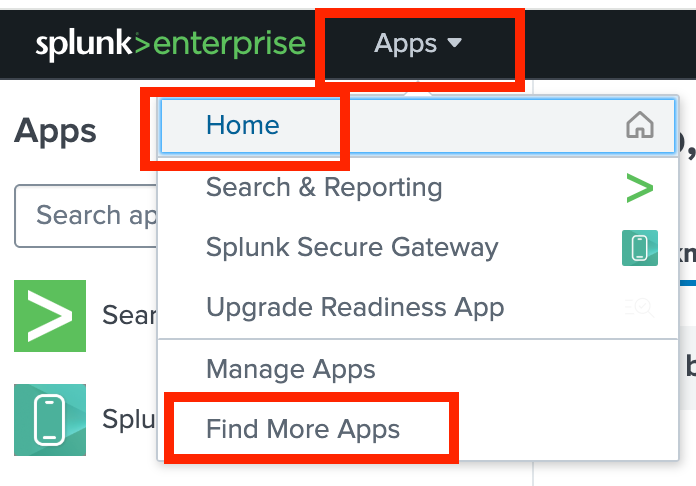
ii. For integrating the SNA with Splunk, it is required to install the Cisco Security Cloud Application which can be achieved in either of the mentioned methods:
- Select Find More Apps from the drop down.
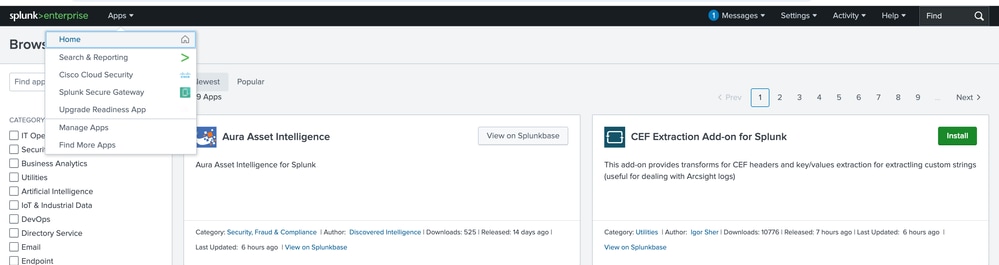
b. Browse more apps under the Manager gear icon.

Step 2: Installation of the Cisco Security Cloud Application.
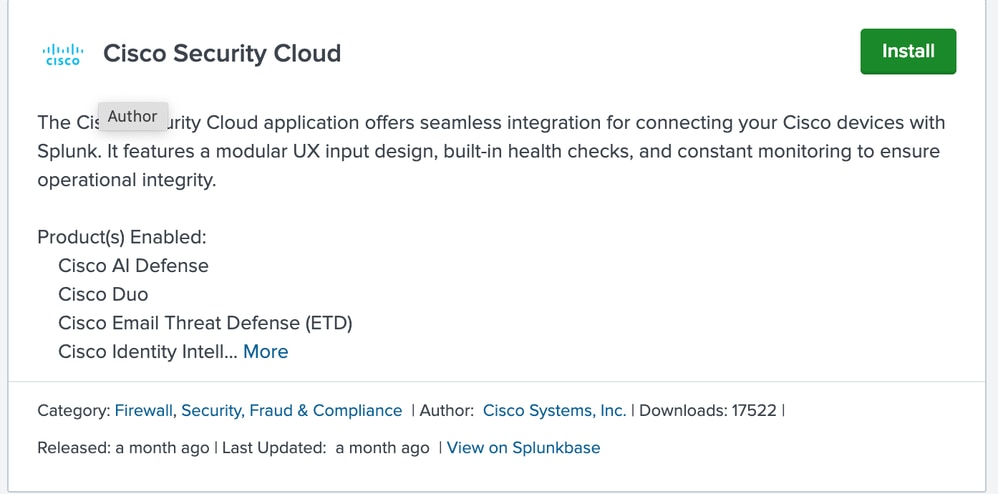
i. Look for the Cisco Security Cloud Application. Now, either scroll down till you find the app or search for Cisco security cloud.

Caution: Do not get confused with Cisco Cloud Security App.
ii. Install the application by clicking the Install button.
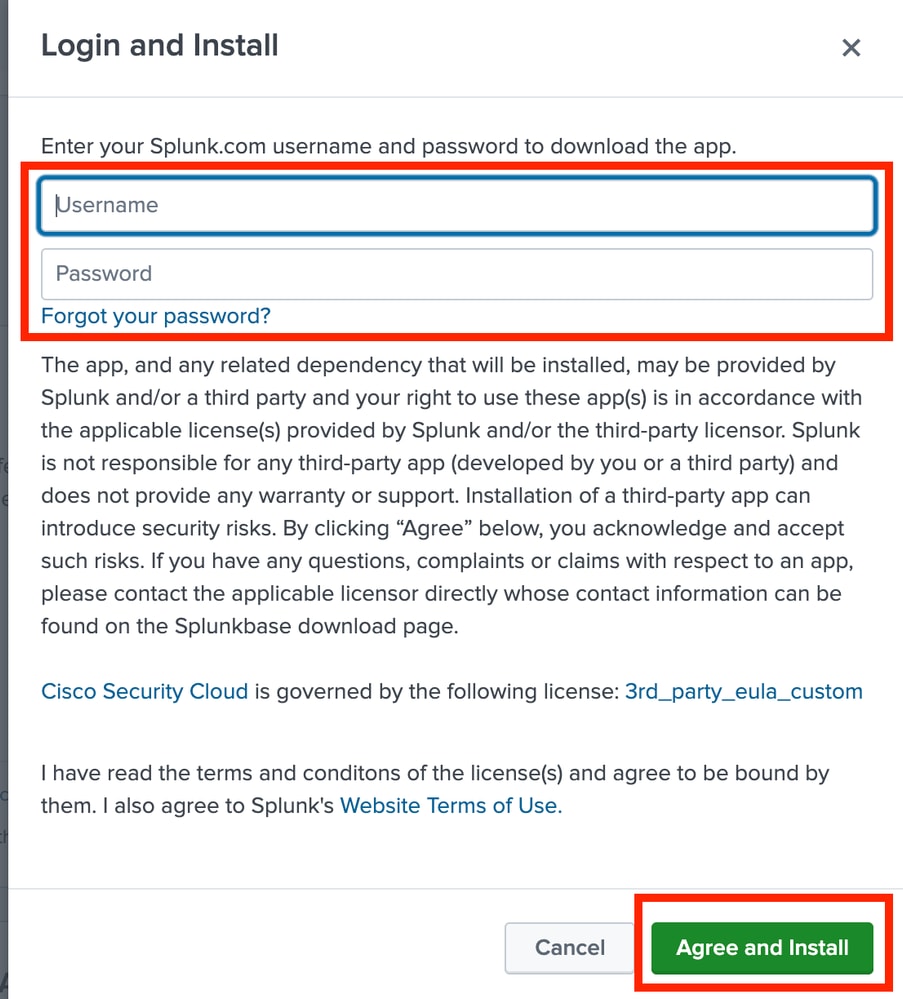
iii. The moment you click the install button a window pops up asking for the credentials of the Splunk account before installing the application. Provide the credentials and click Agree and Install to proceed further.

Tip: Provide the credentials which are used to access the Splunk portal, not the admin credentials used for Splunk enterprise application while logging in.
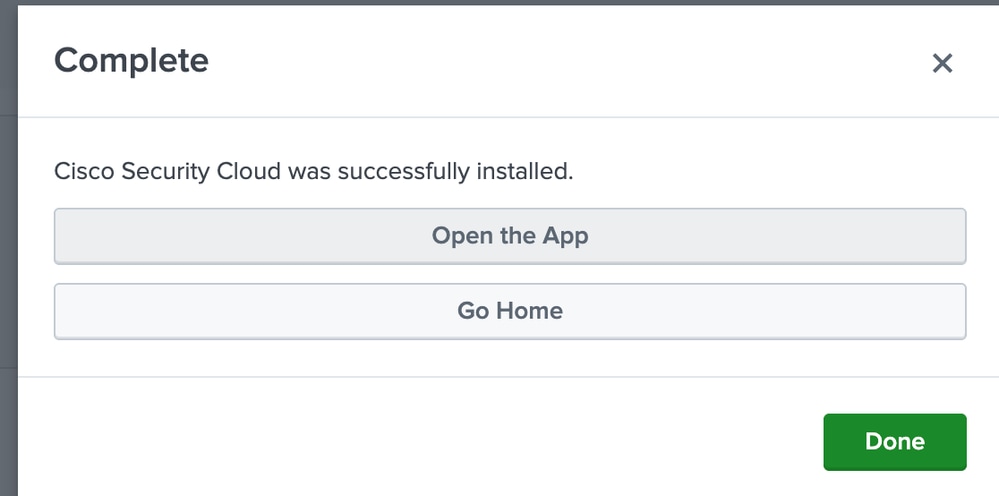
iv. A message pops up on successful installation of the application as depicted. Click Done.
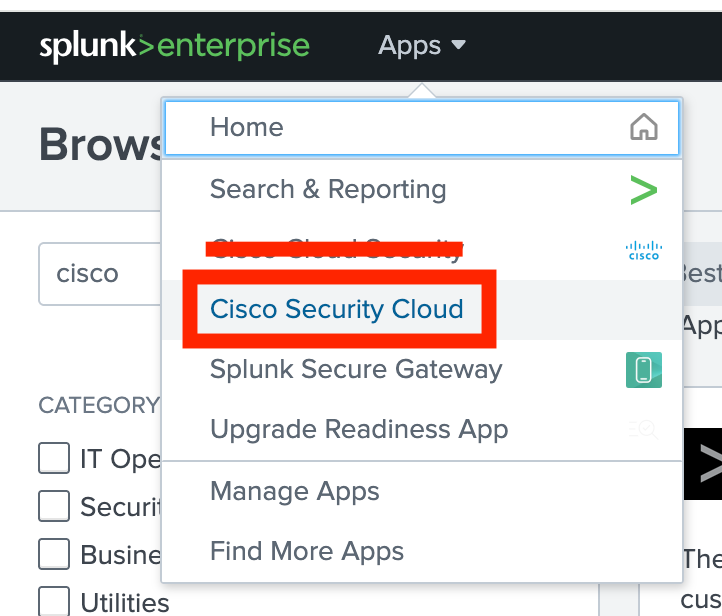
Step 3: Verification of the Installation of the Cisco Security Cloud Application.
i. Click the Apps drop down option, and now the app can be seen in the list after the successful installation:
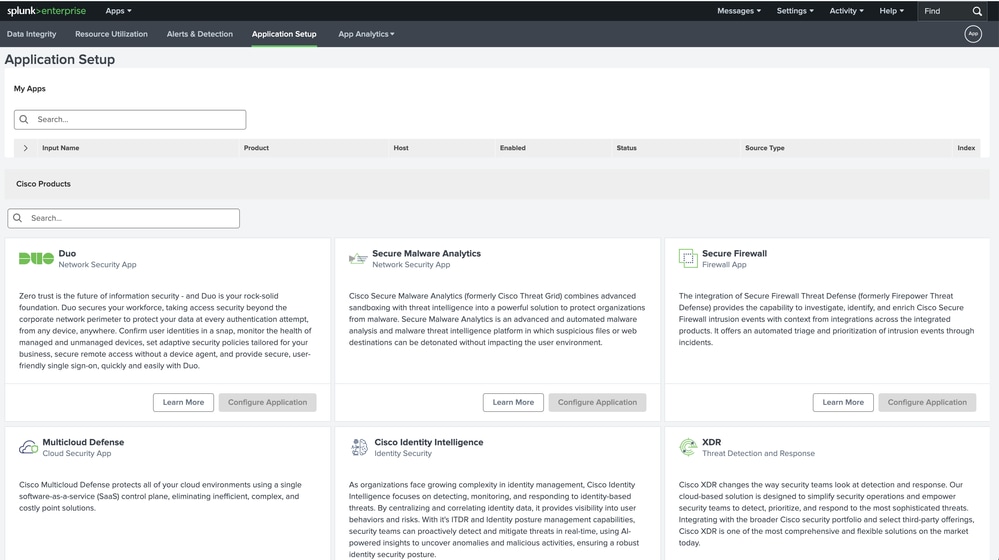
ii. Select Cisco Security Cloud by clicking it. You get redirected to the Application Setup page where all the available Cisco Cloud security products can be found.
Step 4: Integration with Secure Network Analytics (SNA).
The objective of this document is to highlight the installation steps of the Splunk with Secure Network Analytics (SNA) mentioned further.
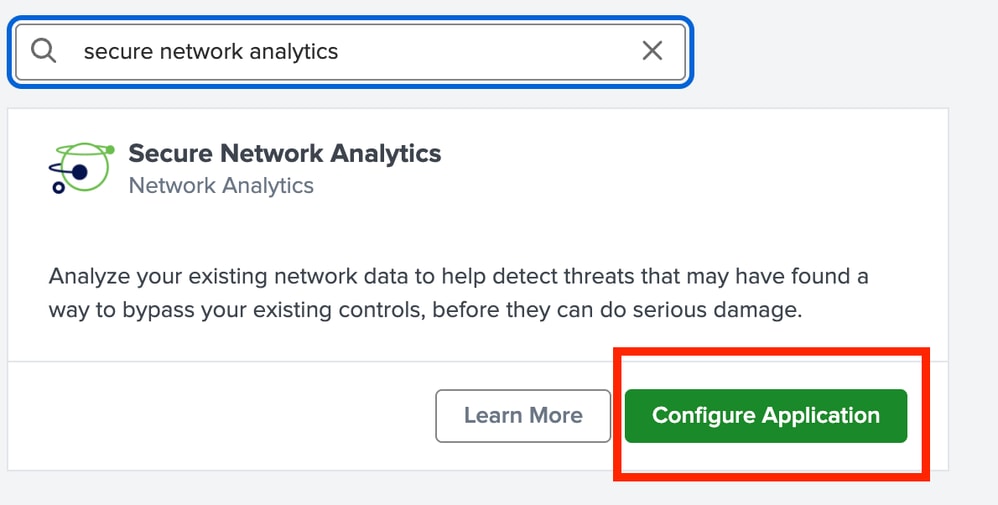
i. Search for the Secure Network Analytics and when it appears, please select Configure Application:
ii. When selecting the configure option, the configuration page for the detail to add pops up.
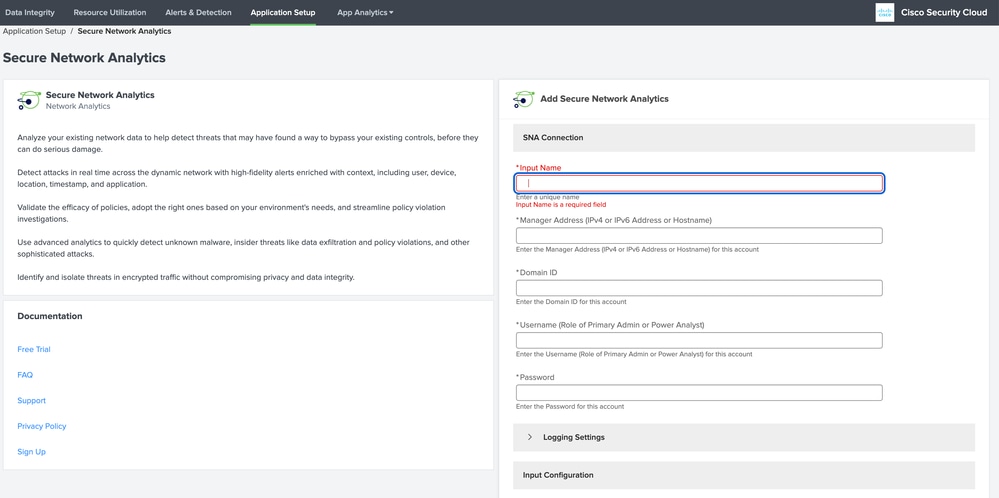
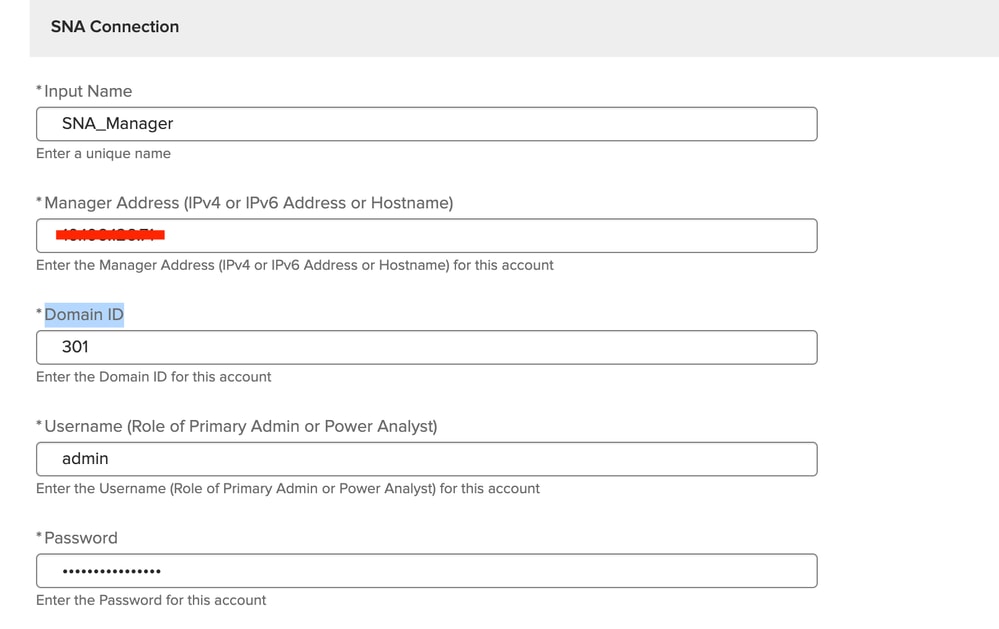
iii. Fill in all the mandatory details as mentioned for the SNA Connection Details:
- Input Name: any unique name for SNA
- Manager Address (IPv4 or IPv6 Address or Hostname): Management IP of the Primary SNA Manager
- Domain ID: Enter the Value against domain_ID (for example 301)
- Username: The username of the primary manager (for example admin)
- Password: Password of the primary manager user
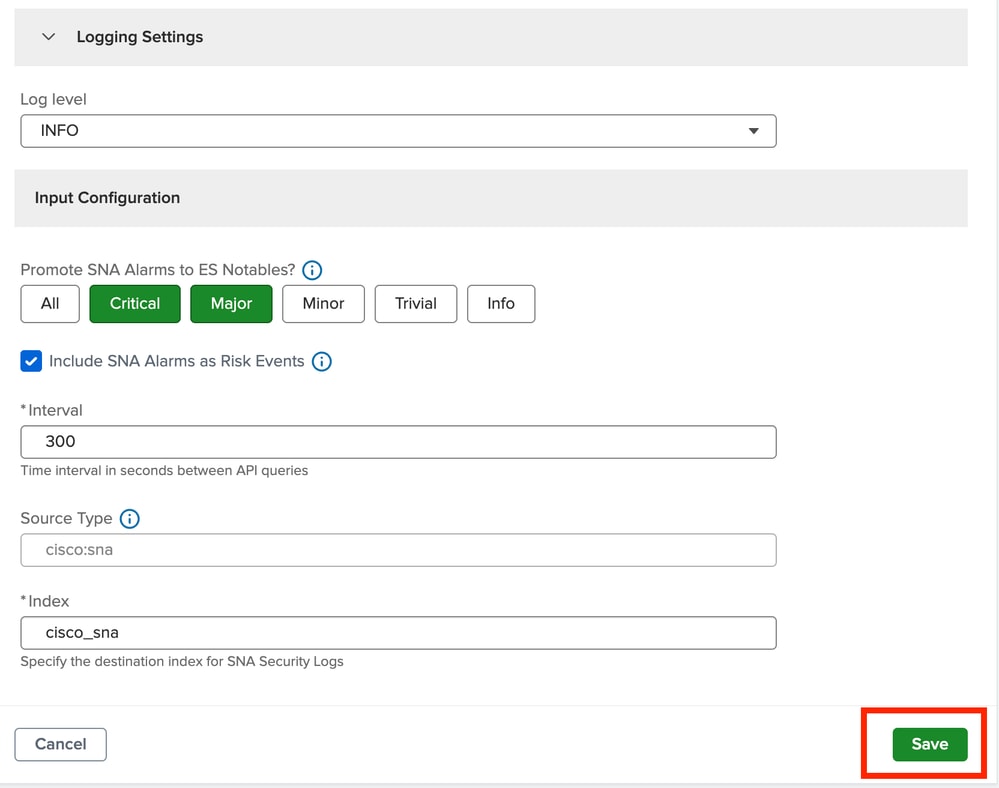
iv. Leave the remaining settings at their default values or modify them as needed, then click Save. A successful message pops up on the screen after the completion.
Step 5: Verification of Integration.
This is an important step where you need to verify whether the integration executed in the previous step is successfully done, or not.
i. The connection status for the input has to be Connected in the Application Setup tab with default as Enabled for the right name in Input field.

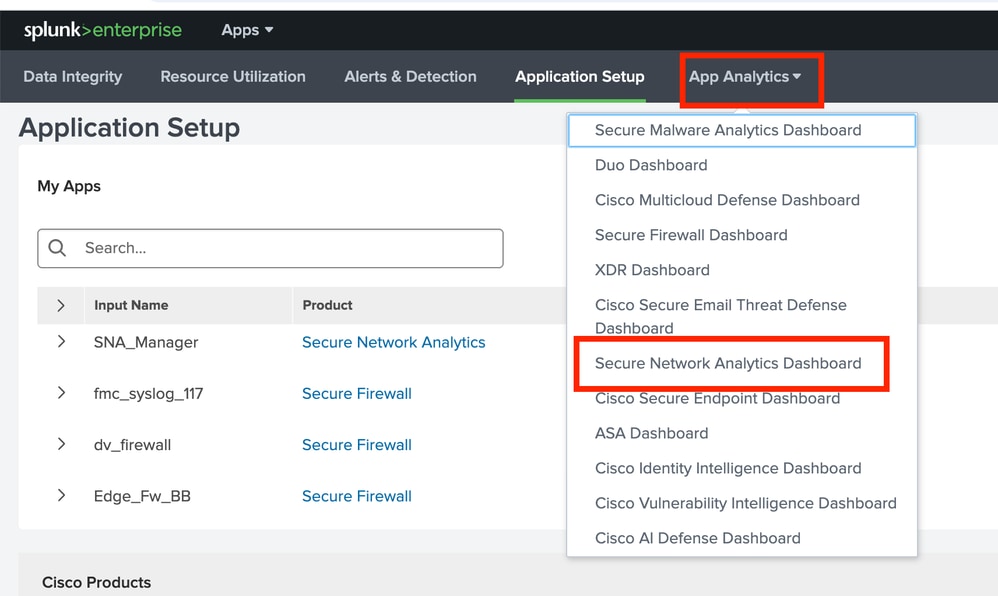
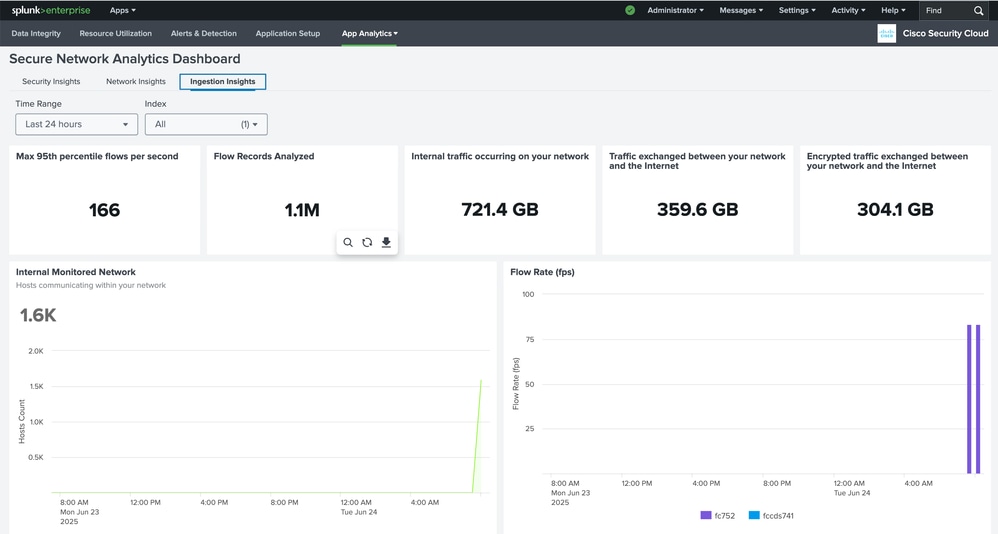
ii. Select the Secure Network Analytics Dashboard from the drop down, and the stats eventually start reflecting on the dashboard.
FAQs
Where to find the domain Id for the SNA manager?
Answer:
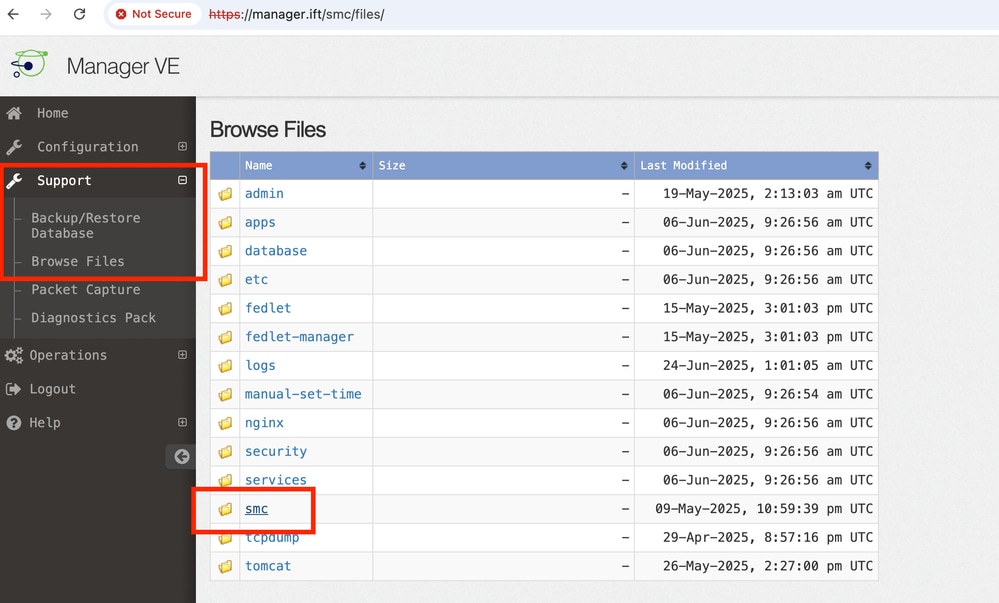
i. Log in to the SNA primary manager and redirect to the Appliance administer page or access Manager IP Index URL.
ii. Browse the smc folder under the Support section.
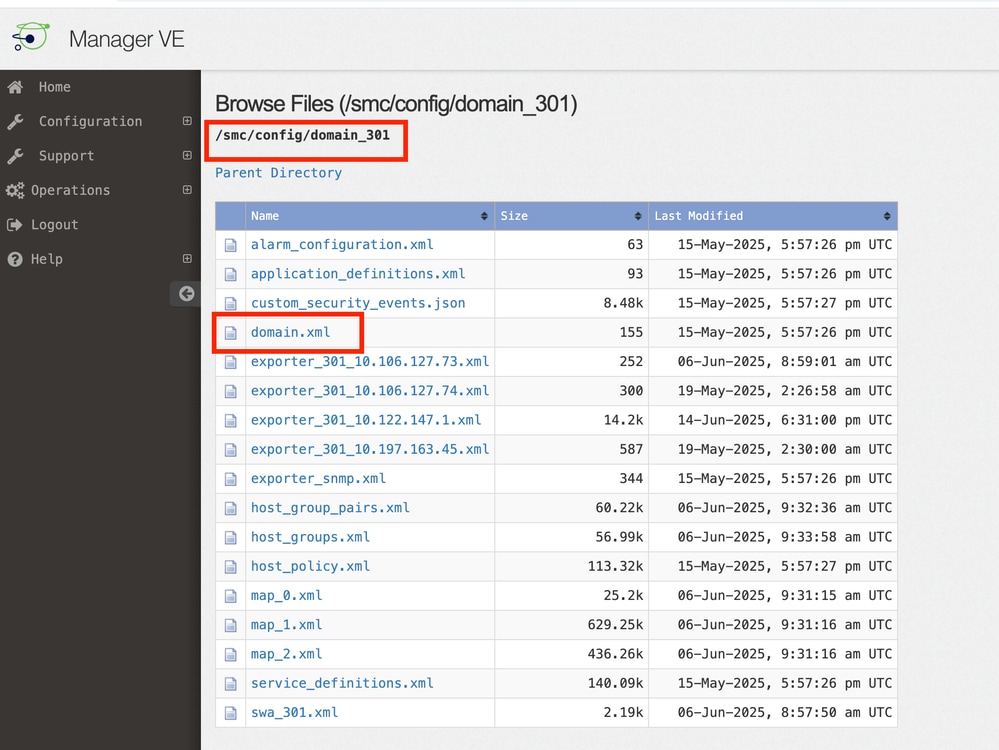
iii. Open domain.xml file available in domain_XXX folder under the config folder.
 Feedback