Feedback
Table Of Contents
Setting up policies from within MOSS
Setting up policies from within MOSS
You can set up user/group/role-based policies from within the Microsoft Office SharePoint Server (MOSS) site only after proper synchronization between the Policy Administration Point (PAP) and the MOSS application is done.
To set a policy in the MOSS site, follow these steps:
Step 1
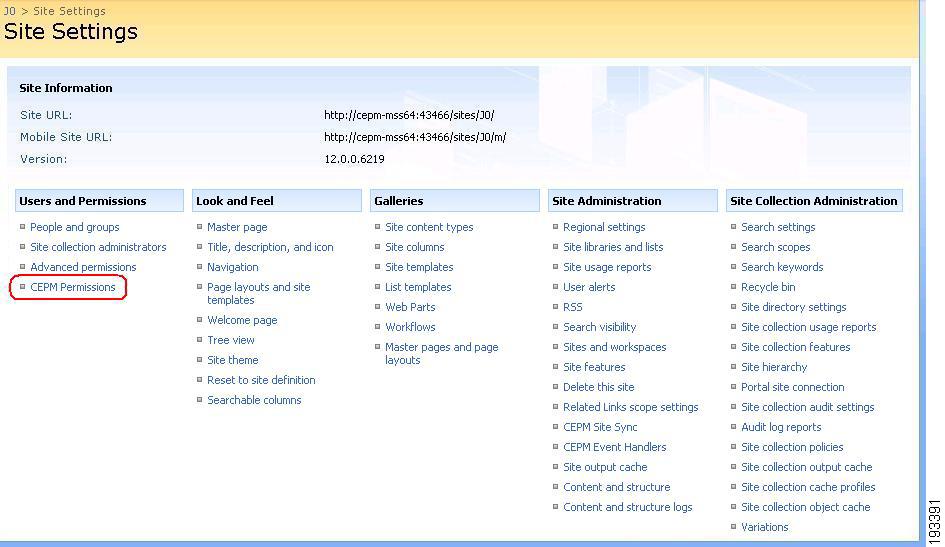
Choose Site Actions > Site Settings > Modify All Settings in the MOSS site. The Site Settings screen appears where you can find CEPM Permissions in the Users and Permission column (as shown in Figure 5-1).
Figure 5-1 Site settings
Step 2
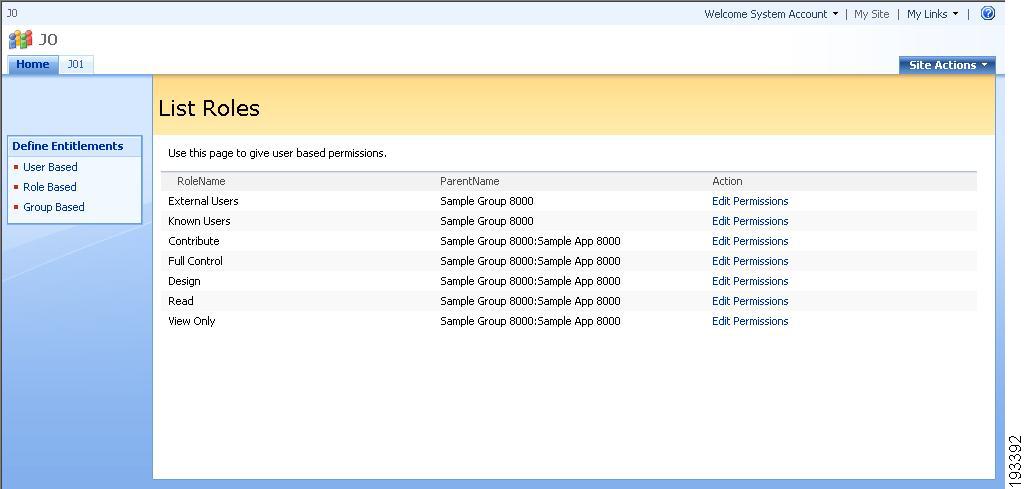
Figure 5-2 List Roles
From this screen you can create User/Group/Role based entitlements by clicking the corresponding link in the Define Entitlement box.
To create user -based entitlements, click User based. A list with the names of the users appears. Click the corresponding Edit Permissions link in the Action column to create the user-based policies for that chosen user. Likewise, you can create group-based and role-based policies.
Note
Step 3
Step 4
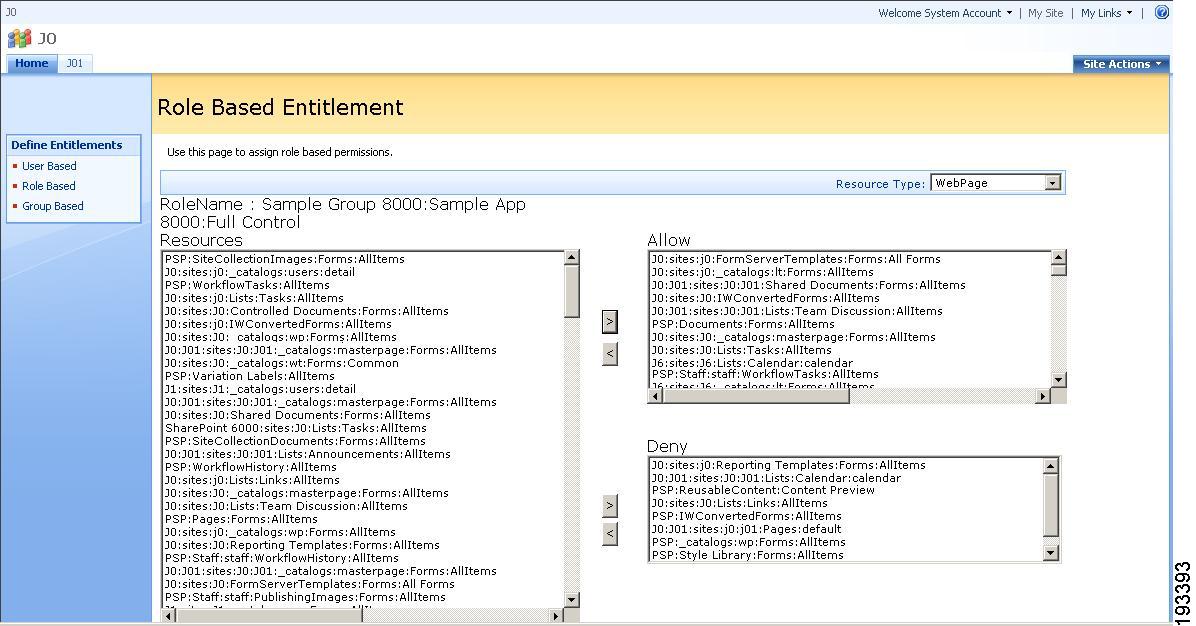
Figure 5-3 Role based entitlement
This page contains three tables—the left table lists all the resources available under the application that you choose, the top right table lists all the allowed resources and the bottom right table lists all the denied resources.
By default the Resources table enlists resources of type WebPage. To view the resources of the other two available types (i.e. Web Part and DocumentLibraries), you can choose the type from the Resource Type drop-down menu (shown in the preceeding figure).
Step 5
To cancel the existing permissions, choose the resources from the Allow or deny box and then click the < icon to delete the policies.
Step 6
As synchronization is put into action, you can also view these newly created policies in the PAP.