Installing Cisco License Manager
Available Languages
Table Of Contents
Installing Cisco License Manager
Server Application Requirements
Required Installation Preparations
Installing Cisco License Manager
Running the Command Line Installation Script
Installing with a Custom Installation Properties File
Uninstalling Cisco License Manager
Reinstalling Cisco License Manager
Installing Cisco License Manager
This chapter contains the following sections:
•
Required Installation Preparations
•
•
•
Installation Considerations
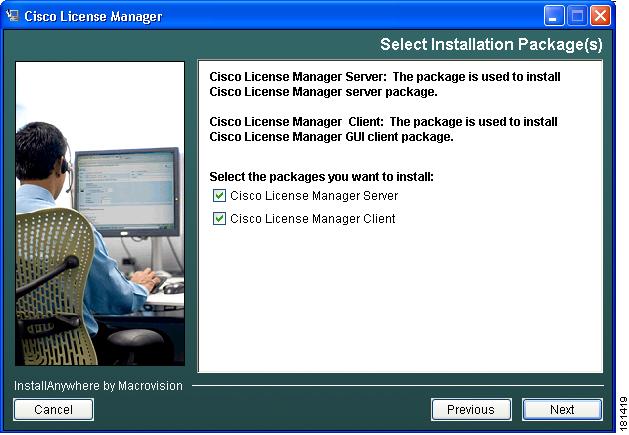
The Cisco License Manager graphical user interface (GUI) installation options include:
•
Installing both the server and client packages on the same host is the recommended (and easiest) method. Use this choice if only one GUI client will be running most of time.
•
–
–
Use this choice if multiple GUI clients will be running simultaneously, install the server and GUI on separate hosts for better performance.
You can choose to install one or both of the packages on your computer. We also support installation of the server on one host and the client on another.

Caution
For detailed steps on how to install, see Installing Cisco License Manager. For system requirements for your installation package options, see System Requirements. If you want to install using a command line script, see Running the Command Line Installation Script.
For a description of the two installation packages, see Package Options.
Package Options
There are two packages in Cisco License Manager. They are:
•
•
To continue with your installation steps, see Installing Cisco License Manager.
System Requirements
The system requirements for Cisco License Manager include:
•
•
Server Application Requirements
If you install only the server package on your PC, see Table 2-1 for details on the minimum and tested software and hardware requirements.
Table 2-1 Server Software and Hardware Requirements
Processor
Intel Pentium 4, 3.2 GHz
Software
Microsoft Windows XP Professional, Service Pack 2 (SP2)
Adobe Reader 6.01
RAM
1 GB
Disk
10 GB2
1 Online documentation requires Adobe Reader.
2 The actual amount of hard drive space required depends upon the number of clients you are installing and the number of devices you are managing with the client applications.
Ensure that the client can reach the server over the network or you will receive connection errors.
Client Only Requirements
If you install only the client package, see Table 2-2 for details on the minimum and tested software and hardware requirements.
Network and Port Requirements
Your network must meet the following requirements before you begin deploying Cisco License Manager:
•
•
•
•
–
•
Cisco IOS Dependencies
To use Cisco License Manager, your Cisco device must be running a specific Cisco IOS software image. See the release notes for the Cisco device and Cisco IOS software version information.
Java Information
Cisco License Manager contains the following jar and jre files:
•
•
Both the client and server packages have JRE 1.5 libraries.
Required Installation Preparations

Timesaver
Before you begin the installation, use this list of required tasks to help you prepare:
•
•
•
•
•
•
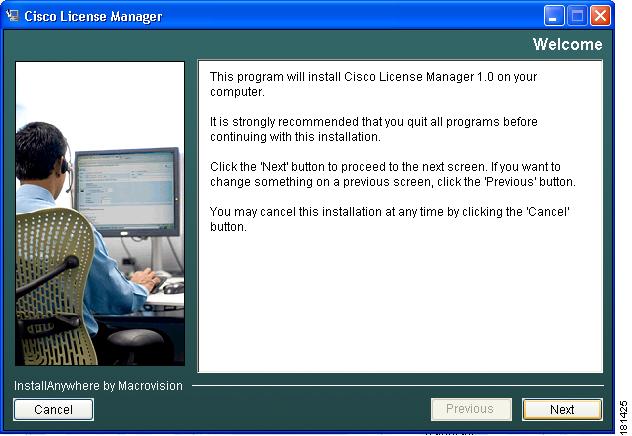
Installing Cisco License Manager
You can install Cisco License Manager using either a GUI that walks you through the installation or a script that does not require user interaction.
To install Cisco License Manager use one of the following methods:
Quick Installation
To install Cisco License Manager on your PC:
Step 1
You must be a registered Cisco.com user, but you need no other access privileges.
Step 2
Step 3
Step 4
Cisco License Manager is free—there is no charge to download, install, or use it.
Step 5
Step-by-Step Installation
For more details on the client and server package options, see Package Options.

Note
Step 1
Step 2
Step 3
Step 4
Note
Step 5
Step 6
a.
b.
c.
Step 7
Step 8
•
•
•
•
•
•
•
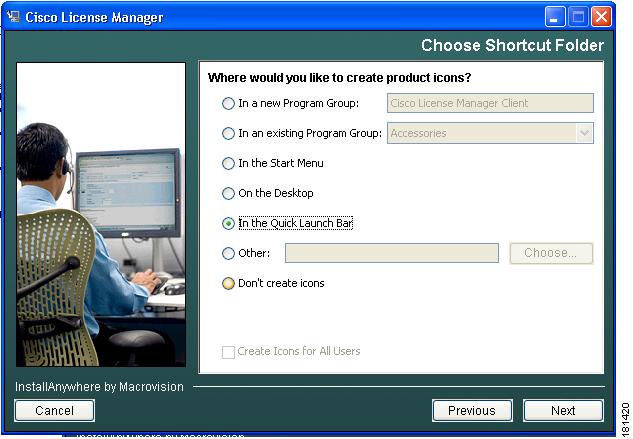
Depending on the option you choose, you may also be given the option to create icons for all users by selecting the check box at the bottom of the window. Click Next.
Step 9
Step 10
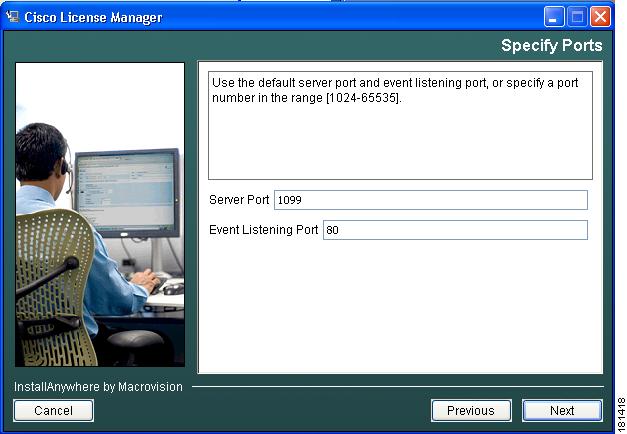
The server listens to this TCP/IP port to receive service requests from client program. The server listens to this TCP/IP port to receive events from devices.

Tip
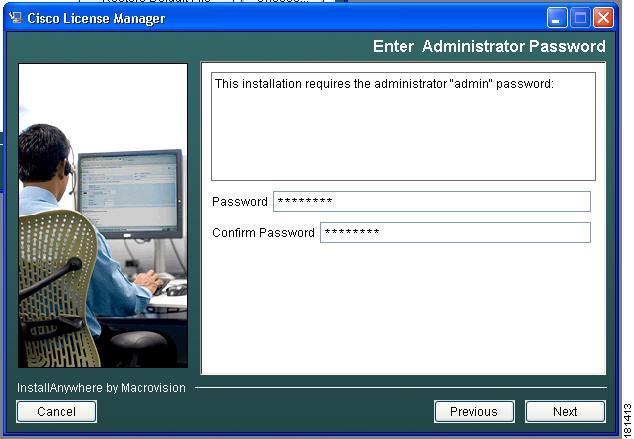
Step 11
•
•
Step 12
Step 13
Tip
Step 14
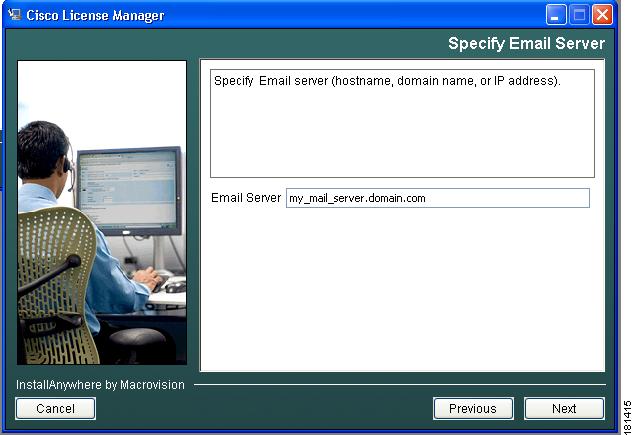
You may see a message stating that your e-mail server cannot be reached. If you want to continue, click OK. If you want to reenter the e-mail server, click Previous and reenter a server name.
Tip
•
•
•
Step 15
When the installation completes, a message appears informing you that the server is up.
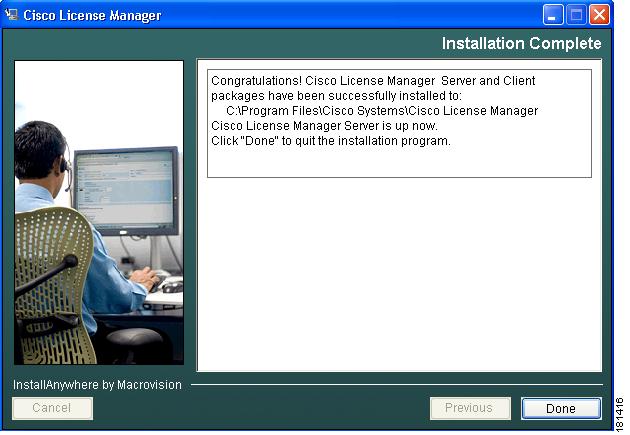
If the installation program does not display the completion message and seems stuck in a pending state, you may have forgotten to disable your security agent. For details on how to recover from this error, see Installation Does Not Display Completion Panel.
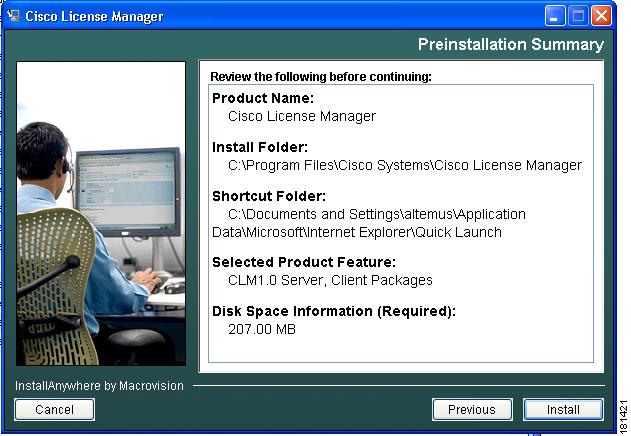
Step 16
Step 17
Step 18
We recommend you back up Cisco License Manager before uninstalling or upgrading. For details on uninstalling, see Uninstalling Cisco License Manager.
Running the Command Line Installation Script
You can run the installation from the command line in either of the following ways:
•
•
Related Topics
•
Installation Properties File
The installation properties file includes program defaults (see Table 2-3). If you wish to customize any of these defaults, you must edit the file and then perform the installation using your own customized defaults (see Installing with a Custom Installation Properties File).
Note
Table 2-3 Install.properties File Defaults and Descriptions
INSTALLER_UI
Sets the mode for installation.
Silent
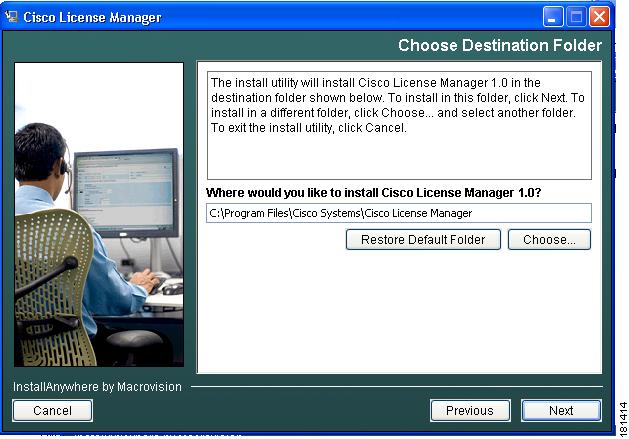
USER_INSTALL_DIR
Directory in which to install Cisco License Manager.1 The root folder path must be smaller than 180 bytes or an error message is returned.
C:\\Program Files\\Cisco Systems\\Cisco License Manager
isServerPackageSelected
Selects the server package to install:
1 = Install server package
0 = Do not install server package
Only 1 and 0 are accepted by the installation tool.
1 (equivalent to true)
isClientPackageSelected
Selects the client package to install:
1 = Install client package
0 = Do not install client package
Only 1 and 0 are accepted by the installation tool.
1 (equivalent to true)
SERVER_PORT
Sets the port that Cisco License Manager uses. Valid port value range is 1024 to 65535.
1099
EVENT_PORT
Sets the port on which to listen to events. Valid port value range is 1024 to 65535.
80
DEVICE_K9_IMAGE_RESULT
Sets whether your SSL-enabled Cisco devices are to allowed to communicate with Cisco License Manager. Values are Yes and No.
No
DEVICE_CERTIFICATE_FOLDER
Folder in which device certificate is stored.1
C:\\
DEVICE_CERTIFICATE_FILE
Certificate file for all device authentication.
abc.txt
ADMIN_PASSWORD
Administrative password.
password
RE_ADMIN_PASSWORD
Reenter administrative password.
password
EMAIL_RESULT
SMTP e-mail server hostname or IP address to use for activity.
No default
1 Use two backslashes, ( \\), as the file path separator instead of using only a single backslash, \, when entering the absolute file path in USER_INSTALL_DIR and DEVICE_CERTIFICATE_FOLDER entries. For example: C:\\Program Files\\Cisco Systems\\Cisco License Manager
The following is an example of an install.properties file.
INSTALLER_UI=silentUSER_INSTALL_DIR=C:\\Program files\\Cisco Systems\\Cisco License ManagerisServerPackageSelected=0isClientPackageSelected=1SERVER_PORT=1024EVENT_PORT=8888DEVICE_K9_IMAGE_RESULT=YesDEVICE_CERTIFICATE_FOLDER=C:\\certificateDEVICE_CERTIFICATE_FILE=abc.cerADMIN_PASSWORD=adminxyzRE_ADMIN_PASSWORD=adminxyzEMAIL_RESULT=myemail_server.xyz.comInstalling with a Custom Installation Properties File
To install Cisco License Manager with your own defaults, run the installation script with an install.properties file you have customized. For an example of the install.properties file, see Installation Properties File.
Step 1
Tip
Step 2
clm_installer.bat -f c:\directory1\directory2\custom_installer_name.properties
where custom_installername.properties is the name of the customized install.properties file with the absolute path if the file is not located in the same directory as the clm_installer.bat file.
The installation runs using your customized properties file. When it is complete, a message appears.
Verifying Your Installation
After your installation is complete, start Cisco License Manager to verify that it installed successfully.
Step 1
For example:
•
•
The application opens and displays the login window.
Step 2
For details on logging in, see Logging In. If you cannot login, see Troubleshooting Tips for some helpful information.
Step 3
Uninstalling Cisco License Manager
Use the Windows Add or Remove Programs option to uninstall Cisco License Manager. If you choose to uninstall Cisco License Manager, the uninstaller removes all the Cisco License Manager files and directories from your computer. It also removes the Cisco License Manager Client and Cisco License Manager Server registry keys (if present) from the Windows registry. It does not remove files and folders created after the installation.
Note
The uninstallation filename is $CISCO_LM_HOME\Uninstaller\Uninstall Cisco License Manager.exe. The Windows Add or Remove Programs option starts the uninstall executable file.
Step 1
Caution
Step 2
Step 3
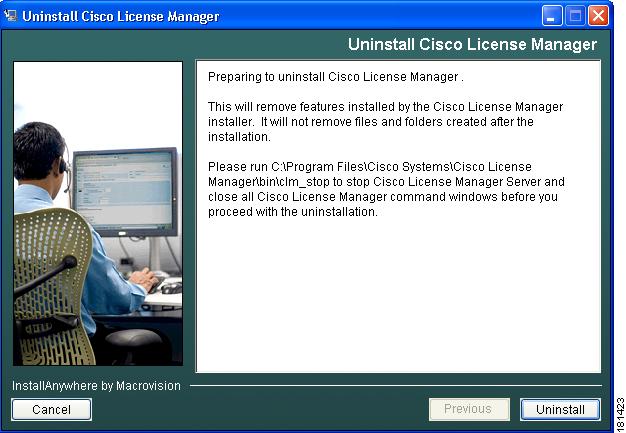
Step 4
The Uninstall Cisco License Manager window appears.
Step 5
The Uninstall Complete window appears.
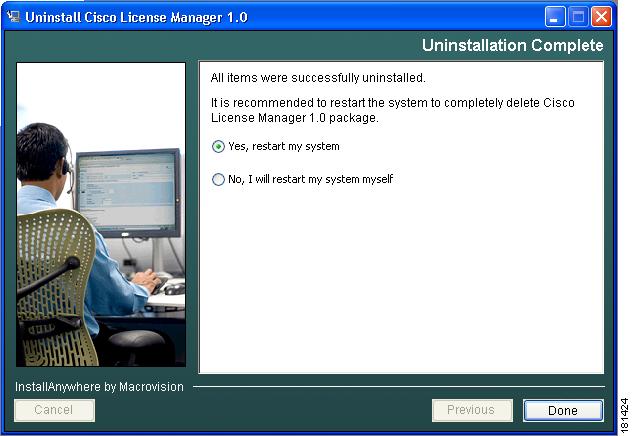
Step 6
•
•
Step 7
Reinstalling Cisco License Manager
If you want to reinstall Cisco License Manager, you need to uninstall the current application first and ensure you restart your system. Restarting removes any Cisco License Manager files left after the uninstallation.
Step 1
Step 2
Step 3
 Feedback
Contact Cisco
- Open a Support Case

- (Requires a Cisco Service Contract)
This Document Applies to These Products
- Collaboration Endpoints - Retired Products
- Conferencing - Retired Products
- Contact Center - Retired Products
- Optical Networking - Retired Products
- Routers - Retired Products
- Security - Retired Products
- Servers - Unified Computing (UCS) Retired Products
- Storage Networking Retired Products
- Switches - Retired Products
- Video - Retired Products
- Wireless - Retired Products