Inleiding
In dit document worden de stappen beschreven voor het verzamelen van een momentopname voor ondersteuning en het inschakelen van een live supportsessie vanuit het Cisco Secure Endpoint Private Cloud-apparaat.
Achtergrondinformatie
Wanneer u samenwerkt met TAC, is het soms nodig om een ondersteuningsmomentopname te verzamelen of TAC in staat te stellen een ondersteuningstunnel te maken naar uw Secure Endpoint (voorheen bekend als Advanced Malware Protection) Private Cloud-apparaat. Dit vergemakkelijkt grondig onderzoek of toepassing op afstand van fixes.
Deze aanpak bespaart tijd en biedt de TAC-ingenieur de uitgebreide informatie die nodig is om het probleem effectief aan te pakken.
Ondersteuning voor momentopnamen
Support-momentopname genereren vanuit beheerportaal
Voer de volgende stappen uit om een supportmomentopname van het beheerportaal te verzamelen:
Stap 1: Meld u aan bij het beheerportaal.
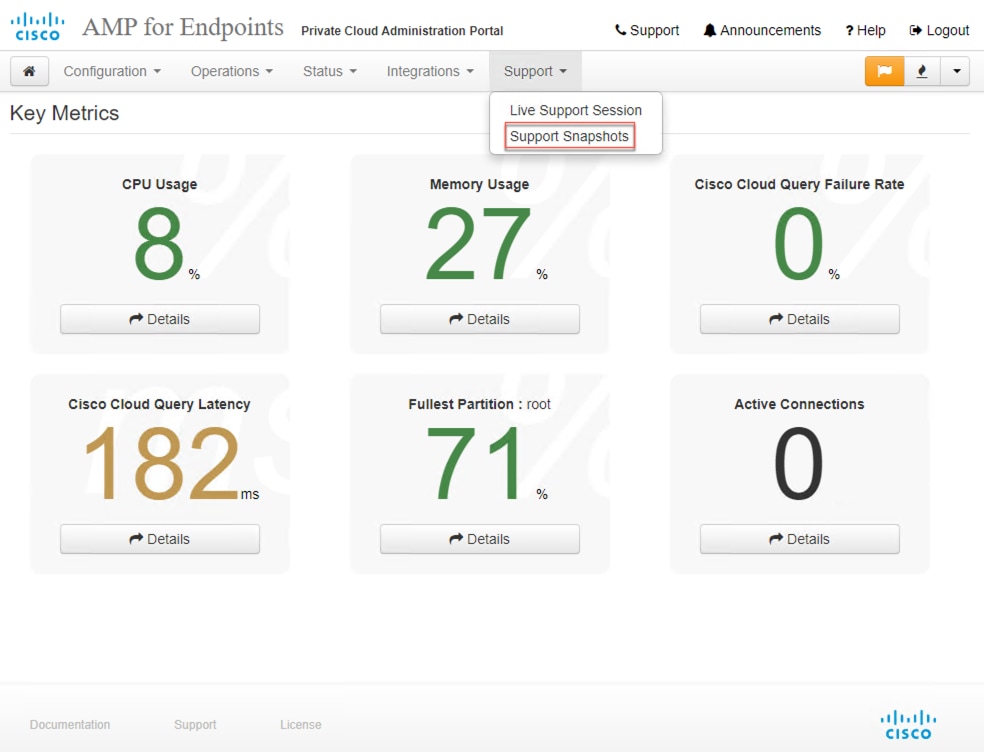
Stap 2: Selecteer Support en selecteer vervolgens Support Snapshots, zoals weergegeven in de afbeelding.
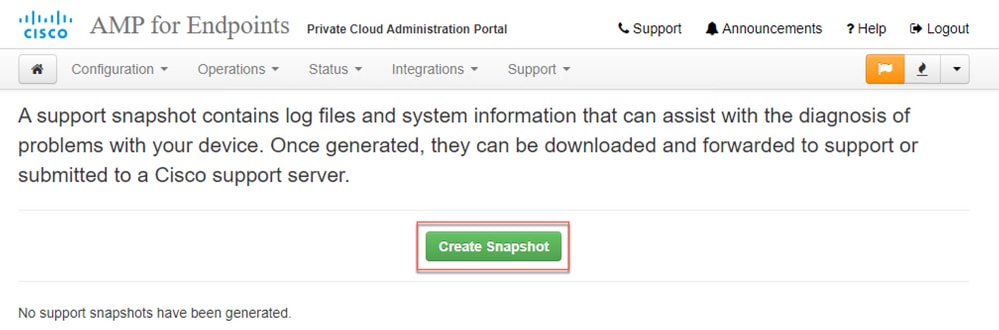
Stap 3: Klik op Momentopname maken.
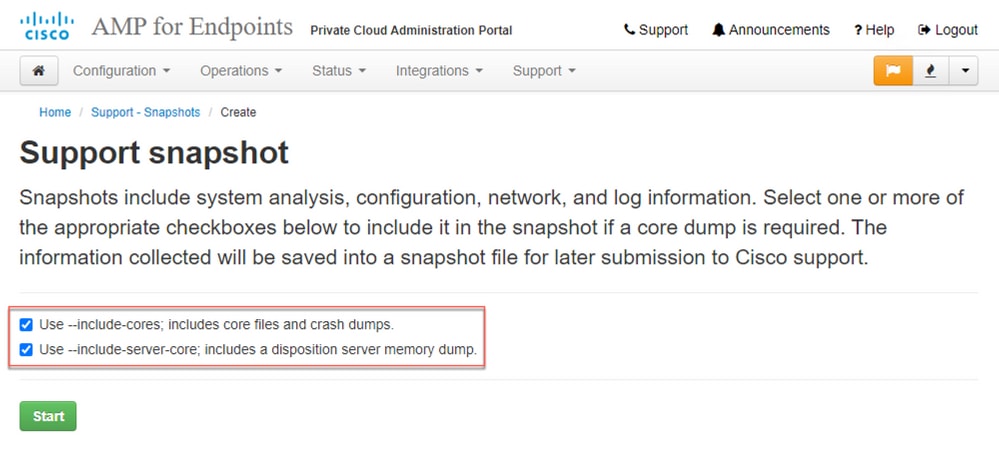
Stap 4: U kunt selecteren op Inclusief de Core Files en andere Geheugen Dumps evenals met de Snapshot die niet standaard zijn geselecteerd, zoals weergegeven in de afbeelding.
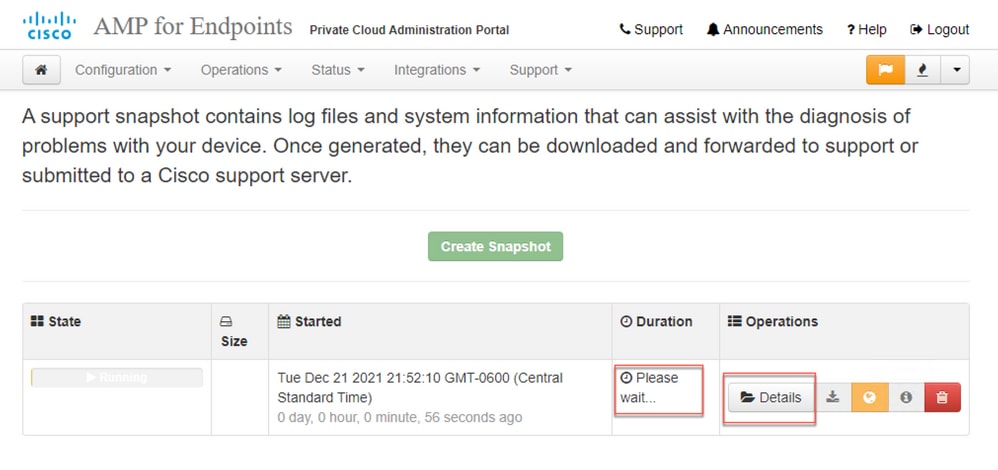
Stap 5: Je zou merken dat de Snapshot is begonnen en dit kan een tijdje duren. Om de voortgang te controleren, klikt u op Details, zoals weergegeven in de afbeelding.
Stap 6: Zodra de Snapshot-generatie is voltooid, moet u in staat zijn om de  pictogram om de momentopname op uw lokale computer te downloaden vanaf de plaats waar u toegang hebt tot het portaal.
Support-momentopname genereren via beheerportaal SSH
Voer de volgende stappen uit om een supportmomentopname te maken van het beheerportaal SSH:
Stap 1: SSH naar het administratieportaal.
Stap 2: Dit is de beschikbare CLI om de momentopname te genereren.
[root@fireamp ~]# amp-support snapshot -A

usage: /opt/opadmin/embedded/bin/amp-support snapshot [options]

Create a snapshot of the current system; this includes log files, system
status, run processes, crash dumps, and other information that can be
used by a support engineer to diagnose problems with your system.
If no explicit options are provided the default ones are assumed.  The
default options are: include-configs, include-logs, include-network,
include-cores, and include-status

    -A, --all                        Include everything.
    -a, --include-analysis           Include system analysis. (SLOW!)
    -C, --include-configs            Include configuration files.
    -c, --include-cores              Include core files.
    -F, --include-firehose-cassandra Include firehose-cassandra status.
    -i, --include-inodes             Include filesystem inode usage.
    -I, --include-integrations       Include appliance integration information.
    -k, --include_kafka              Include Kafka status.
    -L, --include-flink              Include Flink status.
    -l, --include-logs               Include log files.
    -m, --include-mongo              Include MongoDB status.
    -N, --include-cassandra          Include Cassandra status.
    -n, --include-network            Include network analysis.
    -r, --include-redis              Include Redis status.
    -S, --include-server-core        Include a disposition server memory dump.
    -s, --include-status             Include system status.
    -d, --include-docker             Include docker status.
    -z, --include_zookeeper          Include Zookeeper status.
    -f, --fs-check FILE              Include filesystem check results from file.
    -v, --verbose                    Increase output verbosity.
Support-momentopname genereren vanuit toestelconsole
Voer de volgende stappen uit om een momentopname voor ondersteuning te maken vanaf de Private Cloud Appliance Console:
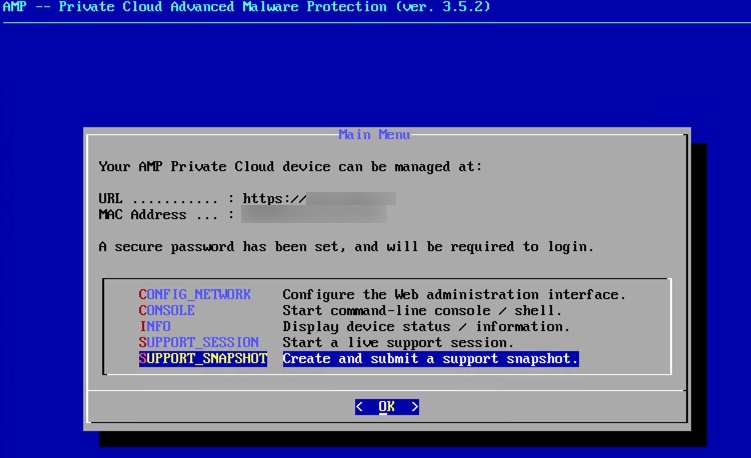
Stap 1: Log in op de Private Cloud Appliance Console.
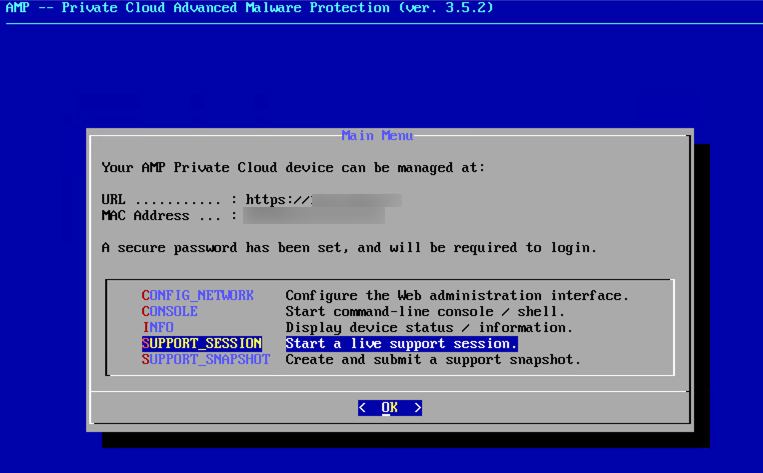
Stap 2: Selecteer SUPPORT_SNAPSHOT.
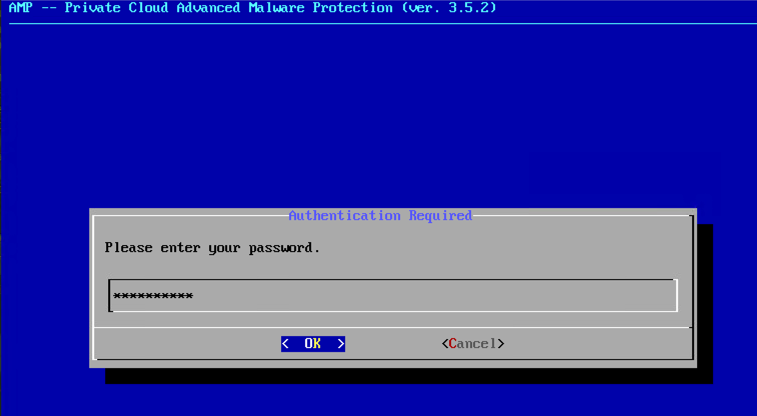
Stap 3: Voer het wachtwoord van het beheerportaal in, zoals weergegeven in de afbeelding.
Stap 4: U kunt selecteren op Inclusief de Core Files en andere Geheugen Dumps evenals met de Snapshot die niet standaard zijn geselecteerd, zoals weergegeven in de afbeelding.
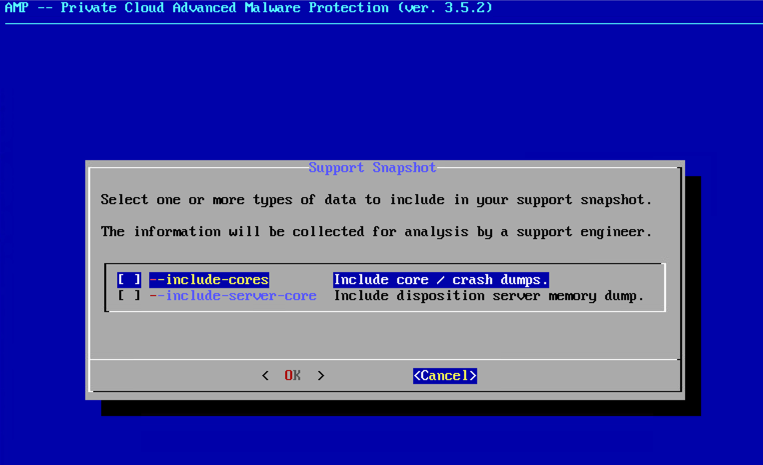
Stap 5: Selecteer daarna OK en de momentopname zou worden gestart.
Live supportsessie
Live-supportsessie inschakelen via beheerportal
Voer de volgende stappen uit om Live Support Session vanaf het beheerportaal in te schakelen:
Stap 1: Meld u aan bij het beheerportaal.
Stap 2: Klik of selecteer Ondersteuning en selecteer Live-supportsessie.
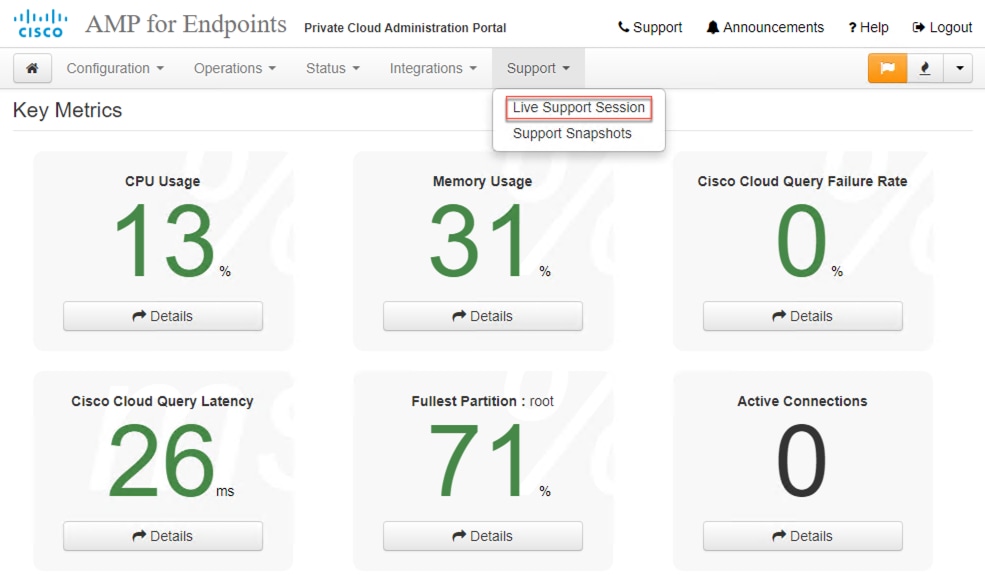
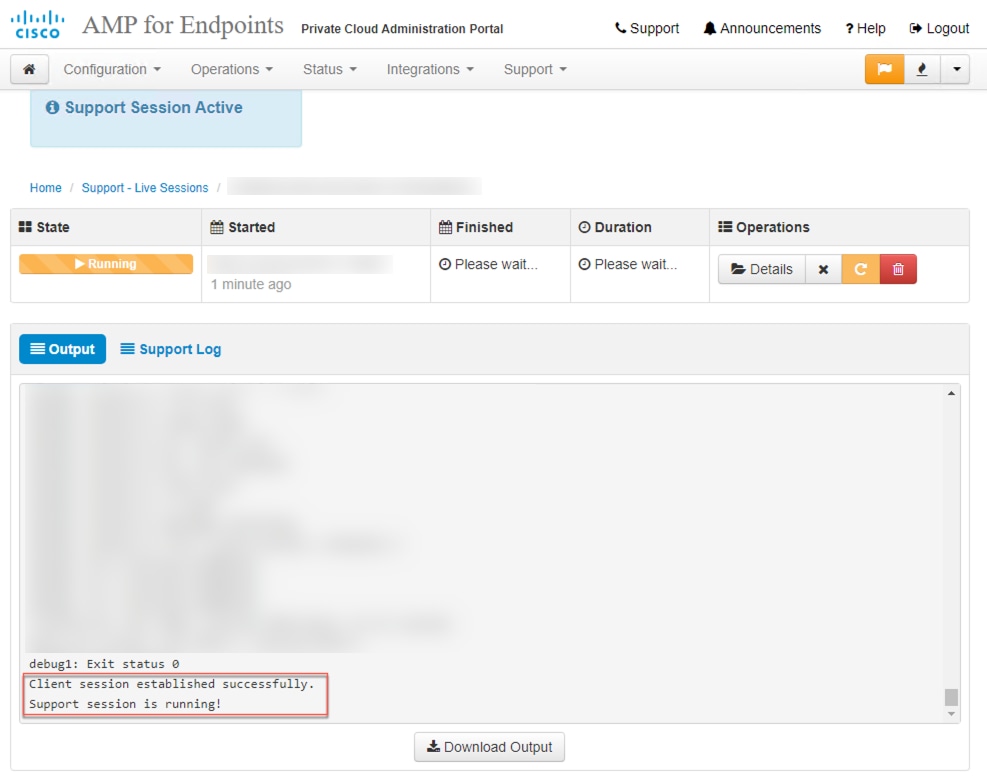
Stap 3: Klik of selecteer Start Support Session zoals getoond en Download om de SSH Identity op te halen die vereist is door TAC om op afstand verbinding te maken met het toestel. Klik of selecteer Start om de Live Support-sessie te starten, zoals in de afbeelding wordt weergegeven.

Stap 4: U ziet de logs zoals weergegeven in de afbeelding, zoals weergegeven in de afbeelding, nadat het toestel succesvol is aangesloten voor de Live Support Session, zoals weergegeven in de afbeelding.
Live-supportsessie inschakelen via beheerportaal SSH
Voer de volgende stappen uit om Live Support Session vanaf beheerdersportaal SSH te maken en in te schakelen:
Stap 1: Meld u aan bij het beheerportaal SSH.
Stap 2: Dit is de CLI die beschikbaar is om Live Support Session van de SSH in te schakelen.
[root@fireamp ~]# amp-support session -l support.log -s support-sessions.amp.cisco.com -p 22
usage: /opt/opadmin/embedded/bin/amp-support session [options]

Manage a support session with a remote server; this facilitates a secure method of
provide unrestricted shell access to your machine to an engineer on a remote
system. Note that when restart a session, the same parameters as the previous
session are used unless new parameters are supplied. The UUID is expected to be
version 4.

Note that the `--log` option provides an optional log file for the support
engineer to log their shell activity to. A script is provided to the remote
user to collect this log data, but it is not and cannot be enforced by the
support script.

OPTIONS

    -b, --batch                      Use batch (non-interactive) mode.
    -d, --delete                     Delete a support session and all files.
    -l, --log FILE                   Log remote shell commands to file.
    -p, --port PORT                  Connect to an alternative port.
    -s, --support-server SERVER      Set the server of a session.
    -t, --terminate                  Terminate an active session.
    -v, --verbose                    Increase output verbosity.

NOTE: UUID can be any random string as long as it has the format: xxxxxxxx-xxxx-xxxx-xxxx-xxxxxxxxxxxx. Also, you can keep the Port as default to 22

EXAMPLES

    /opt/opadmin/embedded/bin/amp-support session -l support.log -s support.example.com -p 2222 xxxxxxxx-xxxx-xxxx-xxxx-xxxxxxxxxxxx
    /opt/opadmin/embedded/bin/amp-support session xxxxxxxx-xxxx-xxxx-xxxx-xxxxxxxxxxxx
    /opt/opadmin/embedded/bin/amp-support session -t -d xxxxxxxx-xxxx-xxxx-xxxx-xxxxxxxxxxxx
Live-supportsessie inschakelen vanuit toestelconsole
Voer de volgende stappen uit om Live Support Session vanaf Private Cloud Appliance Console te maken en in te schakelen:
Stap 1: Log in op de Private Cloud Appliance Console.
Stap 2: Selecteer SUPPORT_SESSION om Live Support Session in te schakelen, zoals weergegeven in de afbeelding.
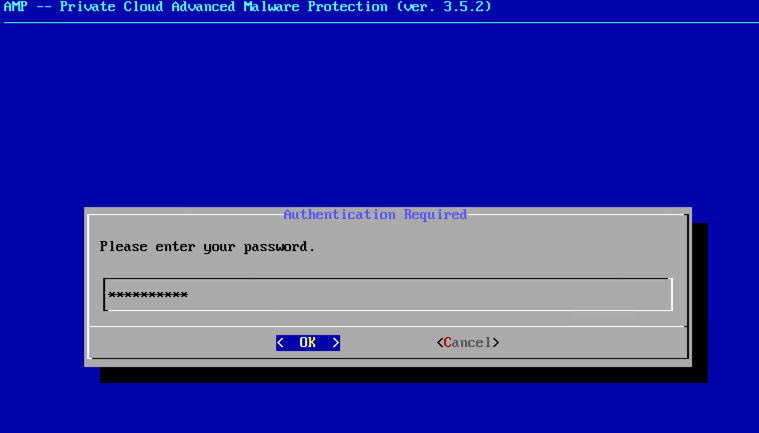
Stap 3: Voer het wachtwoord van het beheerportaal in, zoals weergegeven in de afbeelding.
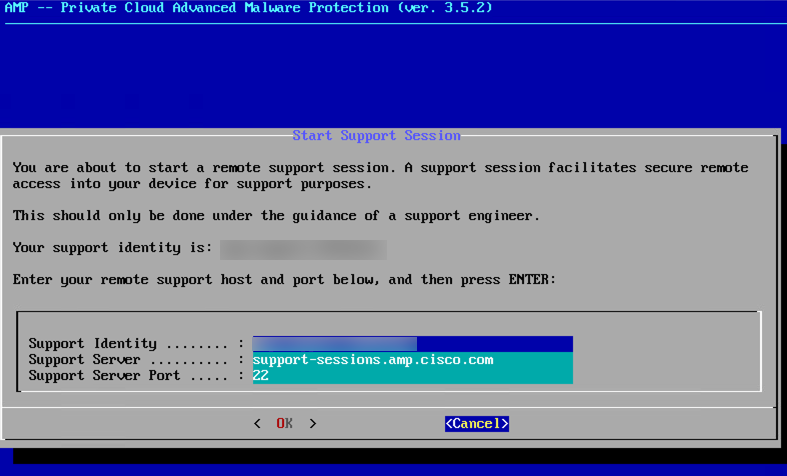
Stap 4: U kunt alle standaardinstellingen ongewijzigd laten. Selecteer OK om de Live Support-sessie in te schakelen, zoals wordt weergegeven in de afbeelding.
 Feedback