- Preface
- New and Changed Information
- Getting Started
- Securing the Cisco APIC-EM
- Managing Users
- Enabling Applications on the Cisco APIC-EM
- Configuring IWAN-Specific Settings
- Configuring Telemetry
- Backing Up and Restoring the Cisco APIC-EM
- Managing the Cisco APIC-EM
- Monitoring the Cisco APIC-EM Services
Cisco Application Policy Infrastructure Controller Enterprise Module Administrator Guide, Release 1.5.x
Bias-Free Language
The documentation set for this product strives to use bias-free language. For the purposes of this documentation set, bias-free is defined as language that does not imply discrimination based on age, disability, gender, racial identity, ethnic identity, sexual orientation, socioeconomic status, and intersectionality. Exceptions may be present in the documentation due to language that is hardcoded in the user interfaces of the product software, language used based on RFP documentation, or language that is used by a referenced third-party product. Learn more about how Cisco is using Inclusive Language.
- Updated:
- June 22, 2017
Chapter: Monitoring the Cisco APIC-EM Services
Monitoring the Cisco APIC-EM Services
Controller Admin Console
The Cisco APIC-EM creates a Platform as a Service (PaaS) environment for your network. A service in this PaaS environment is a horizontally scalable application that adds instances of itself when increasing loads occur on a client within the network. You use the Controller Admin console to manage and troubleshoot these services. The Controller Admin console and its tools were bundled with the deployment files and installed when you first deployed the Cisco APIC-EM.

 Note | For a multi-host cluster, you do not have to log into each host to view the Controller Admin console. In a multi-host cluster, you get a single, consolidated view of all of the services running on all three hosts. |
The Controller Admin console is directly accessible from the controller's GUI. To access this console, click on Settings (gear) icon in the menu bar at the top of the controller's GUI, then click on the System Administration link in the drop down menu.
The Controller Admin console provides the following windows and functionality:
-
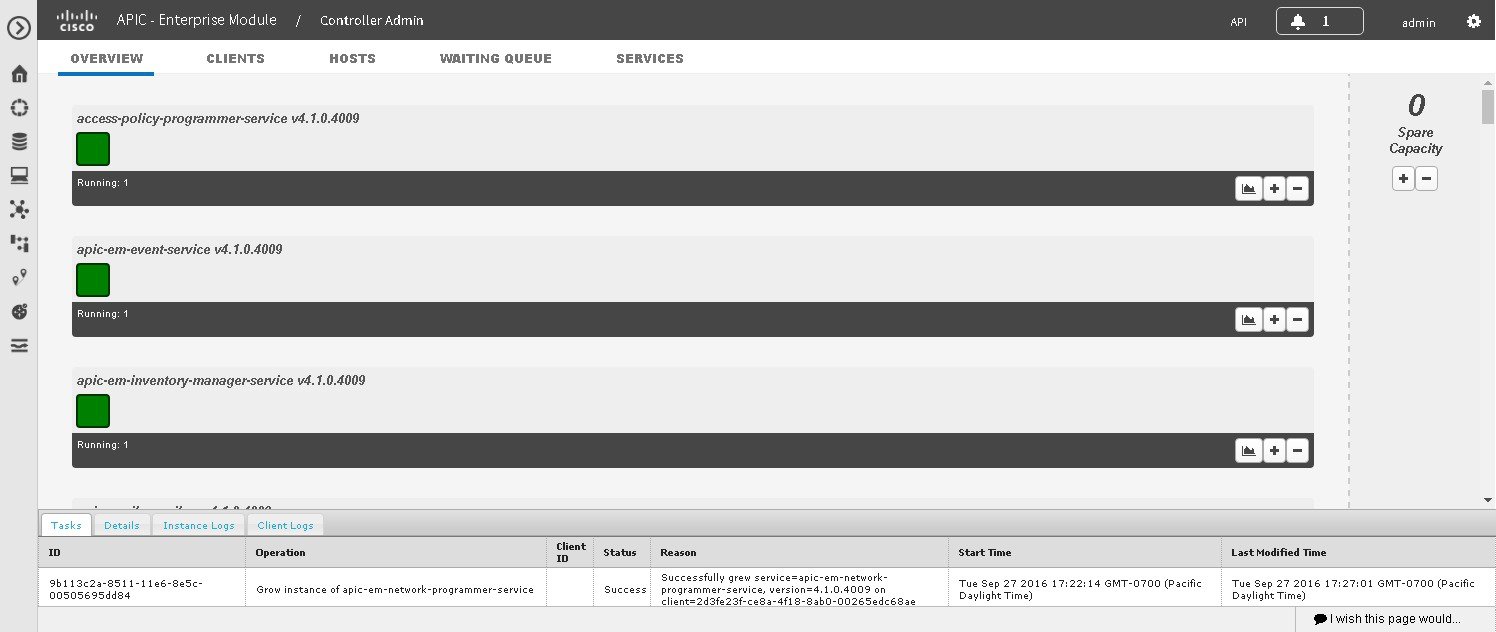
Overview—Provides a list of services with information about their version and status. You can add or remove services in this window.
-
Clients—Provides detailed client information in this window.
-
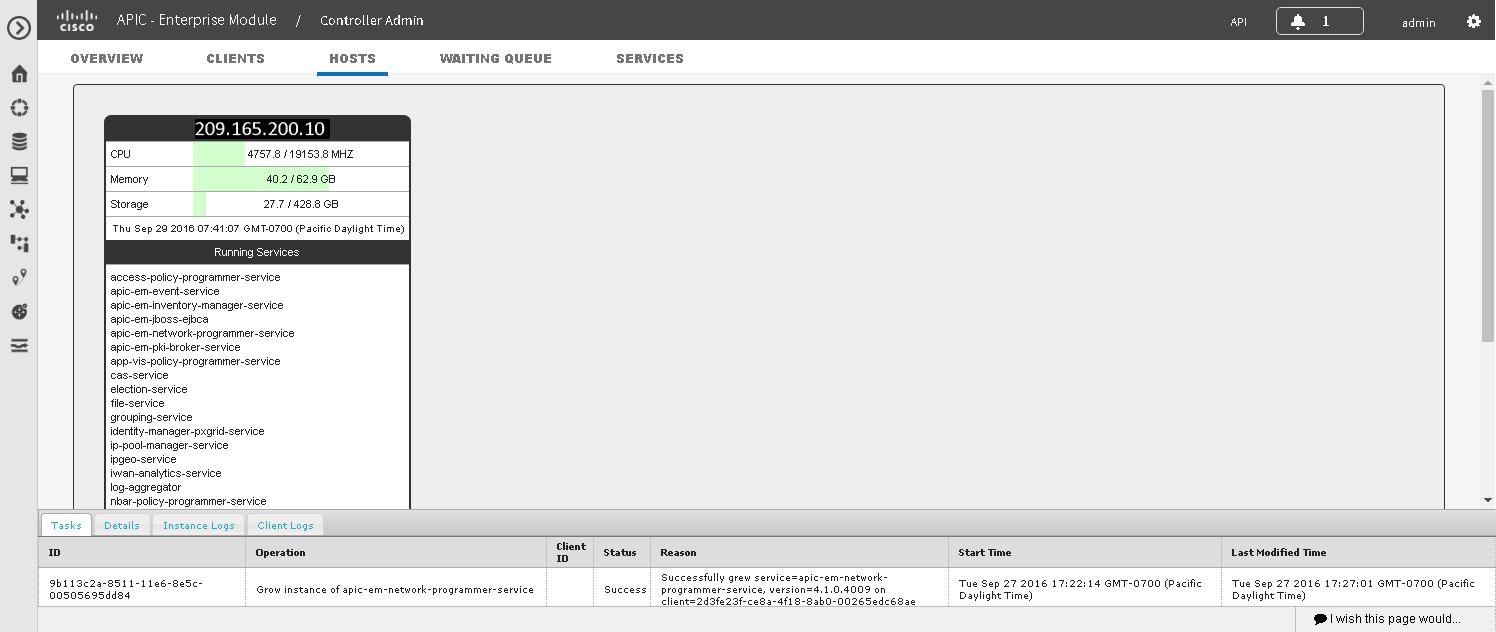
Hosts—Provides detailed host information in this window.
-
Waiting Queue—Provides information about the waiting queue.
-
Services—Provides detailed service information. You can add or remove services in this window.
-
Logs—Provides detailed task, instance, and client logs.
Reviewing the Service's Version, Status, and Logs
You are able to perform the following tasks using the Controller Admin console:
 Caution | Only advanced users should access the Controller Admin console to perform the tasks described in this procedure or attempt to troubleshoot the services. |

You must have successfully installed the Cisco APIC-EM and it must be operational.
You must have administrator (ROLE_ADMIN) permissions and either access to all resources (RBAC scope set to ALL) or an RBAC scope that contains all of the resources that you want to group. For example, to create a group containing a specific set of resources, you must have access to those resources (custom RBAC scope set to all of the resources that you want to group).
Removing a Service Instance
You are able to remove or harvest a service instance by using the Controller Admin console. The Controller Admin console tools are bundled within the ISO image and installed when you first deploy the Cisco APIC-EM.
 Caution | Only advanced users should access the Controller Admin console to perform the tasks described in this procedure or attempt to troubleshoot the services. |

You must have successfully installed the Cisco APIC-EM and it must be operational.
You must have administrator (ROLE_ADMIN) permissions and either access to all resources (RBAC scope set to ALL) or an RBAC scope that contains all of the resources that you want to group. For example, to create a group containing a specific set of resources, you must have access to those resources (custom RBAC scope set to all of the resources that you want to group).
| Step 1 | In the Home window, click either admin or the Settings icon (gear) at the top right corner of the screen. | ||
| Step 2 | Click the System Administration link from the drop-down menu. | ||
| Step 3 | Review the list
of operational services in the
Overview window in the console.
Each service is represented by a square. A green colored square represents an active instance of the service, and a red colored square represents a service with a faulty or failed instance. Squares without color represents inactive services (no instances initiated and running). Placing your cursor over a square displays the IP address of the client where the service is running. In a multi-host environment, a service may be represented by two green colored squares, indicating that the service is running on two different hosts within your cluster. Place your cursor over each square to view the host that the service is running on.
| ||
| Step 4 | Locate the
service where you want to remove (harvest) an instance of a service and click
the subtraction sign (-) at the lower right.
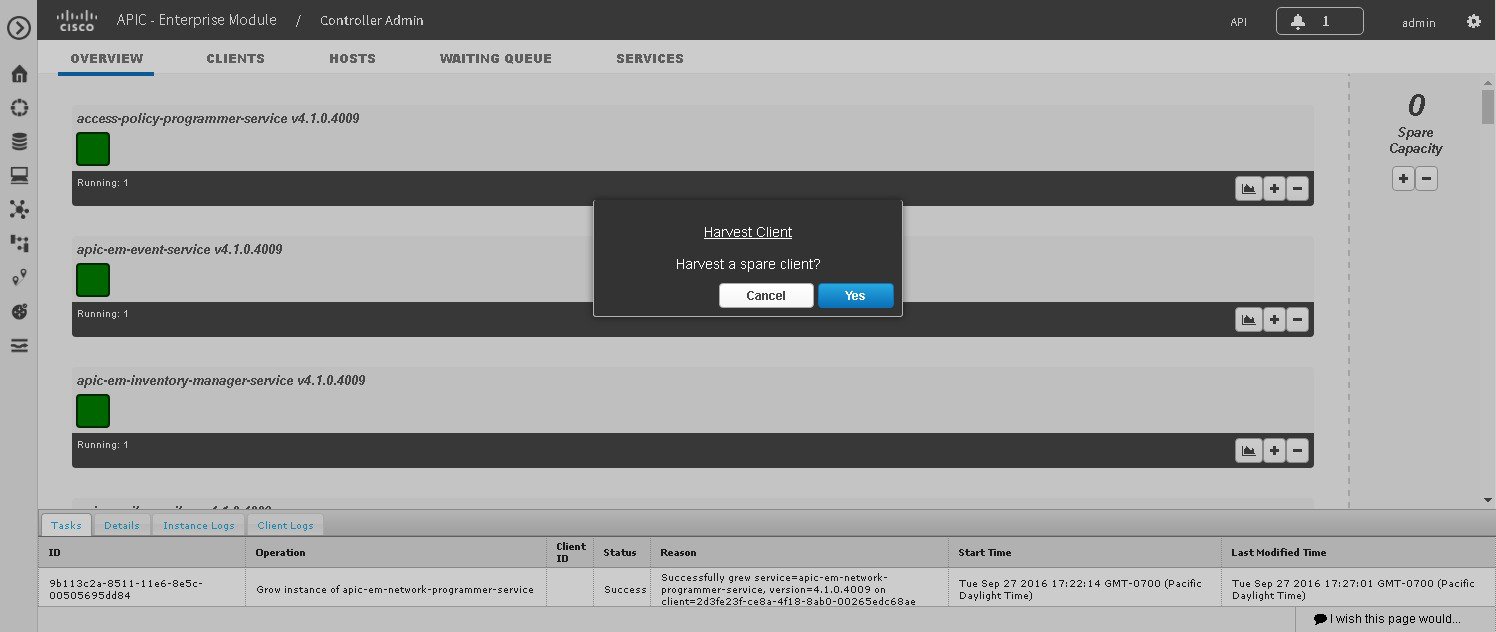
You are then prompted to confirm your action to harvest an instance. | ||
| Step 5 | Choose
Yes in the dialog box to confirm that you want to
harvest an instance of the service.
The controller then proceeds to spin down the instance of the service. When the process is finished, the square representing the service instance is removed. |
What to Do Next
Manage your services by growing additional instances or removing (harvesting) instances from the services. When finished with the Controller Admin console, click another icon on the Navigation pane to exit the console.
Creating a Service Instance
You can create or grow a service instance using the Controller Admin console.
 Caution | Only advanced users should access the Controller Admin console to perform the tasks described in this procedure or attempt to troubleshoot the services. |

You must have successfully installed the Cisco APIC-EM and it must be operational.
You must have administrator (ROLE_ADMIN) permissions and either access to all resources (RBAC scope set to ALL) or an RBAC scope that contains all of the resources that you want to group. For example, to create a group containing a specific set of resources, you must have access to those resources (custom RBAC scope set to all of the resources that you want to group).
| Step 1 | In the Home window, click either admin or the Settings icon (gear) at the top right corner of the screen. | ||
| Step 2 | Click the System Administration link from the drop-down menu. | ||
| Step 3 | Review the list
of operational services in the
Overview window in the
Controller Admin console.
Each service is represented by a square. A green colored square represents an active instance of the service, and a red colored square represents a service with a faulty or failed instance. Squares without color represents inactive services (no instances initiated and running). Placing your cursor over a square displays the IP address of the client where the service is running. In a multi-host environment, a service may be represented by two green colored squares, indicating that the service is running on two different hosts within your cluster. Place your cursor over each square to view the host that the service is running on.
| ||
| Step 4 | Locate the
service where you want to manually grow an instance of a service and click the
addition sign (+) at the lower right.
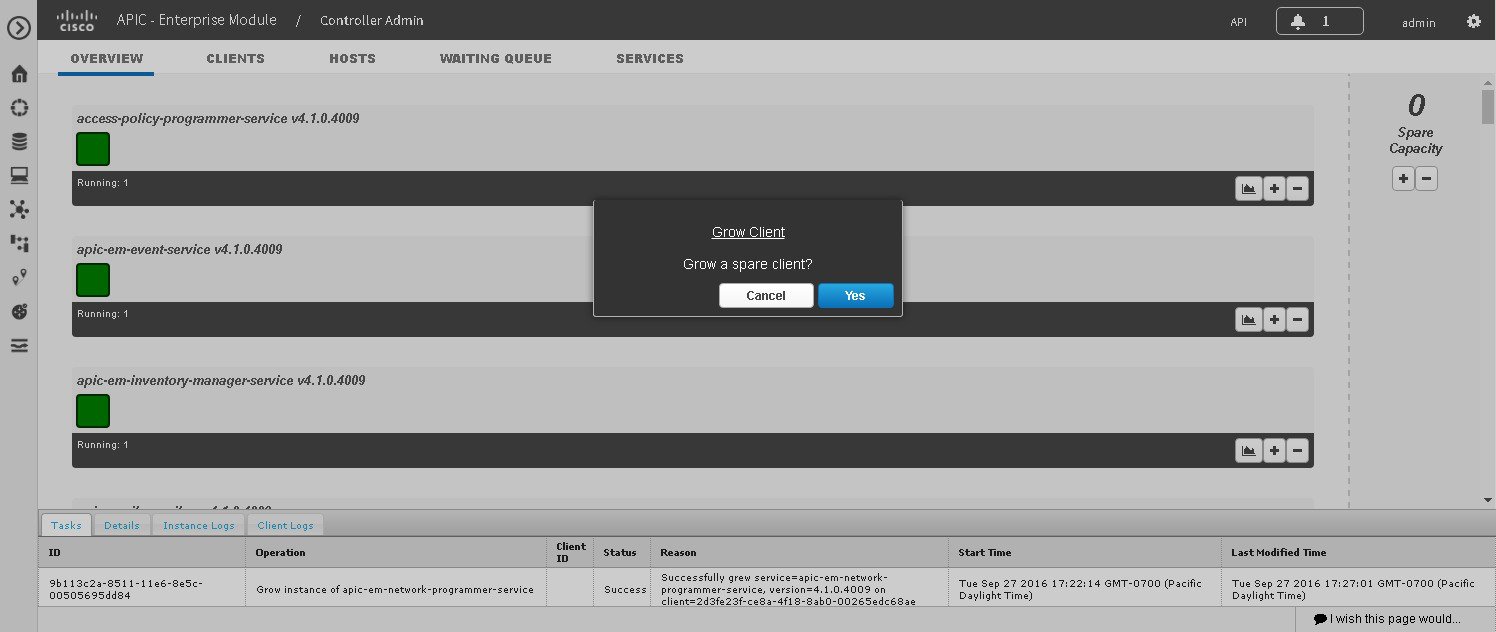
You are then prompted to confirm your action to grow an instance. | ||
| Step 5 | Choose
Yes in the dialog box to confirm that you want to
grow an instance of the service.
The controller then takes a client from the Spare Capacity Pool and spins up an instance of the service. When the process is finished, the square that represents the new service instance turns green. |
Reviewing the Host Data
You are able to review data about the host or hosts (in a multi-host cluster) where the services are running the using the Controller Admin console.

You must have successfully deployed the Cisco APIC-EM and it must be operational.
You must have administrator (ROLE_ADMIN) permissions and either access to all resources (RBAC scope set to ALL) or an RBAC scope that contains all of the resources that you want to group. For example, to create a group containing a specific set of resources, you must have access to those resources (custom RBAC scope set to all of the resources that you want to group).
| Step 1 | In the Home window, click either admin or the Settings icon (gear) at the top right corner of the screen. | ||||||||||
| Step 2 | Click the System Administration link from the drop-down menu. | ||||||||||
| Step 3 | Click the
Hosts tab to view data about the host or hosts where
the services are running.
The following data is available in this view.
|
 Feedback