Proxy and Registration Advanced Settings on SPA8000 Phone Adapter
Available Languages
Objective
Session Initiation Protocol (SIP) is a protocol that helps to control multimedia communications over the internet. This protocol allows the users to send packets that consist of more than one stream. Applications and programs like video conferencing, instant message, and media streaming have packets that consist of more than one stream. SIP Registration Proxy feature provides support for sending outbound registrations based on incoming registrations. This feature also enables direct registration of SIP endpoints with the SIP registrar. This feature is useful for the administrator because it provides security to the network. This article explains how to configure advanced SIP proxy and registration feature on the SPA8000 phone adapter.
Note: If you want to configure the basic proxy and registration please follow the steps mentioned in the article SIP Proxy and Registration Basic Settings on SPA8000.
Applicable Device
- SPA8000
Software Version
- 6.1.12
Proxy and Registration Advanced Settings
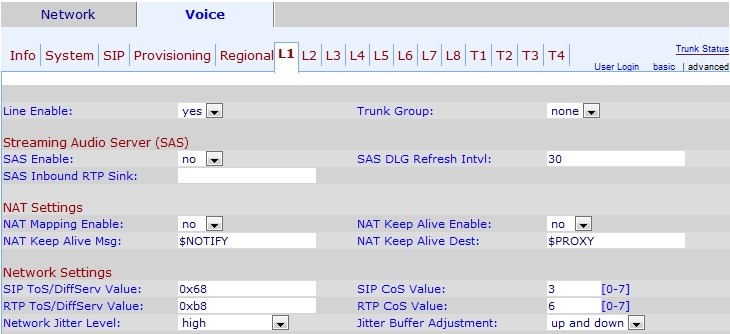
Step 1. Log in to the web configuration utility as an administrator and choose Advanced > Voice > L1-L8 The Line page opens:
Step 2. From Line Enable drop-down list choose yes to enable the line for service.
Step 3. Scroll down to the Proxy and Registration area.
Step 4. Enter your Proxy server address in the proxy field for all outbound request.
Step 5. Enter the proxy outbound address where all outbound request are sent in the Outbound Proxy field.
Step 6. From the Use Outbound Proxy drop-down list, choose yes to enable the use of Outbound Proxy. If set to no, the Outbound Proxy parameter and Use OB Proxy in Dialog parameter are ignored. The default is no.
Step 7. From the Use OB Proxy In Dialog drop-down list, choose yes to enable the use of OB proxy in dialog. This feature forces SIP requests to be sent to the outbound proxy within a dialog. Ignore if any outbound proxy parameters not set.
Step 8. From the Register drop-down list, choose yes to enable periodic registration with the proxy server. This parameter is ignored if proxy is not specified.
Step 9. From the Make Call Without Reg drop-down list, choose yes to enable outbound calls without successful registration by the unit.
Step 10. Enter the time that you would like to assign for the registration to be in the device in the Register Expires field. The default value is 3600 seconds.This feature allows answer calls without successful registration by the unit.
Step 11. From the Use DNS SRV drop-down list, choose yes to enable the use of DNS SRV. A Service record (SRV record) is a specification of data in the Domain Name System (DNS) that defines the location of a host.The SRV resource record allows administrators to use several servers for a single domain, to move services from host to host.This feature indicates if the SPA should use the proxy as domain as key for the search of host.
Step 12. From the DNS SRV Auto Prefix drop-down list, choose yes to enable the use of DNS SRA auto prefix. This feature allows the use of a prefix when looking up a DNS Service record generated by the domain specified in the Proxy field. This is very useful for the user because it eliminates time for searching and assures that the user finds the desired domain.
Step 13. Enter the time that you would like to assign for the delay after which the phone will retry from the highest priority proxy server after it has failed over to a lower priority server in the Proxy Fallback Intvl field. The default is 3600 seconds.
Step 14. Choose the redundancy method that you would like to assign to the proxy from the Proxy Redundancy Method drop-down list. This feature allows the device to make an internal list of proxies in the DNS SRV records.There are two methods of redundancy:
- Normal — It will contain proxies ranked by weight and priority.
- Based on SRV Port — The phone first uses normal and then inspects the port number based on the listed proxy ports on normal.
Step 15. Enter the URL or IP address of a voice mail server that you would like to assign to the voice mail server in the Voice mail Server field. This allows the device to establish a direct connection with the server to access the voice mail. this is useful for the administrator because it generates more control over the messages and provides an increase of security.
Step 16. Enter the time in seconds that you would like to assign for the mailbox subscribe to be in the device in the Mailbox Subscribe Expires. The mail box subscription is the authorization that the user has to access the mail box, this enhance the security and protect the data .
Step 17. Click Submit All Changes to save the settings.
 Feedback