Introduction
This document describes the correct way to add and remove a VLAN in Intersight Managed Mode (IMM).
Prerequisites
Requirements
Cisco recommends that you have knowledge of these topics:
- UCS and IMM knowledge
- Networking Concepts
- Disjoint Layer 2 Fundamentals
Ensure that you have these requirements before you attempt this configuration:
Components Used
The information in this document is based on these software and hardware versions:
- UCS-FI-6454, Firmware 4.3(4b)
- UCSX-215C-M8, Firmware 5.3(0.240016)
The information in this document was created from the devices in a specific lab environment. All of the devices used in this document started with a cleared (default) configuration. If your network is live, ensure that you understand the potential impact of any command.
Background Information
To add or remove a VLAN, you need to modify the Server and Domain profiles configuration, the policies involved are:
- VLAN Policy
- LAN Connectivity Policy
- Ethernet Network Group Policy
- Multicast Policy
Configure
Add VLANs
Step 1. Add VLANs to Domain Profile
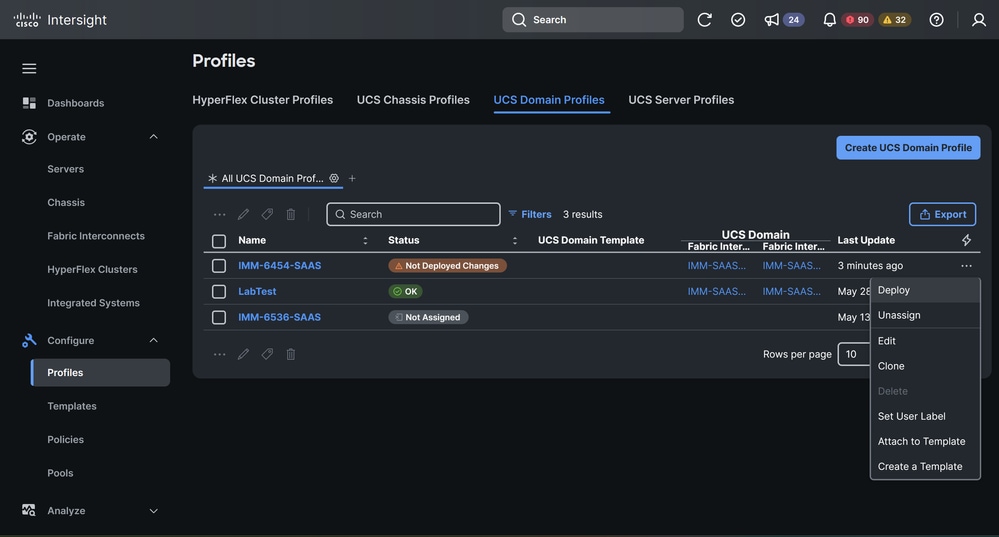
- Navigate to Profiles> UCS Domain Profiles and select the Domain Profile assigned to the Fabric Interconnects where you need to add VLANs.
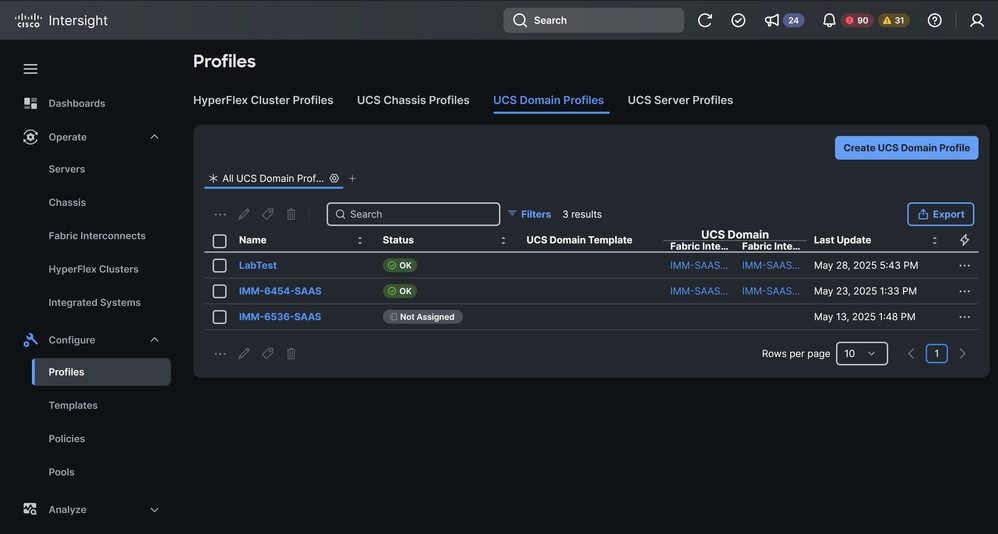
Select UCS Domain Profiles and then the Domain Profile assigned to the Fabric Interconnects
- Navigate to VLAN & VSAN Configuration.
- Select Edit VLAN policy.
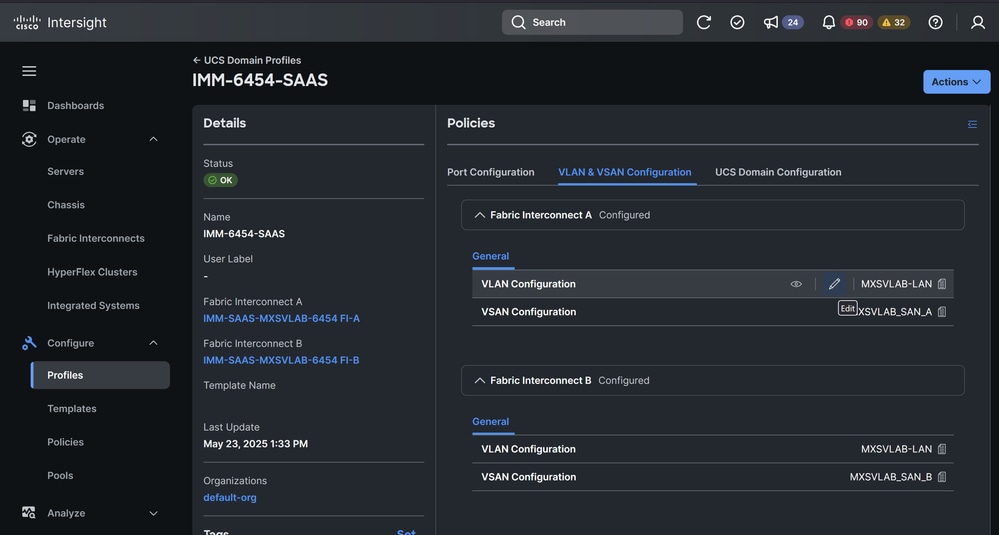
Select Edit VLAN Policy
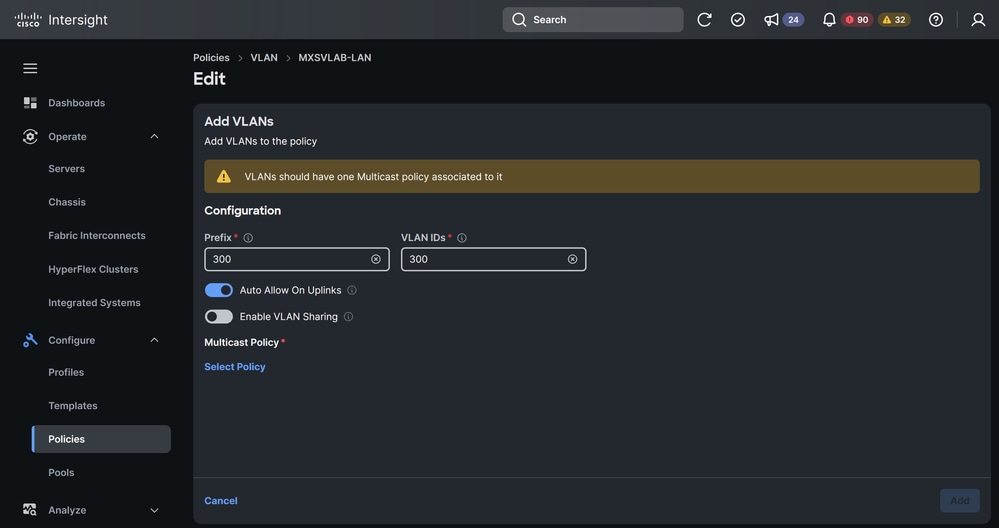
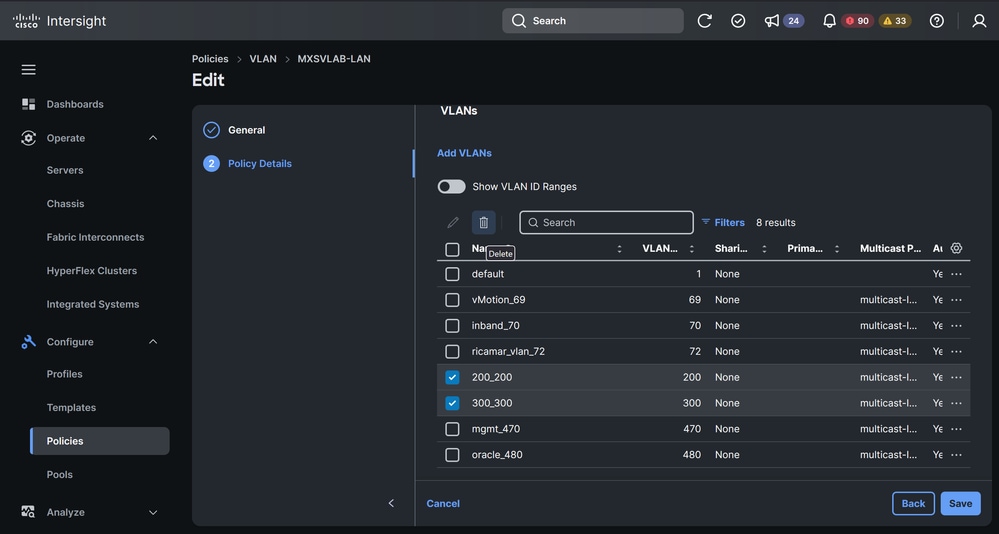
- Add the required VLANs. In prefix, you can enter a prefix that identify the VLAN. This example uses VLAN 200 and VLAN 300.
- Select a Multicast Policy.
Note: If you have configured a Ethernet Network Group Policy in the uplinks (Disjoint Layer 2), you have to add the VLANs there as well and disable the option Auto Allow On Uplinks. If not, you can leave it enabled. For more information about Disjoint Layer 2, please refer to this document .

Add VLANs
- Save the changes.
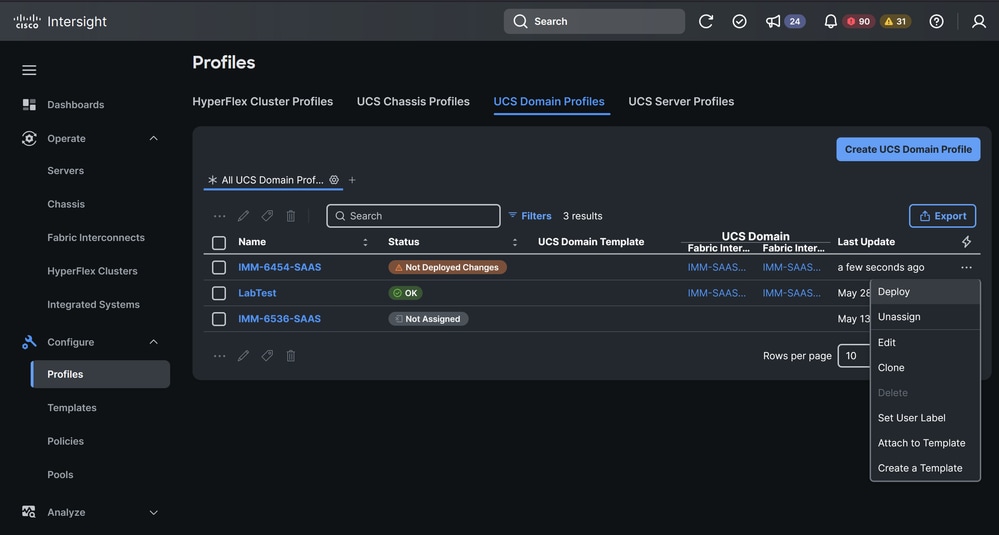
- Navigate to Profiles> UCS Domain Profiles and redeploy the Domain Profile.
Note: The deployment of the Domain Profile after a VLAN is added or removed does not disrupt traffic on the pre-existing VLANs.
Redeploy Domain Profile
Step 2. Add VLANs to Server Profile
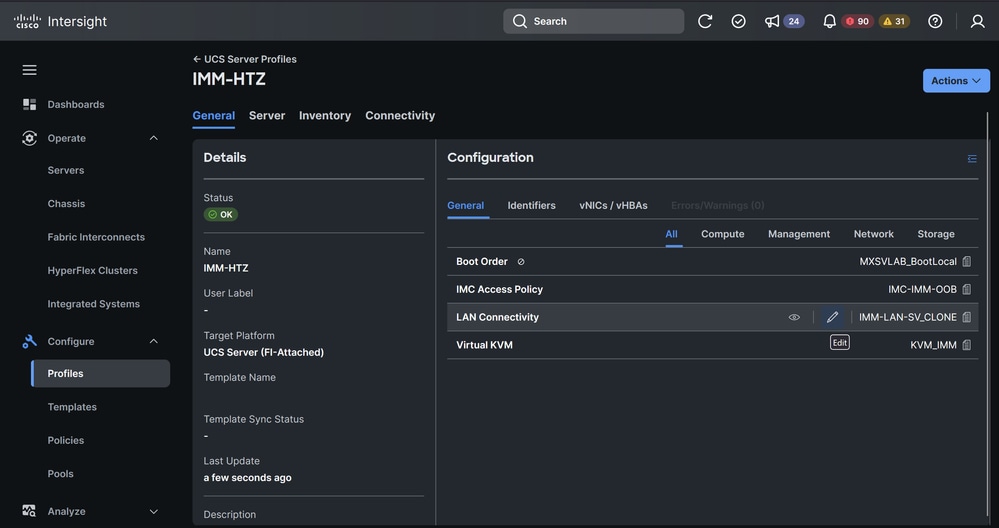
- Navigate to Profiles> UCS Server Profiles and select the Service Profile assigned to your server where you are going to add the VLANs.
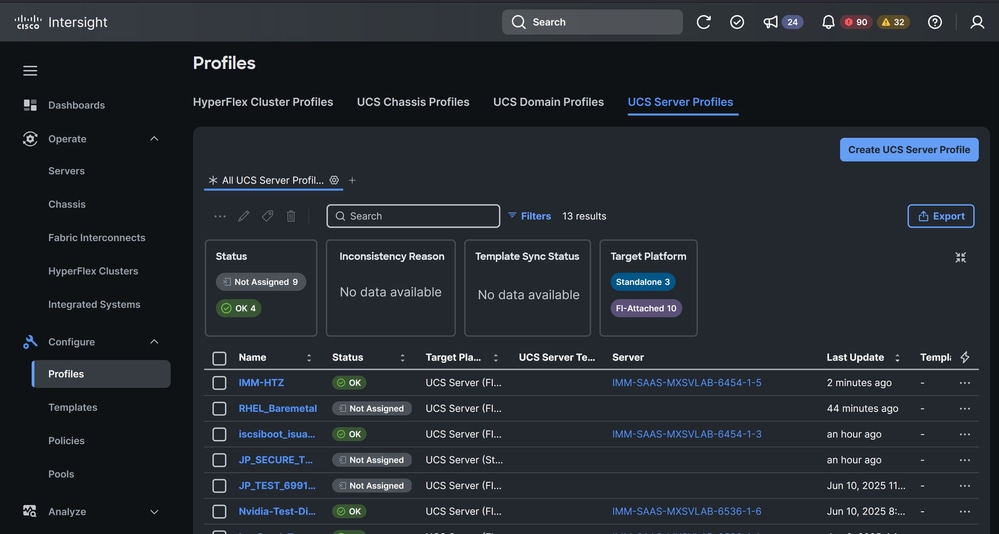
Select Server Profile
- Select edit in the LAN Connectivity Policy.
- In the LAN Connectivity Policy, select the Ethernet Network Group Policy from the vNICs.
Edit LAN Connectivity Policy
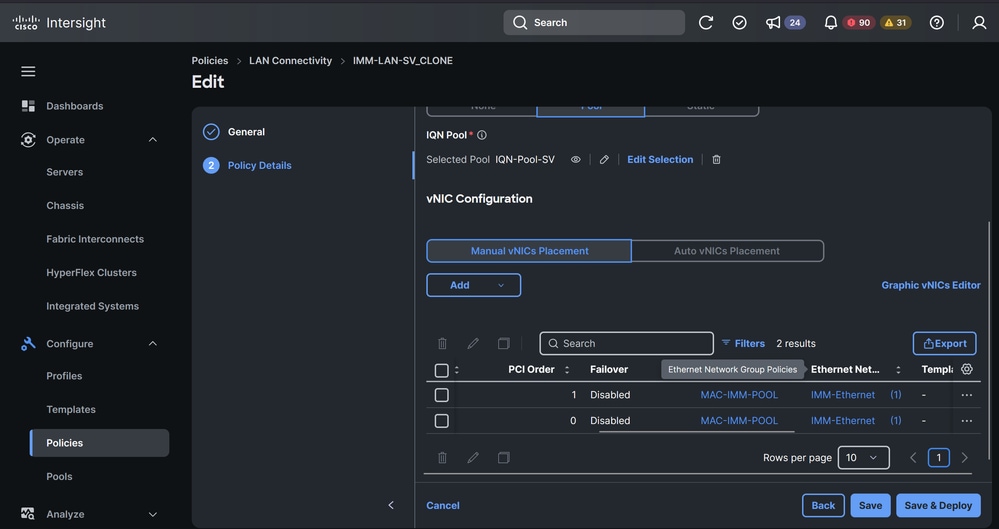
Select Ethernet Network Group Policy
- Select actions and then edit.

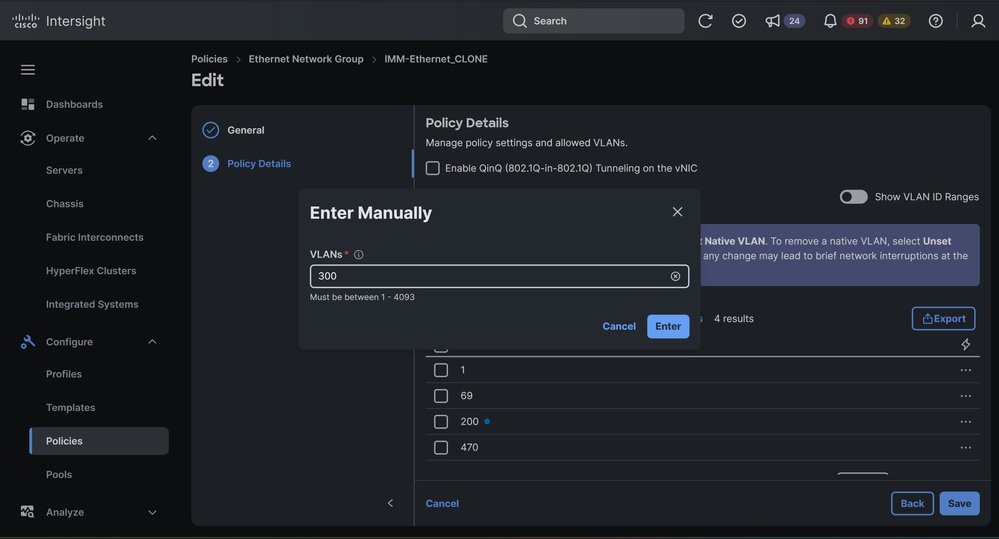
Edit Ethernet Network Group Policy
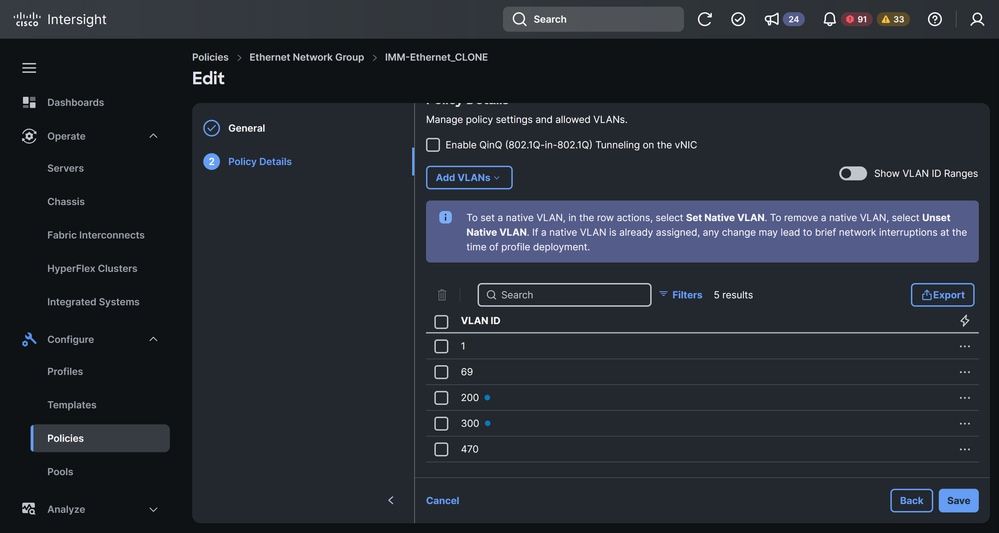
- Add the required VLANs. This example uses VLAN 200 and VLAN 300.
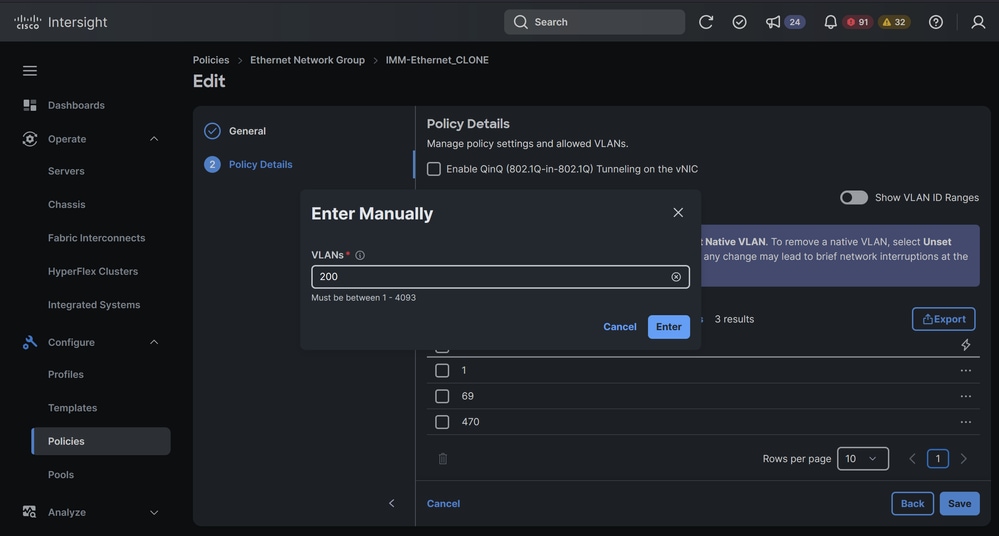
Add VLANs
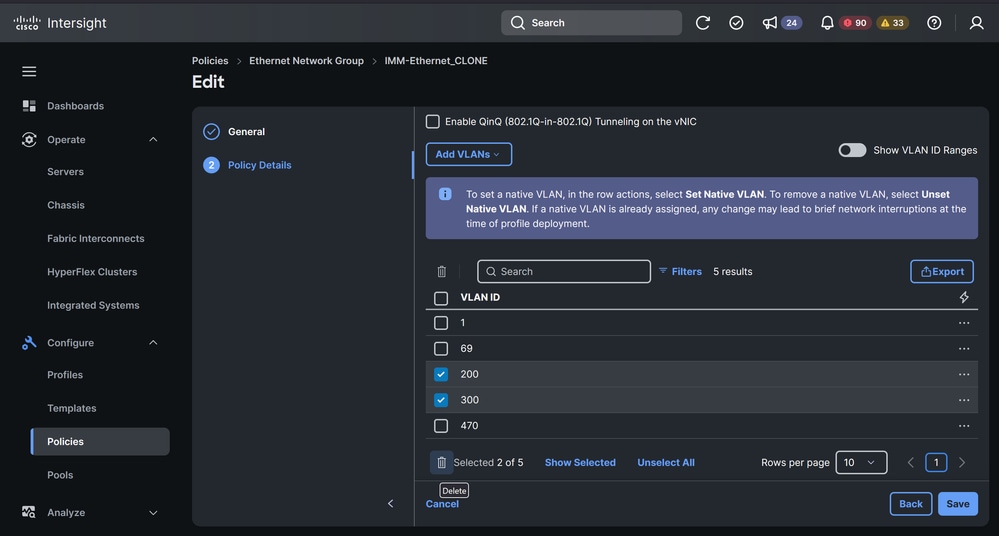
- When the VLANs have been added, save the changes.
Save Changes
Caution: Adding VLANs is generally a non-disruptive process. However, please note that if other policy changes are being made concurrently, a deployment and activation of the service profile may be required, which could result in a reboot and potential service disruption.
- Navigate to Profiles> UCS Server Profiles and redeploy the Server Profile.
Remove VLANs
Step 1. Remove VLANs from Server Profile
- Navigate to Profiles> UCS Server Profiles and select the Server Profile assigned to your server.
- Select Edit in the LAN Connectivity Policy.
- In the LAN Connectivity Policy, select the Ethernet Network Group Policy from the vNICs.
- Select actions and then edit.
- Removethe required VLANs. This example uses VLAN 200 and VLAN 300.
Remove VLANs
- When the VLANs have been removed, save the changes.
Caution: Adding VLANs is generally a non-disruptive process. However, please note that if other policy changes are being made concurrently, a deployment and activation of the service profile may be required, which could result in a reboot and potential service disruption.
- Navigate to Profiles> UCS Server Profiles and redeploy the Server Profile.
Step 2. Remove VLANs from Domain Profile
- Navigate to Profiles> UCS Domain Profiles and select the Domain Profile assigned to the Fabric Interconnects where you need to remove VLANs.
- Navigate to VLAN & VSAN Configuration.
- Select edit VLAN policy.
- Remove the required VLANs. This example uses VLAN 200 and VLAN 300.
Note: If you have configured a Ethernet Network Group Policy in the uplinks (Disjoint Layer 2), you have to remove the VLANs there as well. For more information about Disjoint Layer 2, please refer to this document .
Remove VLANs
- When the VLANs have been removed, save the changes.
- Navigate to Profiles> UCS Domain Profiles and redeploy the Domain Profile.
Note: The deployment of the Domain Profile after a VLAN is added or removed does not disrupt traffic on the pre-existing VLANs.
Redeploy Domain Profile
Verify
To Verify that the VLAN changes were applied , open a ssh session to the Fabric Interconnect and verify the configuration on the uplink interfaces. Example:
FI-6454-A# connect nxos
FI-6454-A(nx-os)# show running-config int eth1/15
interface Ethernet1/15
description Uplink PC Member
pinning border
switchport mode trunk
switchport trunk allowed vlan 1,69-70,72,470,480
udld disable
channel-group 1 mode active
no shutdown
 Feedback