Introduction
This document outlines the scenarios and step-by-step procedures required to perform a full-state backup of a UCS Central machine and recover it on a new machine.
Scenarios that require a UCS Central (UCSC) restore from a full-state backup
1. Lab Recreation for Production UCS Central: When there is a need to recreate the lab environment for the production UCS Central setup.
2. Disaster Recovery (DR): In the event of a disaster recovery scenario where restoring from a backup is necessary.
3. Unsupported Direct Upgrade Path: When the target version upgrade is not directly supported from the current version (Example:- There is no direct upgrade path to Cisco UCS Central release 2.1(1a) from earlier releases).

Note: Backup restoration to Cisco UCS Central Release 2.1(1a) is supported from version 2.0(1s) and later.
Step-by-step process to restore the UCS Central
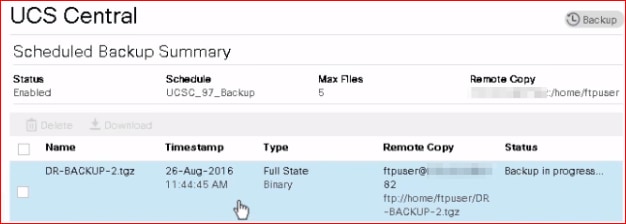
1. Capture backup from running UCS Central machine.
(a) Select Backup and restore option from the tools menu.
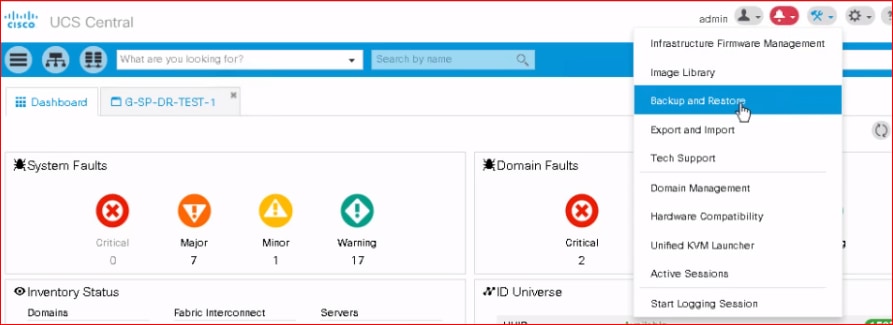
(b) Select Backup option.

(c) Create the backup file.
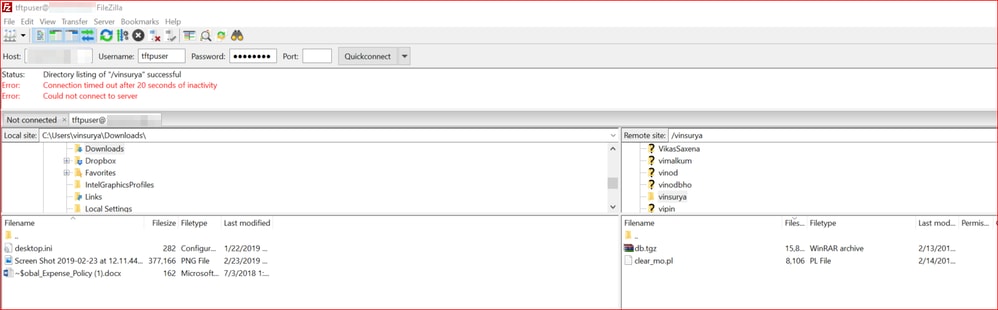
2. Download and copy the backup file to local FTP server using client tool (FileZilla).
[Step applies in case of Remote copy to FTP not configured]
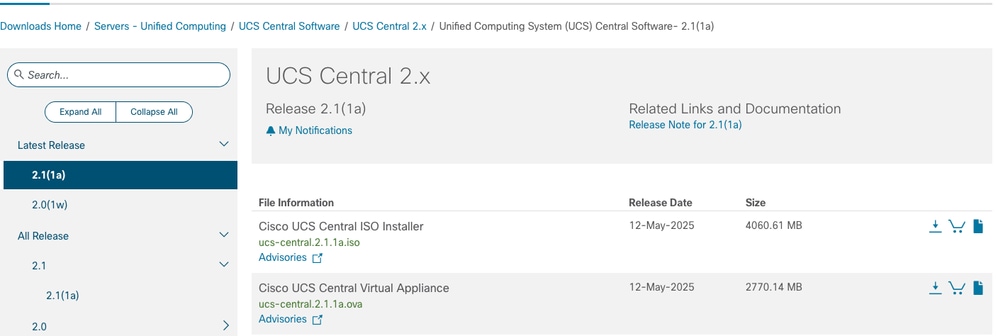
3. Download the virtual appliance image(OVA) of the UCS central from Cisco Software Download site.
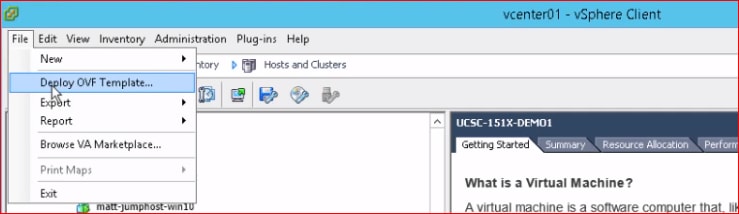
4. Install OVA on any Hypervisor host as a Virtual Machine or on a Bare metal host.
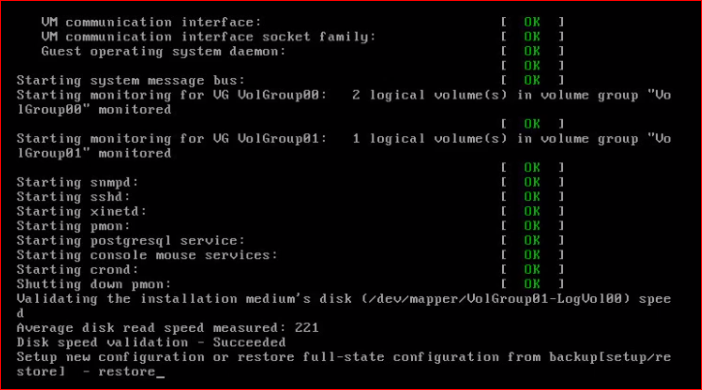
5. Access the VM from KVM console and select restore operation.
6. Provide the network credentials along with the FTP credentials and the file path for transferring the backup file.
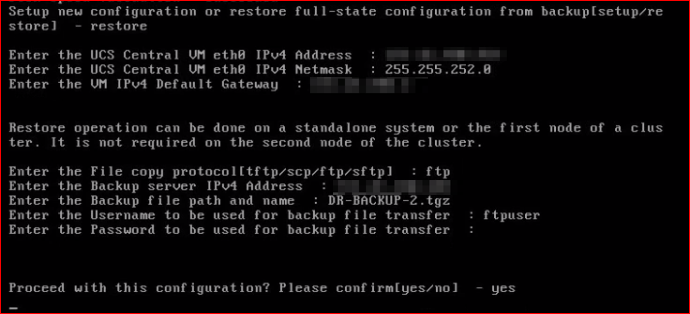
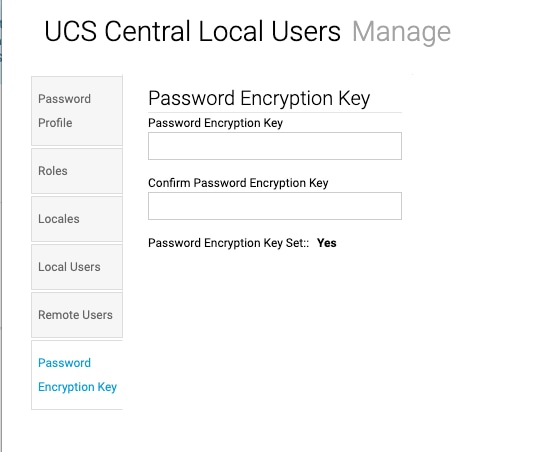
Note: For UCSC versions after 2.0(1u), the decryption key for backup file is mandatory for backup restore operation.
Ensure the 'Password Encryption Key' set in UCS Central. This key is required to decrypt the backup file during the restore process.
7. When the machine boots up, it comes up with the network credentials from the backup file along with the password option.
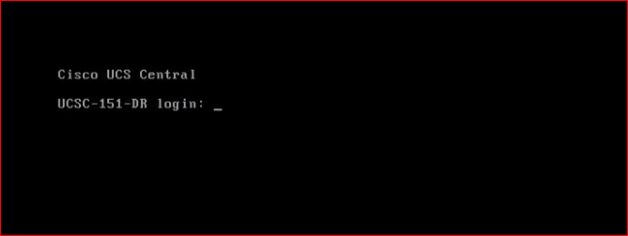
8. Re-assign the network credentials from console, through the command option to get GUI access of UCS Central.
[ Step applies if the new IP config (from Step 6) differs from the IP of the source UCSC machine.
Refer to the Procedure, Guidelines and Recommendations :- Changing Cisco UCS Central IP Address
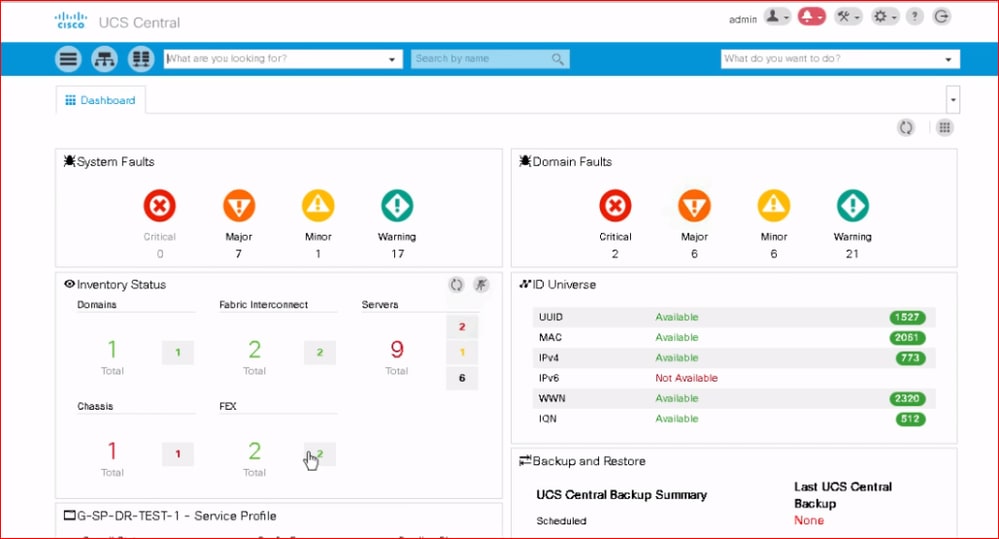
9. The UCSC GUI must be accessible through the IP address assigned, reflecting the exact fault state summary of the source machine.
 Feedback