Introduction
This document describes the steps to troubleshoot and fix the issue related to the addition of a user on Advanced Malware Protection (AMP) for Endpoint console.
Prerequisites
Requirements
Cisco recommends that you have knowledge of these topics:
Components Used
This document is not restricted to specific software and hardware versions.
The information in this document was created from the devices in a specific lab environment. All of the devices used in this document started with a cleared (default) configuration. If your network is live, make sure that you understand the potential impact of any command.
Background Information
This document is based on Cisco AMP for Endpoints Console. You need these Accounts in order to start the troubleshooting:
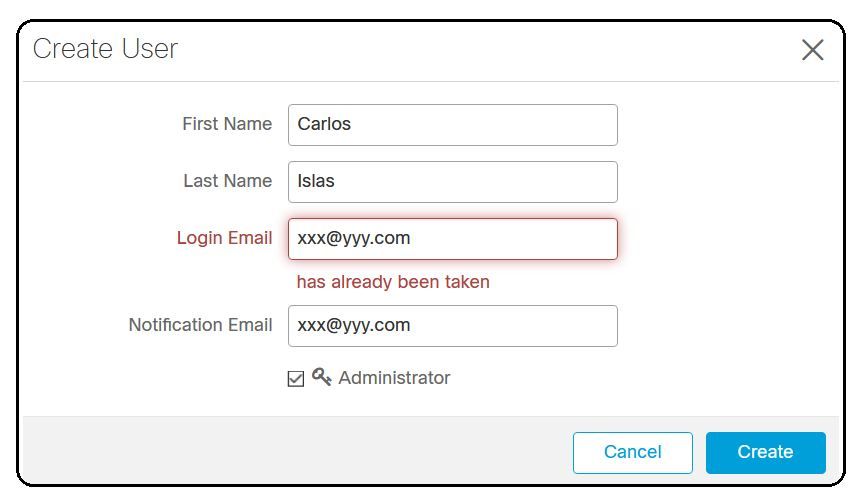
You can create a user account in AMP Console and you must use a unique email account. If you created the user account before, you deleted it and are trying to create the user account again, AMP Console triggers "Email is already taken" error as shown in the image.
Troubleshoot
Step 1. Verify that the user account does not exist on AMP Console https://console.amp.cisco.com/. Navigate to AMP Console > Accounts > Users as shown in the image.
Step 2. In base on your AMP Business region, navigate to the Castle website as shown in the image.
Americas Cloud - https://castle.amp.cisco.com
Europe Cloud - https://castle.eu.amp.cisco.com
Asia Pacific Cloud - https://castle.apjc.amp.cisco.com
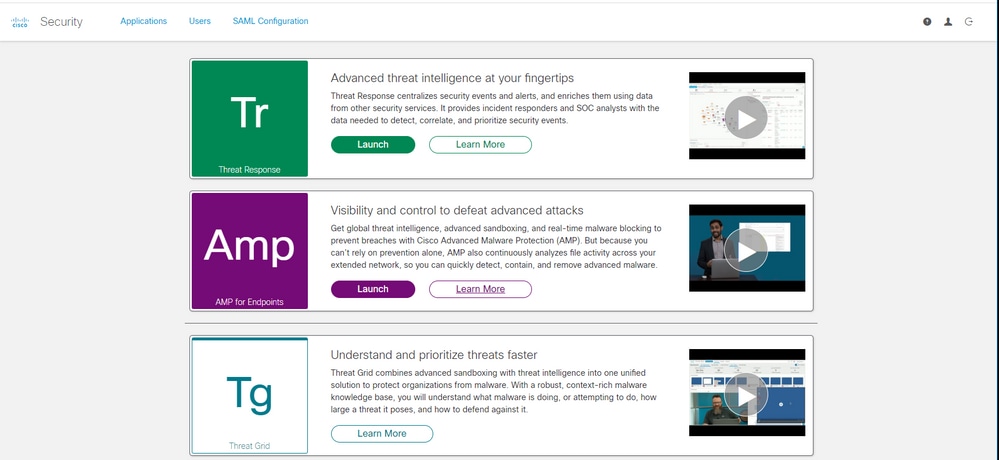
Step 3. Once you log in with your AMP for Endpoints credentials, select Users option as shown in the image.

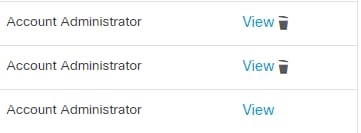
Step 4. My Users option displays the list of the user accounts registered on the AMP cloud for your business. You can see all User details: Username, Email and Privileges.

Note: At the end of the line, you can see the account status in Actions option, if the user has Trash Can icon, it means the account is successfully authenticated, otherwise, this icon won´t be seen, as shown in the image.
Step 5. You can face three different scenarios that can verify your scenario.
1. The user account appears on the Castle website with the Trash Can icon.
2. The user account appears on the Castle website without the Trash Can icon.
3. The user account does not appear on the Castle website.
Step 6. Once your scenario is identified, you have a workaround on each option.
The User Account Appears on the Castle Website with the Trash Can Icon
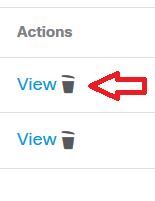
1. Click on the Trash Can icon in order to remove the user as shown in the image.
2. Create the user account on AMP Console https://console.amp.cisco.com/. Navigate to Accounts > Users > New User as shown in the image.
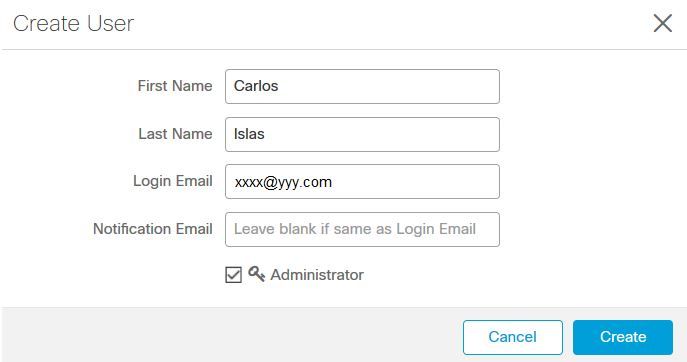
3. When the user account is created successfully, you can see this message as shown in the image.

The User Account Appears on the Castle Website without the Trash Can Icon
1. Contact the affected user.
2. When the user account was created for the first time, the affected user received the Activate email account from no-reply.amp.cisco.com in order to authenticate their email account.
3. Search the Activate email account on all Email folders and Activate the user account to complete the registration as shown in the image.
Note: In case you cannot see the Activate email account on the main folder, please verify in the Spam folder.
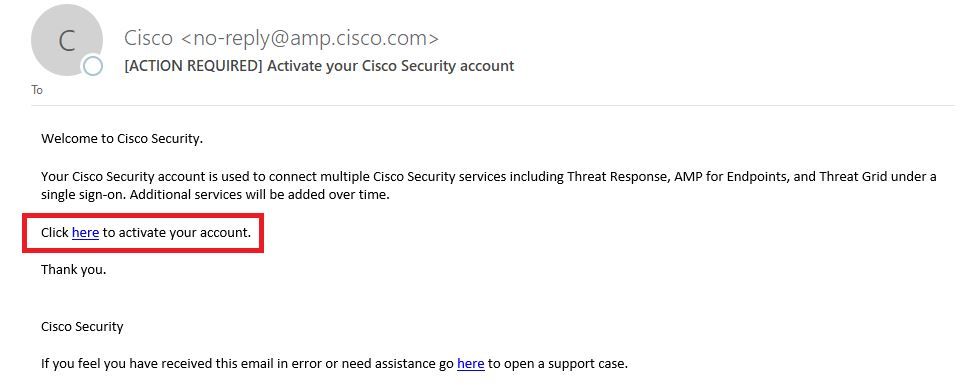
4. After you activate the user account, you can see that the user is registered on the AMP Console as shown in the image.

The User Account does not Appear on the Castle Website
1. The User account needs to be deleted from the backend.
2. Please contact Cisco Support: Visit the online portal at http://cisco.com/tac/caseopen or Phone: Regional free phone numbers: http://www.cisco.com/en/US/support/tsdciscoworldwidecontacts.html
3. If you already are working with Cisco Support, please share this information:
- "Email is already taken" error capture.
- Permission to delete the user (Yes/No).
Verify
Use this section in order to confirm that your configuration works properly.
1. After you perform the troubleshoot, create the user account on AMP Console https://console.amp.cisco.com/. Navigate to Accounts > Users > New User as shown in the image.
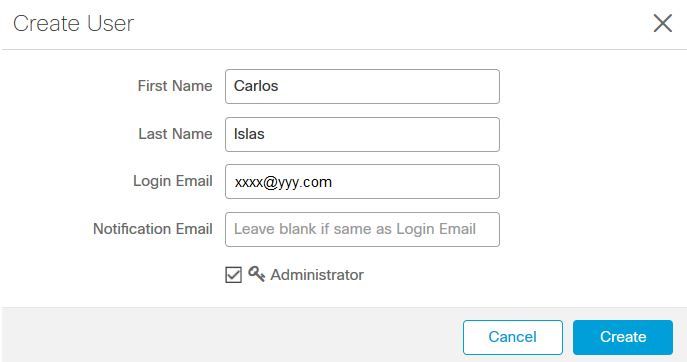
2. When the user account is created successfully, you can see this message as shown in the image.


 Feedback