CIMC Overview
The Cisco Integrated Management Controller (CIMC) is the management service for the E-Series M6 Servers. CIMC runs within the server. You can use a web-based GUI or the SSH-based CLI to access, configure, administer, and monitor the server.
You can use CIMC to perform the following server management tasks:
-
Power on, power off, power cycle, reset, and shut down the server
-
Configure the server boot order
-
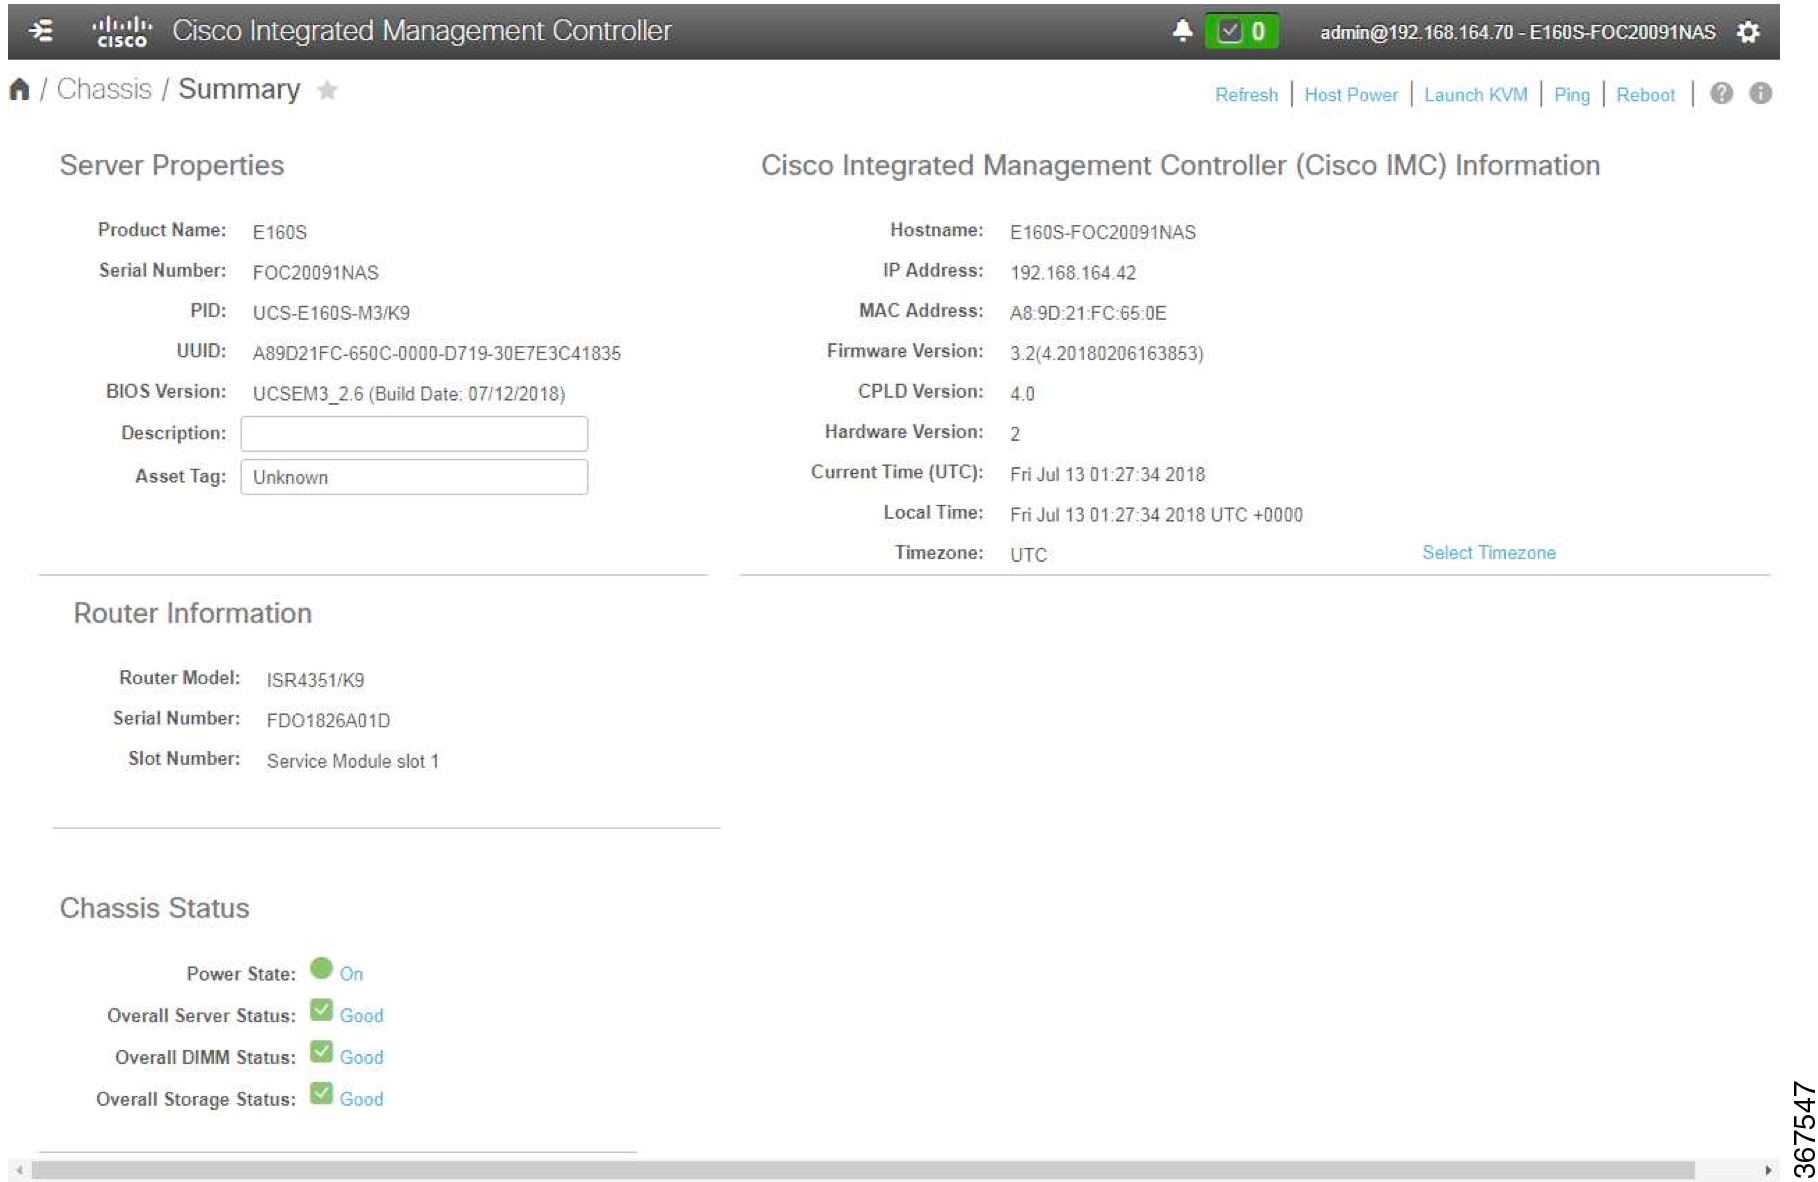
View server properties, router information, and chassis status.
-
Manage remote presence
-
Create and manage local user accounts, and enable remote user authentication through the Active Directory.
-
Configure network-related settings, including NIC properties, IPv4, VLANs, and network security.
-
Configure communication services, including HTTP, SSH, IPMI over LAN, SNMP, and Redfish.
-
Manage certificates
-
Configure platform event filters
-
Monitor power supply, fan, temperature, voltage, current, LED and storage sensors.
-
Update CIMC firmware
-
Update BIOS firmware
-
Install the host image from an internal repository
-
Monitor faults, alarms, and server status
-
Set time zone and view local time.
-
Collect technical support data in the event of server failure
Most tasks can be performed in either the GUI interface or CLI interface, and the results of tasks performed in one interface are displayed in another. However, you cannot:
-
Use the CIMC GUI to invoke the CIMC CLI
-
View a command that has been invoked through the CIMC CLI in the CIMC GUI
-
Generate CIMC CLI output from the CIMC GUI
CIMC GUI
The CIMC GUI is a web-based management interface for E-Series Servers and the NCE. You can launch the CIMC GUI and manage the server from any remote host that meets the following minimum requirements:
-
Java 1.6 or later
-
HTTP and HTTPS enabled
-
Adobe Flash Player 10 or later
CIMC CLI
TheCIMC CLI is a command-line management interface for E-Series M6 Servers. You can launch the CIMC CLI in the following ways:
-
By the serial port.
-
Over the network by SSH.
-
From the router. Use one of the following commands as appropriate:
-
hw-module subslot slot/subslot session imc—Use for E-Series Servers installed in a Cisco Catalyst 8300 Edge Series platform.
-
A CLI user can have one of the three roles: admin, user (can control but cannot configure), and read-only.

 Feedback