소개
이 문서에서는 Cisco Secure Endpoint Private Cloud Appliance에서 지원 스냅샷을 수집하고 라이브 지원 세션을 활성화하는 단계에 대해 설명합니다.
배경 정보
TAC와 협업할 때 지원 스냅샷을 수집하거나 TAC에서 보안 엔드포인트(이전의 Advanced Malware Protection)에 대한 지원 터널을 설정하도록 허용해야 하는 경우가 있습니다. 이를 통해 정밀한 조사 또는 원격으로 픽스를 적용할 수 있습니다.
이러한 접근 방식은 시간을 절약하고 TAC 엔지니어에게 문제를 효과적으로 해결하는 데 필요한 포괄적인 정보를 제공합니다.
스냅샷 지원
관리 포털에서 지원 스냅샷 생성
관리 포털에서 지원 스냅샷을 수집하려면 다음 단계를 수행하십시오.
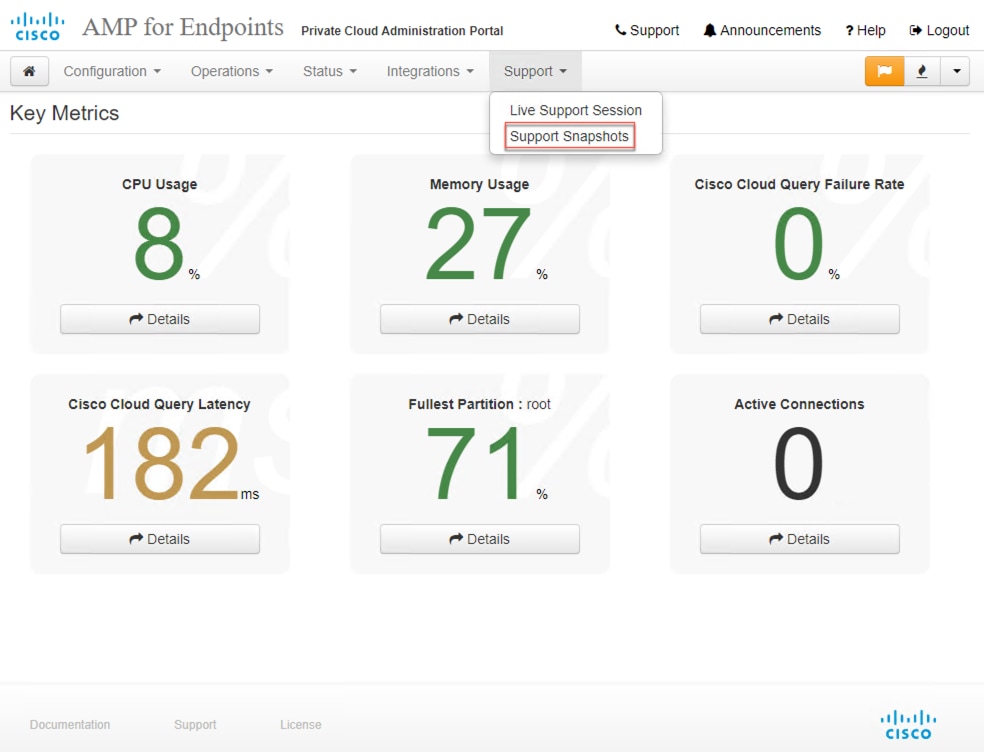
1단계: 관리 포털에 로그인합니다.
2단계: 이미지에 표시된 대로 Support(지원)를 선택한 다음 Support Snapshots(스냅샷 지원)를 선택합니다.
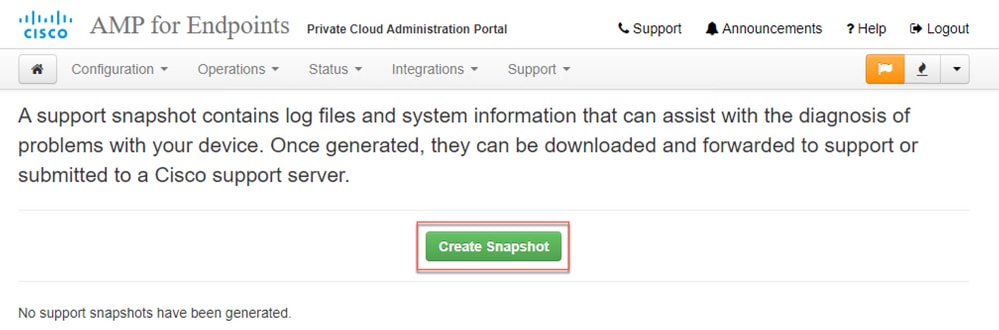
3단계: Create Snapshot(스냅샷 생성)을 클릭합니다.
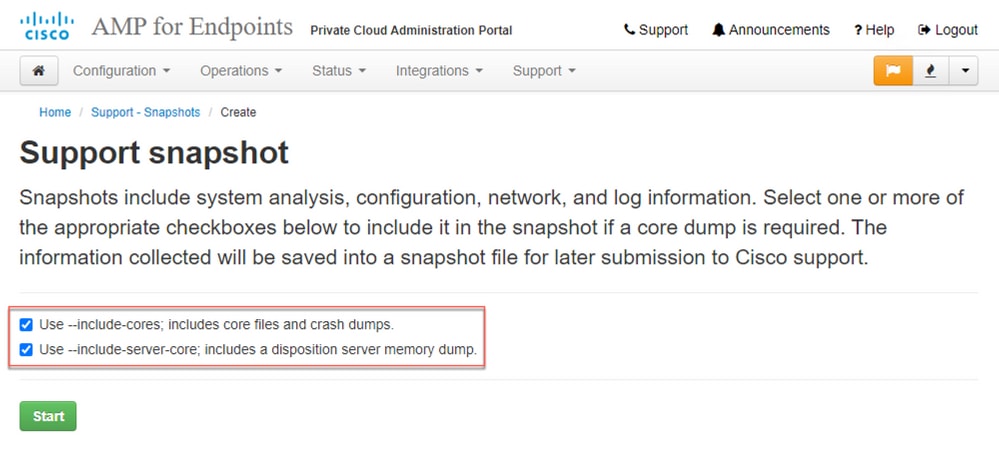
4단계: 이미지에 표시된 것처럼 기본적으로 선택되지 않은 스냅샷과 함께 Include the Core Files and other Memory Dumps(코어 파일 및 기타 메모리 덤프 포함)에서 선택할 수 있습니다.
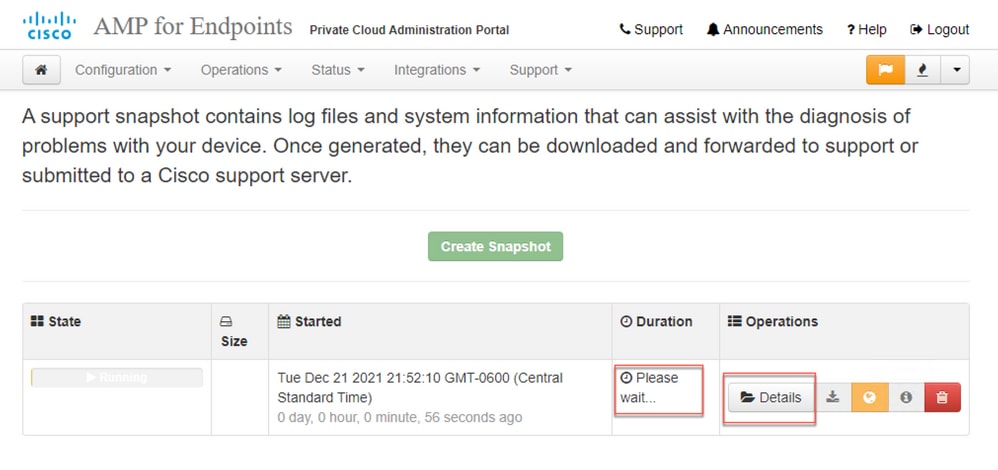
5단계: 스냅샷이 시작되었으며 이 작업은 시간이 걸릴 수 있습니다. 진행 상황을 모니터링하려면 이미지에 표시된 대로 Details(세부사항)를 클릭합니다.
6단계: 스냅샷 생성이 완료되면  아이콘을 클릭하면 포털에 액세스하는 로컬 시스템에서 스냅샷을 다운로드할 수 있습니다.
관리 포털 SSH에서 지원 스냅샷 생성
관리 포털 SSH에서 지원 스냅샷을 생성하려면 다음 단계를 수행하십시오.
1단계: 관리 포털에 SSH를 적용합니다.
2단계: 스냅샷을 생성하는 데 사용할 수 있는 CLI입니다.
[root@fireamp ~]# amp-support snapshot -A

usage: /opt/opadmin/embedded/bin/amp-support snapshot [options]

Create a snapshot of the current system; this includes log files, system
status, run processes, crash dumps, and other information that can be
used by a support engineer to diagnose problems with your system.
If no explicit options are provided the default ones are assumed.  The
default options are: include-configs, include-logs, include-network,
include-cores, and include-status

    -A, --all                        Include everything.
    -a, --include-analysis           Include system analysis. (SLOW!)
    -C, --include-configs            Include configuration files.
    -c, --include-cores              Include core files.
    -F, --include-firehose-cassandra Include firehose-cassandra status.
    -i, --include-inodes             Include filesystem inode usage.
    -I, --include-integrations       Include appliance integration information.
    -k, --include_kafka              Include Kafka status.
    -L, --include-flink              Include Flink status.
    -l, --include-logs               Include log files.
    -m, --include-mongo              Include MongoDB status.
    -N, --include-cassandra          Include Cassandra status.
    -n, --include-network            Include network analysis.
    -r, --include-redis              Include Redis status.
    -S, --include-server-core        Include a disposition server memory dump.
    -s, --include-status             Include system status.
    -d, --include-docker             Include docker status.
    -z, --include_zookeeper          Include Zookeeper status.
    -f, --fs-check FILE              Include filesystem check results from file.
    -v, --verbose                    Increase output verbosity.
어플라이언스 콘솔에서 지원 스냅샷 생성
프라이빗 클라우드 어플라이언스 콘솔에서 지원 스냅샷을 생성하려면 다음 단계를 수행하십시오.
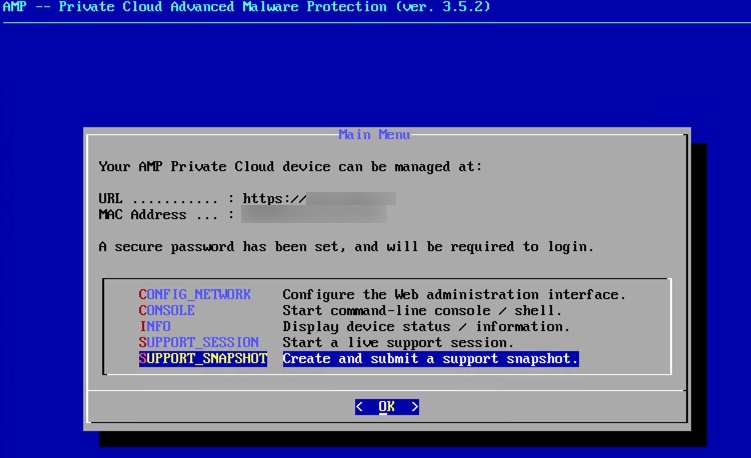
1단계: 프라이빗 클라우드 어플라이언스 콘솔에 로그인합니다.
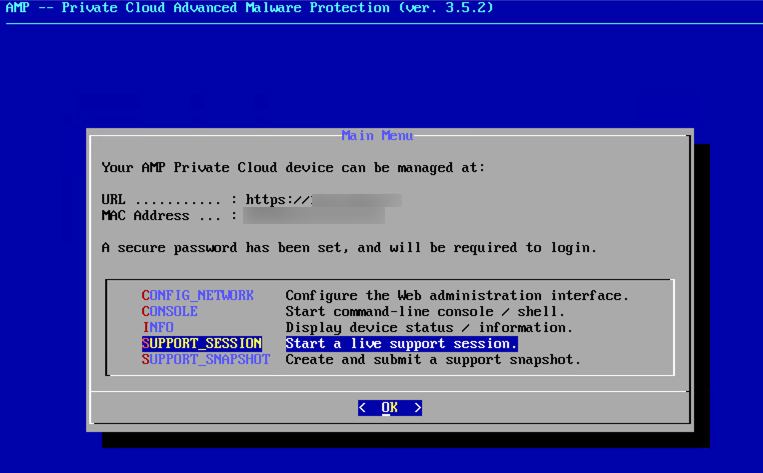
2단계: SUPPORT_SNAPSHOT을 선택합니다.
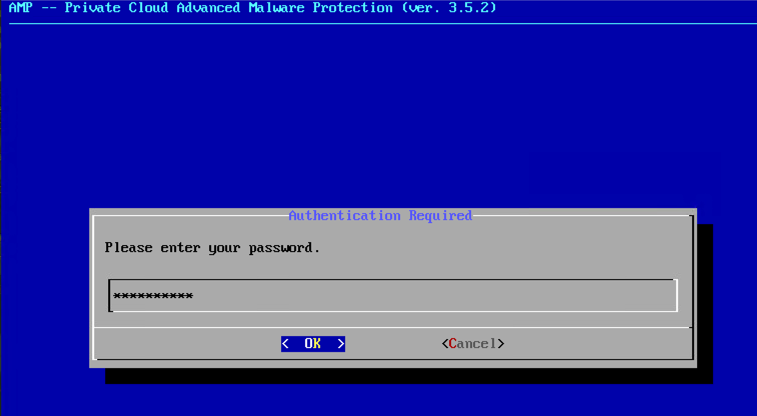
3단계: 이미지에 표시된 대로 관리 포털 비밀번호를 입력합니다.
4단계: 이미지에 표시된 대로 Include the Core Files and other Memory Dumps(코어 파일 및 기타 메모리 덤프 포함)와 기본적으로 선택되지 않은 스냅샷을 선택할 수 있습니다.
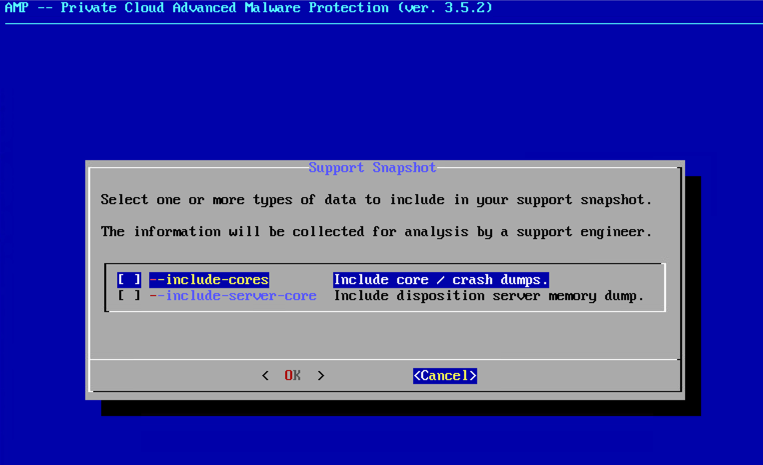
5단계: 그런 다음 확인을 선택하면 스냅샷이 시작됩니다.
라이브 지원 세션
관리 포털에서 라이브 지원 세션 활성화
관리 포털에서 라이브 지원 세션 활성화를 생성하려면 다음 단계를 수행합니다.
1단계: 관리 포털에 로그인합니다.
2단계: Support(지원)를 클릭하거나 선택하고 Live Support Session(라이브 지원 세션)을 선택합니다.
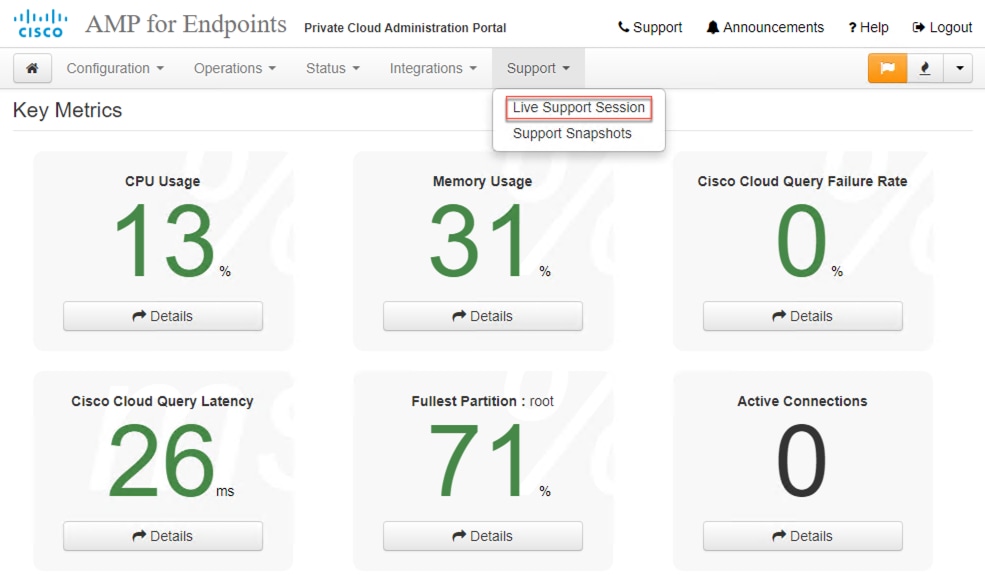
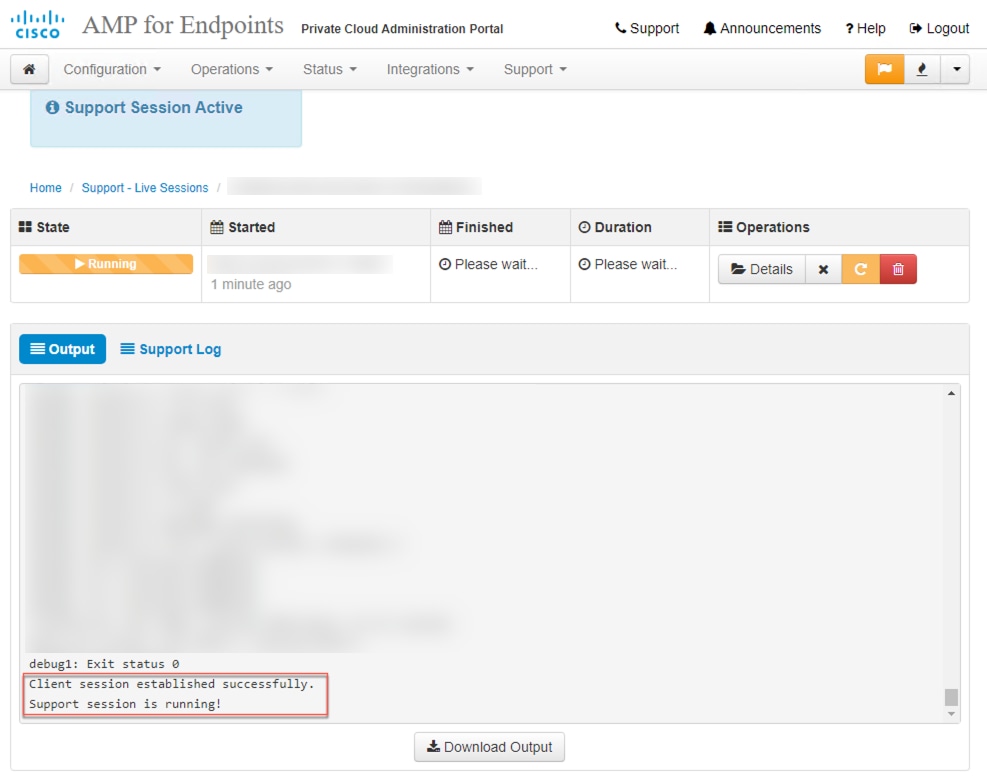
3단계: 를 클릭하거나 표시된 대로 Start Support Session(지원 세션 시작)을 선택한 다음 Download(다운로드)를 선택하여 TAC에서 어플라이언스에 원격으로 연결하는 데 필요한 SSH ID를 가져옵니다. 그런 다음 를 클릭하거나 Start(시작)를 선택하여 이미지에 표시된 대로 Live Support Session(라이브 지원 세션)을 시작합니다.

4단계: 그림과 같이 Live Support 세션에 대해 어플라이언스가 성공적으로 연결되면 그림에 나와 있는 것처럼 로그가 표시됩니다.
관리 포털 SSH에서 라이브 지원 세션 활성화
관리 포털 SSH에서 Live Support 세션 활성화를 생성하려면 다음 단계를 수행합니다.
1단계: 관리 포털 SSH에 로그인합니다.
2단계: SSH에서 라이브 지원 세션을 활성화하는 데 사용할 수 있는 CLI입니다.
[root@fireamp ~]# amp-support session -l support.log -s support-sessions.amp.cisco.com -p 22
usage: /opt/opadmin/embedded/bin/amp-support session [options]

Manage a support session with a remote server; this facilitates a secure method of
provide unrestricted shell access to your machine to an engineer on a remote
system. Note that when restart a session, the same parameters as the previous
session are used unless new parameters are supplied. The UUID is expected to be
version 4.

Note that the `--log` option provides an optional log file for the support
engineer to log their shell activity to. A script is provided to the remote
user to collect this log data, but it is not and cannot be enforced by the
support script.

OPTIONS

    -b, --batch                      Use batch (non-interactive) mode.
    -d, --delete                     Delete a support session and all files.
    -l, --log FILE                   Log remote shell commands to file.
    -p, --port PORT                  Connect to an alternative port.
    -s, --support-server SERVER      Set the server of a session.
    -t, --terminate                  Terminate an active session.
    -v, --verbose                    Increase output verbosity.

NOTE: UUID can be any random string as long as it has the format: xxxxxxxx-xxxx-xxxx-xxxx-xxxxxxxxxxxx. Also, you can keep the Port as default to 22

EXAMPLES

    /opt/opadmin/embedded/bin/amp-support session -l support.log -s support.example.com -p 2222 xxxxxxxx-xxxx-xxxx-xxxx-xxxxxxxxxxxx
    /opt/opadmin/embedded/bin/amp-support session xxxxxxxx-xxxx-xxxx-xxxx-xxxxxxxxxxxx
    /opt/opadmin/embedded/bin/amp-support session -t -d xxxxxxxx-xxxx-xxxx-xxxx-xxxxxxxxxxxx
어플라이언스 콘솔에서 라이브 지원 세션 활성화
Private Cloud Appliance Console에서 Live Support Session 활성화를 생성하려면 다음 단계를 수행합니다.
1단계: 프라이빗 클라우드 어플라이언스 콘솔에 로그인합니다.
2단계: 이미지에 표시된 대로 Live Support Session을 활성화하려면 SUPPORT_SESSION을 선택합니다.
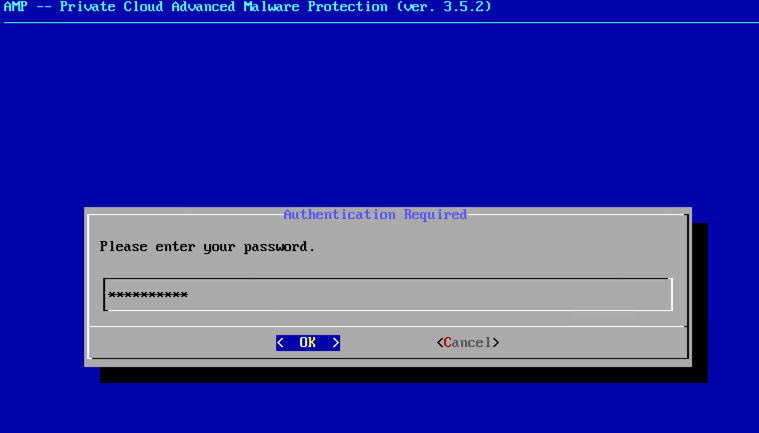
3단계: 이미지에 표시된 대로 관리 포털 비밀번호를 입력합니다.
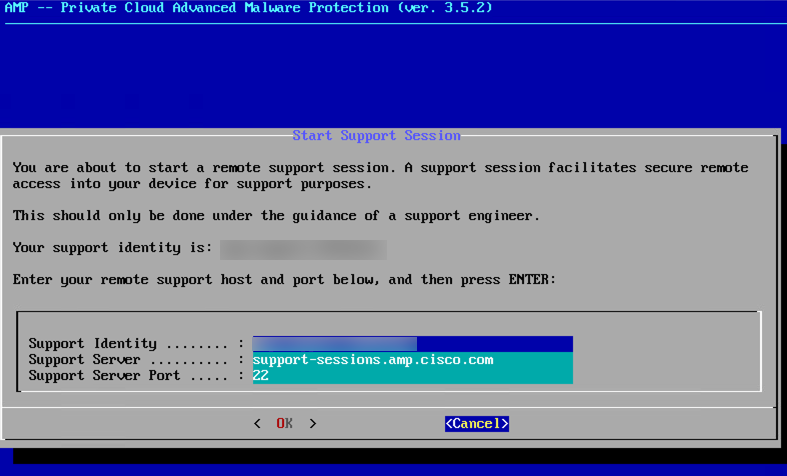
4단계: 모든 기본 설정을 변경하지 않고 그대로 둘 수 있습니다. 이미지에 표시된 대로 OK(확인)를 선택하여 Live Support Session을 활성화합니다.
 피드백
피드백