Support Information

If You Need Phone Information

Find the IP Address of the Phone

You can gather information about your phone IP address to help your administrator troubleshoot.

Procedure


Step 1

Press Applications .

Step 2

Select Status > Network Status > ..

Step 3

View the phone IP address in the IPv4 status or in the IPv6 status fields.


Find the Current Firmware Load

You can gather information about your phone firmware to help your administrator troubleshoot.

Procedure


Step 1

Press Applications .

Step 2

Select Status > Product Information > Software version to view the firmware version of the phone.


If You Have Firmware Migration Problems

If you experience problems during the firmware migration, your administrator can help troubleshoot the root cause of the problem. You can gather information to help your administrator troubleshoot.

You can provide the following report to your administrator to help resolve the issues:

  1. Increase the Log Debug Level. See Change the Log Levels

  2. Start capturing ethernet packets, reproduce the problem, and stop the packet capture. Collect the packet captures. See Capture Ethernet Packets

  3. Generate a problem report and download the report with a Problem Report Tool (PRT). See Generate a Problem Report and Download the Problem Reports

  4. Reset the Debug Level to NOTICE. See Change the Log Levels

Change the Log Levels

By default, the log files capture routine information. When you are troubleshooting problems, you can increase the debug level to capture detailed logs.


Caution

A debug log level of DEBUG can cause delays in the system. Only use DEBUG while you collect logs about a problem and return the level to NOTICE as soon as possible.


Procedure


Step 1

On the phone web page, select Admin Login > Advanced.

Step 2

Select Voice > System.

Step 3

In the Optional Network Configuration section, set the Debug Level field to DEBUG.

Step 4

Click Submit All Changes.

Step 5

After the detailed log files are captured, set the Debug Level to NOTICE.

Step 6

Click Submit All Changes.


Capture Ethernet Packets

The Ethernet packets contain detailed information that can be used to troubleshoot problems.

Procedure


Step 1

On the phone web page, select Admin Login > Advanced.

Step 2

Select Info > Debug Info.

Step 3

In the Problem Report Tool section, click the Start Packet Capture button in the Packet Capture field.

Step 4

Choose All to capture all packets that the phone receives and select Host IP Address to capture packets only when source or destination is the IP address of the phone.

Step 5

Reproduce your problem.

Step 6

When you want to stop the packet capture, click Stop Packet Capture.

Step 7

Click Submit.

You see a file name link in the Capture File field. This file contains the filtered packets. Click this file name link to download it.

Generate a Problem Report

To help troubleshoot the issues that you experience during firmware migration, logs from the Problem Report Tool can be used. You can generate PRT logs using the phone web page and upload them to a remote log server.

Procedure


Step 1

On the phone web page, select Admin Login > Advanced.

Step 2

Select Info > Debug Info.

Step 3

In the Problem Reports section, click Generate PRT.

Step 4

Enter the following information in the Report Problem screen:

  • Enter the date that you experienced the problem in the Date field. The current date appears in this field by default.

  • Enter the time that you experienced the problem in the Time field. The current time appears in this field by default.

  • In the Select Problem drop-down list box, choose the description of the problem from the available options.

Step 5

Click Submit in the Report Problem screen.

The Submit button is enabled only if you select if you select a value in the Select Problem drop-down list box.

You get a notification alert on the phone web page that indicates if the PRT upload was successful or not.


Download the Problem Reports

After you generate the problem reports, you need to download the reports to help resolve any issues that you experience during firmware migration.

Procedure


Step 1

On the phone web page, select Admin Login > Advanced.

Step 2

Select Info > Debug Info.

Step 3

In the Problem Reports area, click the problem report file to download.

Step 4

Save the file to your local system and open the file to access the problem reporting logs.


Additional Information and Help

If you experience problems while running migration firmware, you can factory reset the phone to troubleshoot the problem. To factory reset your phone, perform one of the following instructions.

Access the Phone Web Interface

The phone firmware provides mechanisms for restricting end-user access to some parameters. The firmware provides specific privileges for sign-in to an Admin account or a User account. Each can be independently password-protected.

  • Admin account–Allows the full access to all administration web server parameters

  • User account–Allows the access to a subset of the administration web server parameters

If your service provider has disabled access to the configuration utility, contact the service provider before proceeding.

Procedure


Step 1

Ensure that the computer can communicate with the phone. No VPN in use.

Step 2

Start a web browser.

Step 3

Enter the IP address of the phone in your web browser address bar.

  • User Access: http://<ip address>
  • Admin Access: http://<ip address>/admin/advanced
  • Admin Access: http://<ip address>, click Admin Login and click advanced

For example, http://10.64.84.147/admin

Step 4

Enter the password when prompted.


Factory Reset the Phone from the Phone Menu

To troubleshoot the phone you can perform a factory reset.

Procedure


Step 1

Press Applications .

Step 2

Select Device Administration.

Step 3

Select Factory reset and confirm.


Factory Reset the Phone with the Keypad

Use these steps to reset the phone to factory default settings using the phone keypad.

Before you begin

You must know if your phone is an original hardware release or if the hardware has been updated and re-released.

Procedure


Step 1

Unplug the phone:

  • If using PoE, unplug the LAN cable.
  • If using the power cube, unplug the power cube.
Step 2

Wait 5 seconds.

Step 3

On earlier hardware versions, the Mute button lights up. Wait for the Mute button to turn off.


Triage

You may encounter the following situations during the migration process.

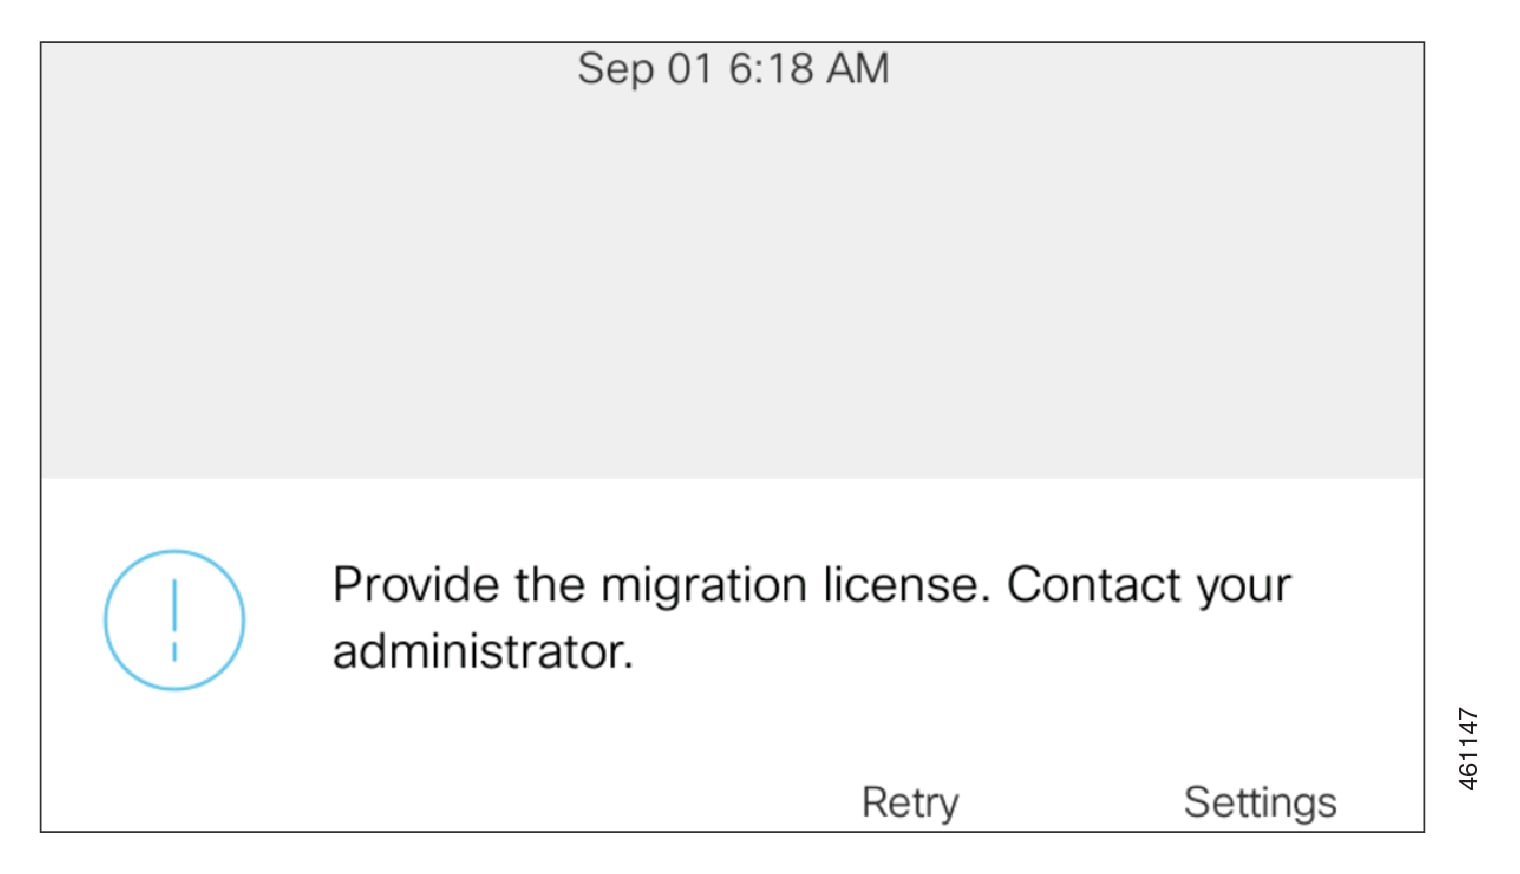
  • Problem: The device does not have a license after the migration

    Solution: Contact your administrator to obtain and authorize the license from the server.

  • Problem: Unauthorized license causes migration failure

    Solution: Check the license and complete the authorization.

  • When a failure is reported during the migration, the support engineer can

    • Open a support case

    • Assign the case to the phone's team.

    • Generate and attach PRT to the ticket.

    • Generate a Wireshark pcap file under such situation, which gets the failure.