Cisco Cloud Network Automation Provisioner for the Microsoft Cloud Platform-Tenant Portal Guide, Release 2.1
Bias-Free Language
The documentation set for this product strives to use bias-free language. For the purposes of this documentation set, bias-free is defined as language that does not imply discrimination based on age, disability, gender, racial identity, ethnic identity, sexual orientation, socioeconomic status, and intersectionality. Exceptions may be present in the documentation due to language that is hardcoded in the user interfaces of the product software, language used based on RFP documentation, or language that is used by a referenced third-party product. Learn more about how Cisco is using Inclusive Language.
- Updated:
- August 10, 2016
Chapter: Appendix-Onboarding an Application from a Subscription
Onboarding an Application from a Subscription

Note![]() Use only standalone VM creation.
Use only standalone VM creation.
To onboard an application from a subscription:
Step 1![]() Subscribe to a plan with a network and Virtual Machine Cloud.
Subscribe to a plan with a network and Virtual Machine Cloud.
For information on subscribing to a plan, see Subscribing to a Plan in Chapter1, “Introduction” For information on the plans to which you can subscribe, contact your cloud provider.
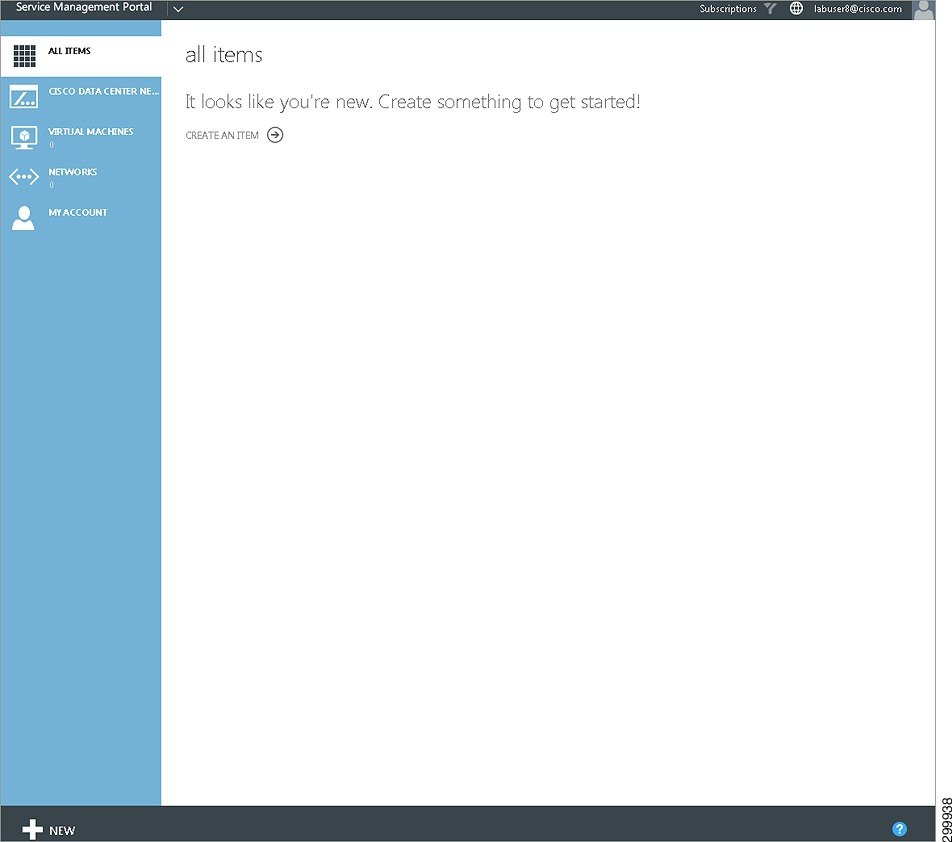
On the main Tenant Portal screen you should see Virtual Machines in the left column, as shown in the following screen.
Figure A-1 Main Tenant Portal Screen
Step 2![]() Click + New, Standalone Virtual Machine, then From Gallery, as shown in the following screen.
Click + New, Standalone Virtual Machine, then From Gallery, as shown in the following screen.
Figure A-2 Create Virtual Machine Screen
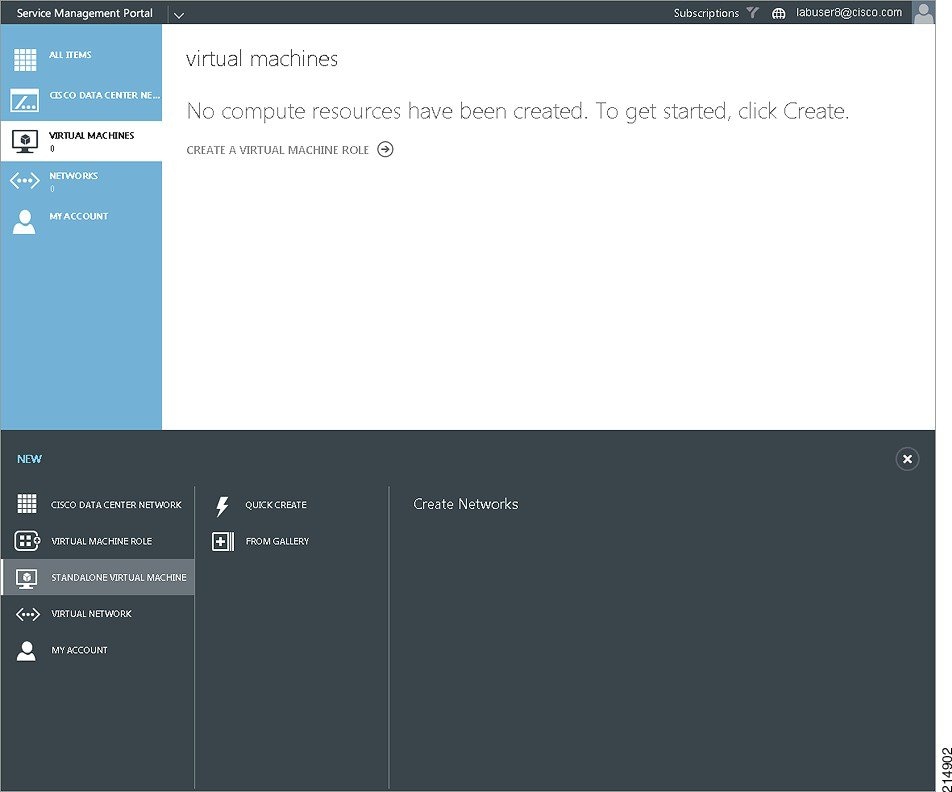
Figure A-3 Virtual Machine Configuration
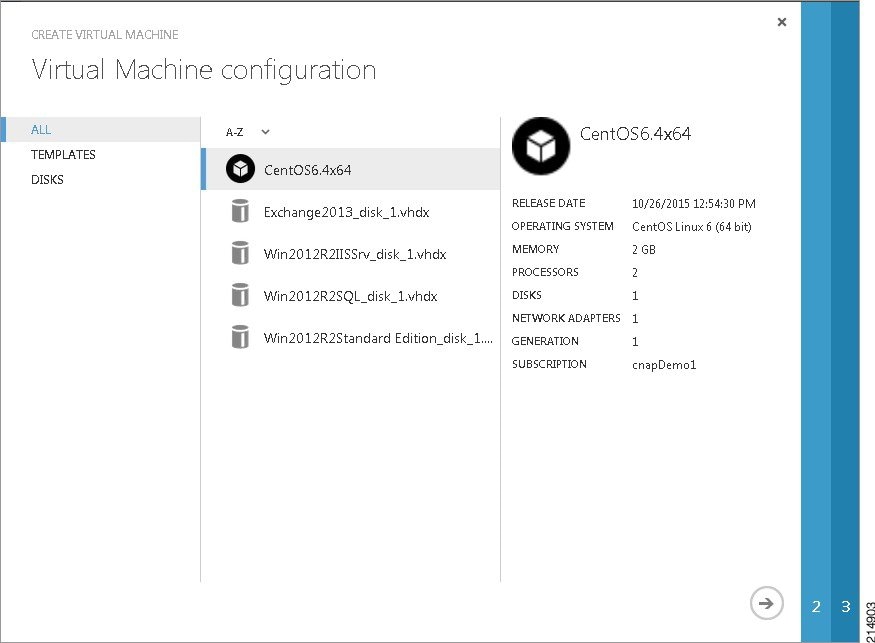
Step 3![]() In this example we selected CentOS6.4x64. Click the right arrow (−>).
In this example we selected CentOS6.4x64. Click the right arrow (−>).
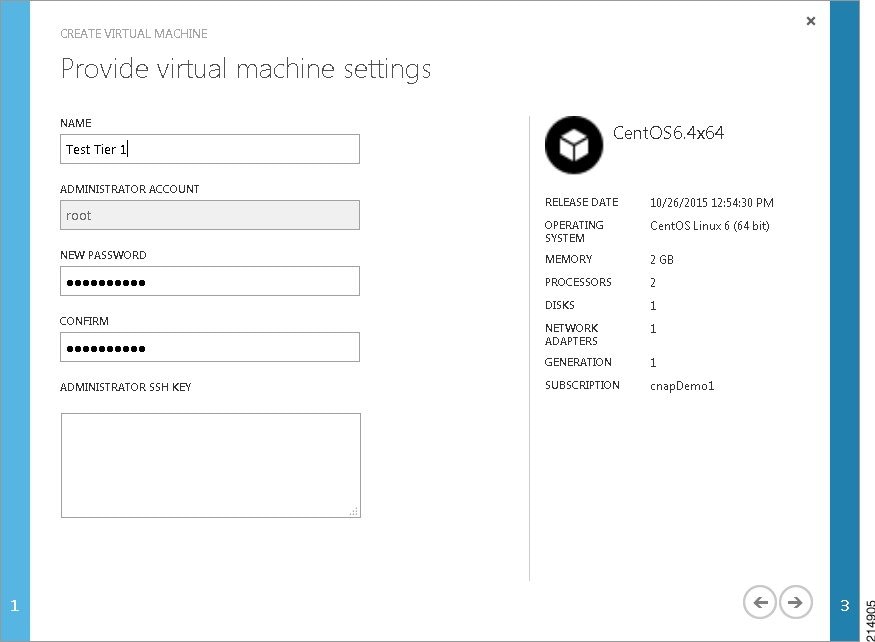
Figure A-4 Virtual Machine Settings

Step 4![]() Enter a Name for the virtual machine, create a New Password, and Confirm it, as shown in the following screen.
Enter a Name for the virtual machine, create a New Password, and Confirm it, as shown in the following screen.
Figure A-5 Name and Password Screen
Step 5![]() Click the right arrow (−>).
Click the right arrow (−>).
Figure A-6 Network Adapter Screen
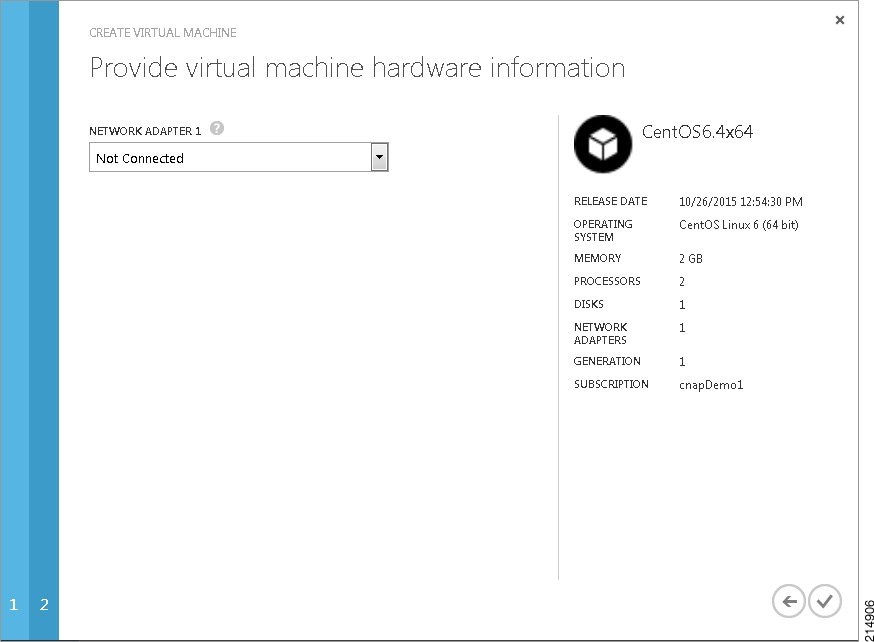
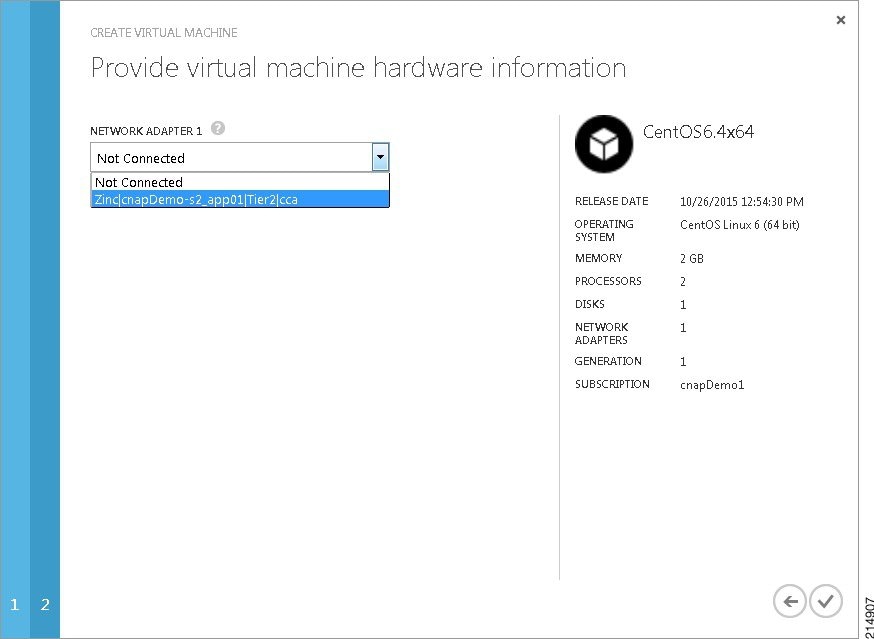
Step 6![]() Select an adapter from the drop-down menu, as shown in the following screen.
Select an adapter from the drop-down menu, as shown in the following screen.
Figure A-7 Network Adapter Selection
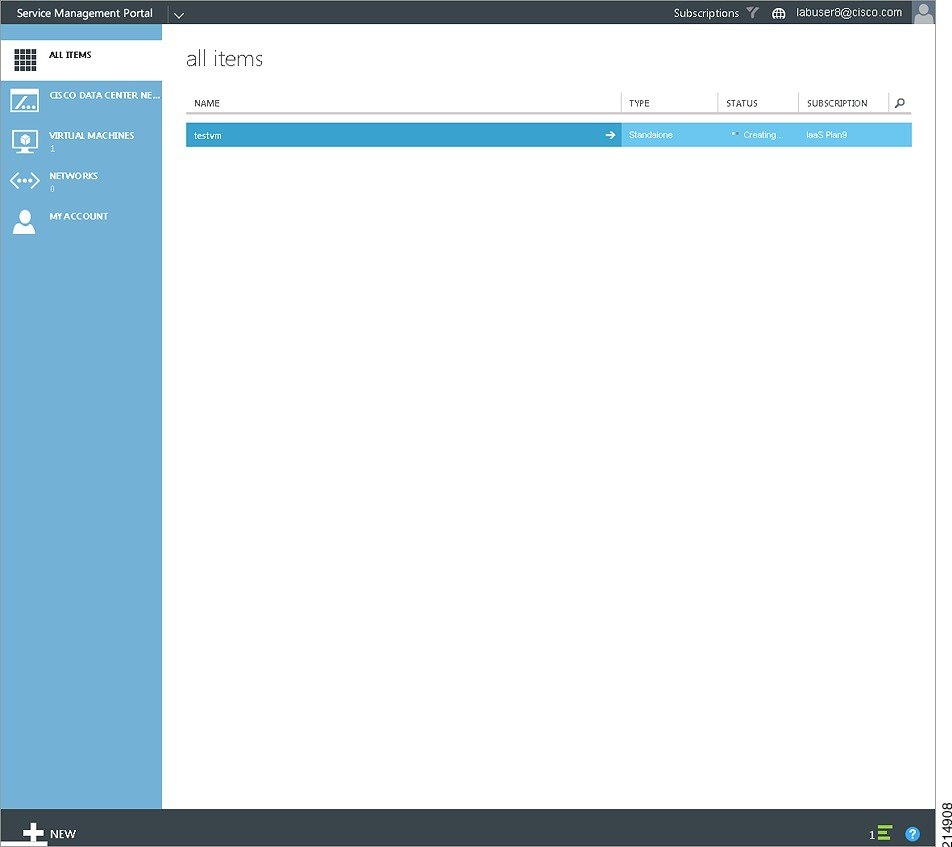
You should be able to see your virtual machine being created from your dashboard, as shown in the following screen, where the virtual machine has a Status of Creating.
Figure A-8 Virtual Machine Creation in Process
Virtual machine creation takes a few minutes as the virtual machine is created, boots, and is configured. When the virtual machine has been created, you see a screen like the following.
Figure A-9 Virtual Machine Created

Step 8![]() When creation is complete, the Status will change to Running. Click on the plan name, then click Dashboard.
When creation is complete, the Status will change to Running. Click on the plan name, then click Dashboard.
You see the following screen, which shows you information about your virtual machine.
Figure A-10 Virtual Machine Information

 Feedback