Overview
This guide explains how to create a SAML application on Ping Identity and integrate it with Security Cloud Sign On.
The documentation set for this product strives to use bias-free language. For the purposes of this documentation set, bias-free is defined as language that does not imply discrimination based on age, disability, gender, racial identity, ethnic identity, sexual orientation, socioeconomic status, and intersectionality. Exceptions may be present in the documentation due to language that is hardcoded in the user interfaces of the product software, language used based on RFP documentation, or language that is used by a referenced third-party product. Learn more about how Cisco is using Inclusive Language.
 Important |
Enterprise Manager has been discontinued. You can now use Security Cloud Control to manage your identity provider integrations. See the Identity provider integration guide for more information. All of your existing identity provider integration data is available through Security Cloud Control. |
This guide explains how to create a SAML application on Ping Identity and integrate it with Security Cloud Sign On.
You must be able to sign in to the Ping Idendity management console with admin privileges.
You need to have completed Step 1: Create an enterprise and Step 2: Claim and verify your email domain of the enterprise settings wizard.
|
Step 1 |
In your Ping Idendity console:
|
||||||||
|
Step 2 |
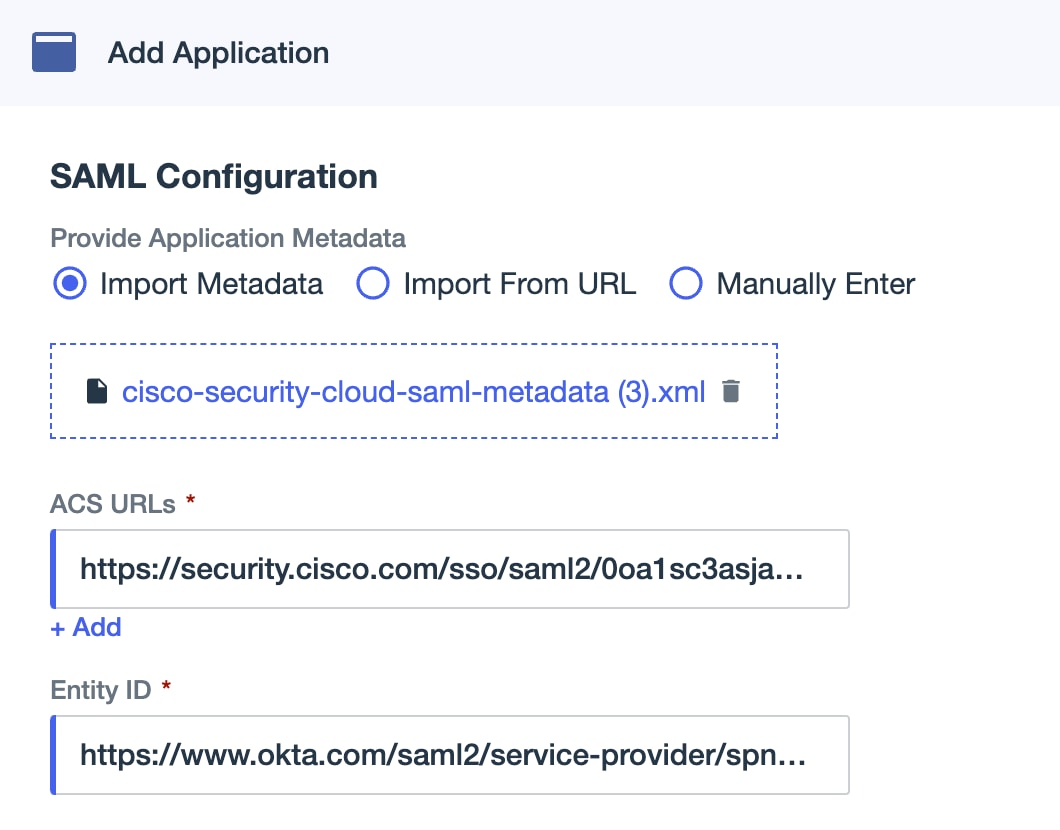
In a new browser tab open the Enterprise settings wizard. You should be on the Set Up step of the Integrate Identity Provider screen (Step 3: Exchange SAML metadata).
|
||||||||
|
Step 3 |
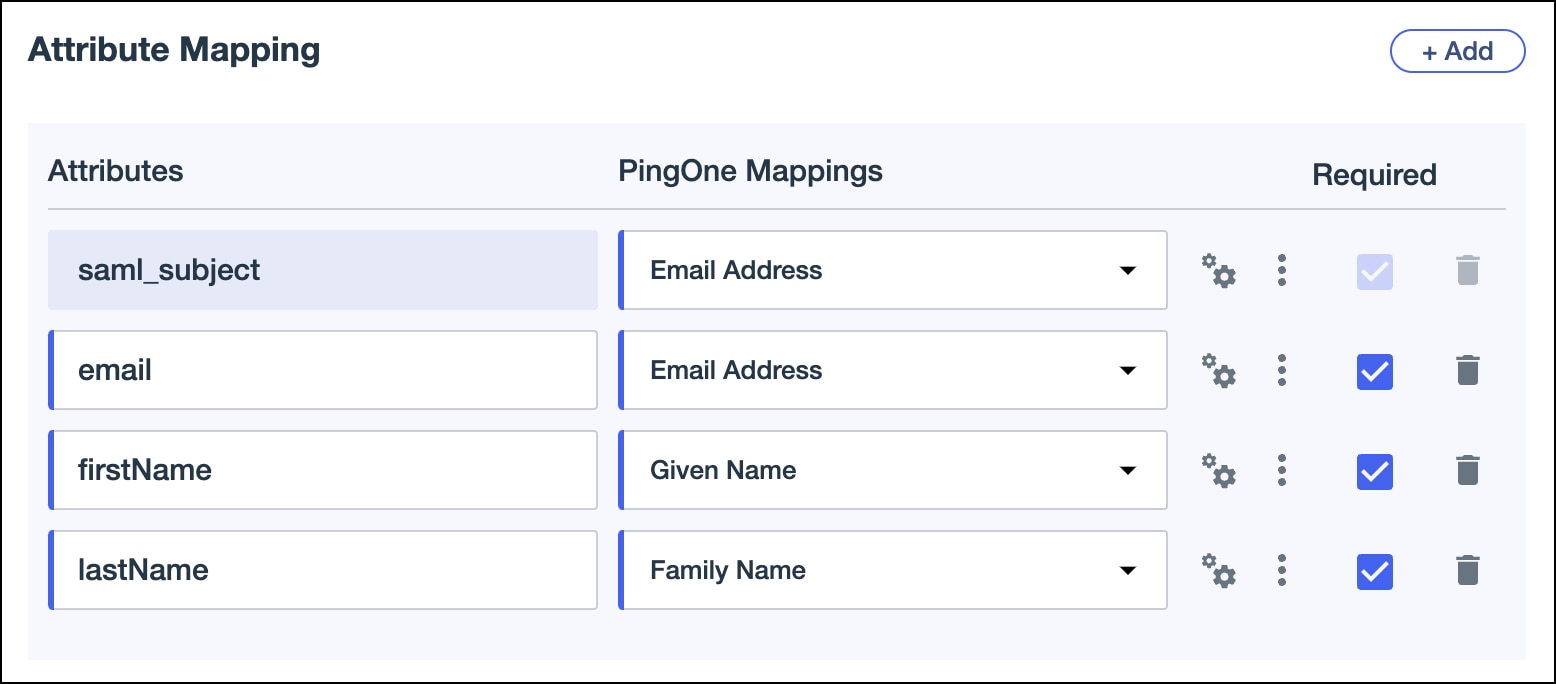
Return to the Ping Idendity console and do the following:
|
||||||||
|
Step 4 |
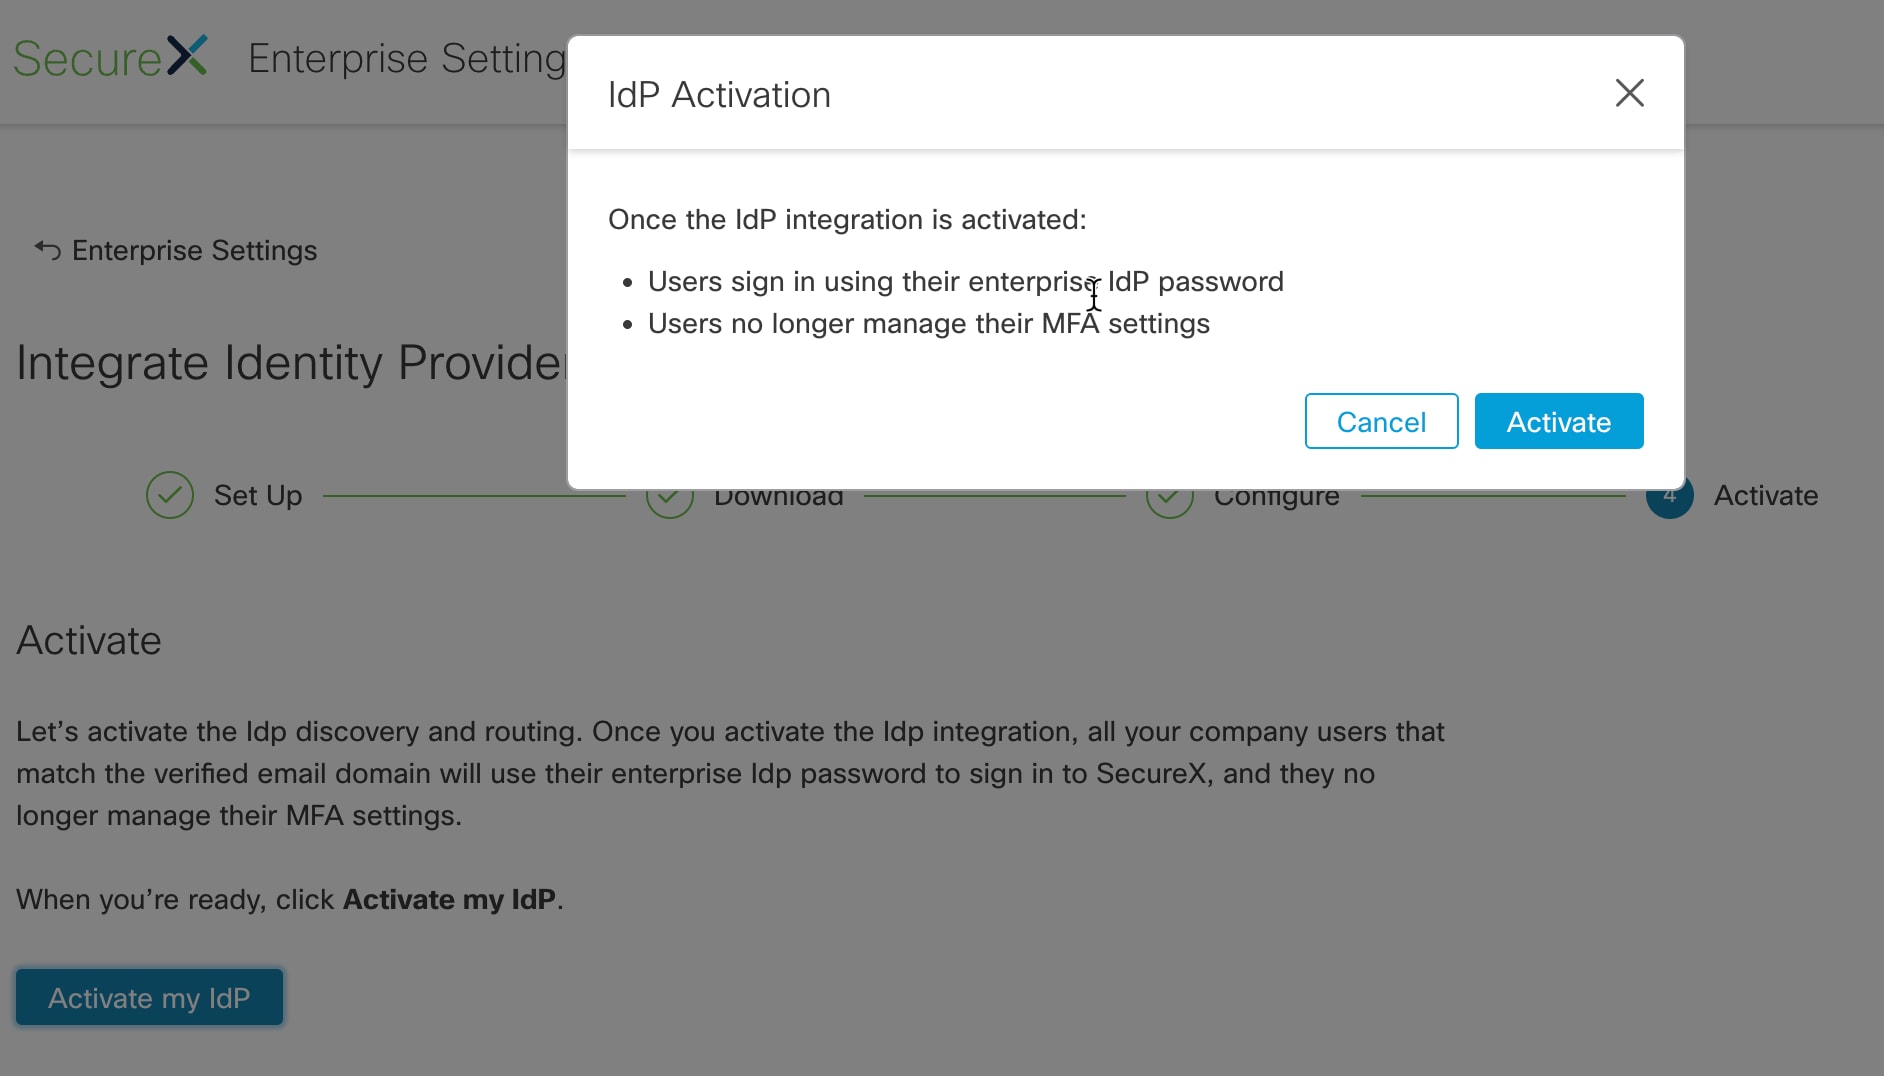
Return to the Enterprise settings wizard's Configure screen.
|

 Feedback