Configure Secure Client Modules on a Threat Defense using Cisco Secure Firewall Management Center
Introduction
Cisco Secure Client can integrate with various Cisco endpoint security solutions and offer enhanced security using different Secure Client modules.
You can use the managed headend threat defense to distribute and manage Secure Client modules to the endpoints. When a user connects to the threat defense, it downloads and installs Secure Client and the required modules on the endpoint.
Benefits
Using a threat defense to distribute and manage Secure Client modules to the endpoints offers significant benefits, as it eliminates the need for the following manual actions for managing your organization's network:
-
Download or upgrade Secure Client on each endpoint.
-
Distribute and manage Secure Client modules and profiles on each endpoint.
Is this Guide for You?
This use case is for network administrators who use the management center to configure Secure Client modules for remote workers connecting to their organization’s network using remote access VPN.
System Requirements
The table below shows the supported platforms for this feature.
|
Product |
Version |
Version used in this document |
|---|---|---|
|
Cisco Secure Firewall Threat Defense (formerly Firepower Threat Defense/FTD) |
6.3 and later |
7.3 |
|
Cisco Secure Firewall Management Center (formerly Firepower Management Center/FMC) |
6.7 and later |
7.3 |
|
Cisco Secure Client (formerly AnyConnect) |
4.0 and later |
5.0 |
 Note |
In FMC versions 6.4 to 6.6, you can enable these modules and profiles on an FTD using FlexConfig. For more information, see Configure AnyConnect Modules and Profiles Using FlexConfig. |
How to Install Secure Client Modules using a Managed Threat Defense
-
The administrator creates profiles for the required Secure Client modules.
-
The administrator uses the management center to:
-
Configure the modules and add the profiles in the RA VPN group policy.
-
Deploy the configuration on the threat defense.
-
-
The user uses Secure Client to initiate a VPN connection to the threat defense.
-
The threat defense authenticates the user.
-
The Secure Client checks for updates.
-
The threat defense distributes the Secure Client modules and the profiles on the endpoint.
What are the Different Secure Client Modules?
|
Module |
Description |
|---|---|
|
AMP Enabler |
Deploys Cisco Secure Endpoint, formerly AMP for Endpoints, on endpoints. It detects potential malware threats in the network, removes these threats, and protects the enterprise. |
|
ISE Posture |
Performs posture checks using Cisco Identity Services Engine (ISE) to assess an endpoint's compliance. |
|
Network Visibility |
Monitors endpoint application usage. You can share the usage data with NetFlow analysis tools. |
|
Umbrella Roaming Security |
Provides DNS-layer security using the Cisco Umbrella Roaming Security service. |
|
Network Access Manager |
Provides a secure layer 2 network and performs device authentication to access wired and wireless networks. |
|
Start Before Login (SBL) |
Allows users to establish their VPN connection to the enterprise infrastructure before logging onto Windows. |
|
Web Security |
Routes HTTP traffic to a Cisco Cloud Web Security scanning proxy. |
|
Diagnostics and Reporting Tool (DART) |
Collates system logs and other diagnostic information to troubleshoot Secure Client installation and connection problems. |
|
Feedback |
Provides information about the features and modules that you use and enable. This information allows Cisco to improve the quality, reliability, performance, and user experience of Cisco Secure Client. |
For more information about these modules, see the Cisco Secure Client (including AnyConnect) Administrator Guide, Release 5.
Prerequisites
-
Configure the associated products depending on the module that you are going to use.
-
Download the following Secure Client-related packages from the Cisco Software Download Center to your local host.
-
Cisco Secure Client Headend Deployment Package for the required platforms.
This package is for the headend and contains all the Secure Client modules. For Windows, the filename is cisco-secure-client-win-5.0.03076-webdeploy-k9.pkg.
-
Profile Editor: Create profiles for the modules that require profiles.
Secure Client needs a Secure Client profile for some of the modules. A profile contains configurations to enable the modules and connect to the corresponding security services. The profile editor supports only Windows.
The following table lists if the modules require a client profile:
Secure Client Module
Requires a Client Profile
AMP Enabler
Yes
ISE Posture
Yes
Network Access Manager
Yes
Network Visibility Module
Yes
Umbrella Roaming Secure Module
Yes
Feedback
Yes
DART
No
Start Before Login
No
-
Licences
-
You need one of the following Secure Client licenses: Secure Client Premier, Secure Client Advantage, or Secure Client VPN Only.
-
Your management center Essentials (formerly Base) license must allow export-controlled functionality.
Choose to verify this functionality in the management center.
Guidelines, Best Practices, and Limitations
-
Different modules support profiles with different file extensions.
Ensure that you choose the correct file extensions as shown in the following table:
Module Name
File Extensions
AMP Enabler
*.xml, *.asp
Customer Experience Feedback
*.xml
ISE Posture
*.xml, *.isp
Network Access Manager
*.xml, *.nsp
Network Visibility
*.xml, *.nvmsp
Umbrella Roaming Security
*.xml, *.json
Web Security
*.xml, *.wsp, *.wso
-
Use DART to collate troubleshooting data and logs, and share it with Cisco TAC, if required.
By default, DART is not enabled in new remote access VPN group policies for 6.7 and later versions. In 6.6 and earlier versions, DART is enabled by default.
-
If you use the ISE posture module on a Windows OS, you must install Network Access Manager before you use the ISE posture module.
-
Cisco ISE 3.0 and later support agentless posture.
-
If you enable the Umbrella Roaming Security module, ensure that you disable the Always send DNS requests over tunnel option under split tunneling in the RA VPN group policy.
-
You must enable the SBL in the Secure client VPN profile and add it to the RA VPN group policy in the management center.
To add a Secure client VPN profile to the group policy:
-
Edit a RA VPN group policy.
-
Click the Secure Client tab and click Profile.
-
Click + to add the Secure client VPN profile.
-
Click Save.
-
Limitations
-
For a group policy, you can add only one entry per client module. You can edit or delete an entry for a module.
-
AMP Enabler is available only for macOS in Cisco Secure Client 5.0, as Cisco Secure Client for Windows offers full integration with Cisco Secure Endpoint.
-
Network Access Manager does not support macOS or Linux.
Configure a Remote Access VPN Group Policy with Secure Client Modules
Before you begin
Configure a remote access VPN policy in the management center.
Procedure
|
Step 1 |
Log in to your management center web interface. |
|
Step 2 |
Choose . |
|
Step 3 |
Select a remote access VPN policy, and click Edit. |
|
Step 4 |
Select a connection profile, and click Edit. |
|
Step 5 |
Click Edit Group Policy. |
|
Step 6 |
Click the Secure Client tab. |
|
Step 7 |
Click Client Modules,and click +.  |
|
Step 8 |
Choose a module from the Client Module drop-down list. |
|
Step 9 |
Choose a profile for the module from the Profile to download drop-down list or click + to add a profile. |
|
Step 10 |
Check the Enable module download check box. |
|
Step 11 |
Click Add. |
|
Step 12 |
Click Save. |
What to do next
-
Deploy the configuration on the threat defense.
-
Establish a VPN connection to the threat defense using the Secure Client.
-
Verify the Secure Client configuration.
Verify Secure Client Modules Configurations
On the Threat Defense
Use the following commands on the threat defense CLI to view the Secure Client modules configuration:
|
Command |
Description |
|---|---|
| show disk0: |
View the profiles and their configuration. |
| show run webvpn |
View details of the Secure Client configurations. |
|
show run group-policy <group_policy_name> |
View details of the RA VPN group policy for Secure Client. |
|
show vpn-sessiondb anyconnect |
View details of the active Secure Client VPN sessions. |
On the Endpoint
-
Establish a VPN connection to the threat defense using the Secure Client.
-
Verify if the configured modules are downloaded and installed as part of the Secure Client.
-
Verify if the profiles are available in the locations specified in Profile Locations for all Operating Systems.
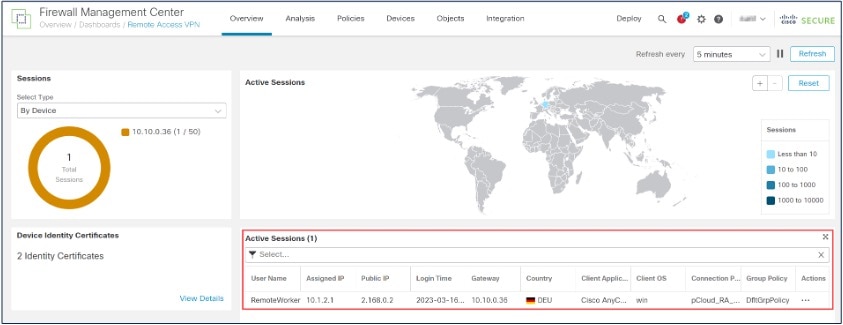
On the Management Center
You can monitor active remote access VPN sessions on the management center using the Remote Access VPN Dashboard (). You can determine problems related to user sessions and mitigate the problems for your network and users.
Examples of Configuring Secure Client Modules
Provide DNS Layer-security for Endpoint using Secure Client Umbrella Module and Management Center
Before you begin
Ensure that you have:
-
Access to an Umbrella dashboard.
-
Downloaded the Secure Client package to your local host.
-
Configured a remote access VPN on the management center.
-
A higher version of Secure Client on the management center than the version on the endpoint.
-
Disable the Always send DNS requests over tunnel option under split tunnelling in the RA VPN group policy.
Procedure
|
Step |
Task |
More Info |
|---|---|---|
|
1 |
Download the Secure Client Umbrella module profile from the Umbrella dashboard to your local host. |
Download Secure Client Umbrella Module Profile from the Umbrella Dashboard |
|
2 |
Configure the Umbrella module and the profile in the remote access VPN group policy in the management center. |
Configure a Remote Access VPN Group Policy with Secure Client Modules |
|
3 |
Deploy the configuration on the threat defense. |
On the management center menu bar, click Deploy and then select Deployment. |
Download Secure Client Umbrella Module Profile from the Umbrella Dashboard
The Umbrella profile (OrgInfo.json) file contains specific information about your Cisco Umbrella service subscription that lets the Security Roaming module know where to report and which policies to enforce.
Procedure
|
Step 1 |
Log in to Cisco Umbrella. |
|
Step 2 |
Choose . |
|
Step 3 |
Click the Roaming Client icon. |
|
Step 4 |
Click Download Module Profile. 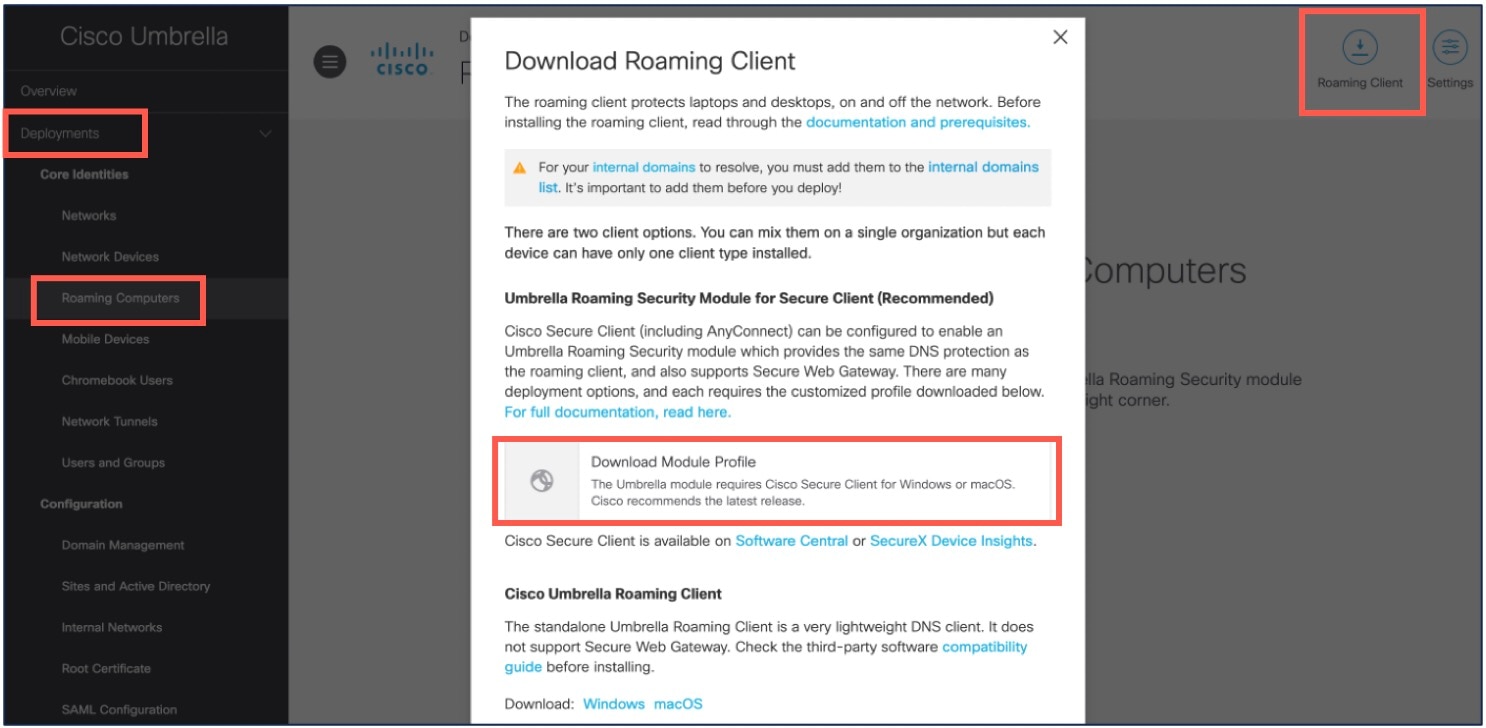 An example of the OrgInfo.json file is given below: 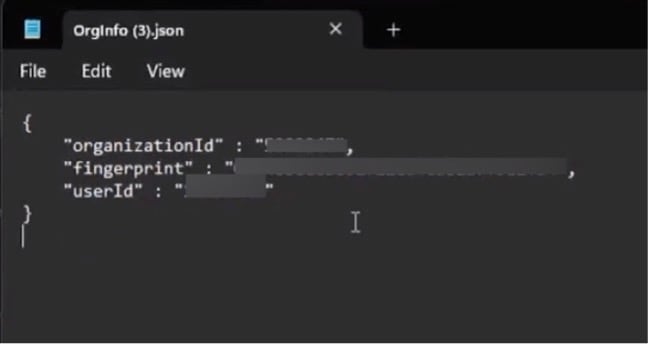 |
Verify Umbrella Module Configuration
On the Threat Defense
-
Use the sh vpn-sessiondb anyconnect command to confirm a successful Secure Client connection.
-
Use the sh run group-policy command to view details of the remote access VPN group policy.
On the Endpoint
-
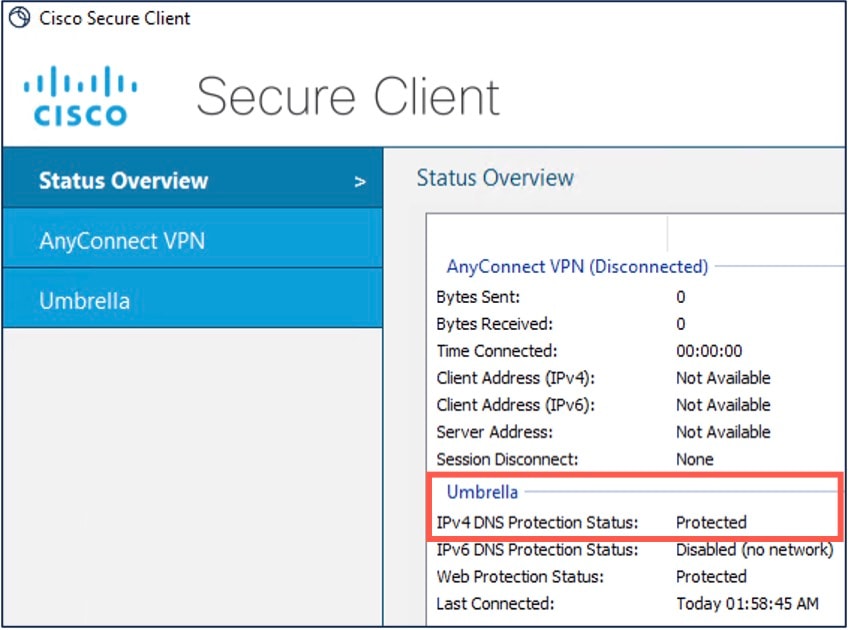
Verify if the VPN connection is successful, and if Umbrella module has been downloaded on the endpoint.
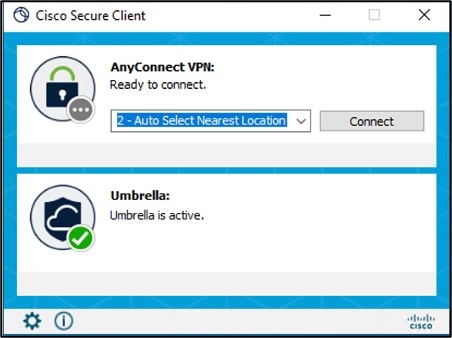
-
Click the Statistics icon, and click the Status Overview tab.
The IPv4/IPv6 DNS Protection Status is “Protected”.
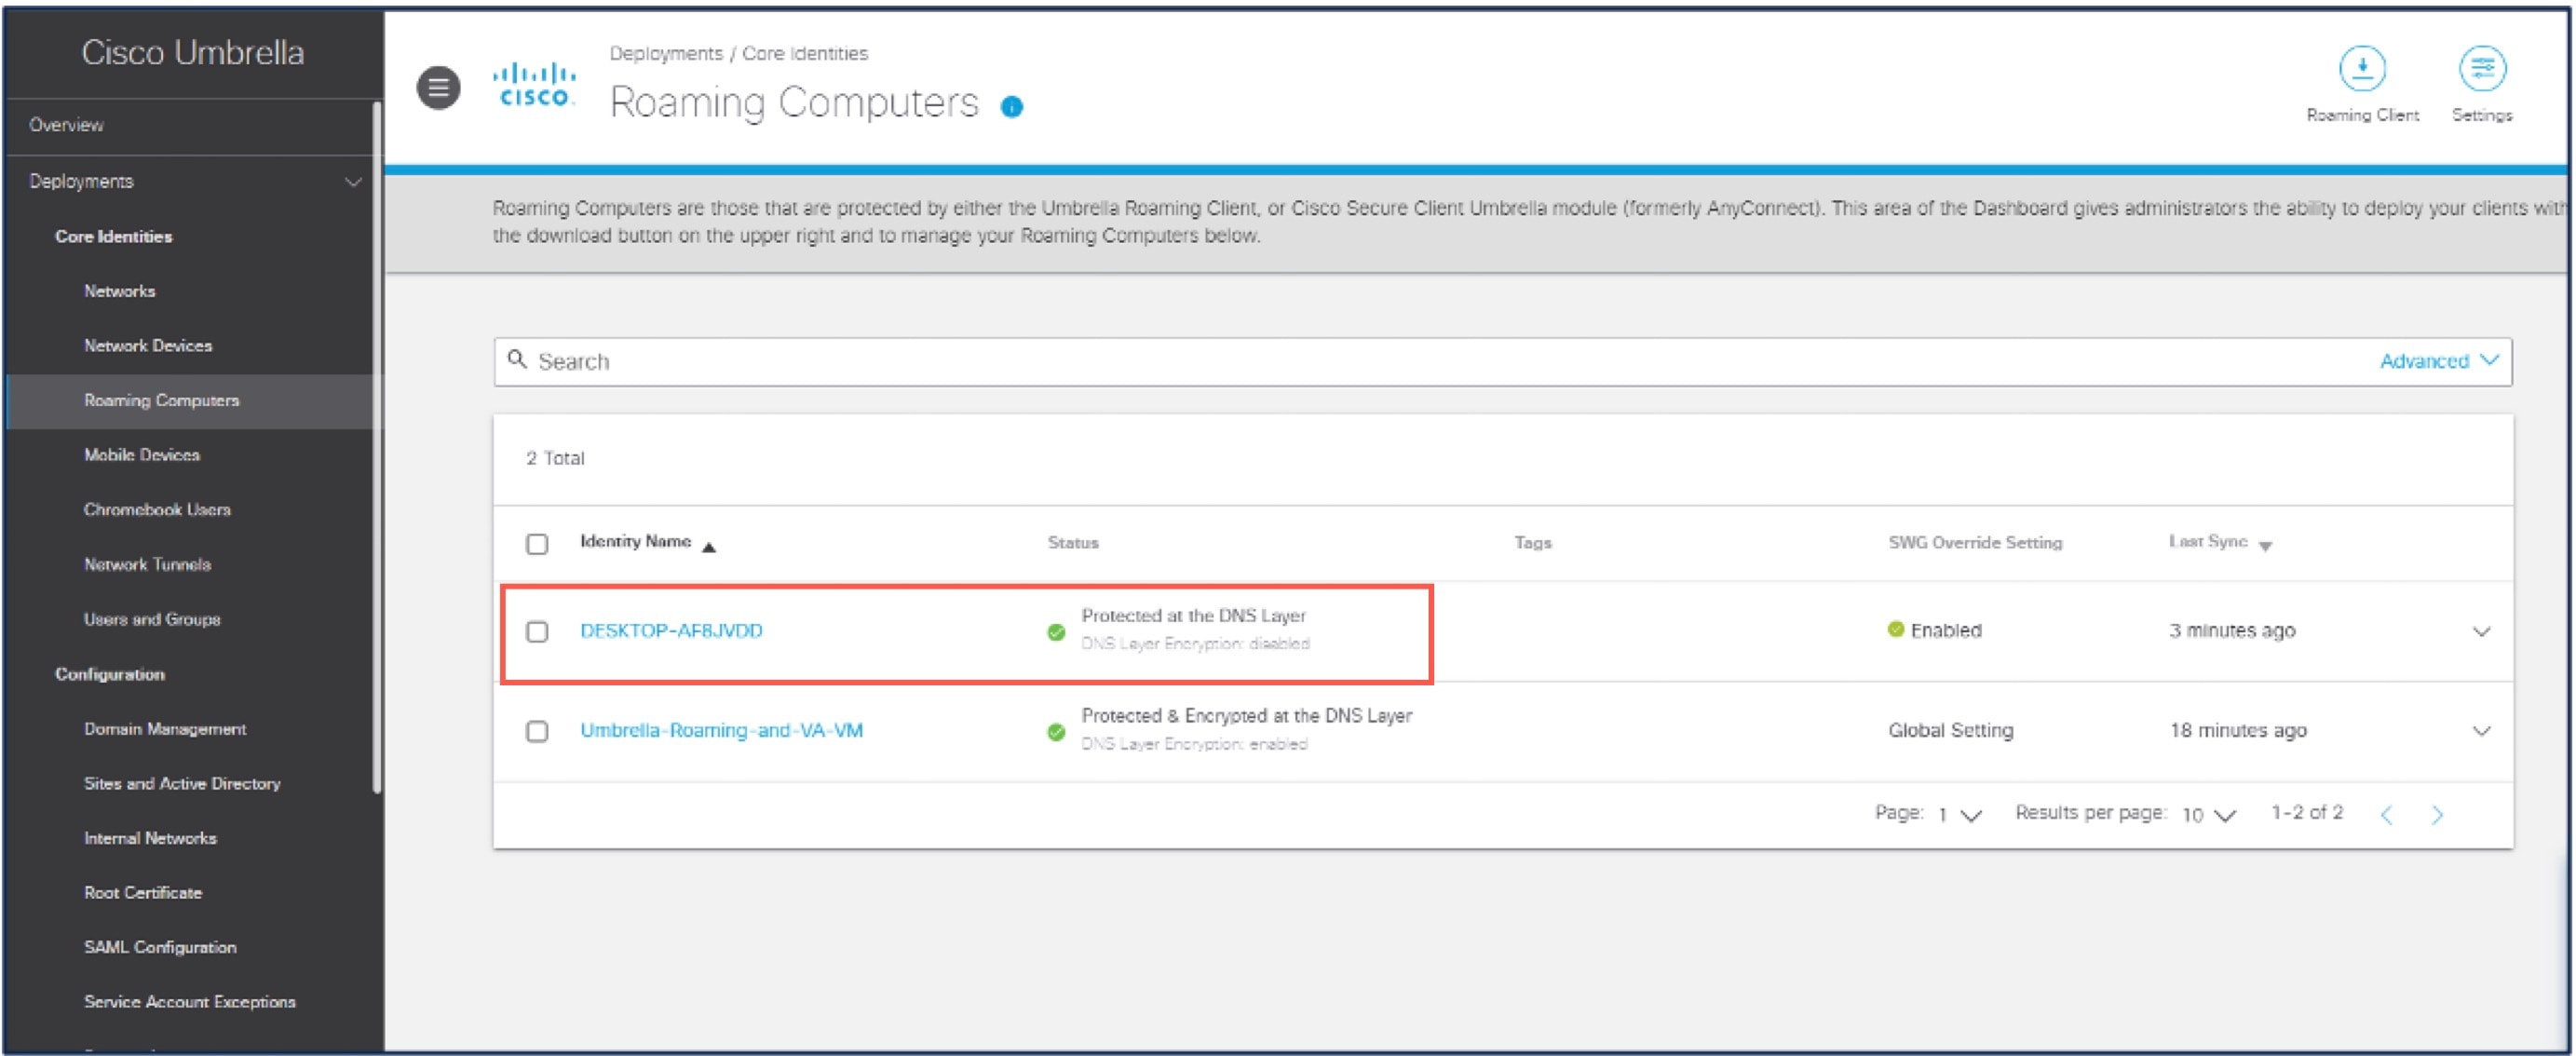
On the Cisco Umbrella
Choose .
The status of the endpoint is “Protected at the DNS Layer”.
Configure DART Module on an Endpoint
Procedure
|
Step 1 |
Download the Secure Client package to your local host, See Cisco Software Download Center. |
|
Step 2 |
Configure a remote access VPN on the management center. |
|
Step 3 |
Configure the DART module in the RA VPN group policy in the management center, See Configure a Remote Access VPN Group Policy with Secure Client Modules. |
|
Step 4 |
Deploy the configuration on the threat defense. On the management center menu bar, click Deploy and then select Deployment. |
Verify DART Configuration
On the Endpoint
-
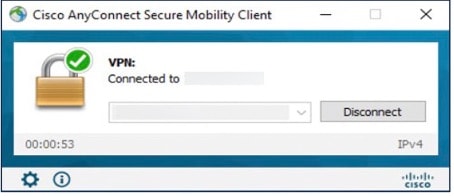
Verify if the VPN connection is successful.
-
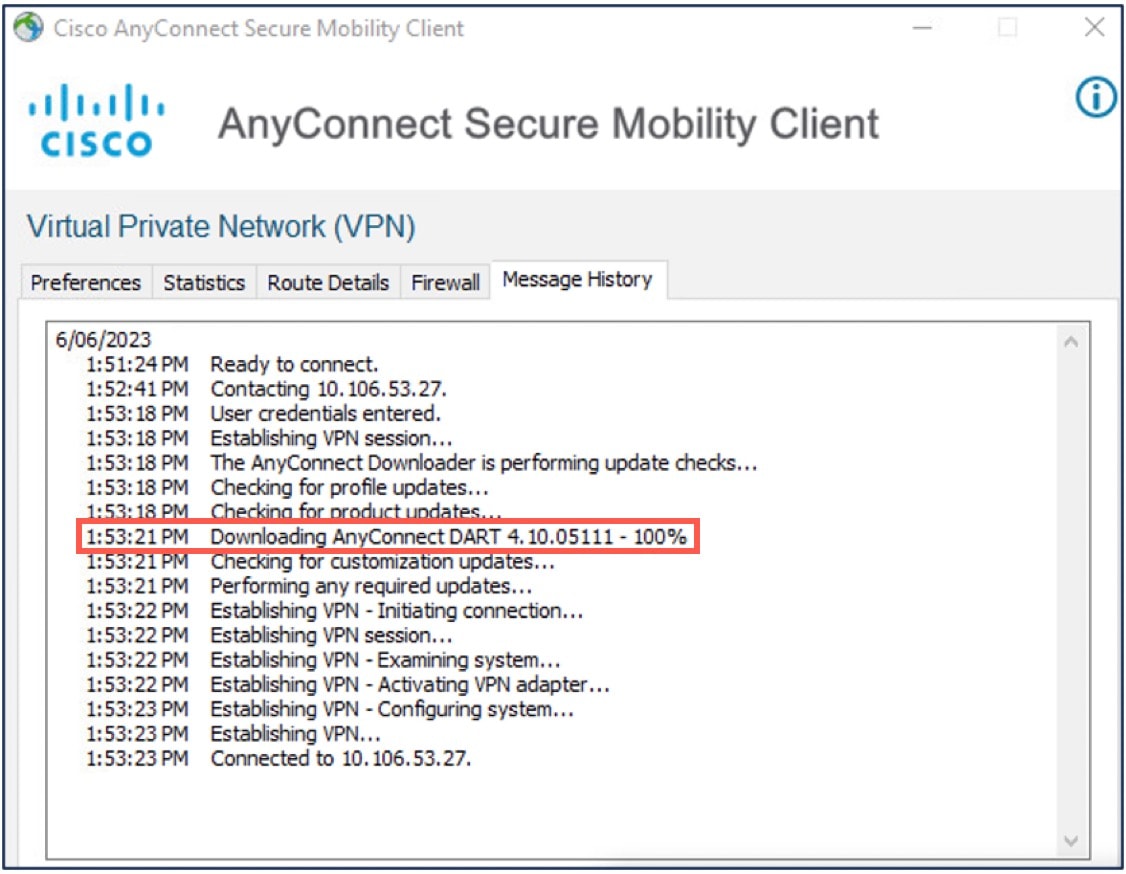
Verify if the DART module has been downloaded on the endpoint.
-
After a successful download, restart the AnyConnect Client.
-
Click the Statistics icon.
-
Click Diagnostics.
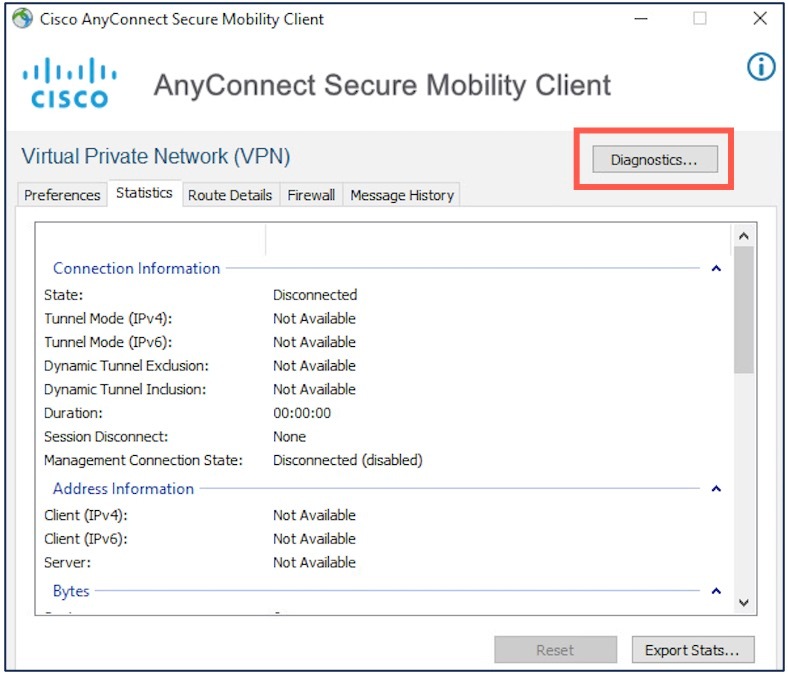
-
Use the DART wizard to use the DART module.
 Feedback