Adding Nutanix AHV to the Profiler
At the first login following installation of the HX Workload Profiler, you are redirected to the landing page where you can find the + Add Workload option on the top right corner of the page. You can select Nutanix, then you can add multiple Nutanix clusters.
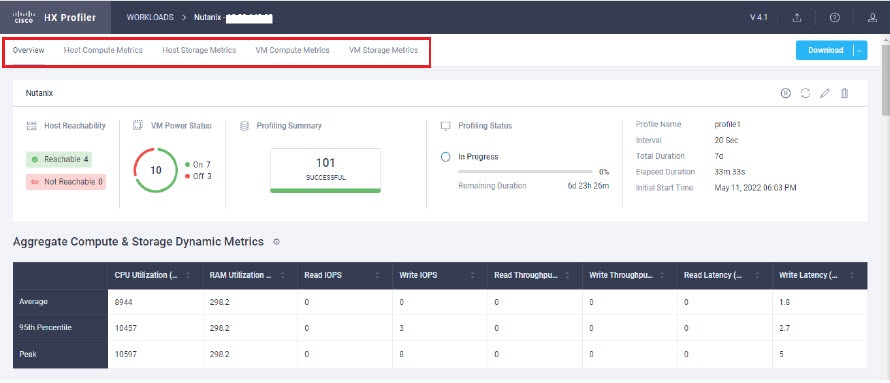
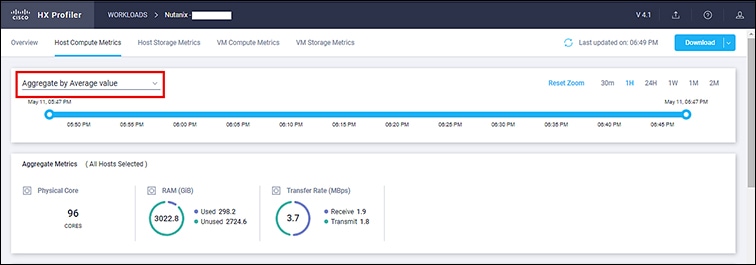
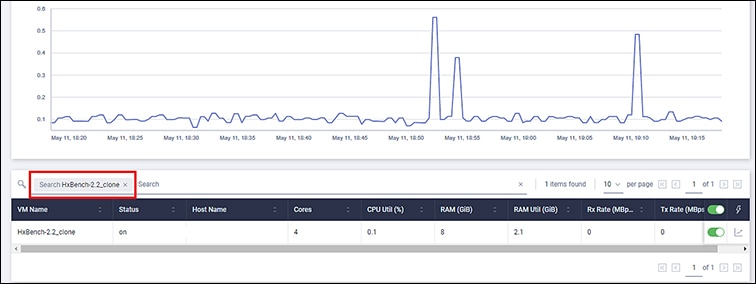
To calculate the metrics for a host, the Profiler captures the metrics for all the VMs on the Host.
The workflow includes:
-
Node Details tab: Records your Nutanix AHV prism details and then connects to the Nutanix REST API. If the connection succeeds, the Next button displays enabling you to select the hosts for profiling.
-
Select Hosts tab: Provides hierarchy of Hosts, with the option to select hosts to Profile.
-
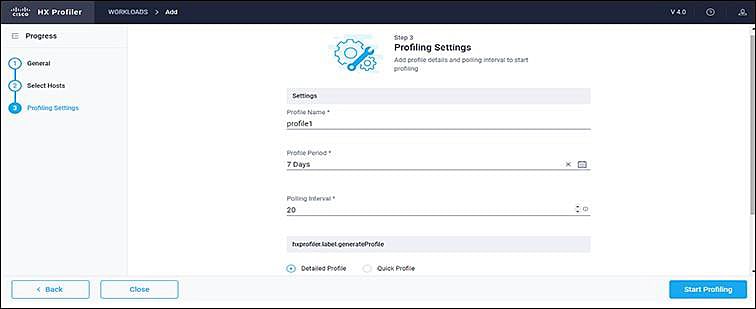
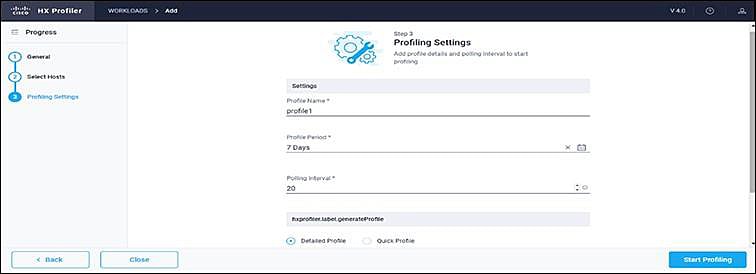
Profiling Setting tab, which provides:
-
Profile Name: The name of the profile. Profile names must be unique.
-
Profile period: User defined number of polling days. The default is 7 days, and the minimum is 1 day.
-
Polling Interval: Frequency for which polling should occur.
-
Procedure
| Step 1 |
Log into the Profiler. See Logging in to the Profiler. |
||||||||||
| Step 2 |
Follow the steps provided to enter values for the following options:
   |
||||||||||
| Step 3 |
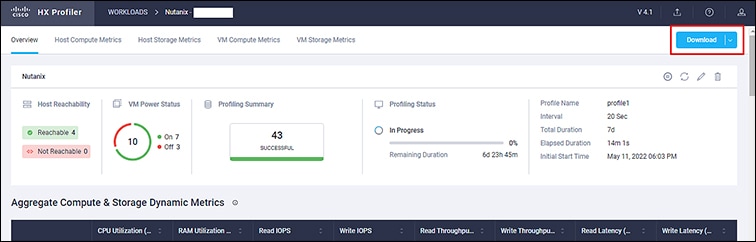
Click Start Profiling. The Profiler service starts automatically. |
||||||||||
| Step 4 |
When the connection status indicates successful connection, click Next. |
||||||||||
| Step 5 |
On the Poll filter tab, review the hierarchy values. |


 Feedback