Setting Up the Virtual Appliance

Logging into the Profiler

Logging in to the ESXi Profiler

The Hx Workload Profiler user interface (UI) uses system credentials for authentication.

Procedure


Step 1

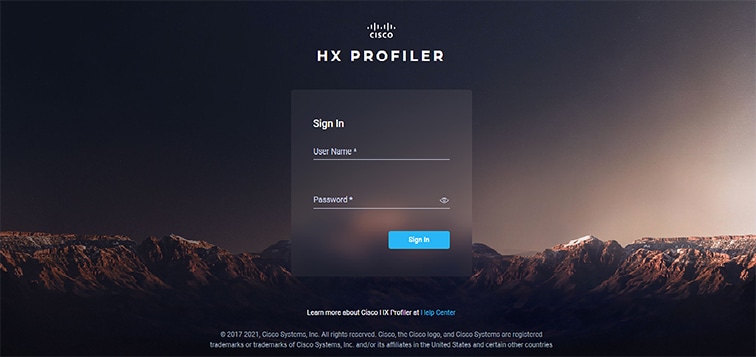
To access the UI, launch a browser window and enter http://<IP> or http://<IP:8000> or http://<IP>/profiler/index.html or http://<IP:8000>/profiler/index.html, where the IP is the IP address of the VM.

The HX Profiler UI appears:

Step 2

When prompted, log in to the UI with the following credentials:

User name: monitoring

Password: <new password set during the install workflow>

Step 3

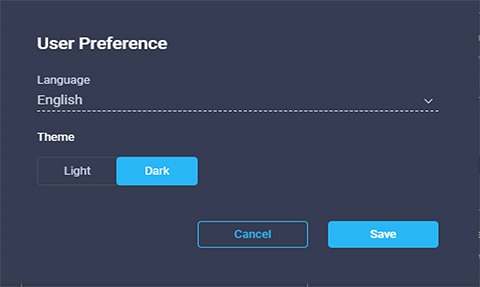
You can use the User Preference option in the top right corner of the UI to configure Language or Theme.

Click Cancel or Save to continue.

Step 4

When finished, you can end the user session by clicking Logout at the top right of the page.


Logging in to the Hyper-V Profiler

The Hx Workload Profiler user interface (UI) uses system credentials for authentication.

Procedure


Step 1

To access the UI, launch a browser window and enter http://<IP> or http://<IP:8000> or http://<IP>/profiler/index.html or http://<IP:8000>/profiler/index.html, where the IP is the IP address of the VM.

Step 2

When prompted, log in to the UI with the following credentials:

User name: monitoring

Password: <new password set during the install workflow>

Step 3

When finished, you can end the user session by clicking Logout at the top right of the page.


Deploying the Virtual Machine

Deploying the ESXi Virtual Machine

Procedure


Step 1

Log in to VMware vSphere Client.

Step 2

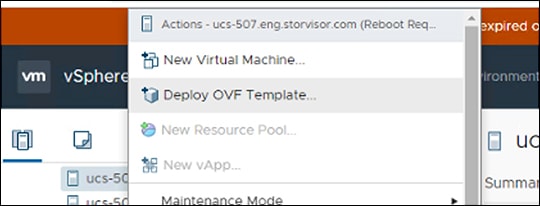
Select File > Deploy OVF Template.

Step 3

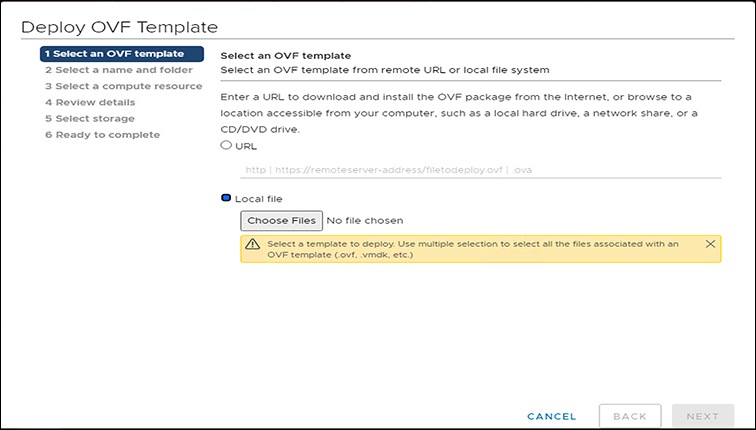
Select the OVA file you want to deploy from the Select an OVF template option.

Step 4

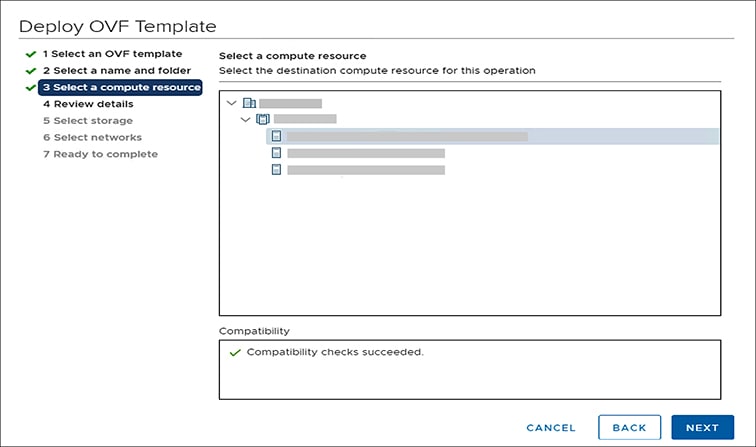
Click Next, review the OVF template details, and then click Next again.

Step 5

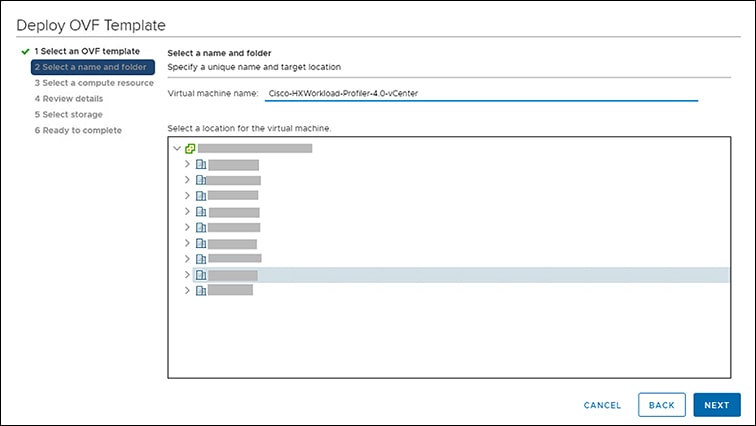
On the Select a name and folder page, specify the name and location for the virtual appliance, and then click Next.

Step 6

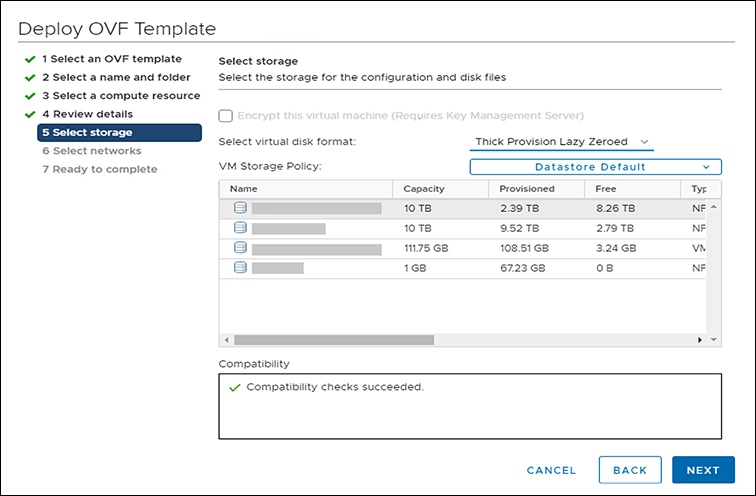
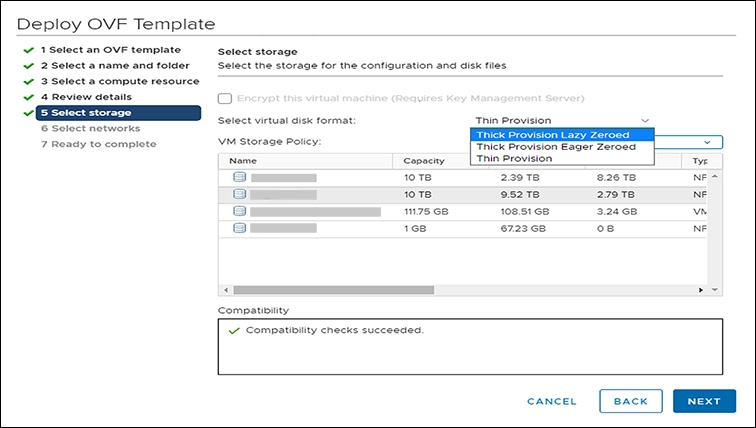
On the Select storage page, specify the storage for the configuration and disk files, and then click Next.

Step 7

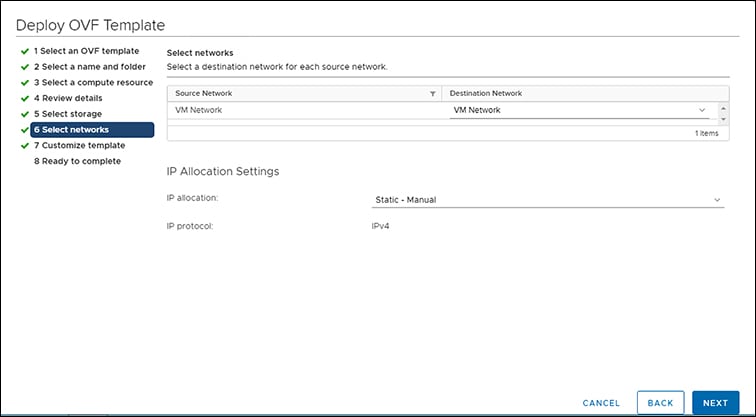
On the Select networks page, specify the destination network for each source network, and then click Next.

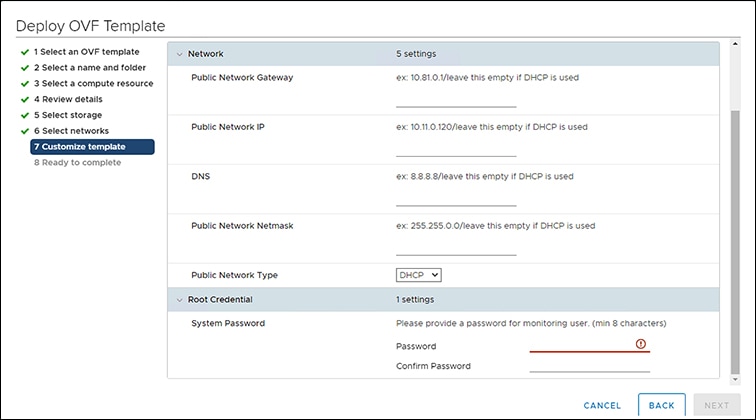
You can configure either DHCP or a static IP address for the VM.

(Mandatory) You must change the system password for default user monitoring in the System Password fields.

Step 8

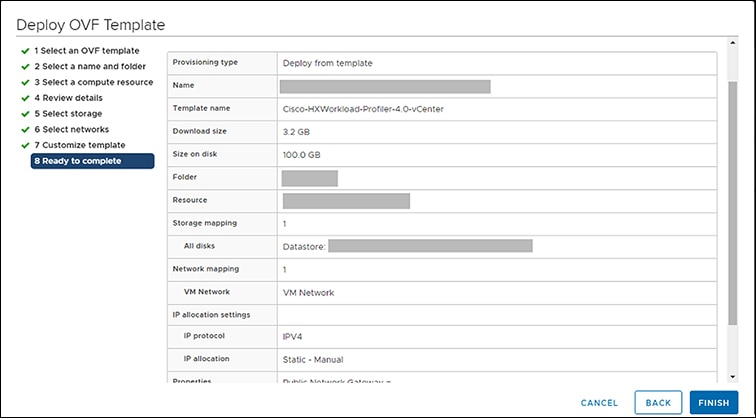
On the Ready to Complete page, review your deployment settings, select Power On After Deployment, and then click Finish.


What to do next

You must wait for the deployment task to complete. On completion, a successful deployment message displays.

If the IP address has not been assigned after the OVA deployment, reboot the HxProfiler VM.

Deploying the Hyper-V Virtual Machine

Procedure


Step 1

Log in to Hyper-V manager.

Step 2

Click New in Actions, and select Virtual Machine and click Next again.

Step 3

Enter your VM name in Name Text box and click Next.

Step 4

Select Generation 1 and click Next.

Step 5

Enter the required memory size in Startup Memory, click Use Dynamic Mem…, then click Next.

Step 6

Select the preferred network from the Connection option and click Next.

Step 7

Select Use an existing virtual hard disk and select the Browse option, then select the required disk from the system and click Finish.

Step 8

Click Start to power on the VM and click Connect to connect via the console.

Step 9

Change the password from the console. While changing the password, use the default user name and password as monitoring/monitoring.

Step 10

Configure the static or DHCP IP from terminal for the first login.

Follow the instruction prompted in the terminal.

Step 11

After IP configuration enter the new password as prompted in terminal.

Machine will not reboot if DHCP and reboots with static IP selection.

Step 12

After all IP configuration changes, if any changes are required or any wrong entry IP is entered, edit the interfaces file using VIM editor: /etc/network/interfaces

Step 13

If you edit the above file, then reboot/reset the machine using Hyper-V manager.


Configuring and Using the Profiler Application

Configuring and Using the ESXi Profiler Application

Perform the Hx Workload Profiler application configuration and operations from the web-based UI.

The following table shows the high-level steps for configuring the application.

Task

See

Addition of a poller, which is referred to as a workload or node.

Adding vCenter to the ESXi Profiler

Configuration of the profiling attributes.

Starting ESXi Data Profiling

Start the polling operation.

Starting the Profiler Service

Configuring and Using the Windows Bare Metal Profiler Application

Perform the Hx Workload Profiler application configuration and operations from the web-based UI.

The following table shows the high-level steps for configuring the application.

Task

See

Addition of a poller, which is referred to as a workload or node.

Adding Windows Bare Metal to the Profiler

Configuration of the profiling attributes.

Starting Windows Bare Metal Data Profiling

Start the polling operation.

Starting the Profiler Service

Configuring and Using the Hyper-V Profiler Application

Perform the Hx Workload Profiler application configuration and operations from the web-based UI.

The following table shows the high-level steps for configuring the application.

Task

See

Addition of a poller, which is referred to as a workload or node.

Adding Hyper-V to the Profiler

Configuration of the profiling attributes.

Starting Hyper-V Data Profiling

Start the polling operation.

Starting the Profiler Service

Using the Profiler Service

Using the Profiler Service

The Hx Workload Profiler start and stop services use the profiler_service.sh command.

The following table shows the high-level steps for using the profile service.

Task

See

Starting the Profiler Service

Starting the Profiler Service

Stopping the Profiler Service

Stopping the Profiler Service

Restarting the Profiler Service

Restarting the Profiler Service

Starting the Profiler Service

To start the profiler service:

Procedure


Run the following command: sudo service hxpmonitor start.


Stopping the Profiler Service

Complete the following steps to stop the profiler service:

Procedure


Step 1

Run the following command: sudo service hxpmonitor stop.

Step 2

Run the following command: sudo service hxpcontroller stop.


Restarting the Profiler Service

Complete the following steps to restart the profiler service:

Procedure


Step 1

Run the following comand: sudo service hxpcontroller restart.

Step 2

Run the following comand: sudo service hxpmonitor restart.


Locating the Application Logs

Locating the ESXi Application Logs

You can find Hx Workload Profiler logs in the following locations:

Table 1. Application Logs

Log

Path

Server

/home/monitoring/monitor/server.log

Controller

/home/monitoring/controller/logs/*

Monitor

/home/monitoring/monitor/monitor/monitor.log

Locating the Hyper-V Application Logs

You can find Hx Workload Profiler logs in the following locations:

Table 2. Application Logs

Log

Path

Server

/home/monitoring/monitor/server.log

Controller

/home/monitoring/controller/logs/*

Monitor

/home/monitoring/monitor/monitor/monitor.log