Cisco Modeling Labs Corporate Edition Client Installation Guide, Release 1.3
Bias-Free Language
The documentation set for this product strives to use bias-free language. For the purposes of this documentation set, bias-free is defined as language that does not imply discrimination based on age, disability, gender, racial identity, ethnic identity, sexual orientation, socioeconomic status, and intersectionality. Exceptions may be present in the documentation due to language that is hardcoded in the user interfaces of the product software, language used based on RFP documentation, or language that is used by a referenced third-party product. Learn more about how Cisco is using Inclusive Language.
- Updated:
- July 18, 2017
Chapter: Installing the Cisco Modeling Labs Client
Installing the Cisco
Modeling Labs Client
Installing the Cisco Modeling Labs Client
The Cisco Modeling Labs client is a powerful cross-platform user interface for creating and editing topologies and simulating those topologies on the Cisco Modeling Labs server. You can quickly create and edit complex topologies by using a graphical point-and-click editor. You can also interact directly with your running simulations from the user interface.
The purpose of this guide is to help you get the Cisco Modeling Labs client up and running as quickly as possible. For additional information regarding your specific client installation needs, refer to the following documents:
-
Cisco Modeling Labs Corporate Edition User Guide, Release 1.3—Identifies the user interface and user tasks in greater detail.
-
Release Notes for Cisco Modeling Labs Corporate Edition, Release 1.3—Identifies known issues and workarounds.
-
Cisco Modeling Labs Release 1.3 Online Help—Identifies the user interface and user tasks within the Cisco Modeling Labs Client.
Cisco Modeling Labs Client Requirements
| Requirement | Description |
|---|---|
| Operating System | Any of the following: |
| Memory (RAM) | 500 MB |
| Disk Space | 200 MB |
| Requirement | Description | ||
|---|---|---|---|
| Browser | Any of the following:
|
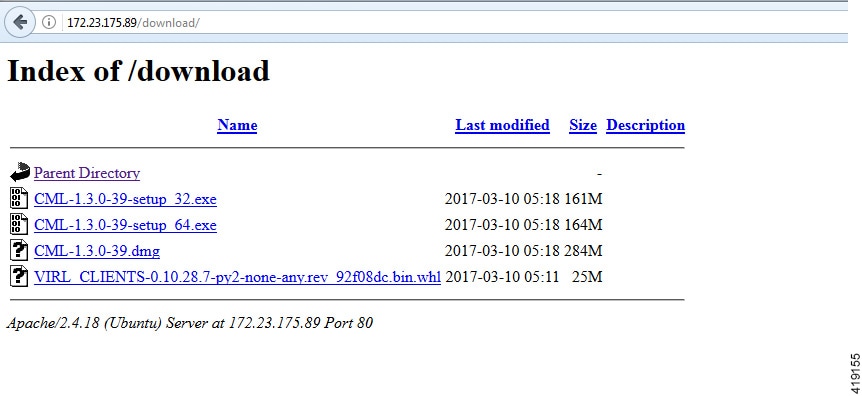
Downloading Cisco Modeling Labs Client
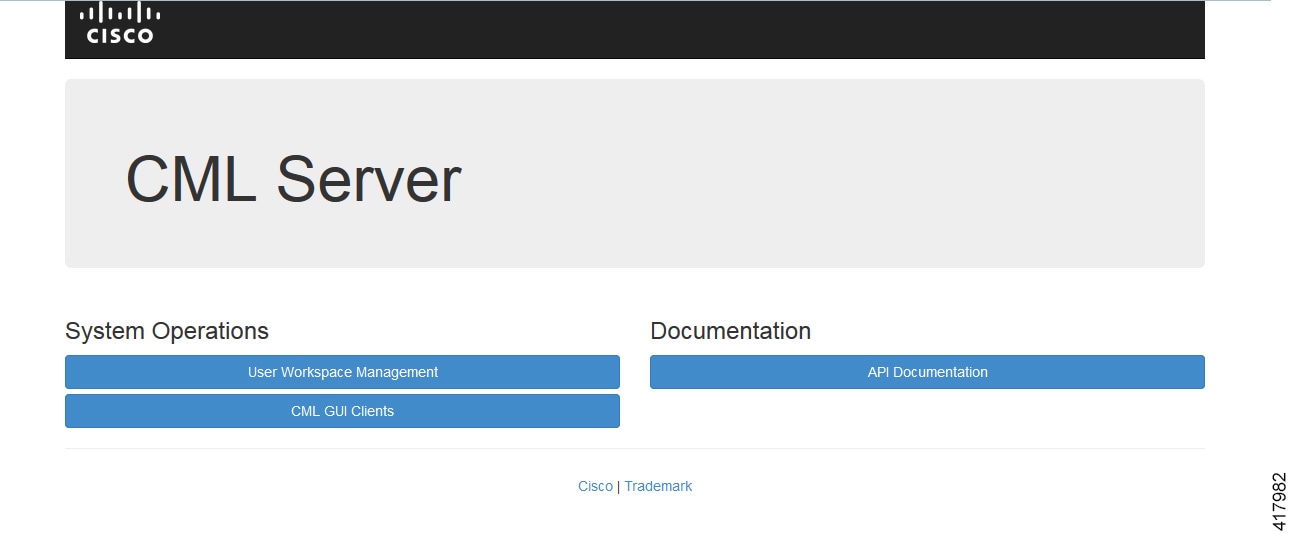
Cisco Modeling Labs client software is included within the Cisco Modeling Labs server deployment. Users with provisioned project accounts may download and install the client software onto their workstations.
- Ensure that you know the appropriate IP address or hostname for the Cisco Modeling Labs server.
- Ensure that you know the
download location for the applicable Cisco Modeling Labs client.

Note
It is possible to have previous versions of the Cisco Modeling Labs client installed. Parallel installations are supported provided that each client version is installed in a separate and distinct directory location. - Ensure that you have a project account configured.
What to Do Next
See the following sections Windows Installation Process and OS X Installation Process for more information.
Windows Installation Process
| Step 1 | After the selected .exe file has finished downloading, click Run to start the Cisco Modeling Labs client installation. |
| Step 2 | In the Cisco Modeling Labs Setup wizard, click Next. |
| Step 3 | Review the license agreement and click I Agree. |
| Step 4 | In the Choose Install Location screen, click Browse to navigate to a new location or click Next to choose the default location. |
| Step 5 | In the Choose Start Menu Folder screen, choose the default, Cisco Modeling Labs, or enter a name for the start menu folder and click Next. |
| Step 6 | In the Installation Type screen, accept the defaults for Create Start Menu shortcuts and Create Desktop shortcut or uncheck the applicable check box or check boxes and click Install. The installation process begins. |
| Step 7 | When the installation completes, click Finish. |
OS X Installation Process
| Step 1 | After the selected .dmg package is downloaded, open it. |
| Step 2 | (Optional) Rename the folder as Cisco Modeling Labs. |
| Step 3 | Click the Cisco Modeling Labs folder and drag and drop it into the Applications folder. |
| Step 4 | (Optional) Drag the CML.app button from the folder to your desktop. |
| Step 5 | Double-click the CML.app button to launch the Cisco Modeling Labs client. |
Complete Your Installation
To complete your installation, complete the following steps:
| Step 1 | In the License Agreement dialog box, click Agree. |
| Step 2 | In the
Welcome
to Cisco Modeling Labs dialog box, enter the following details:
|
| Step 3 | In the
Secure
Storage dialog box, click
Yes to set
up master password recovery.
When the Secure Storage feature is used for the first time, it generates a master password that is used to encrypt data. In the future, this same master password will be required to retrieve the data from secure storage. If the master password becomes unavailable, the Secure Storage feature provides optional support for password recovery. |
| Step 4 | In the Password Recovery Setup dialog box, specify questions and answers required for future password recovery. The Cisco Modeling Labs client opens. |
 Feedback