Day 0 Workflow to Install Cisco User Defined Network for New Deployment
Before you begin
Ensure that you have Cisco (CCO) account and password, which is required to create a new Cisco DNA Center Cloud account.
To create a Cisco (CCO) account, go to Cisco.com and click at the top-right corner of the window.
Procedure
| Step 1 |
Log in to Cisco DNA Center using username and password assigned to you by the Cisco DNA Center administrator.
|
||
| Step 2 |
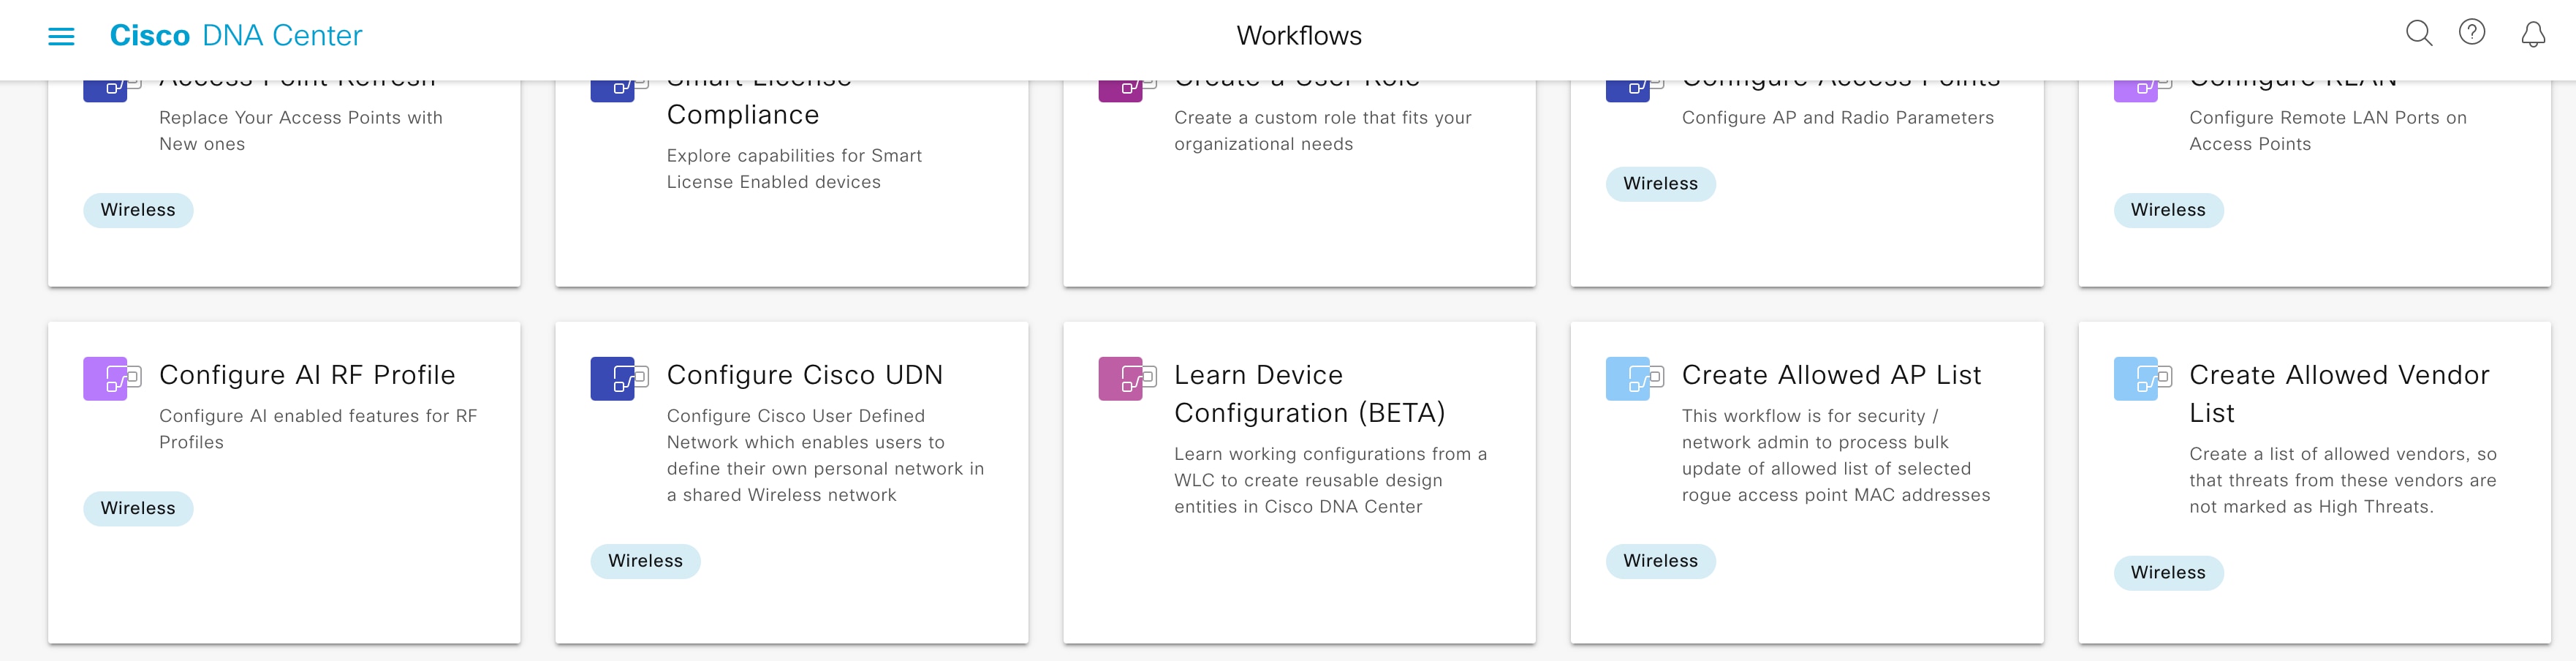
In the Cisco DNA Center GUI, click the menu icon (
|
||
| Step 3 |
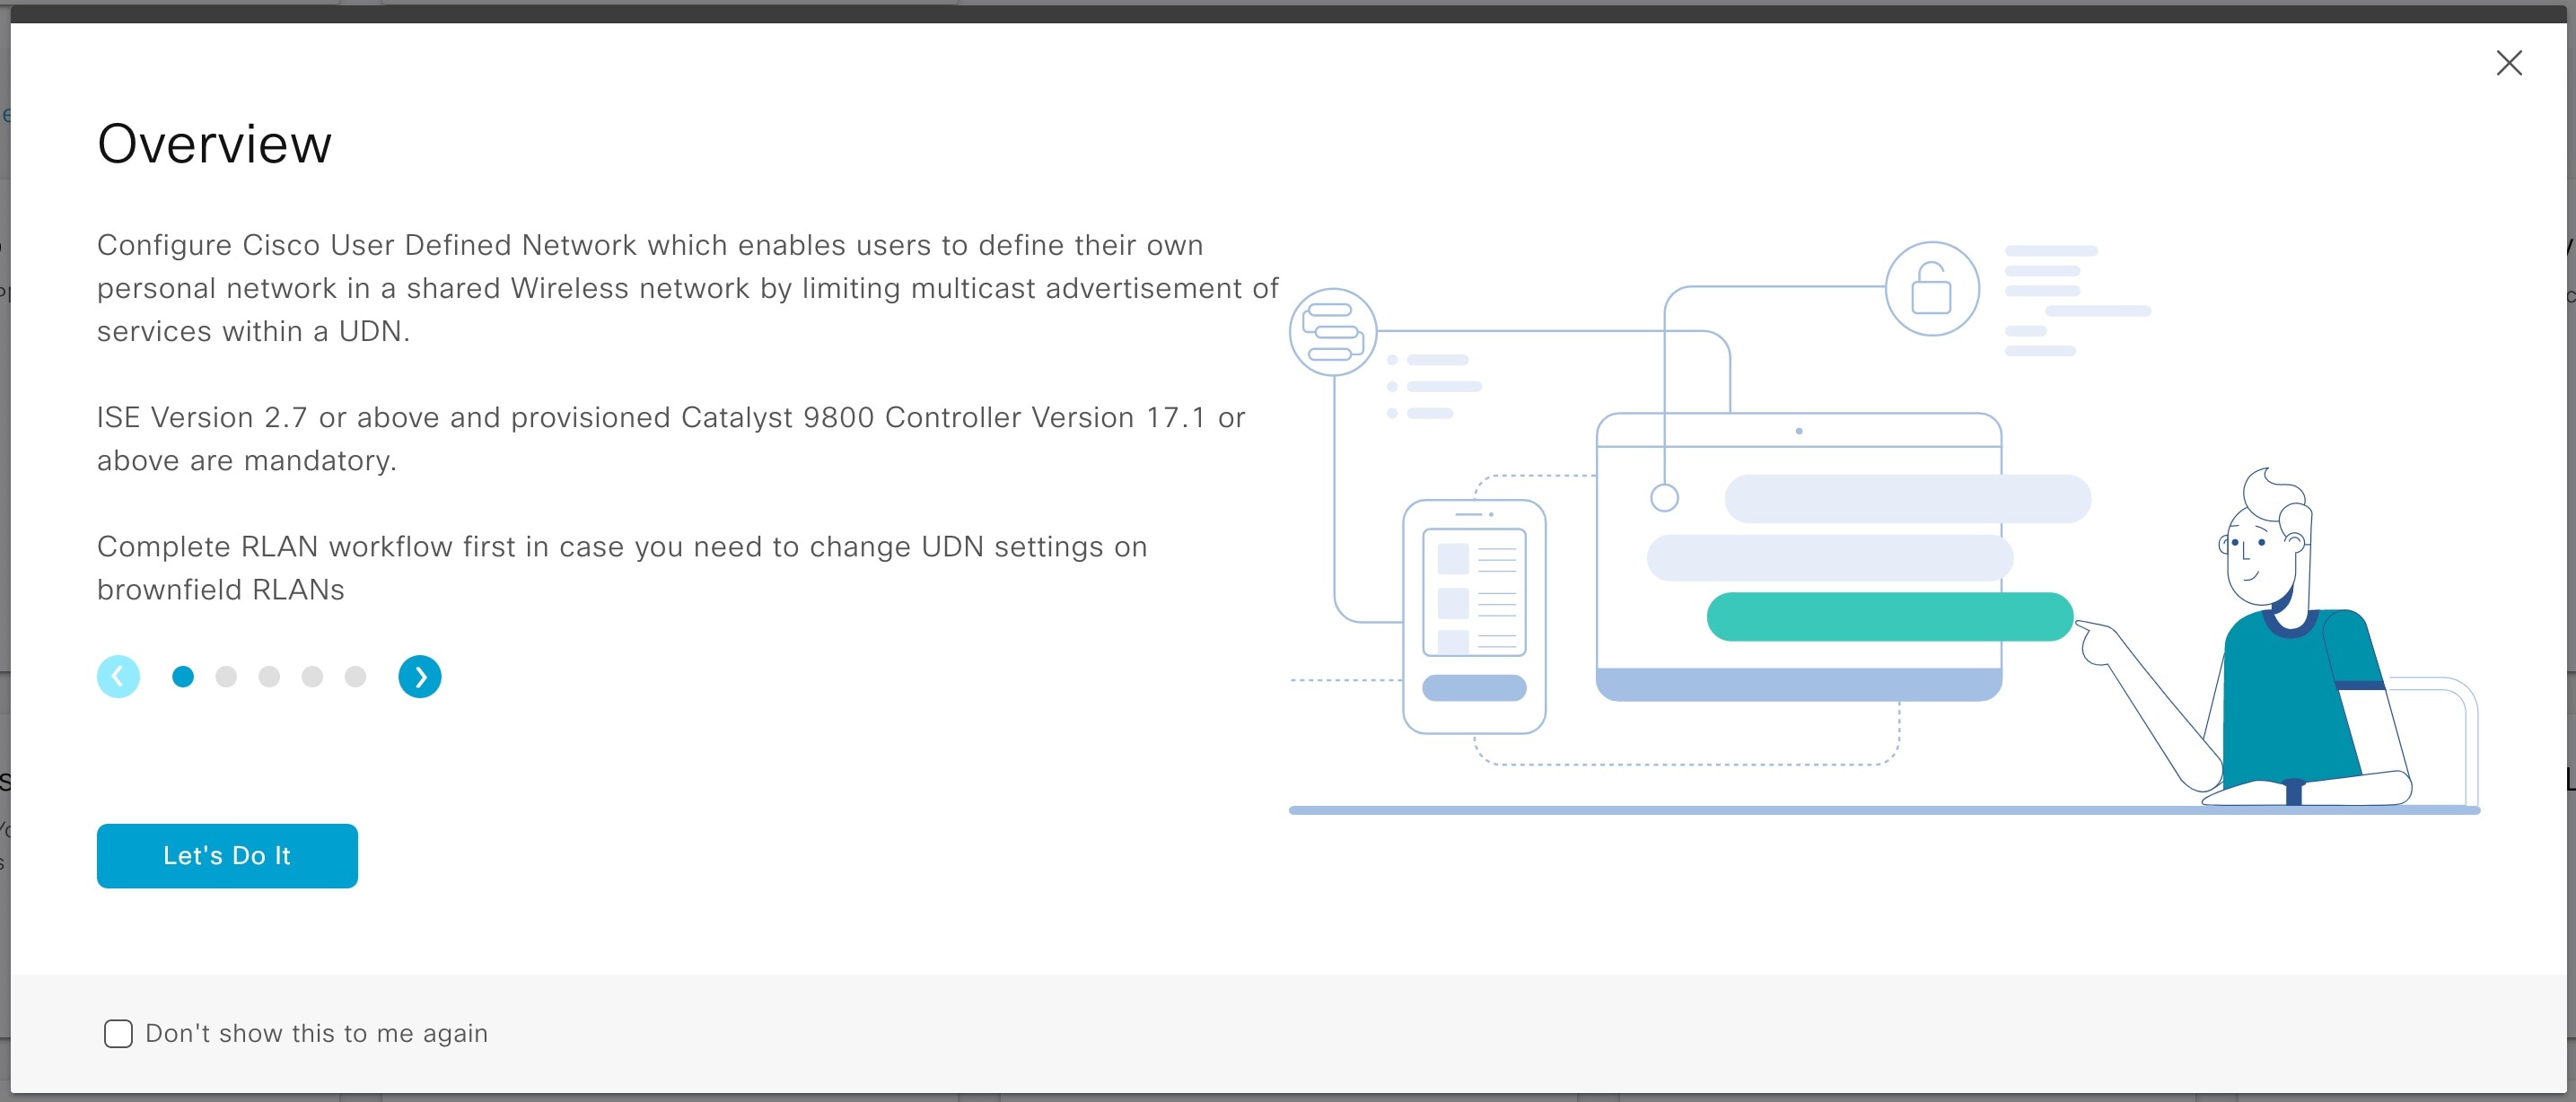
If a task overview window opens, click Let's Do It to go directly to the workflow.
|
||
| Step 4 |
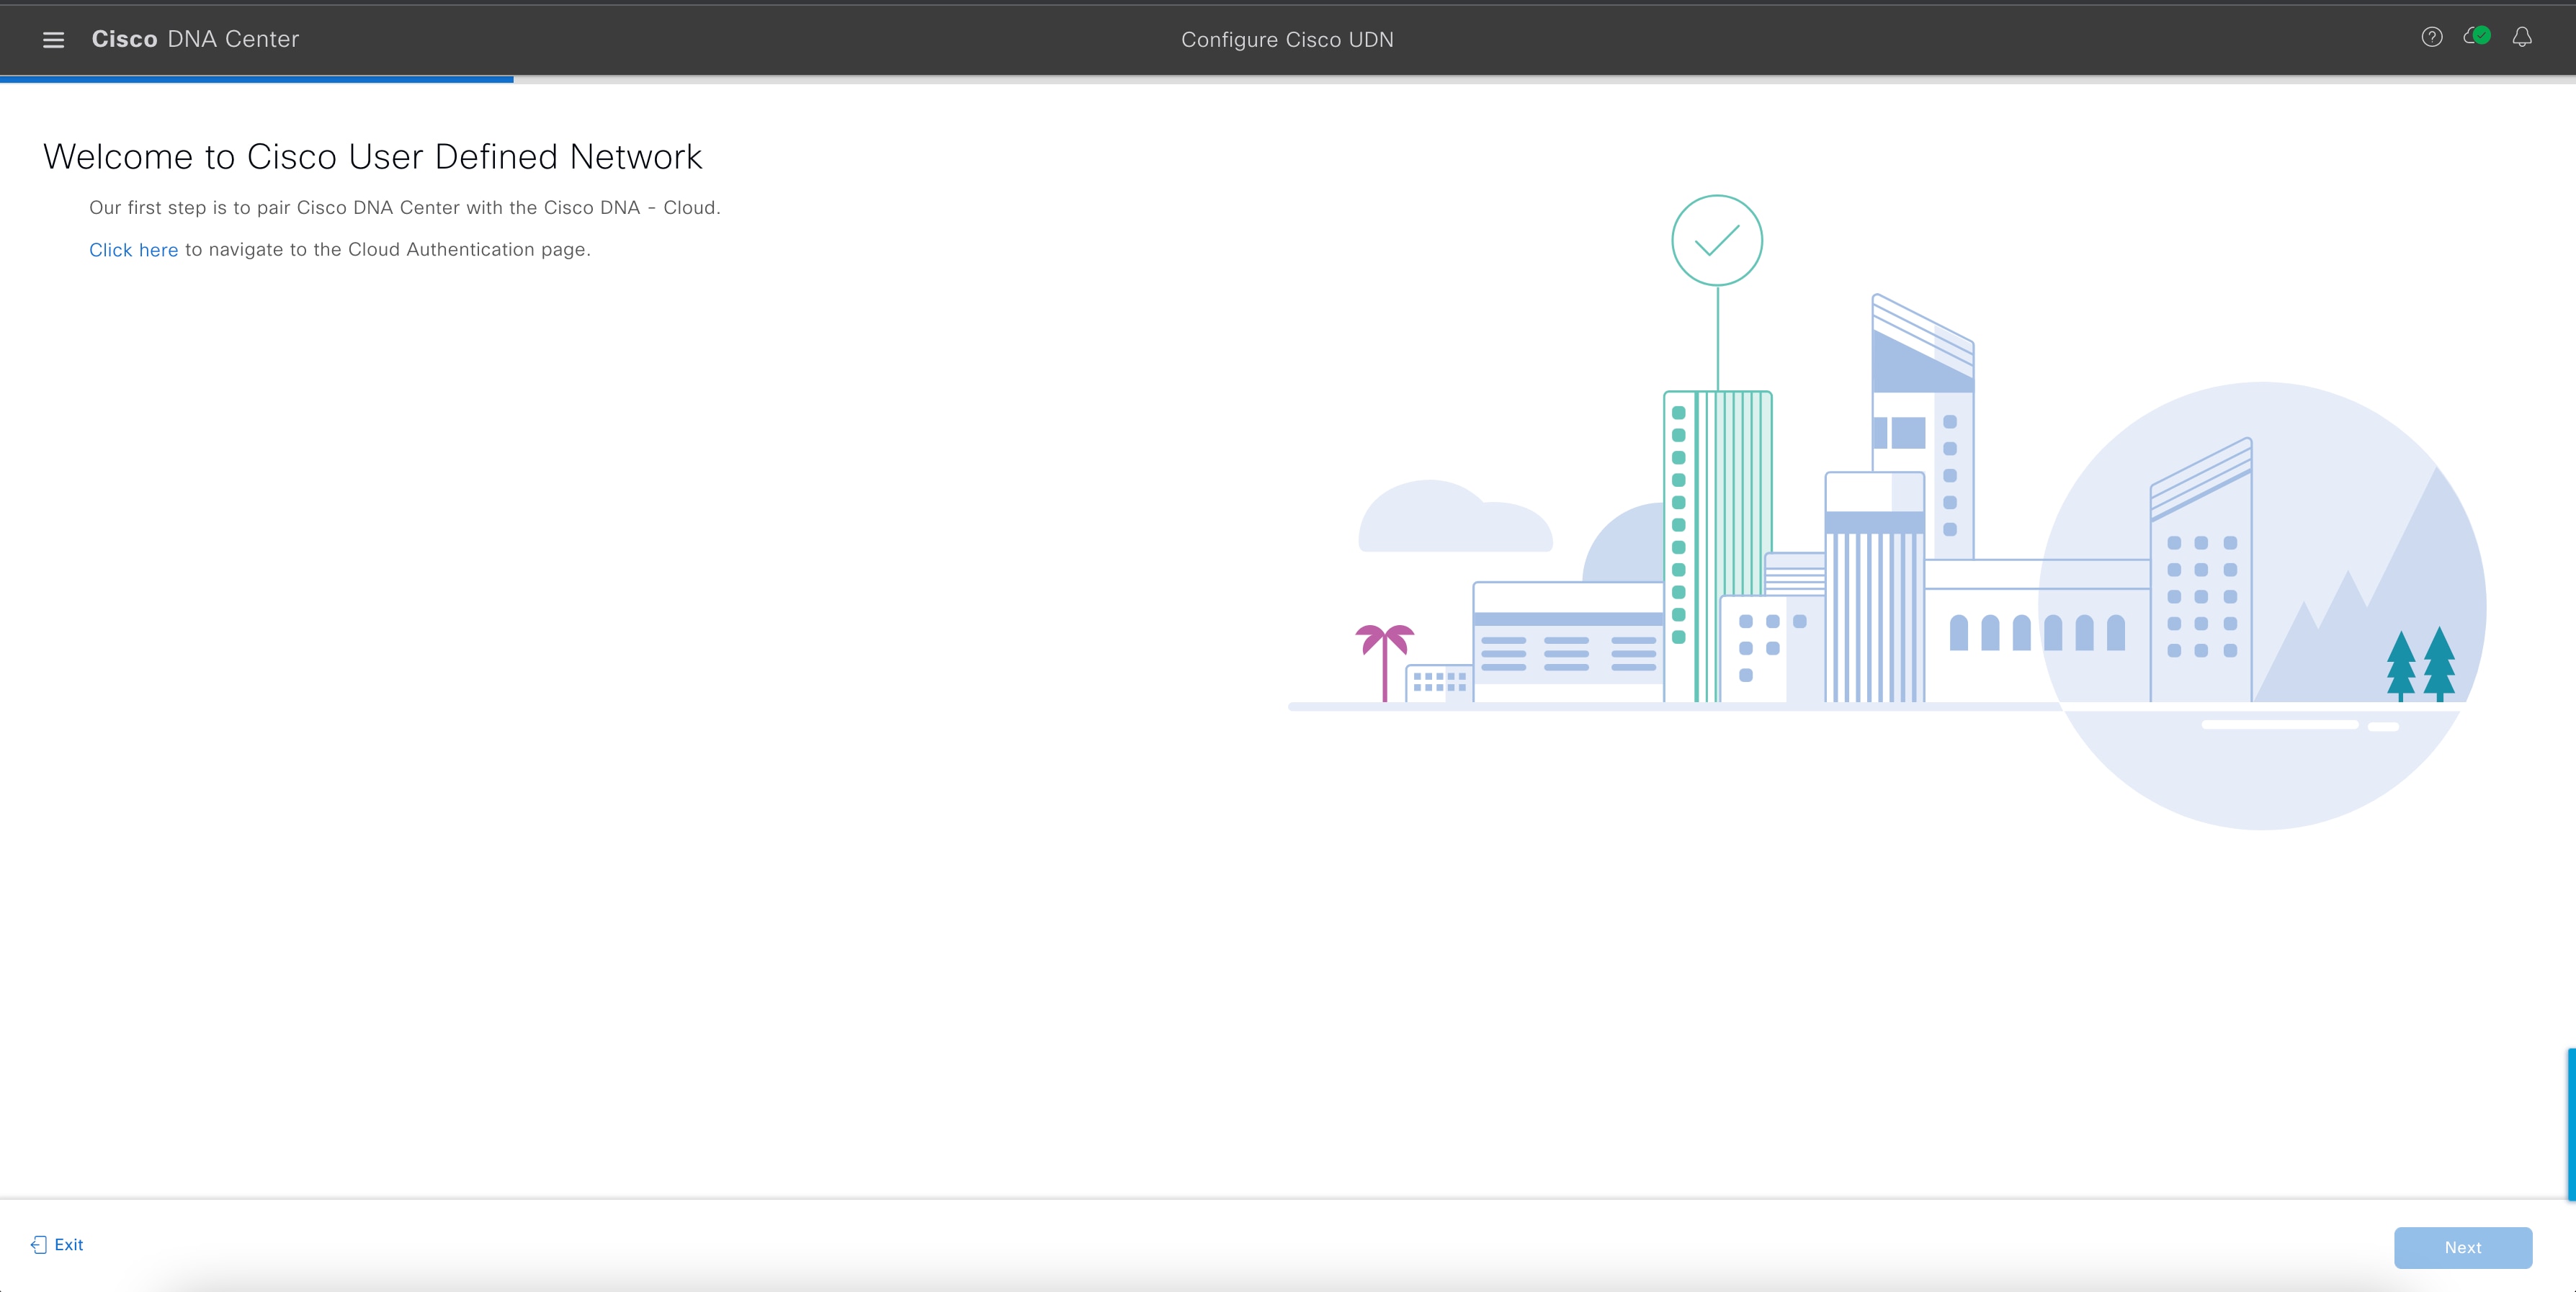
In the Welcome to Cisco User Defined Network window, click Click here to navigate to the Cloud Authentication window to establish a connection between Cisco DNA Center and Cisco DNA Cloud portal.
|
||
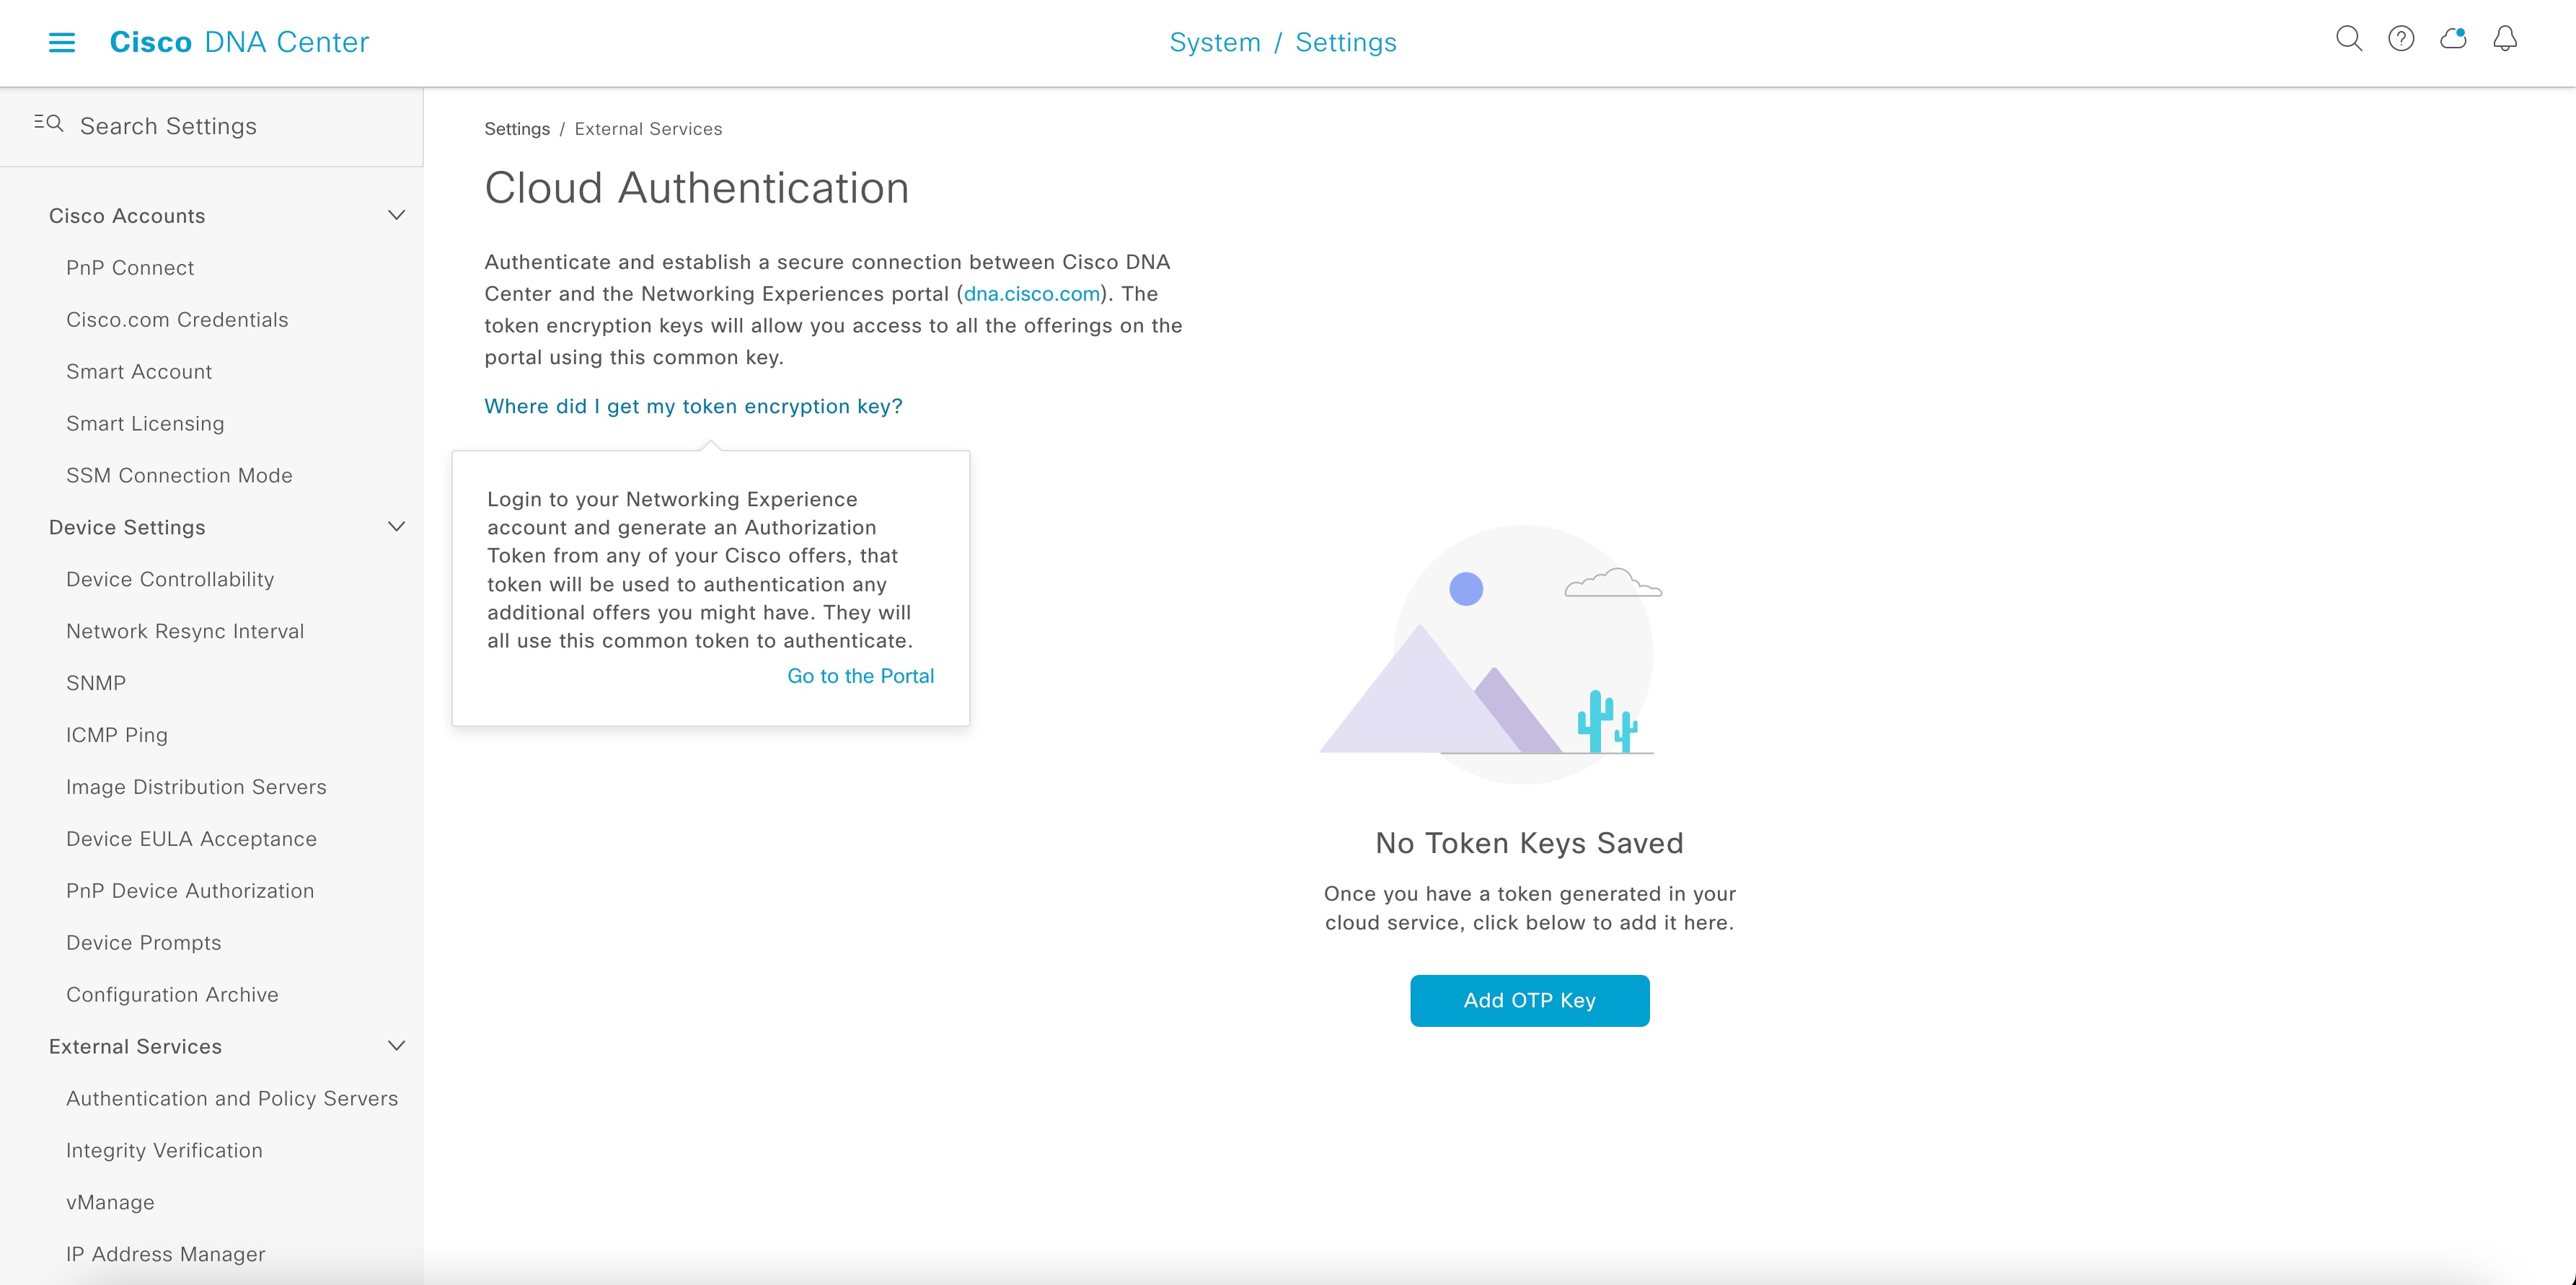
| Step 5 |
In the Cloud Authentication window, click Where did I get my token encryption key? and click Go to the Portal in the dialog box.
The Cisco DNA - Cloud application opens in a new tab. |
||
| Step 6 |
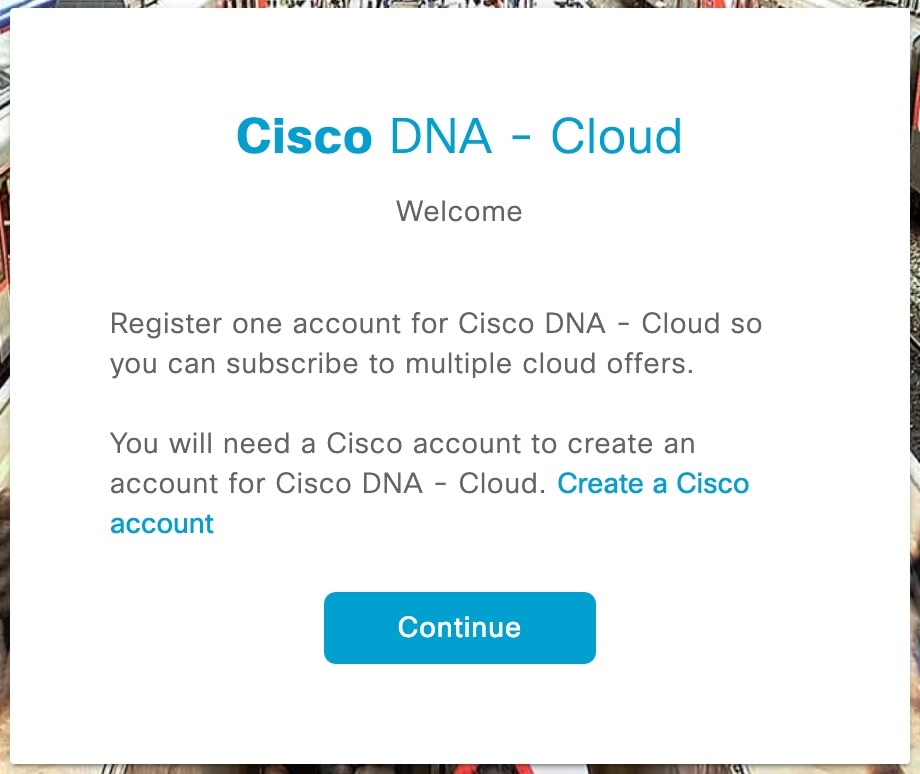
To create a new Cisco DNA - Cloud account, click Create a Cisco account and click Continue.
|
||
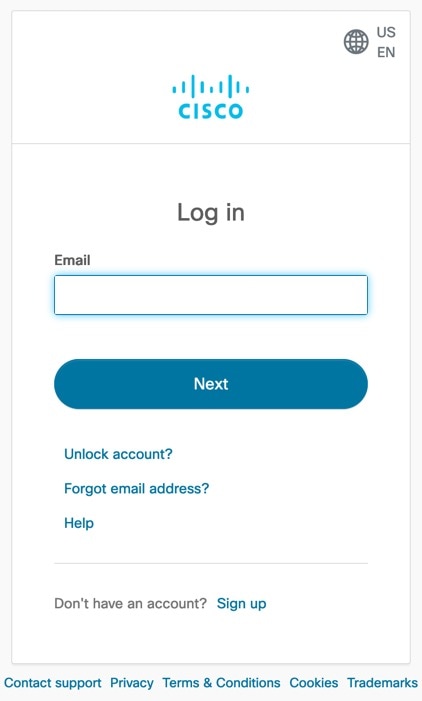
| Step 7 |
In the Log In window, enter your Cisco account ID and click Next.
|
||
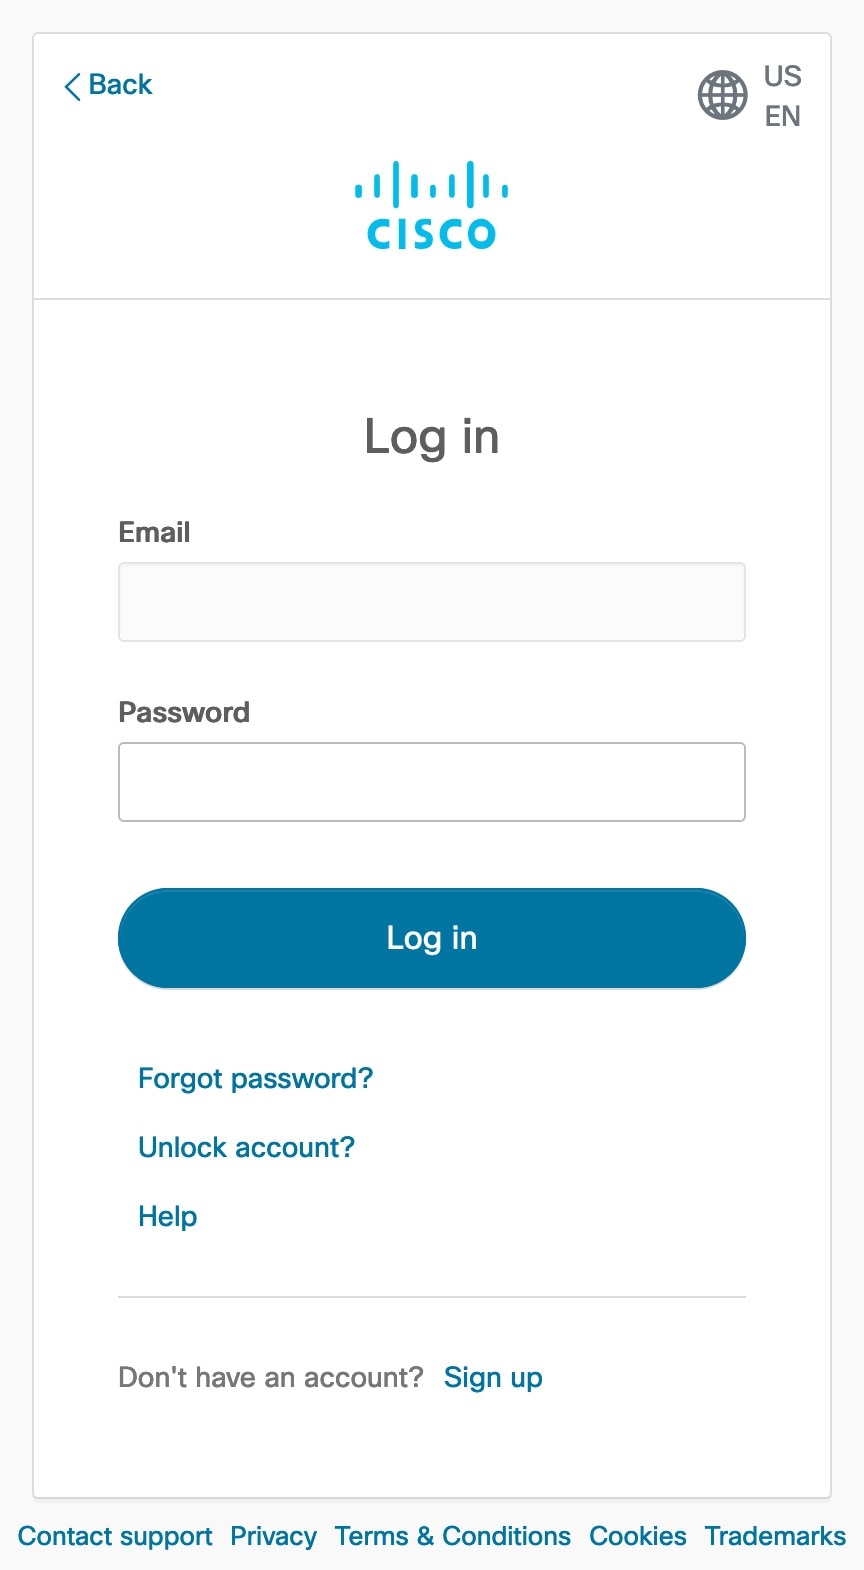
| Step 8 |
Enter the CCO password, and click Log in.
|
||
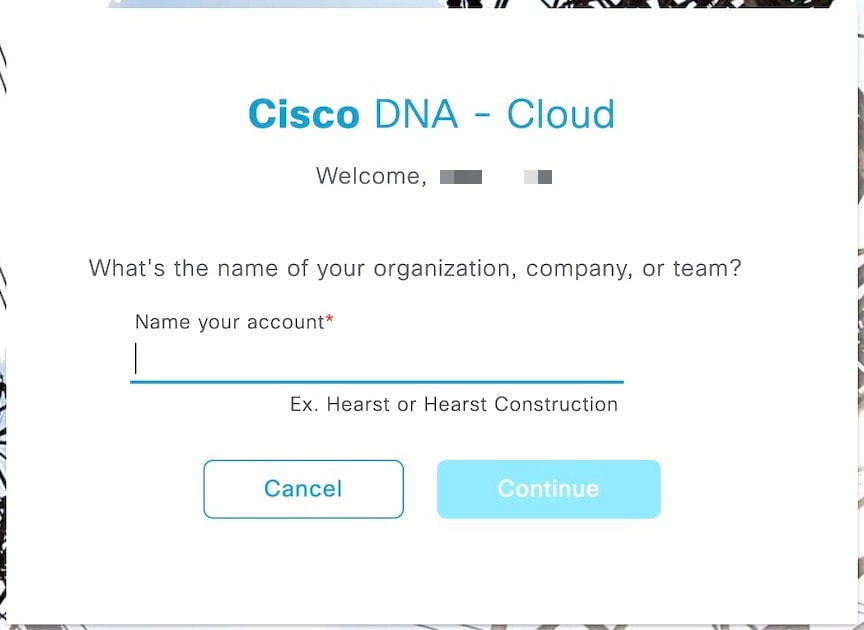
| Step 9 |
In the Name your account field, enter a name to identify your organization and click Continue.
|
||
| Step 10 |
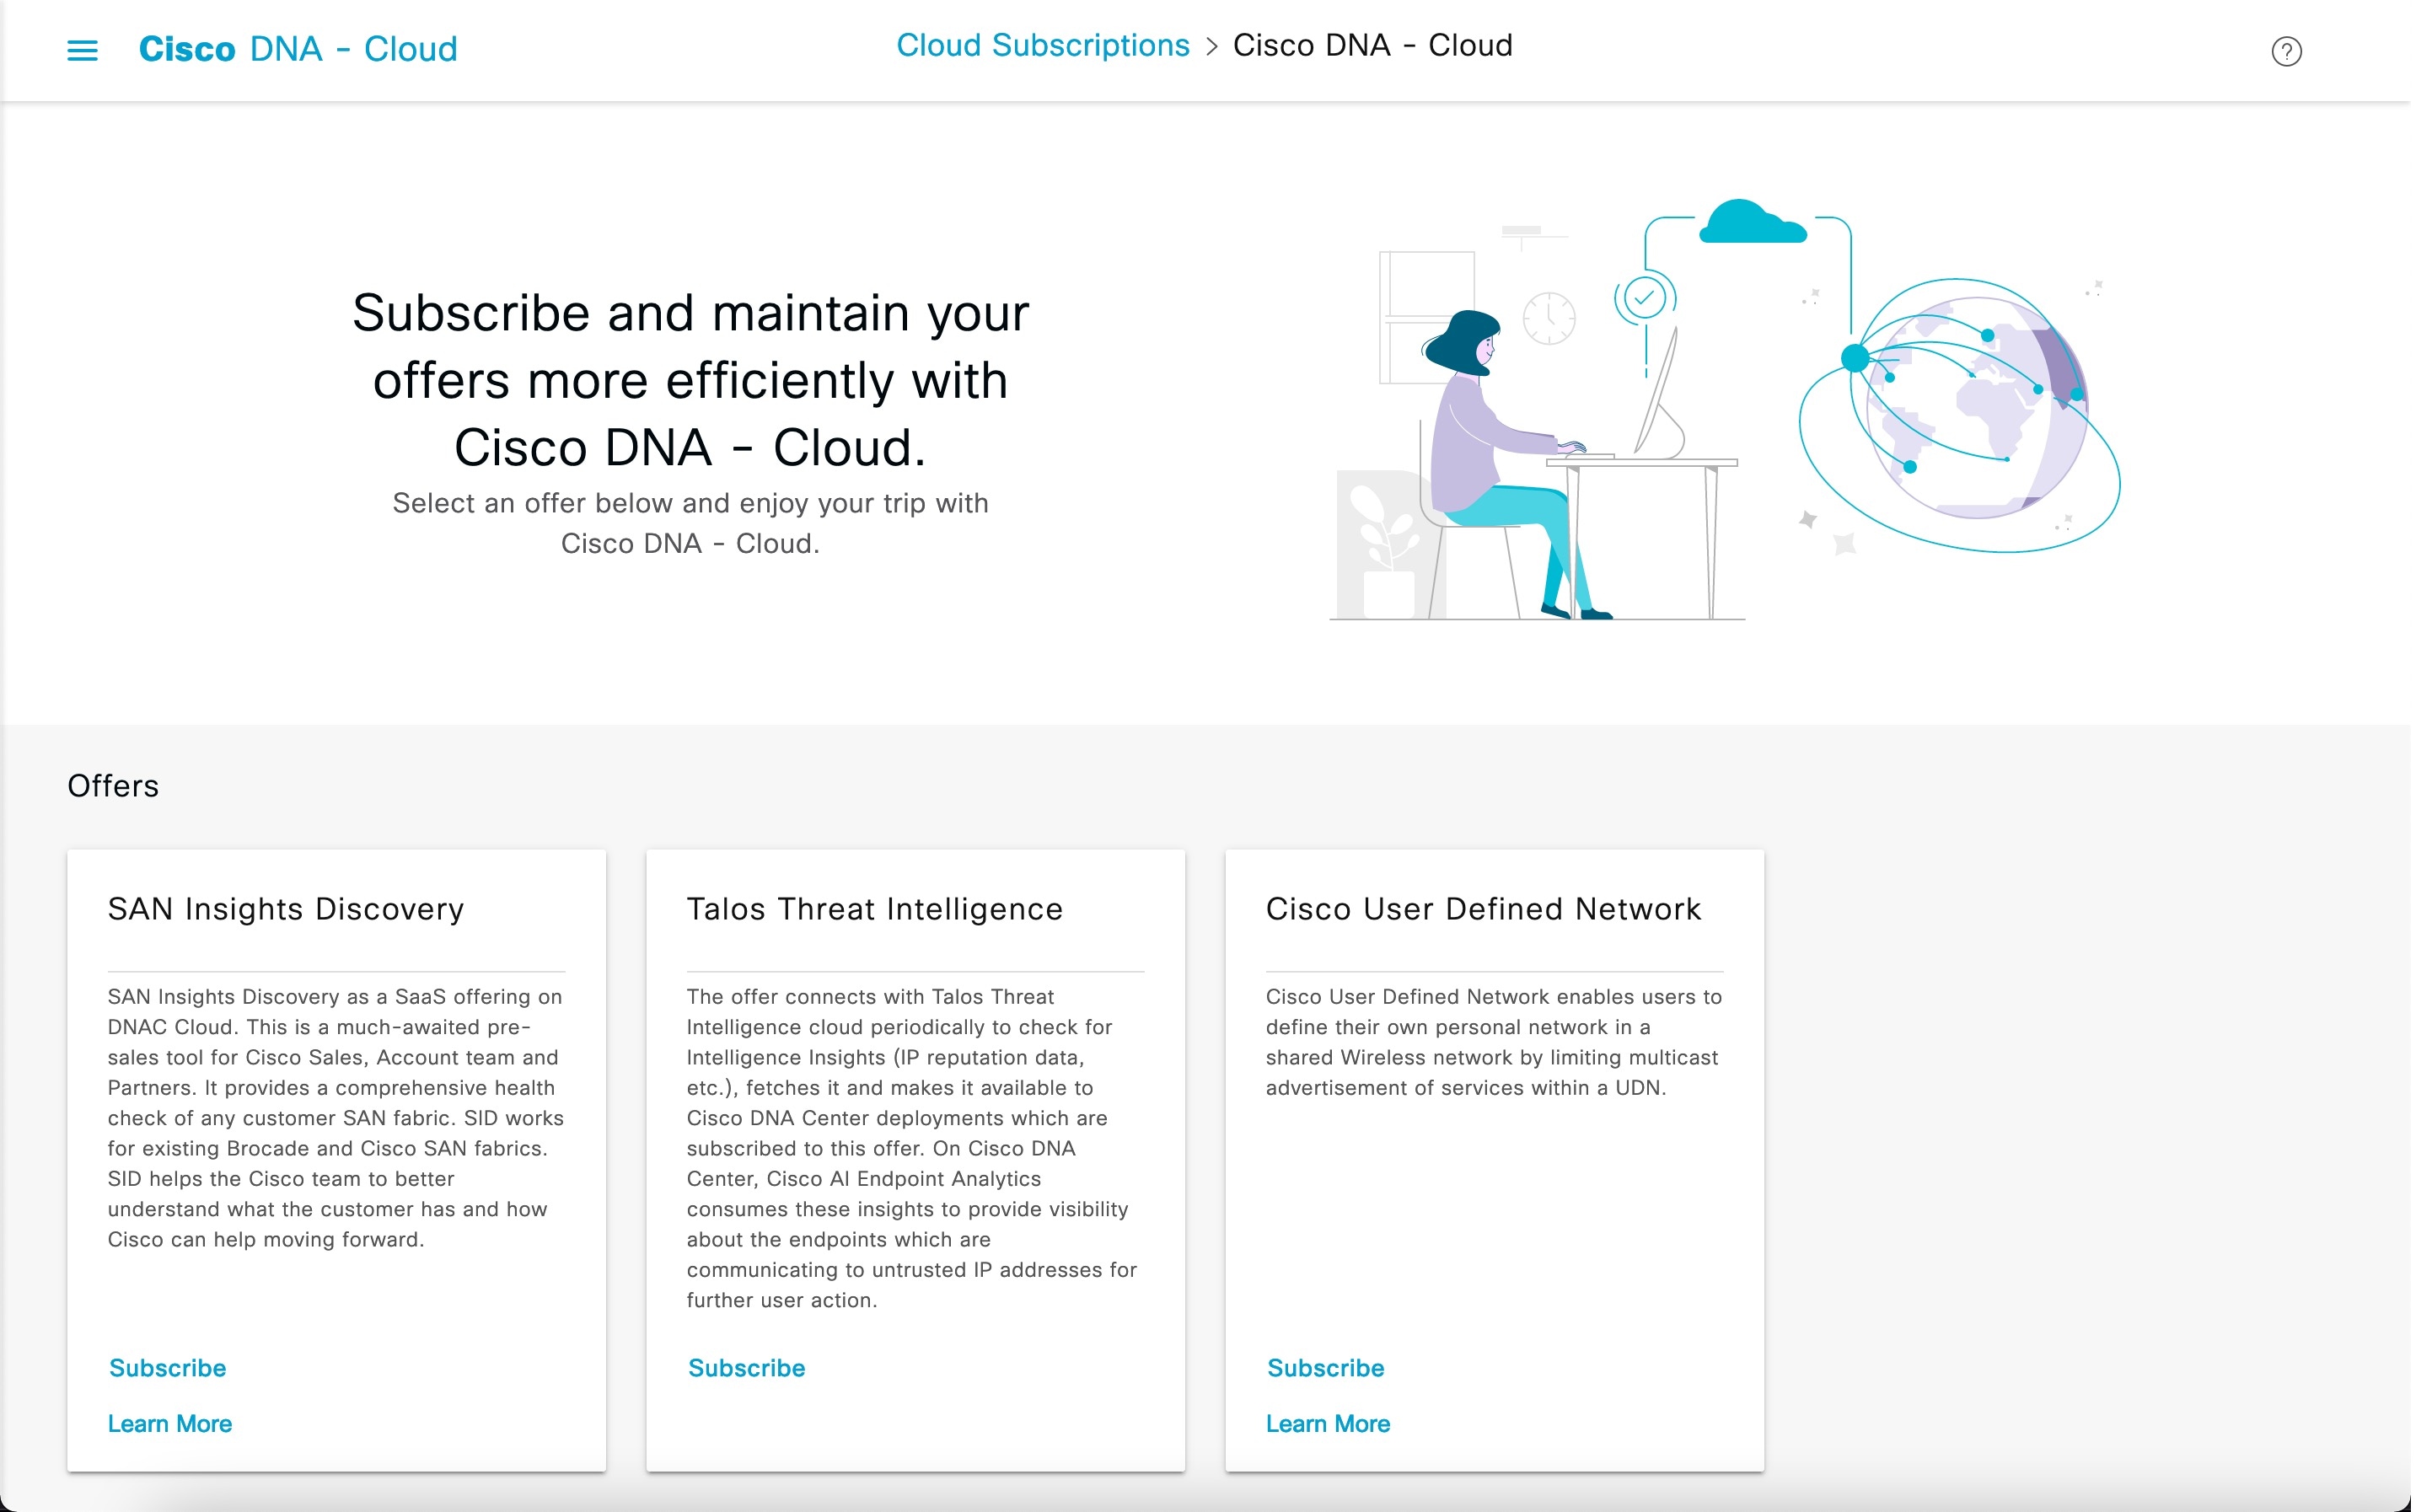
In the Confirm CCO Profile window, follow the on-screen instructions, and click Create Account.
This image 464309.jpg is not available in preview/cisco.com The Cisco DNA Cloud account is created successfully and the Cisco DNA - Cloud home page appears which lists all the available offers as a card.
|
||
| Step 11 |
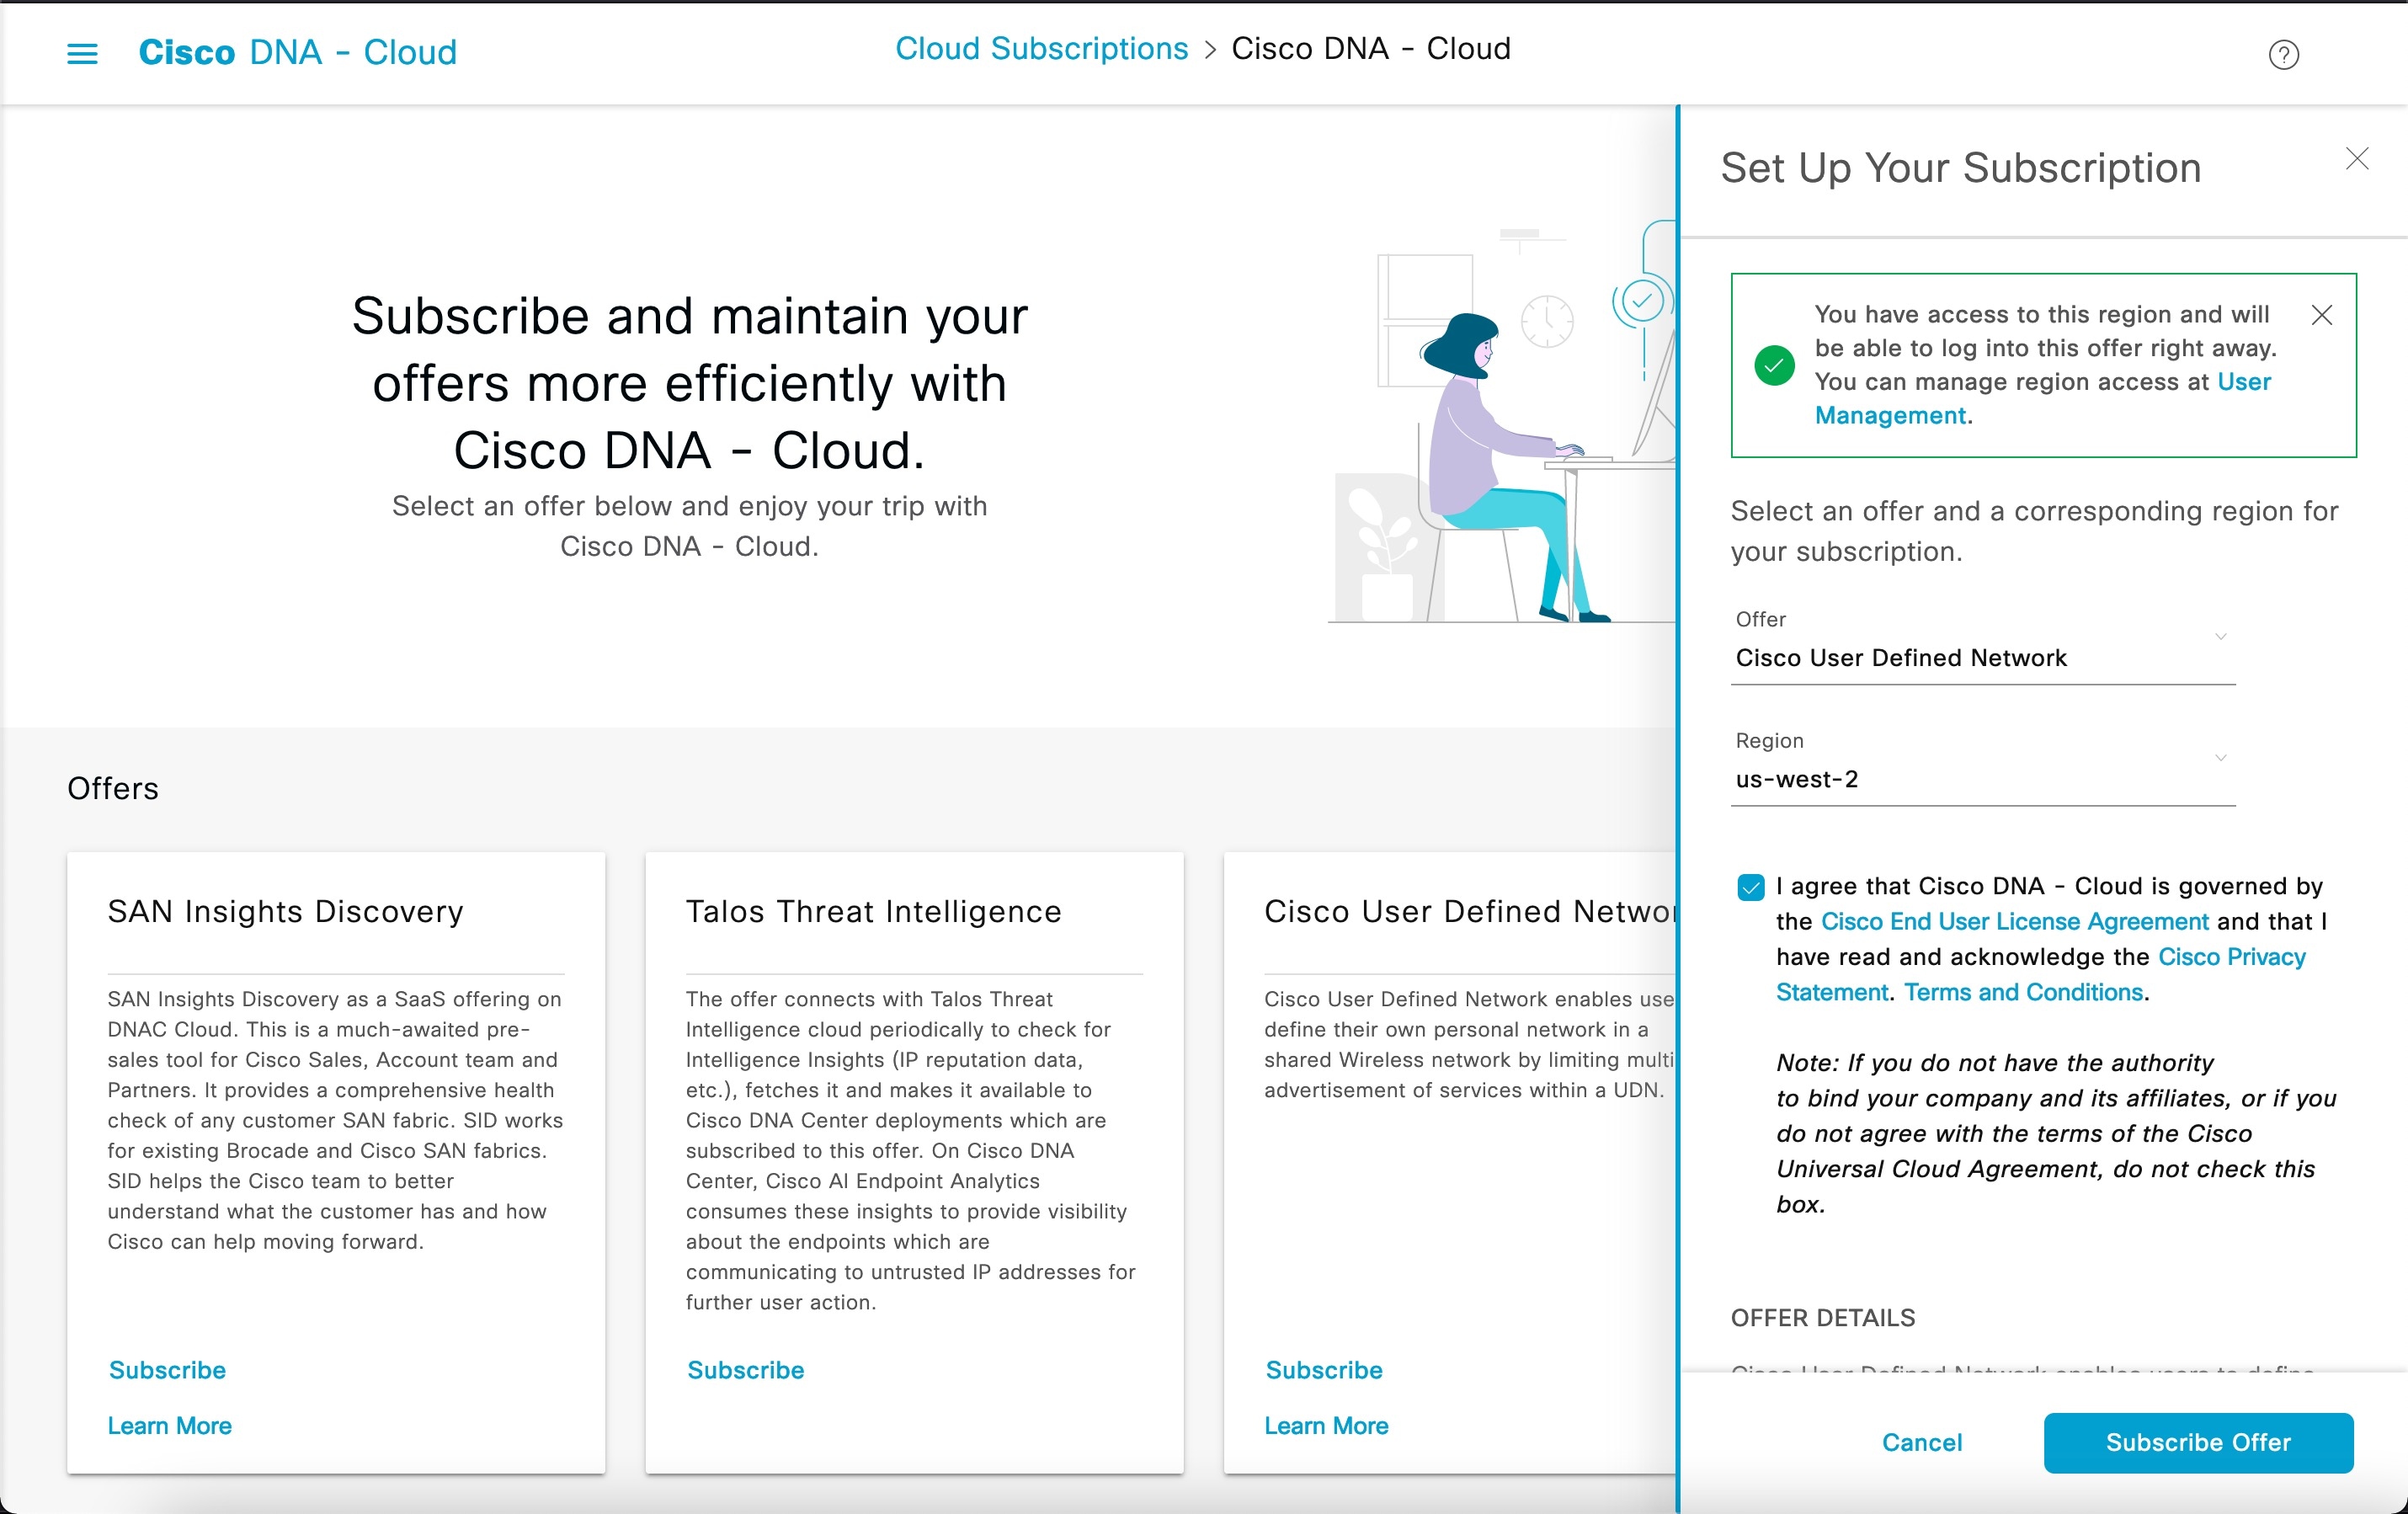
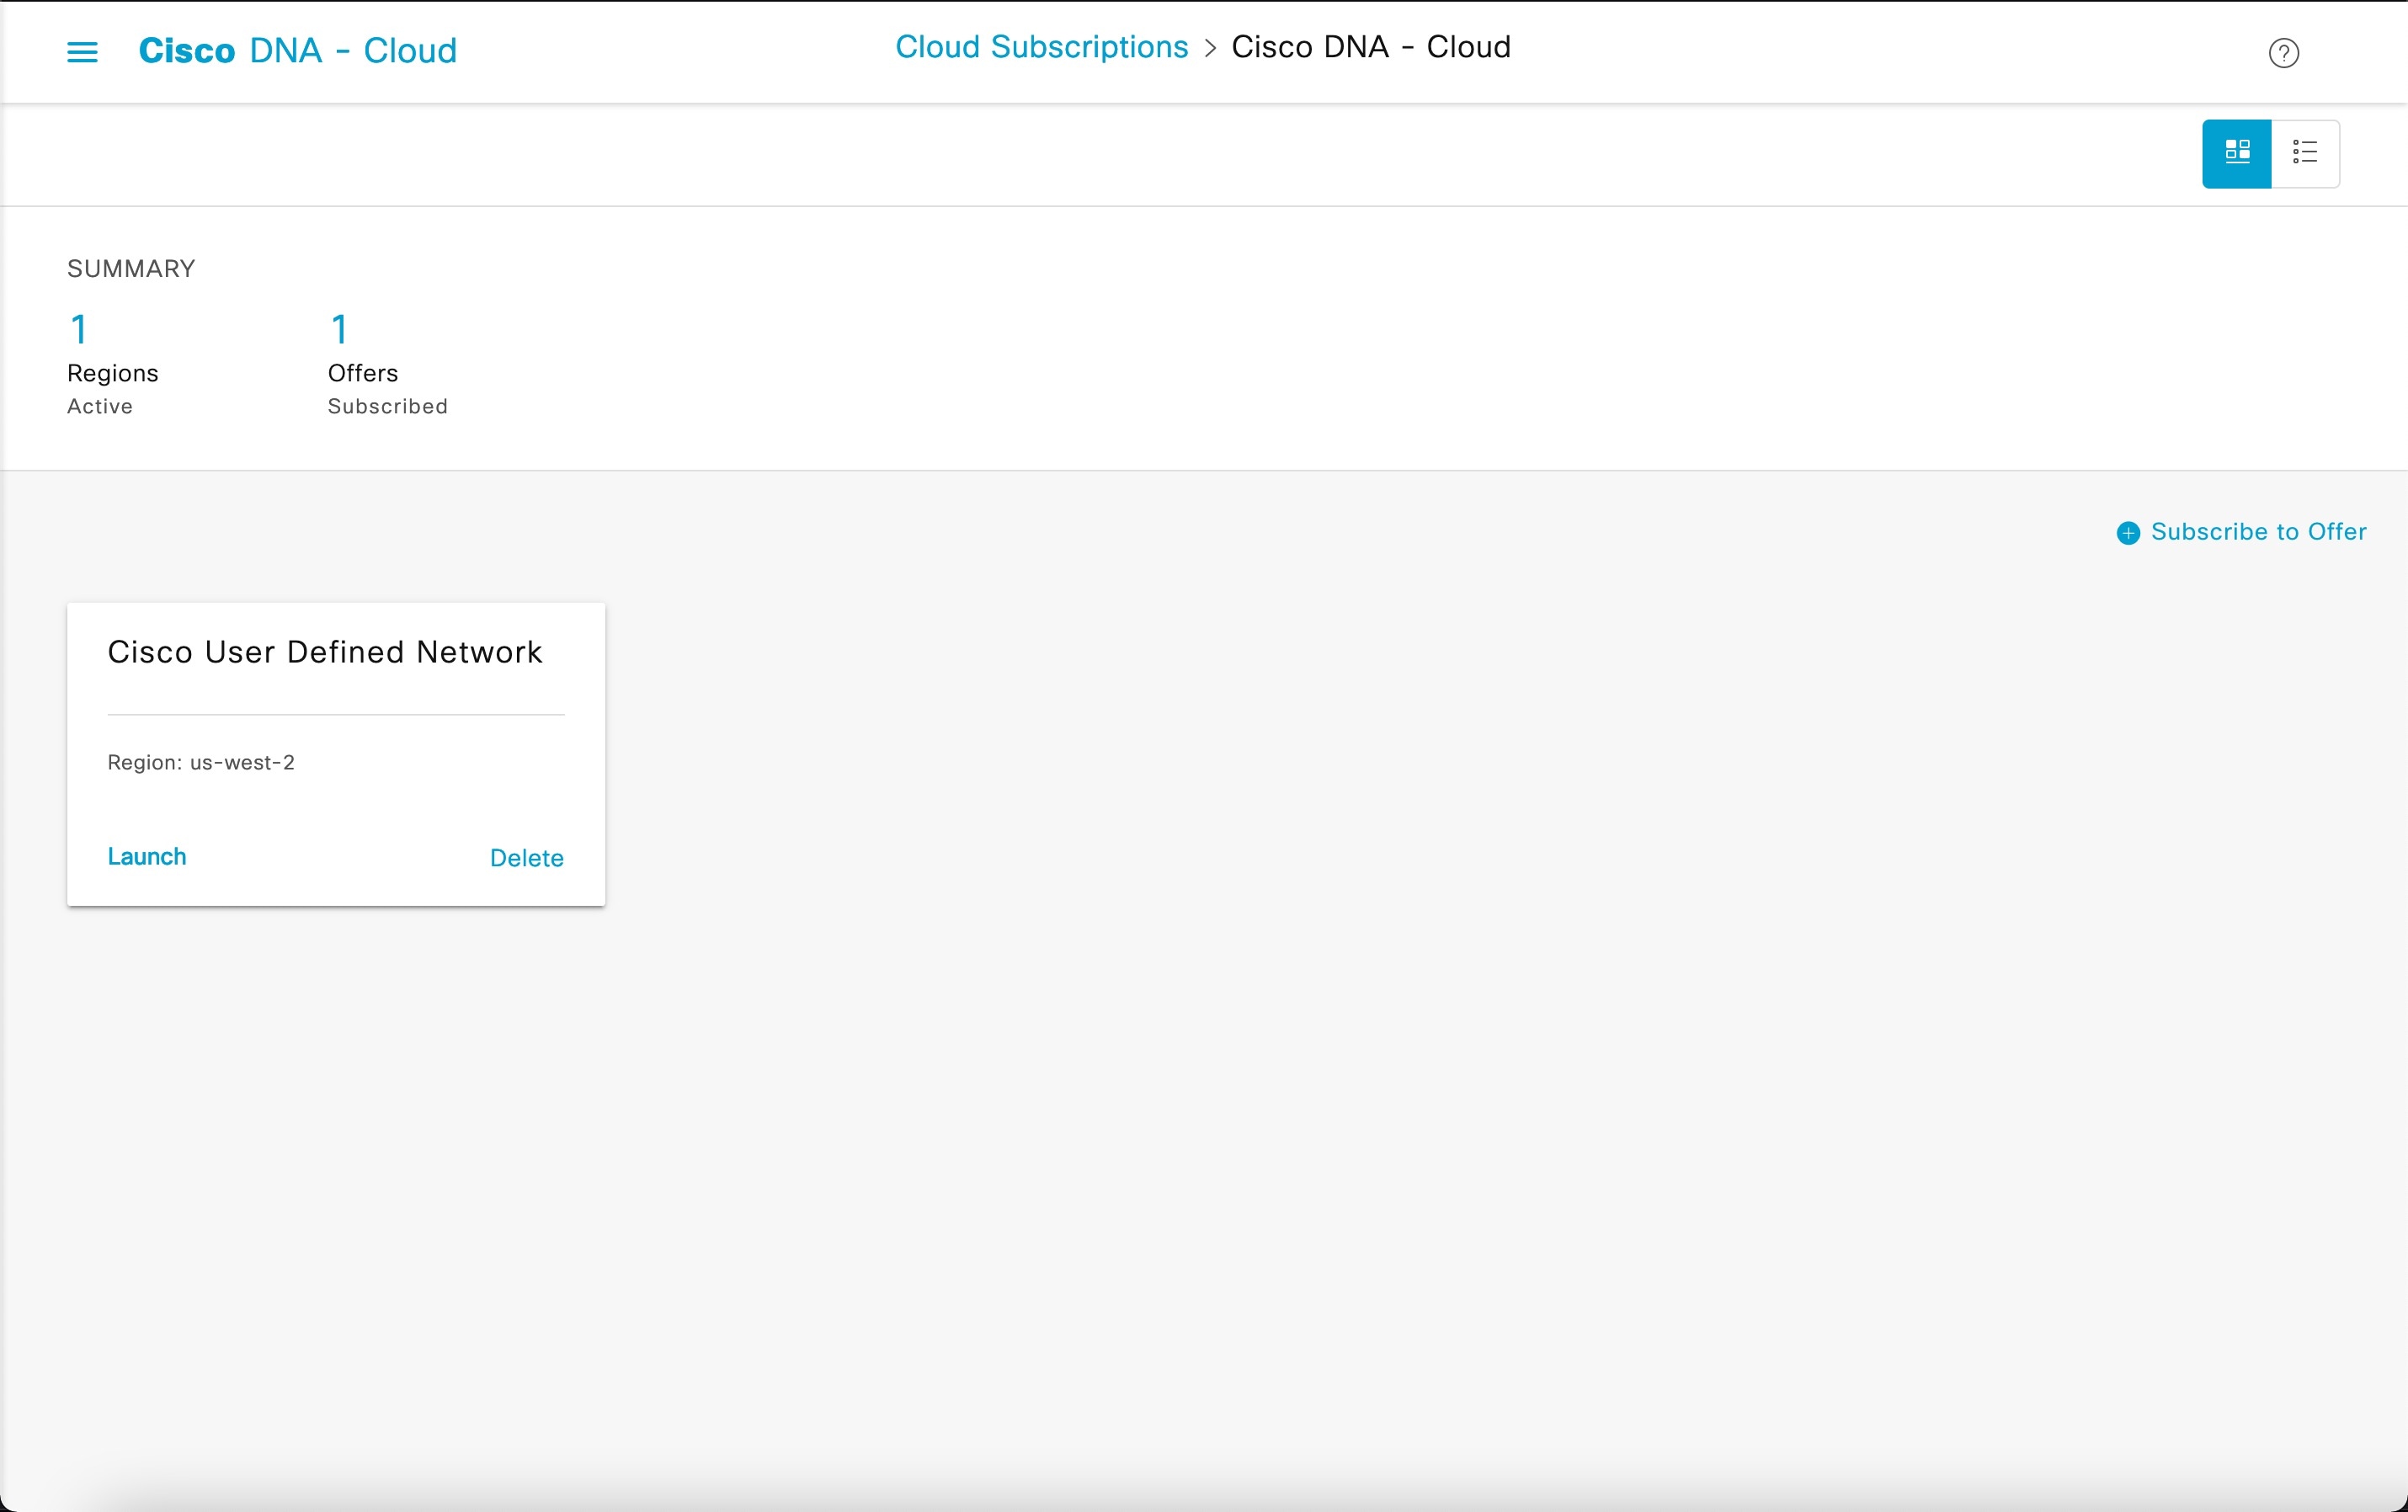
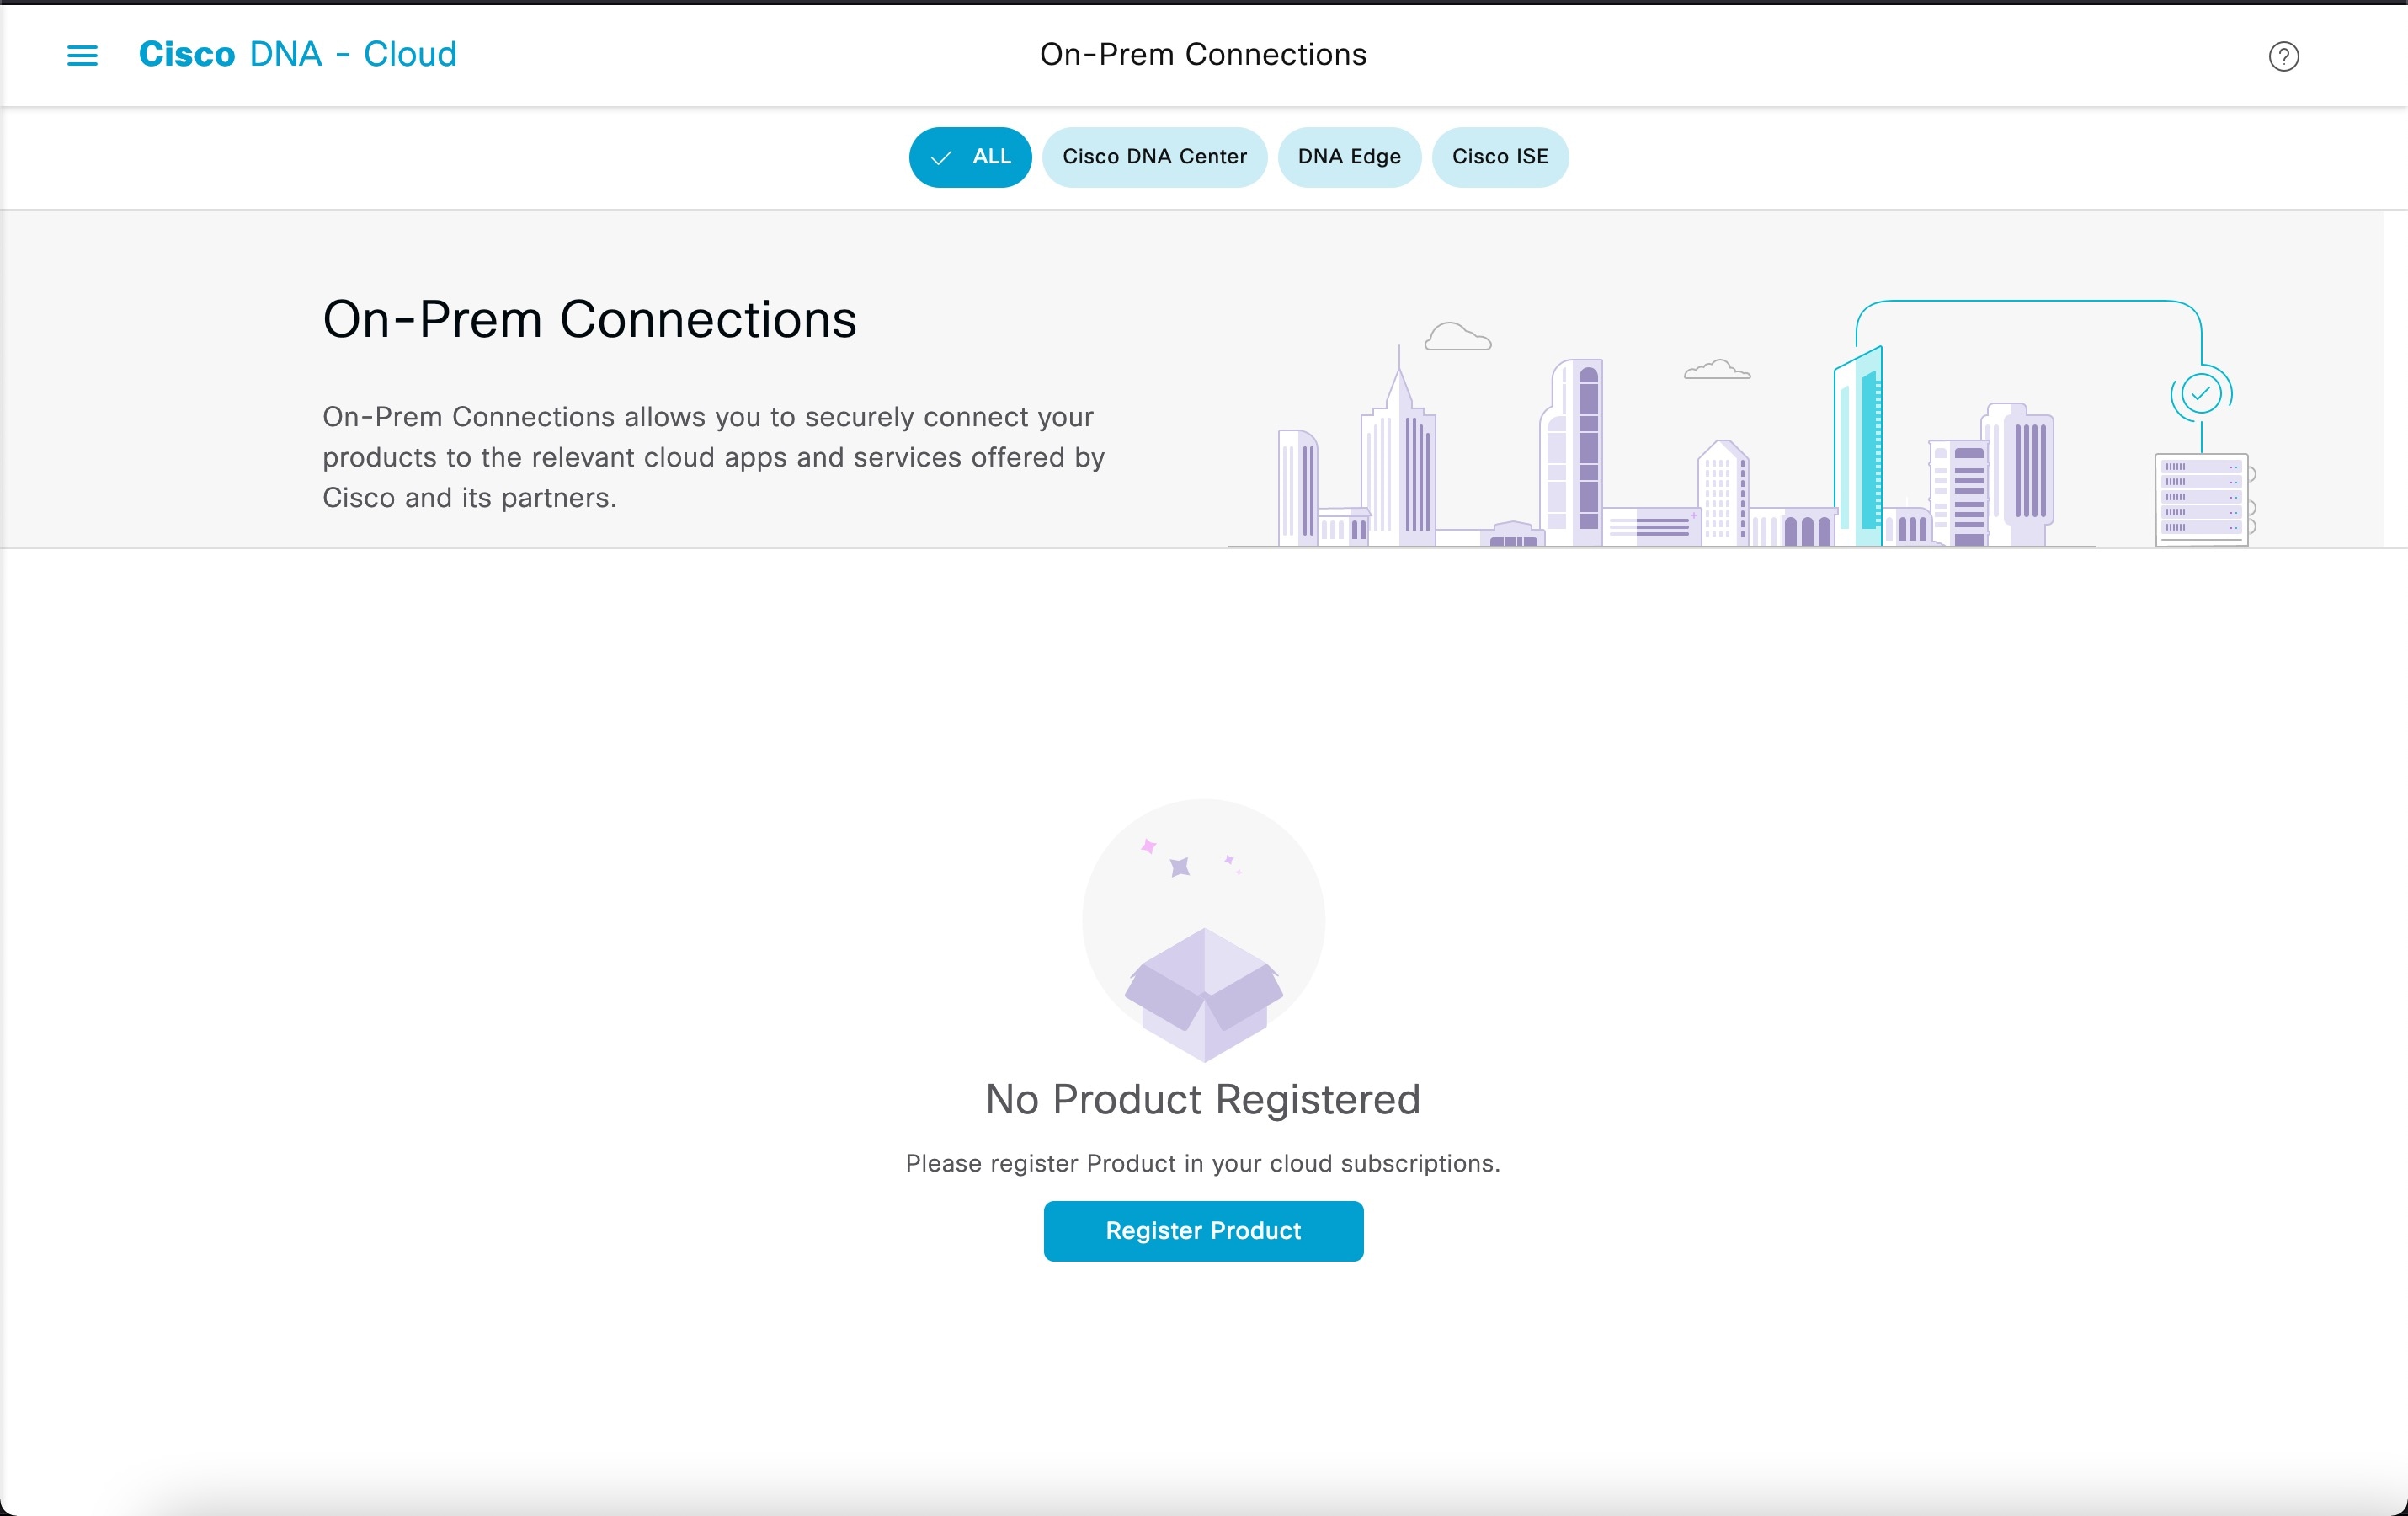
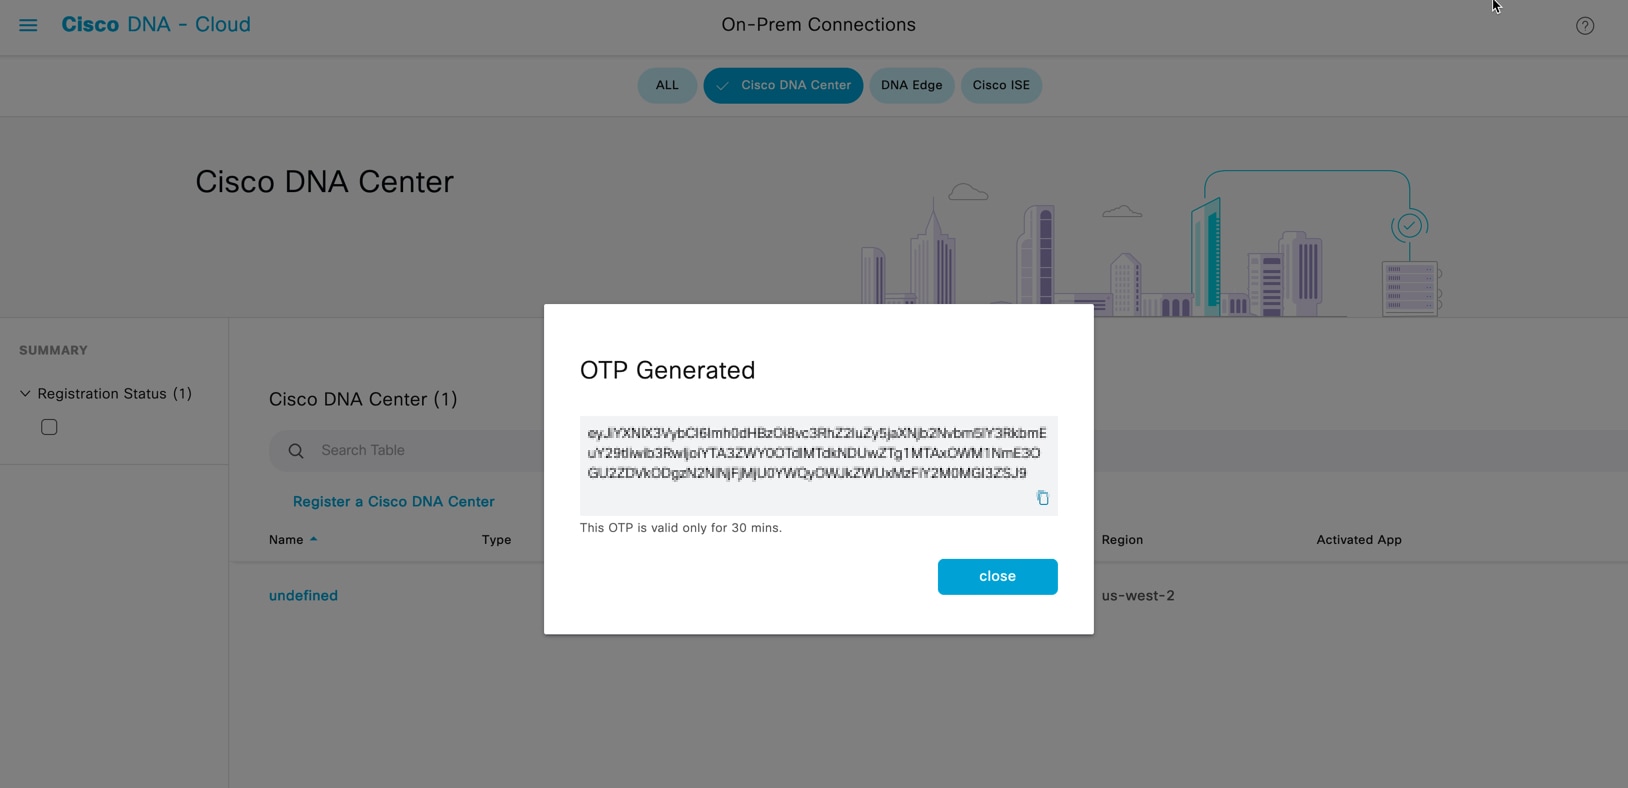
Subscribe to an offer hosted on a specific region before registering Cisco DNA Center to a region.
|
||
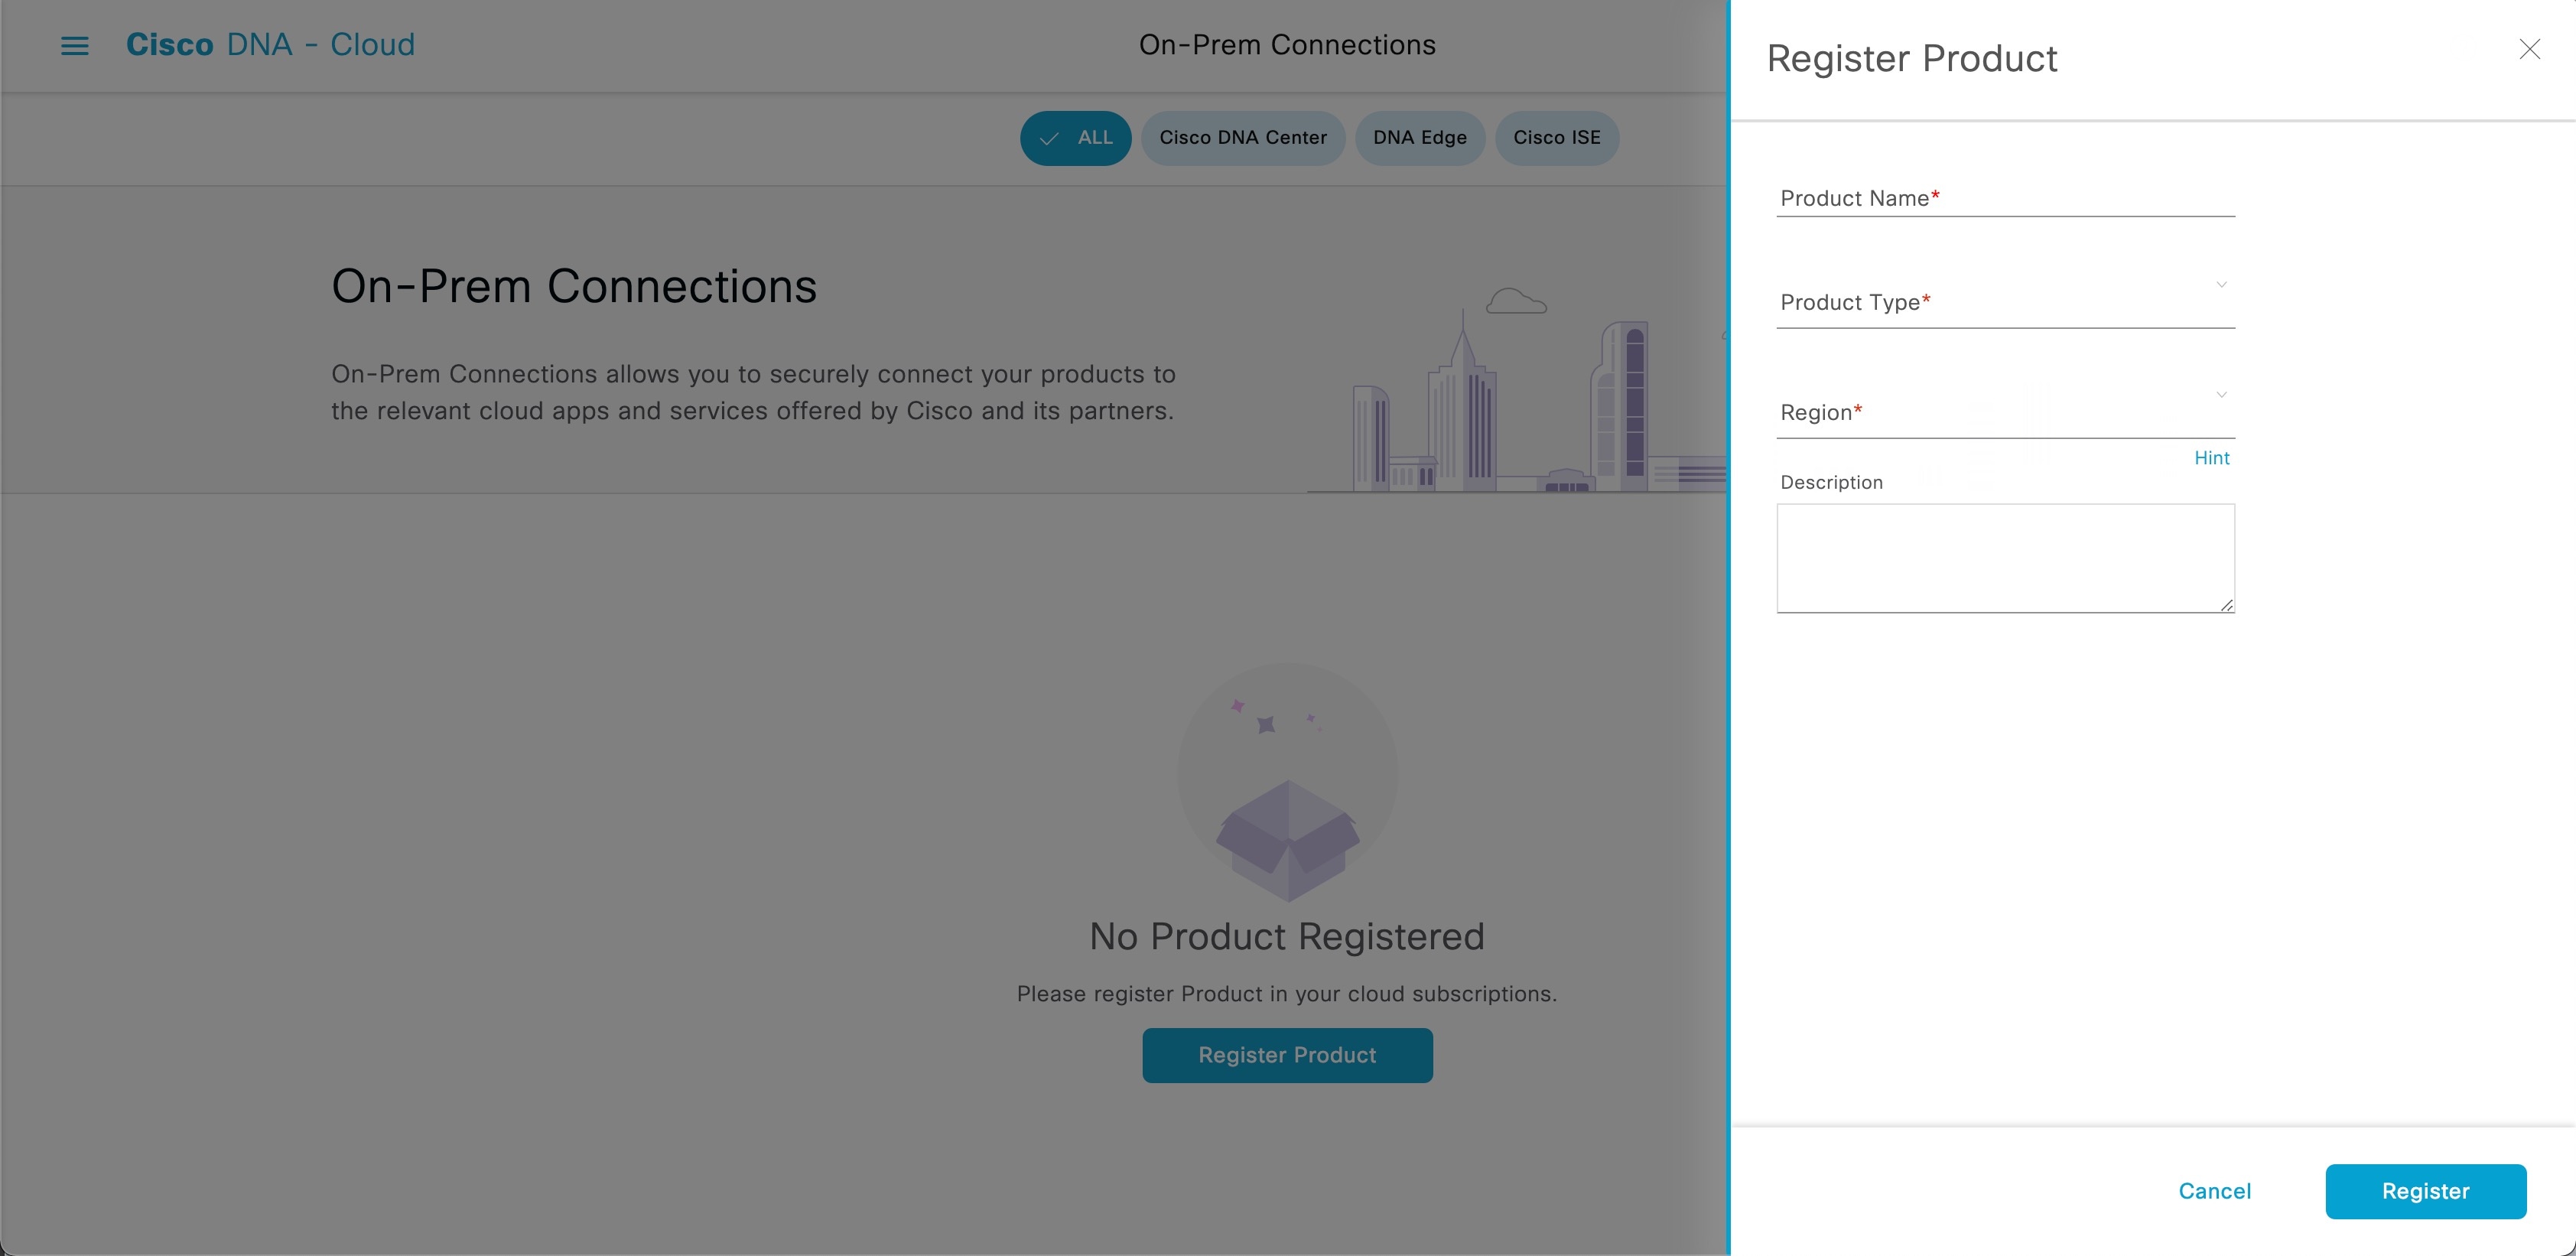
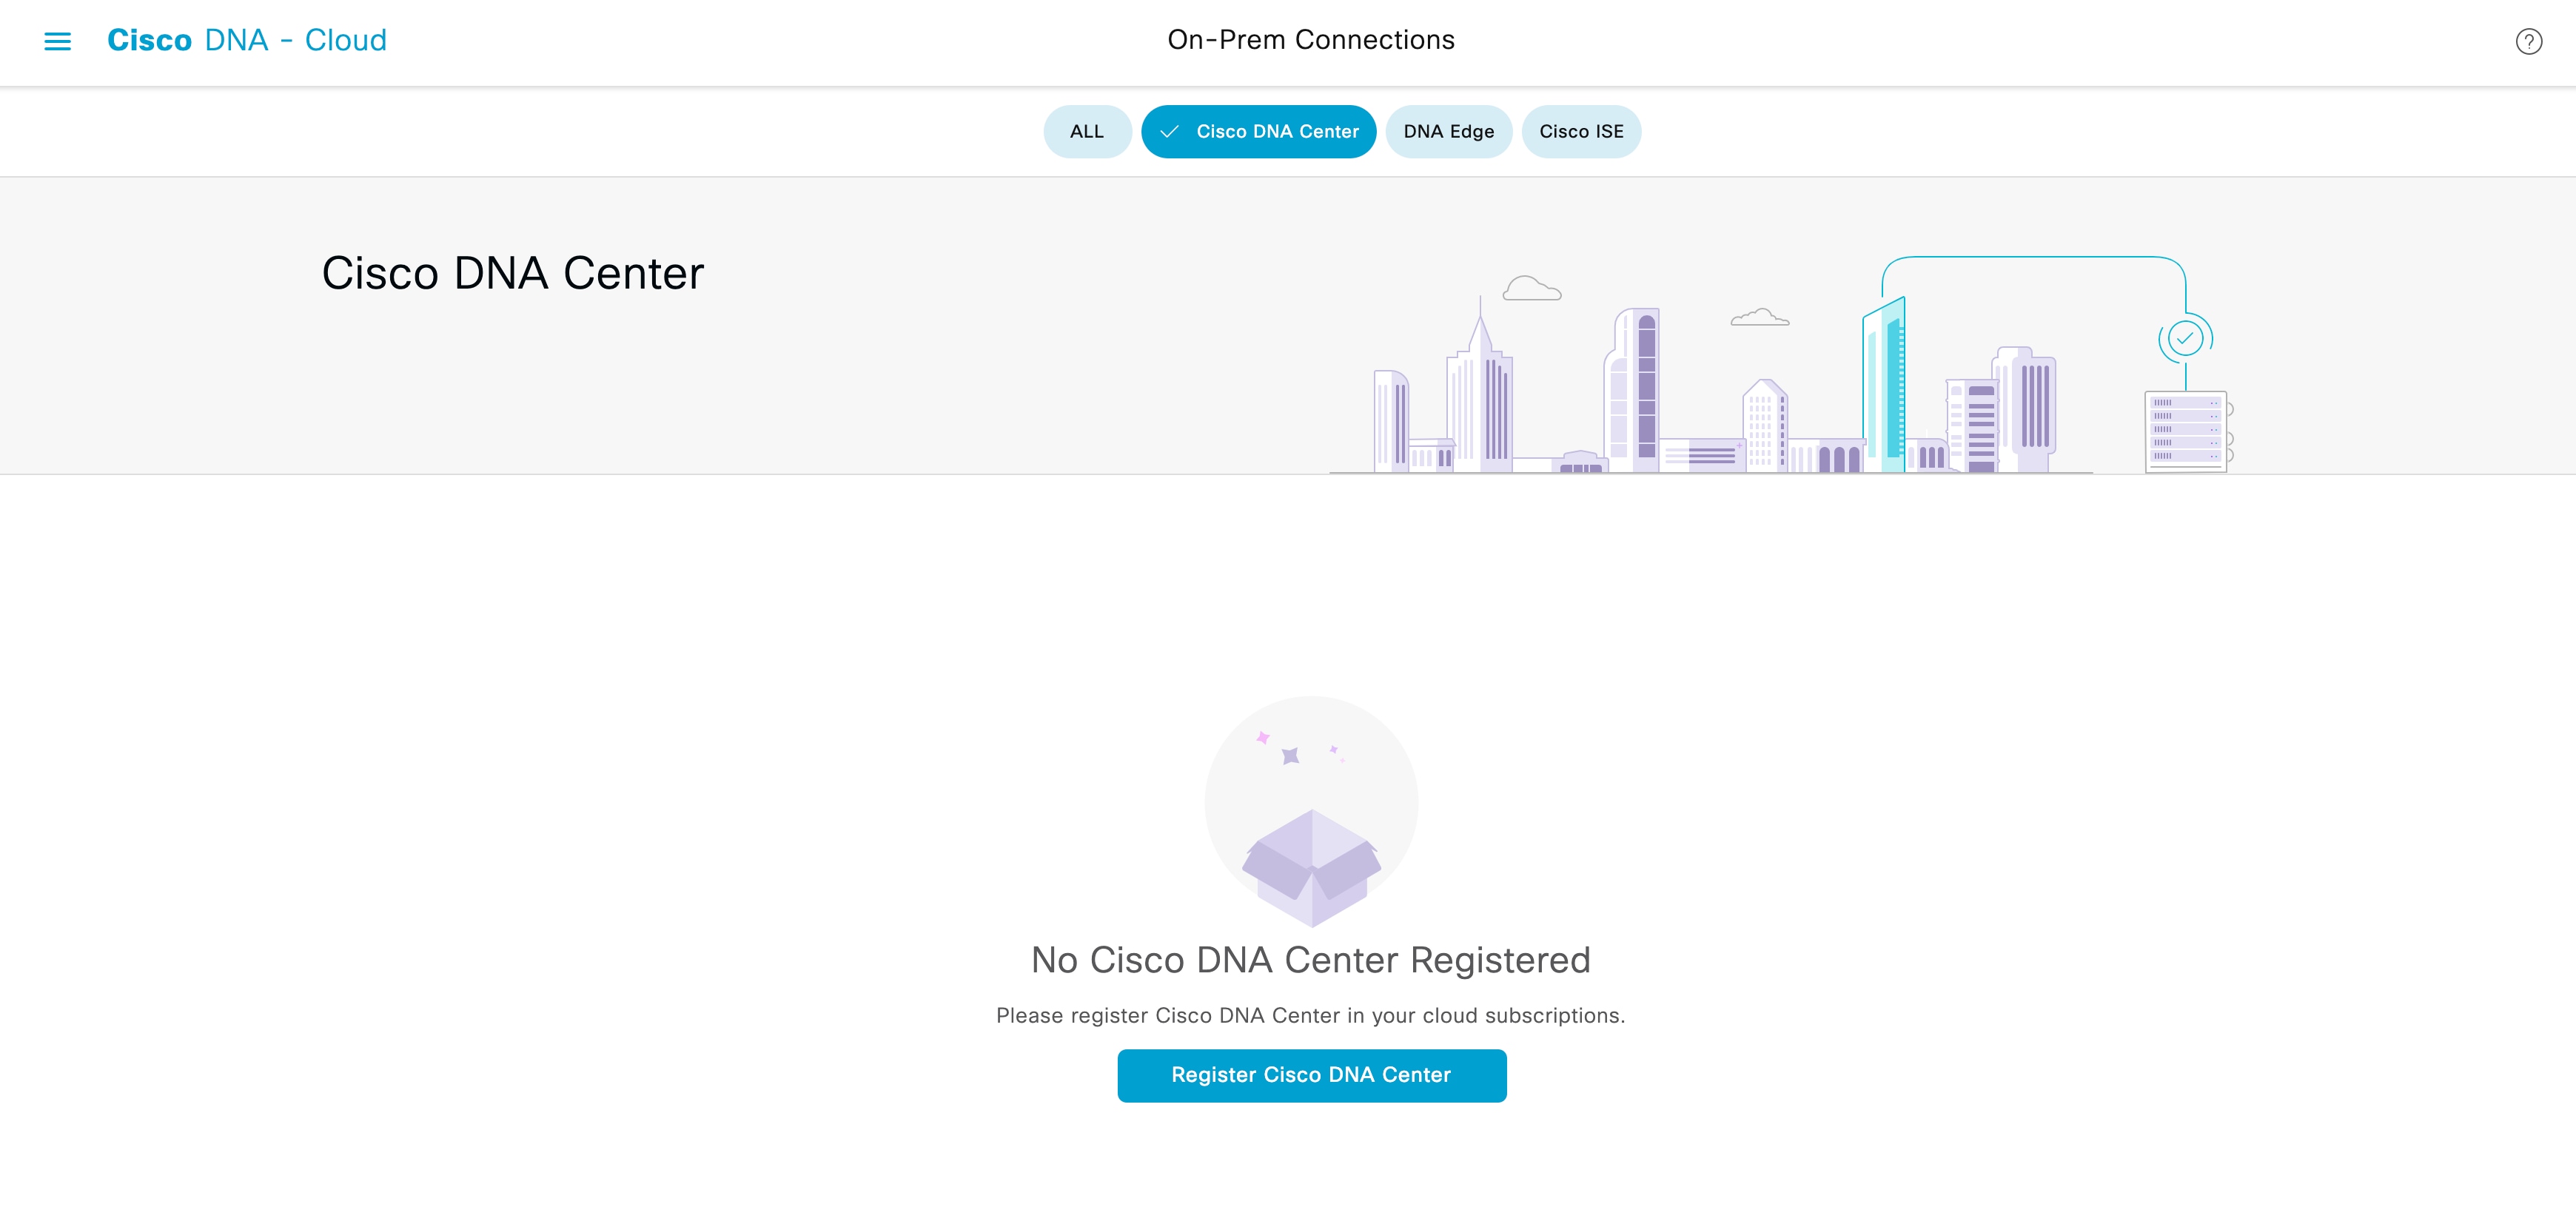
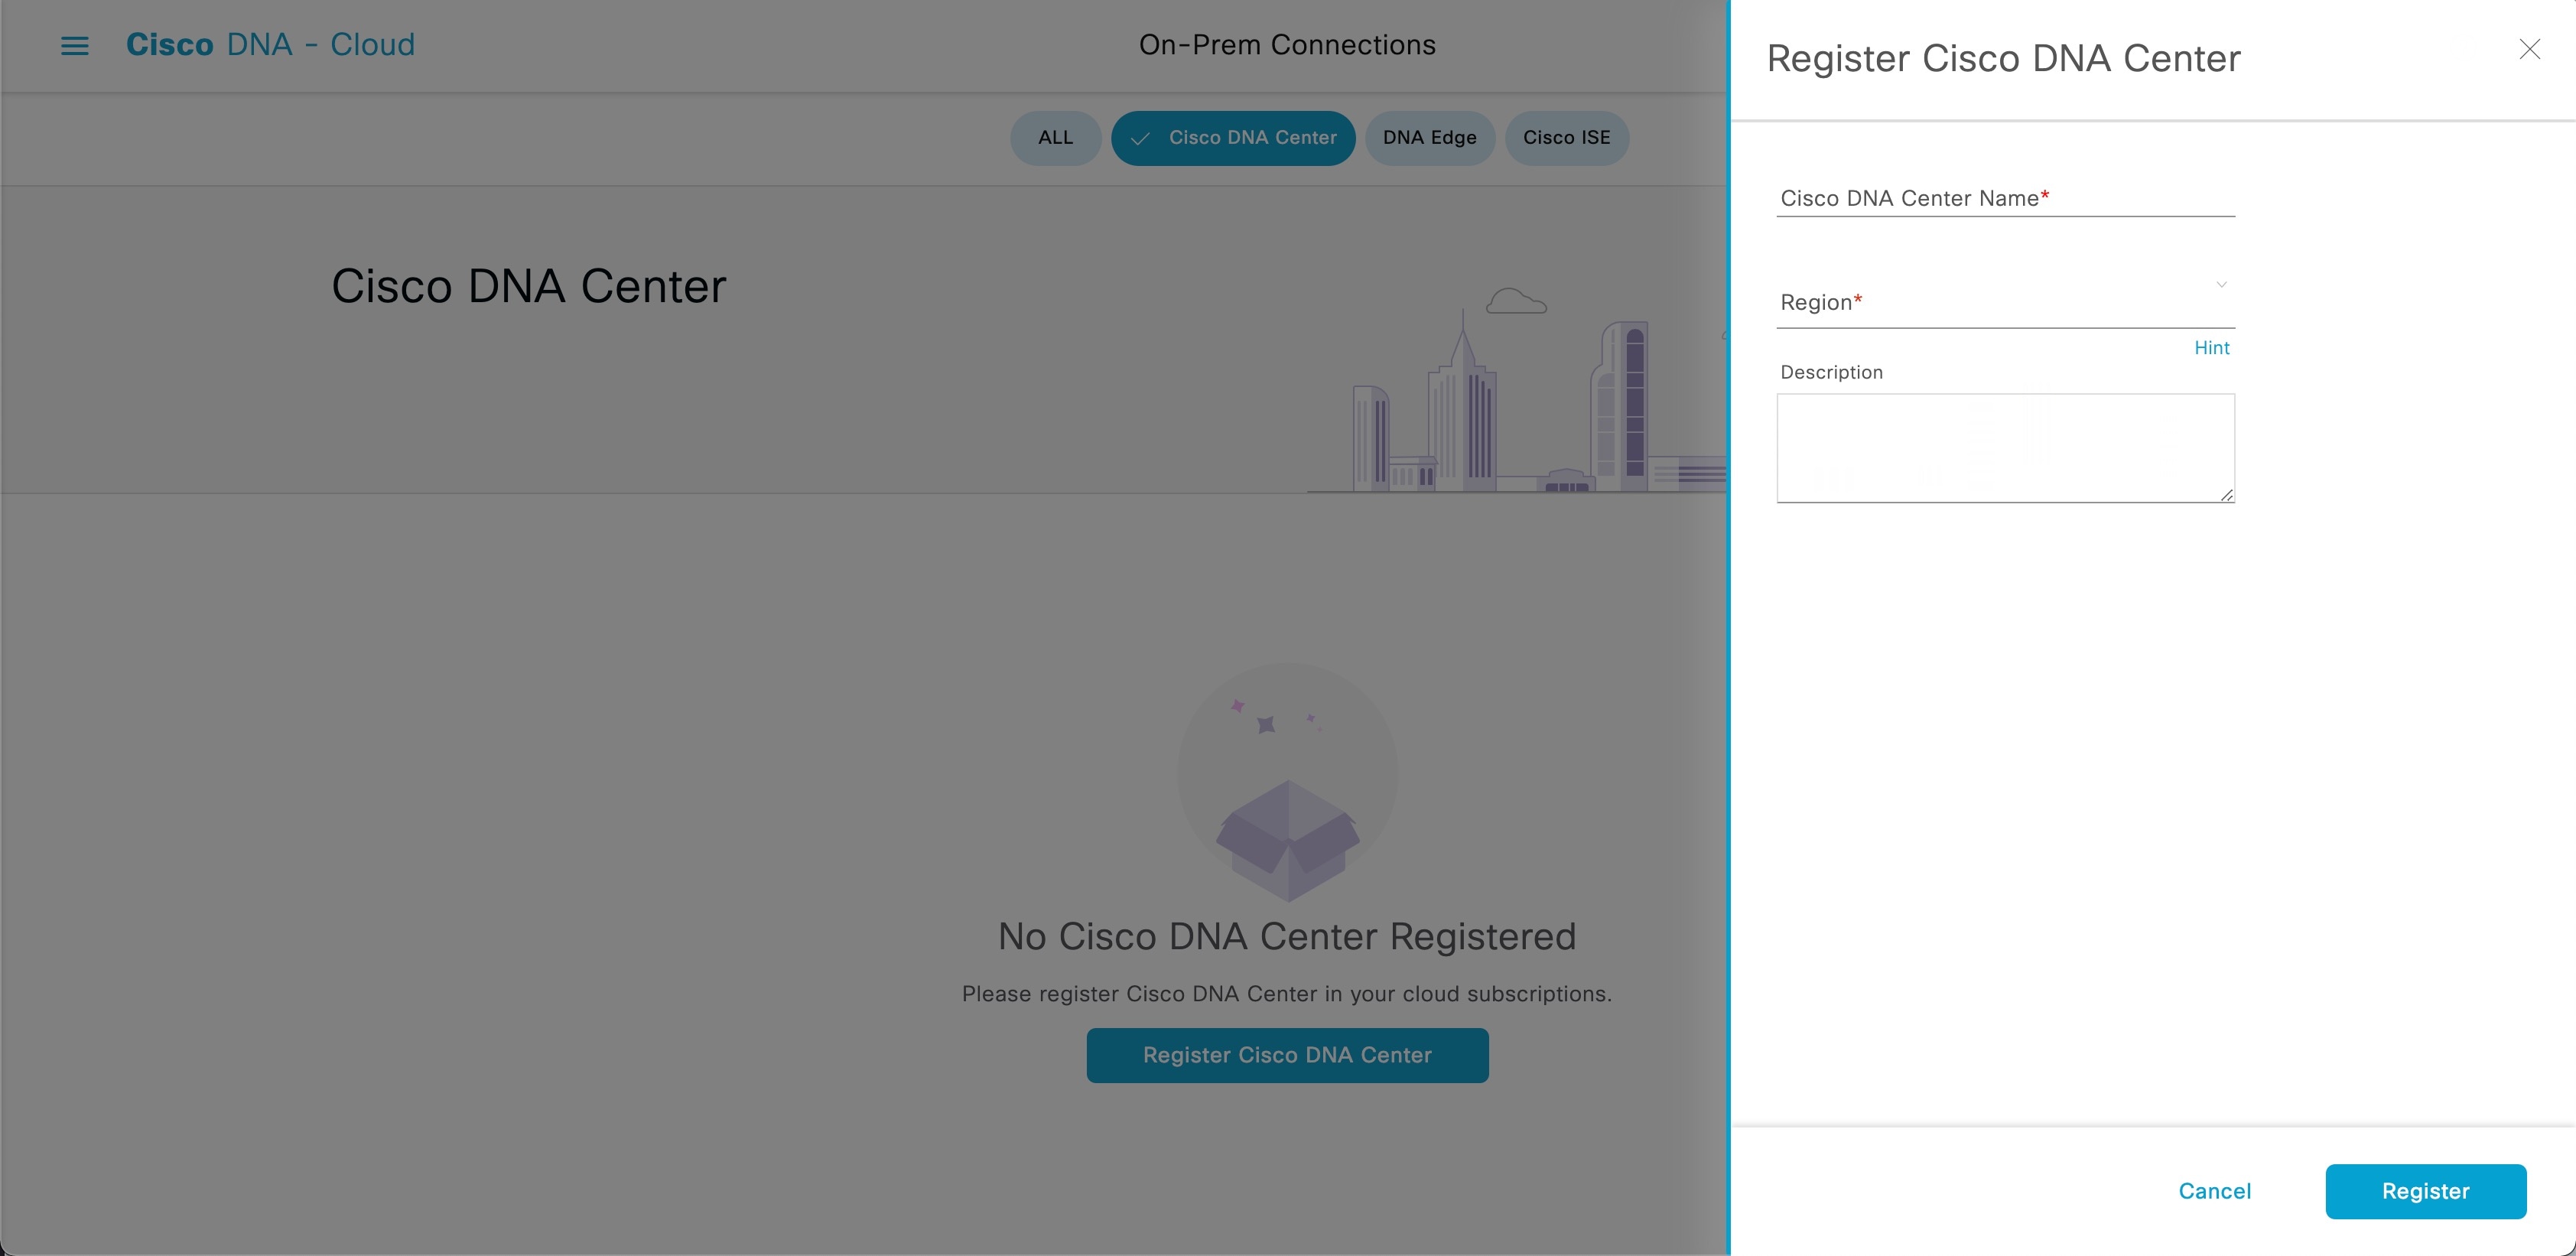
| Step 12 |
Register Cisco DNA Center to your cloud subscription.
|
||
| Step 13 |
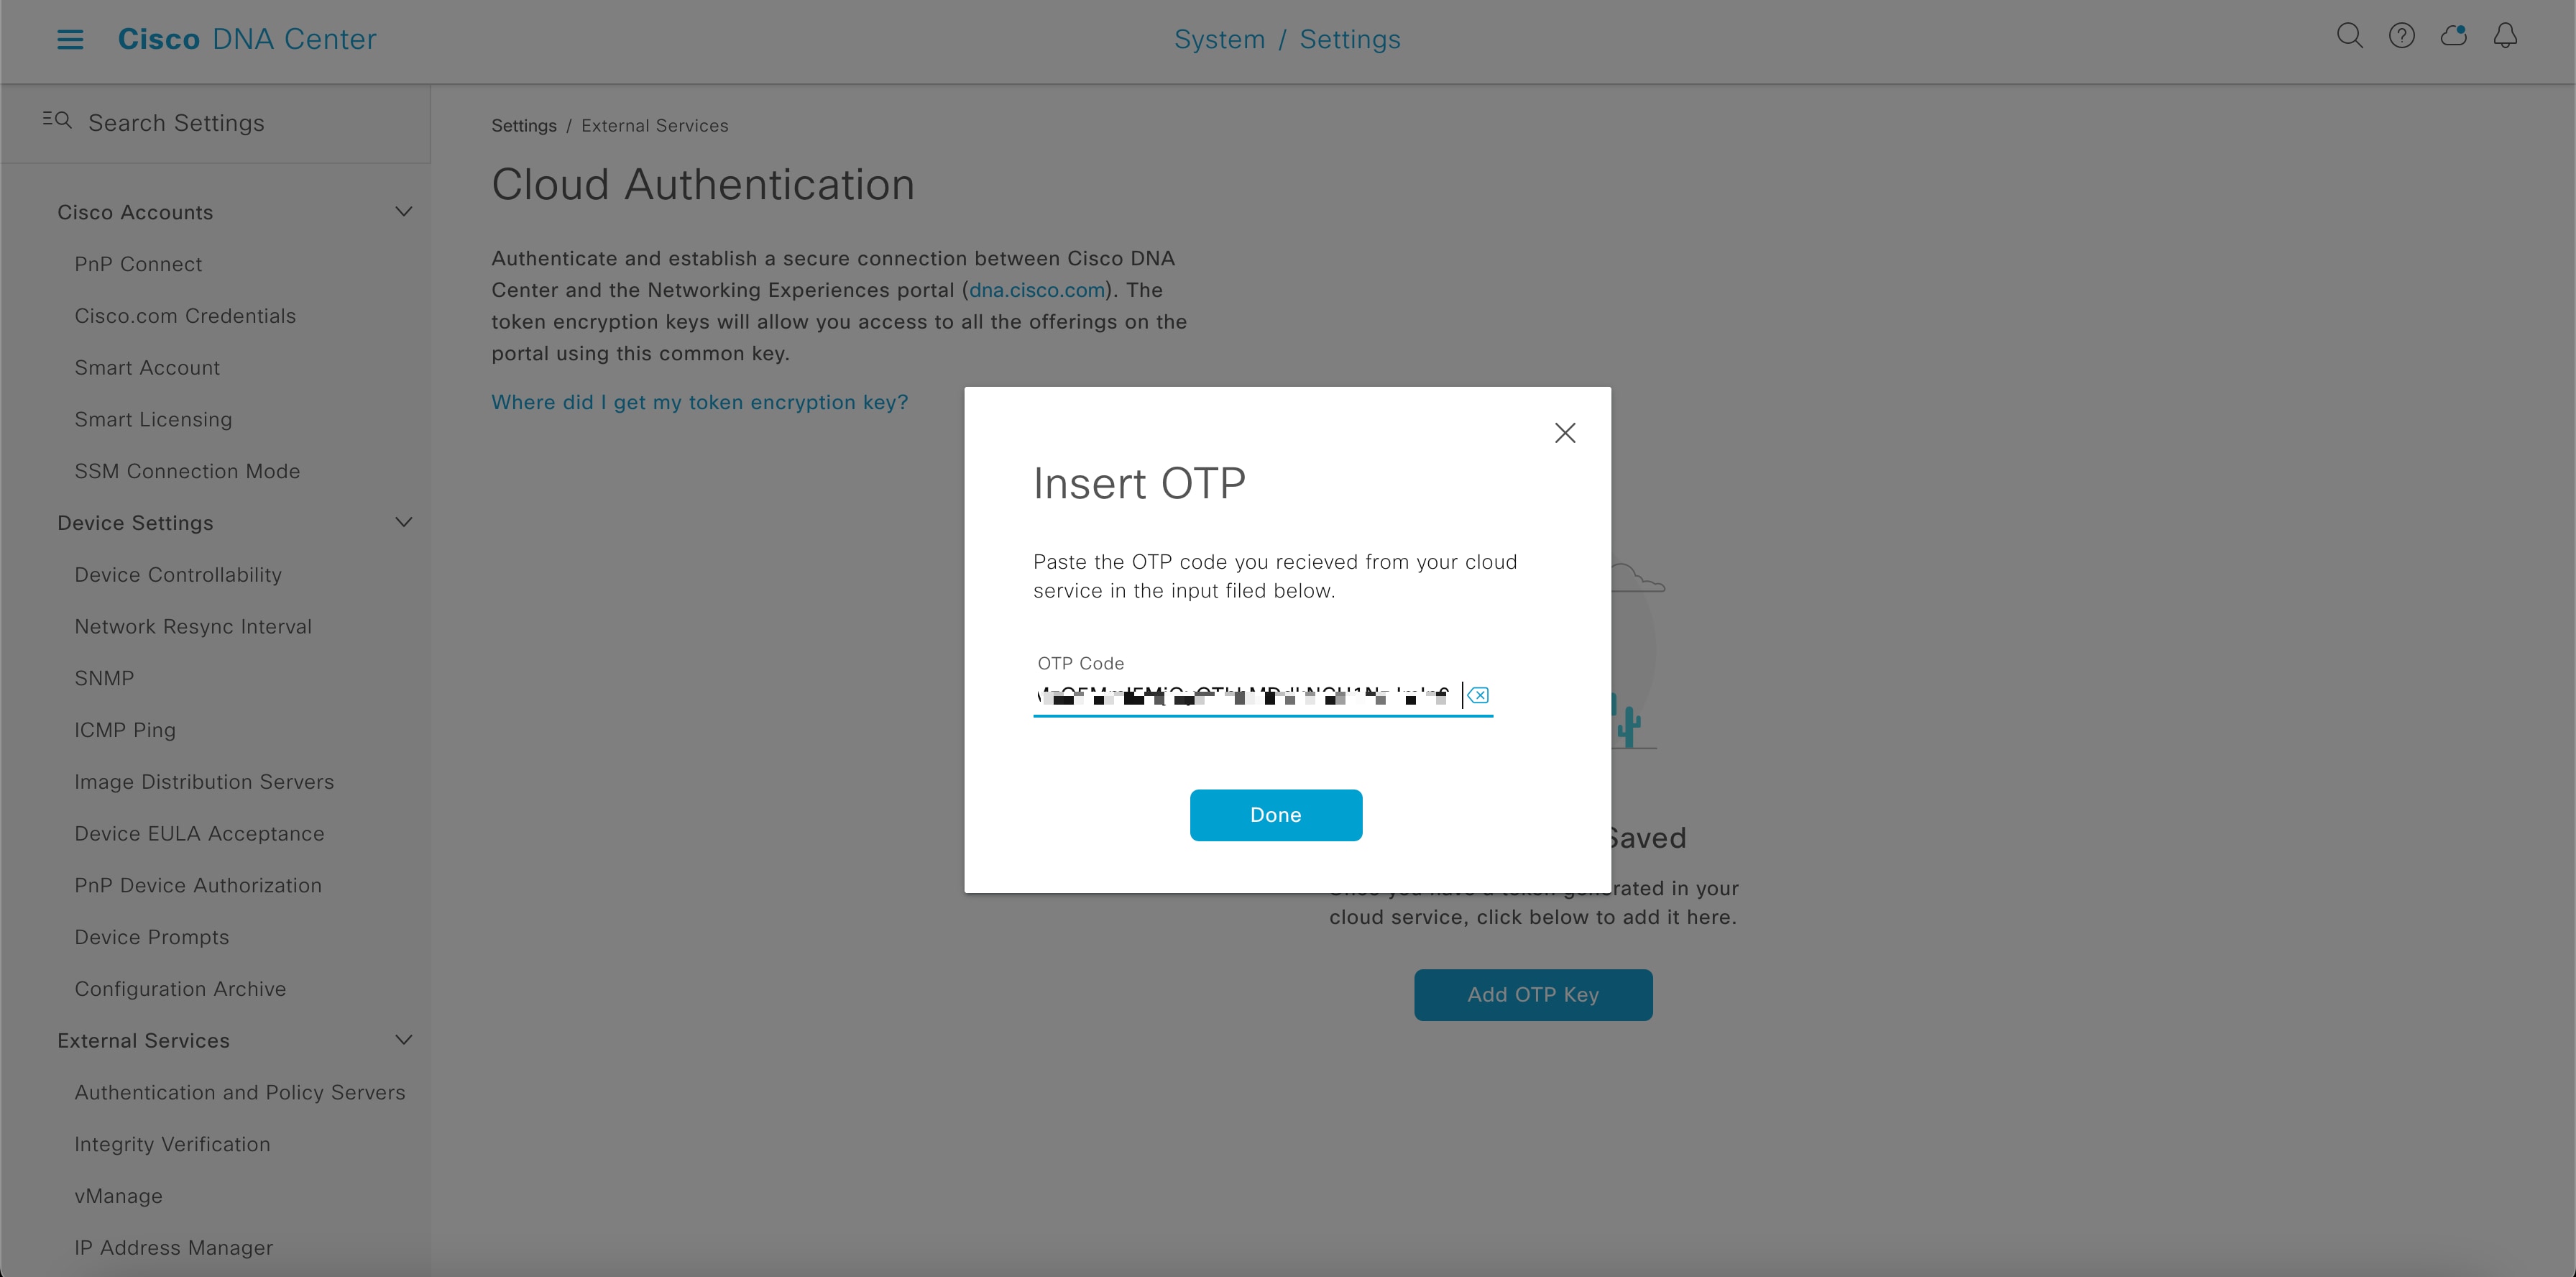
Navigate back to Cloud Authentication window on Cisco DNA Center to establish the connection:
|
||
| Step 14 |
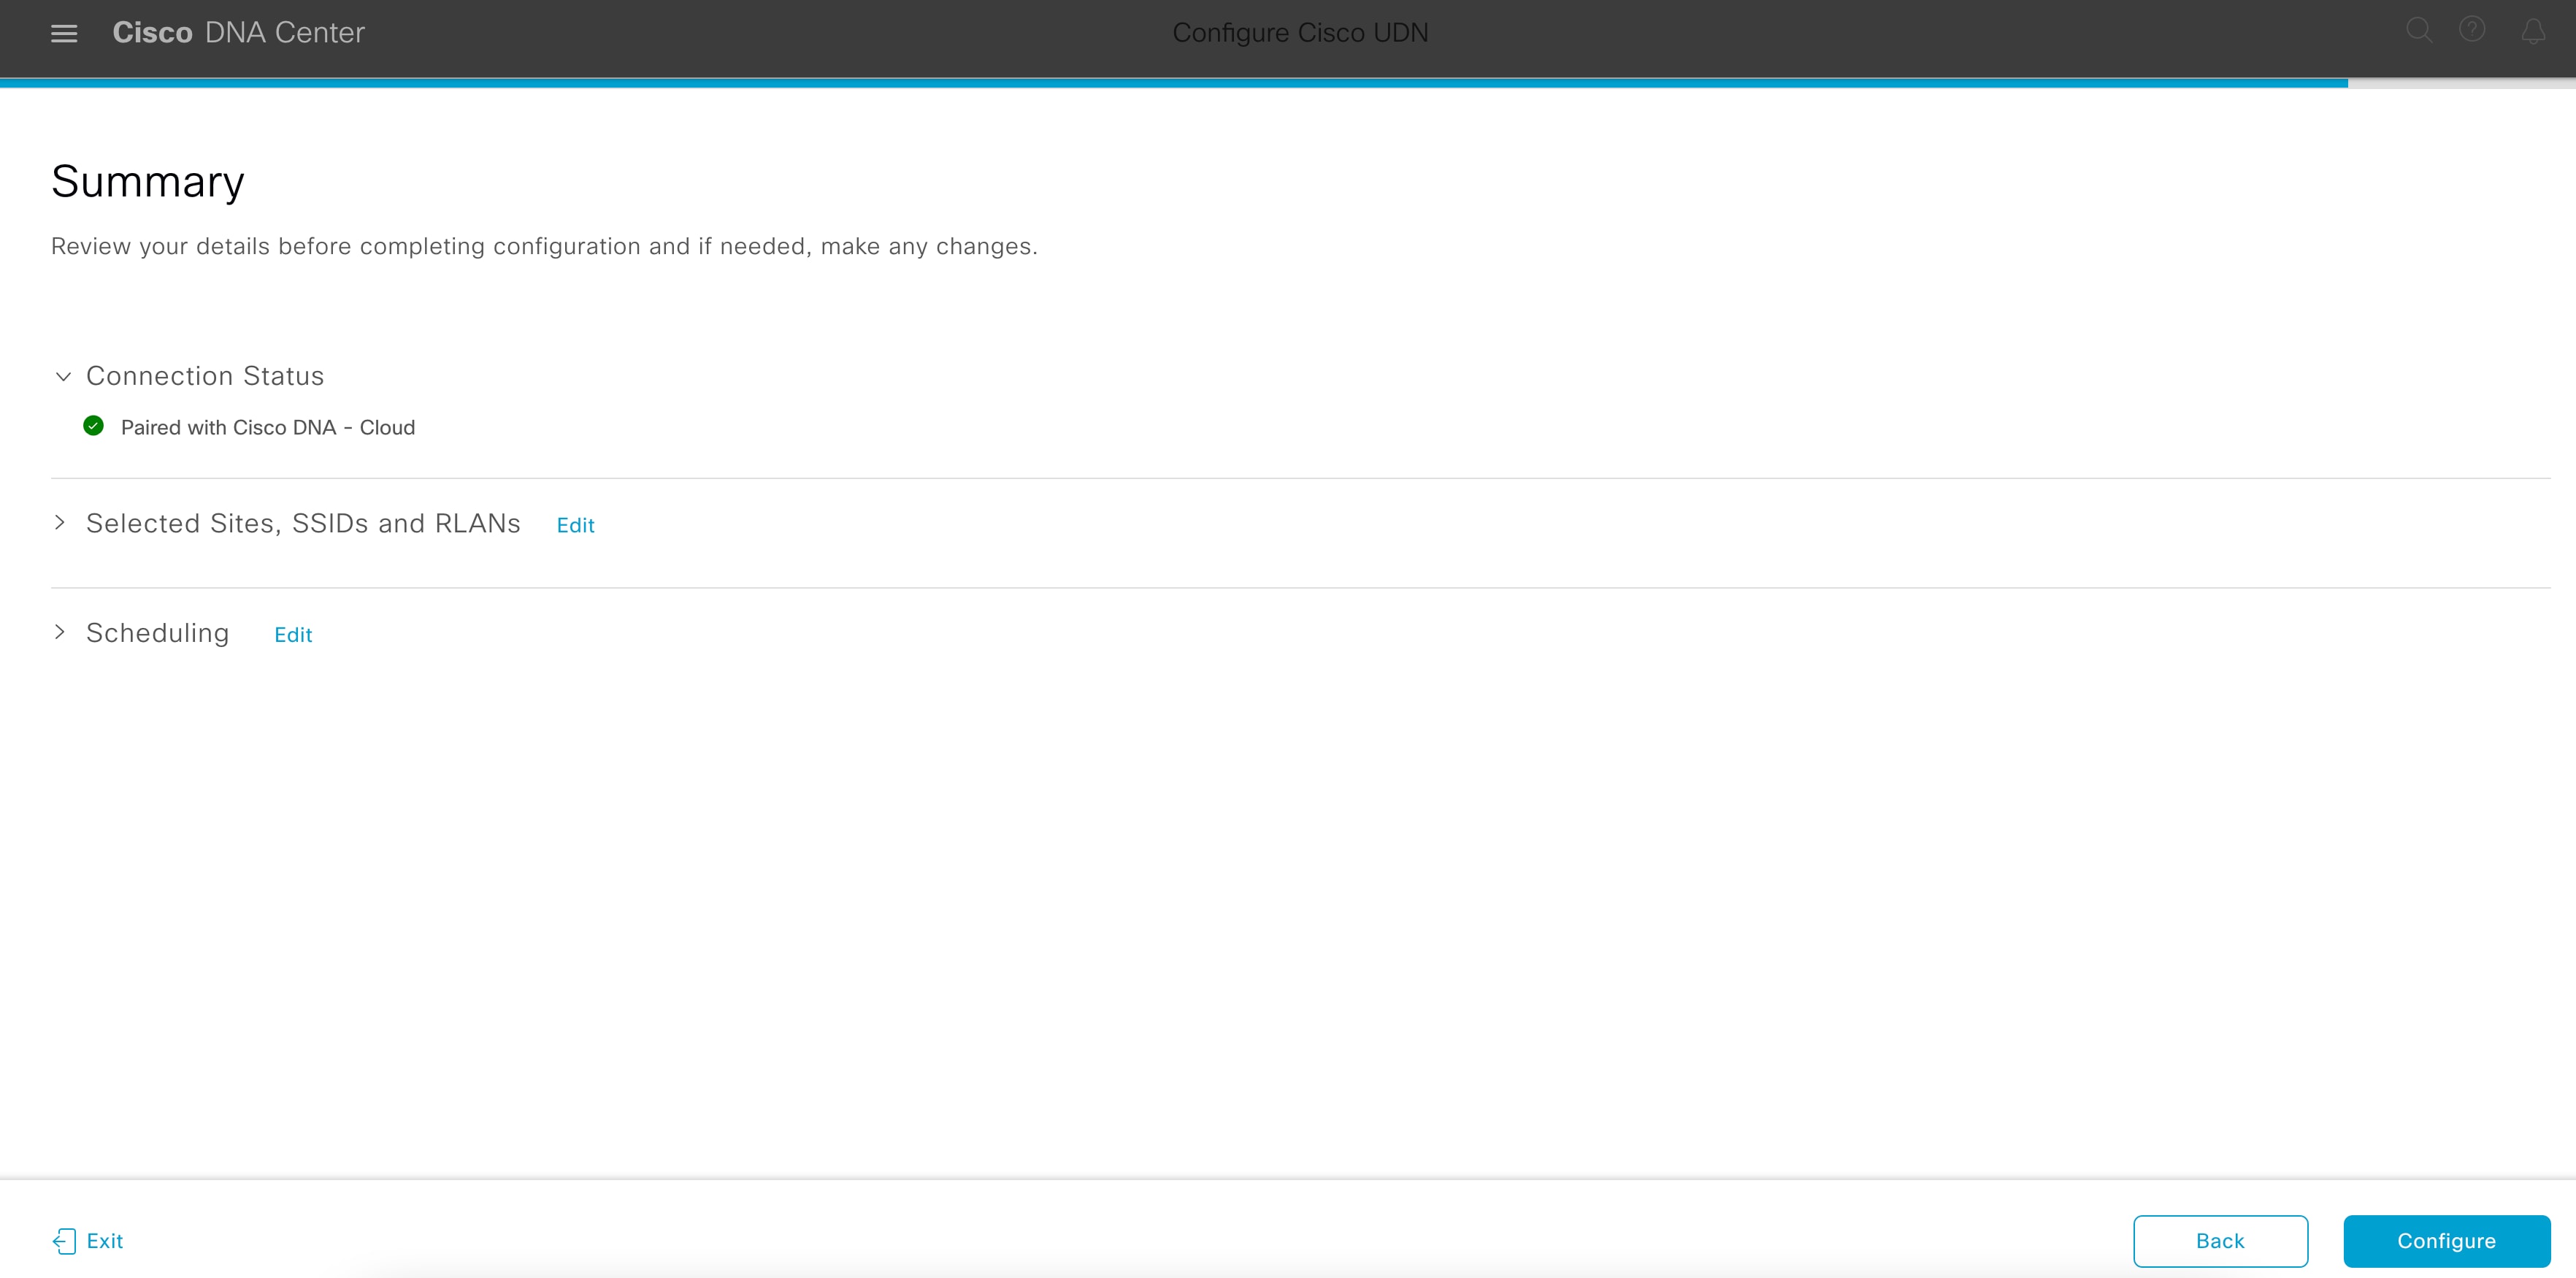
Enable sites and provision Cisco User Defined Network service on your network: |
||
| Step 15 |
In the SSID(s) drop-down list, choose the SSIDs where the Cisco User Defined Network service will be enabled.
|
||
| Step 16 |
In the Scheduling window, click Now or Later to indicate when you want to provision the Cisco User Defined Network service.
|
||
| Step 17 |
Click Launch UDN Cloud Service to launch the Cisco UDN Cloud portal to configure the following if you have not configured yet:
|


 Feedback