PagerDuty and Cisco DNA Center Integration
Cisco Digital Network Architecture offers centralized, intuitive management that makes it fast and easy to design, provision, and apply policies across your network environment. The Cisco DNA Center GUI provides end-to-end network visibility and uses network insights to optimize network performance and deliver the best user and application experience. The Cisco DNA Center events framework provides reliable notifications to help detect and correct infrastructure problems.
PagerDuty is an incident management platform that provides reliable notifications to detect and correct infrastructure problems. For information about PagerDuty, see https://www.pagerduty.com/.
The integration between Cisco DNA Center and PagerDuty enables the delivery of event notifications to PagerDuty. The integration enables IT organizations to subscribe to network issues identified by Cisco DNA Center and send notifications to PagerDuty. Customers have a real-time network issues view on the PagerDuty platform, which improves issue resolution and increases network uptime.
Support
To submit a service request, visit Cisco Support.
How the Integration Works
PagerDuty integration with Cisco DNA Center is accomplished using the PagerDuty Events REST APIs and the Cisco DNA Center Events Framework.
For more information about the Cisco DNA Center Events Framework, see the Cisco DNA Center Platform User Guide for your Cisco DNA Center release.
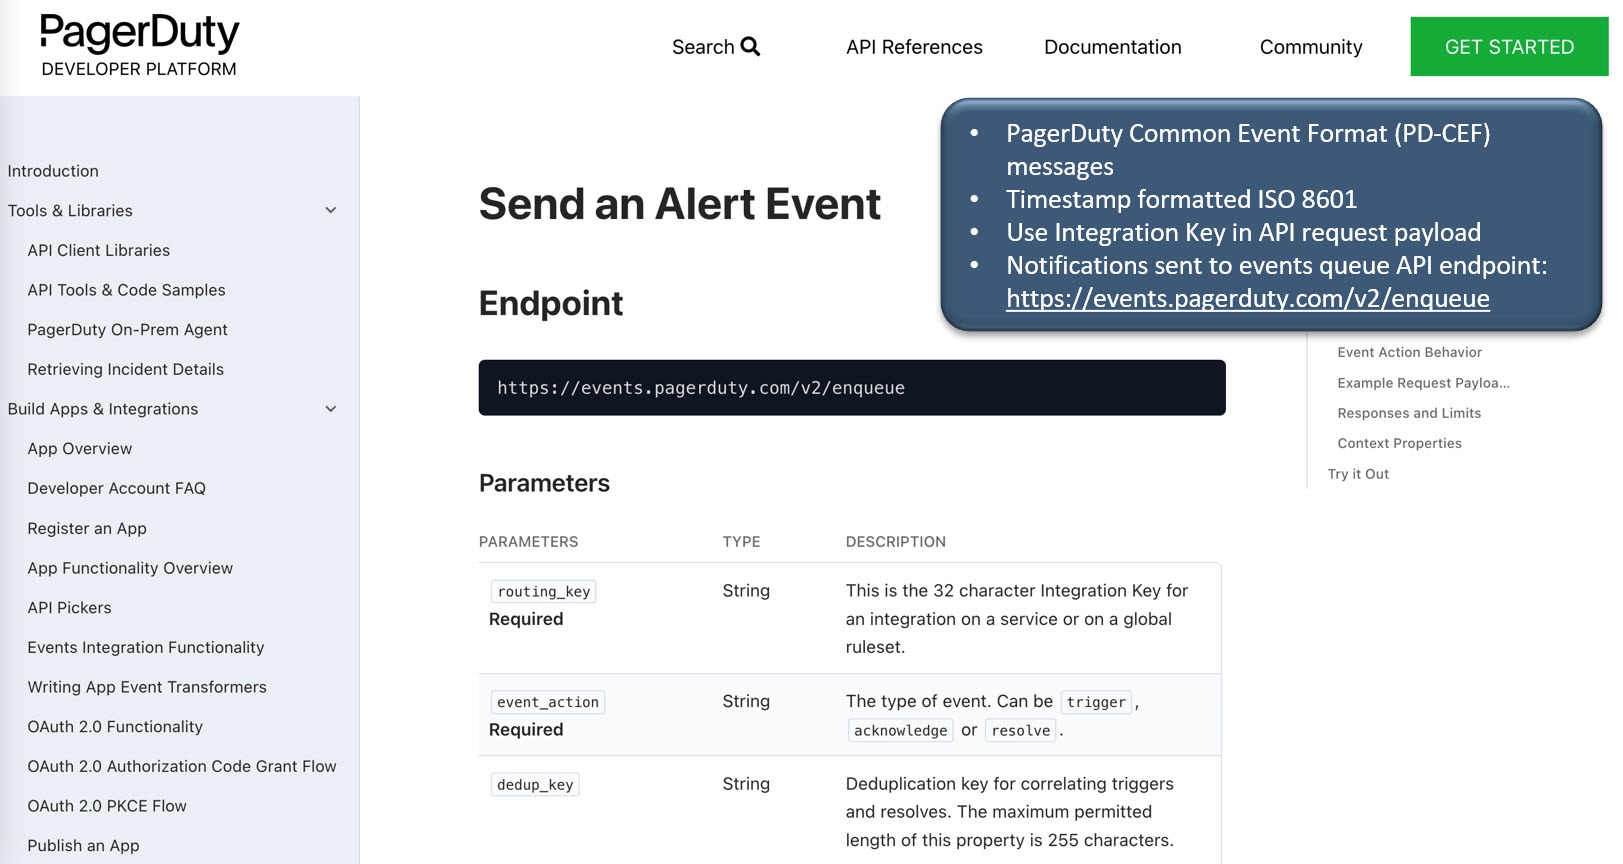
For information about the PagerDuty Events APIs, see https://developer.pagerduty.com/docs/events-api-v2/overview/.
Requirements
PagerDuty integrations require a Cisco DNA Center Admin base role for account authorization. If you do not have this role, contact an admin or account owner within your organization to configure the integration.
Integration Walkthrough
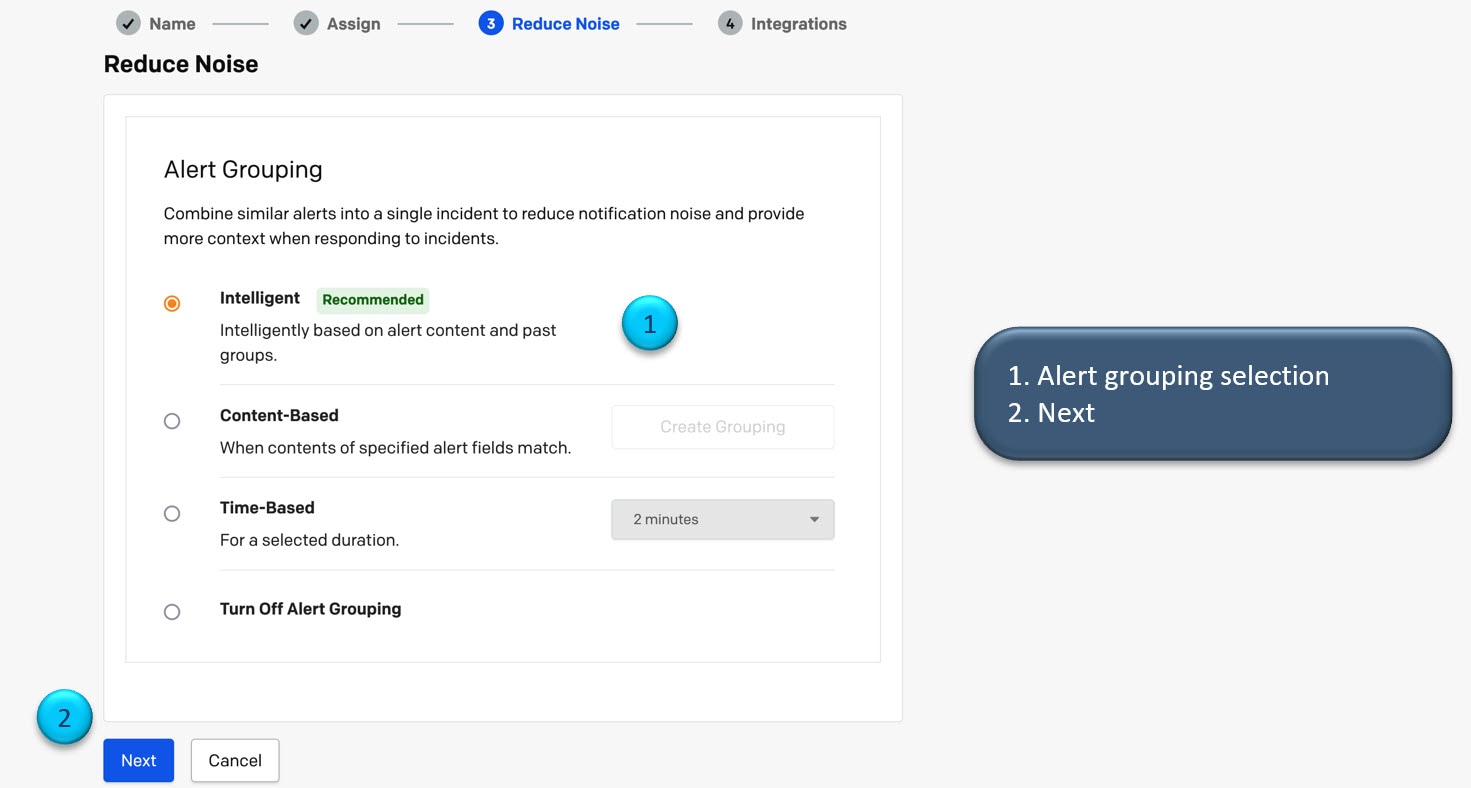
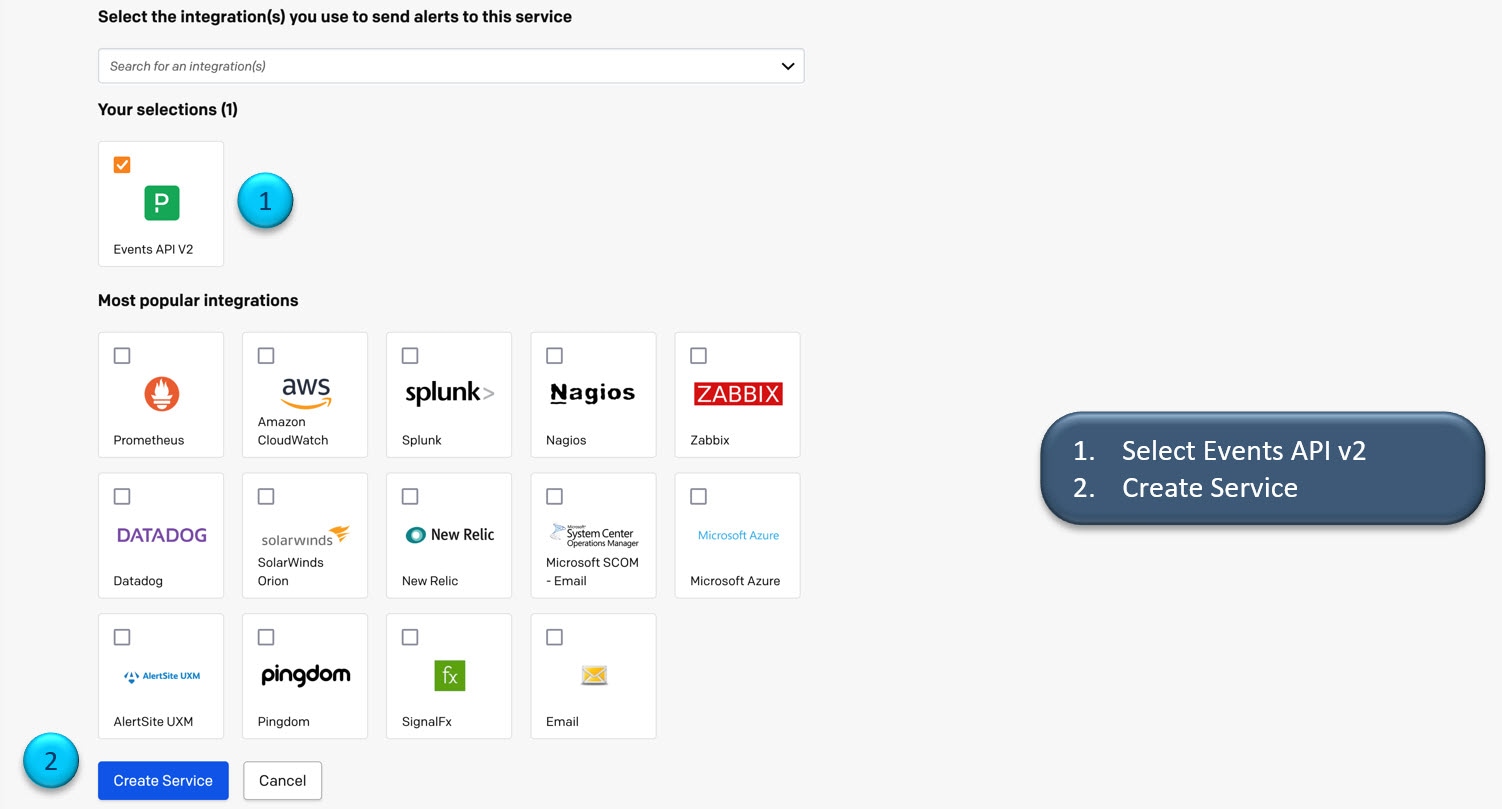
You can configure a Cisco DNA Center platform event notification to appear in PagerDuty as an alert. Complete the following steps to configure a Cisco DNA Center event notification so that it appears in PagerDuty.
Before you begin
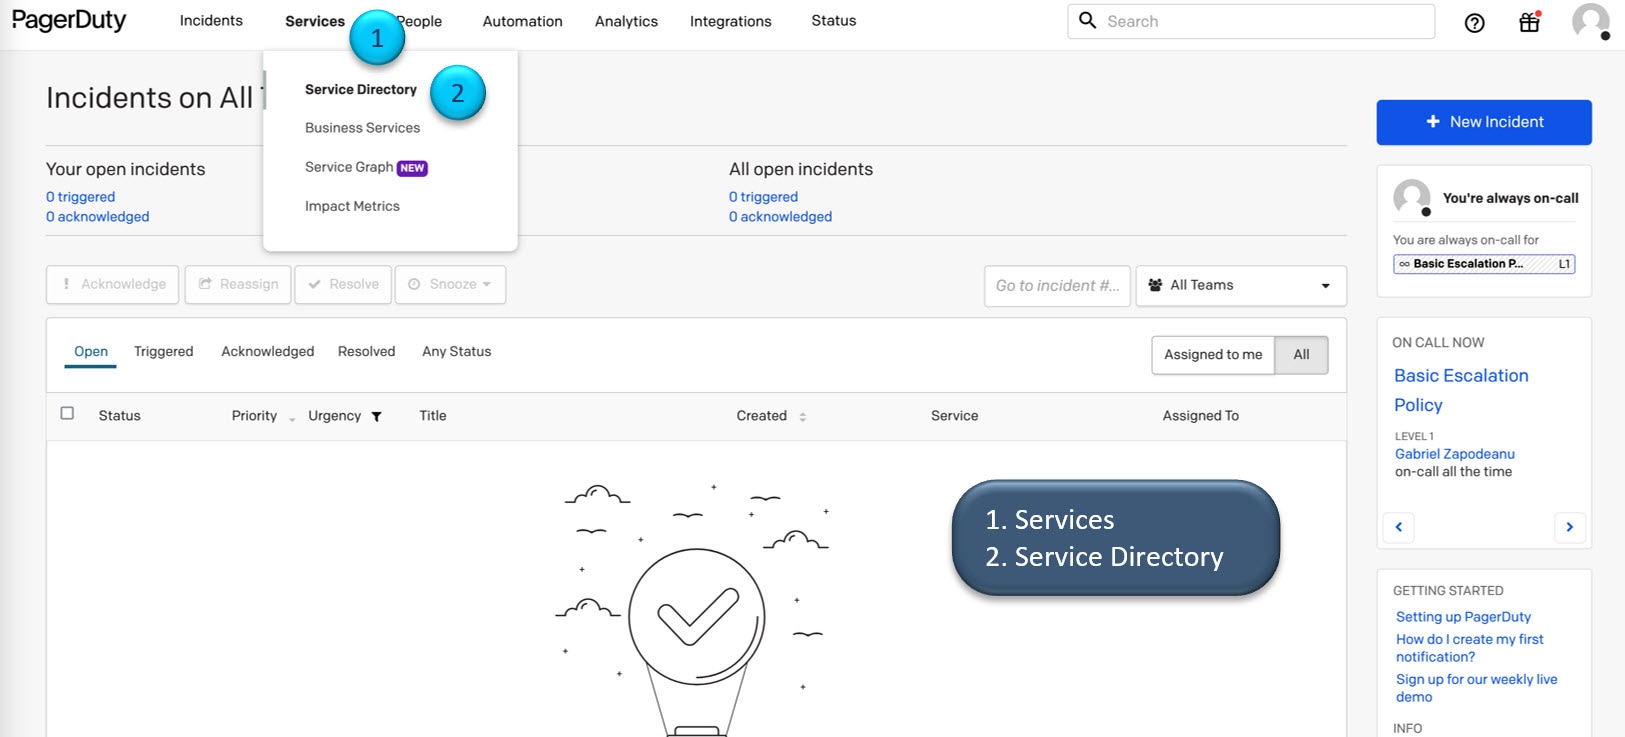
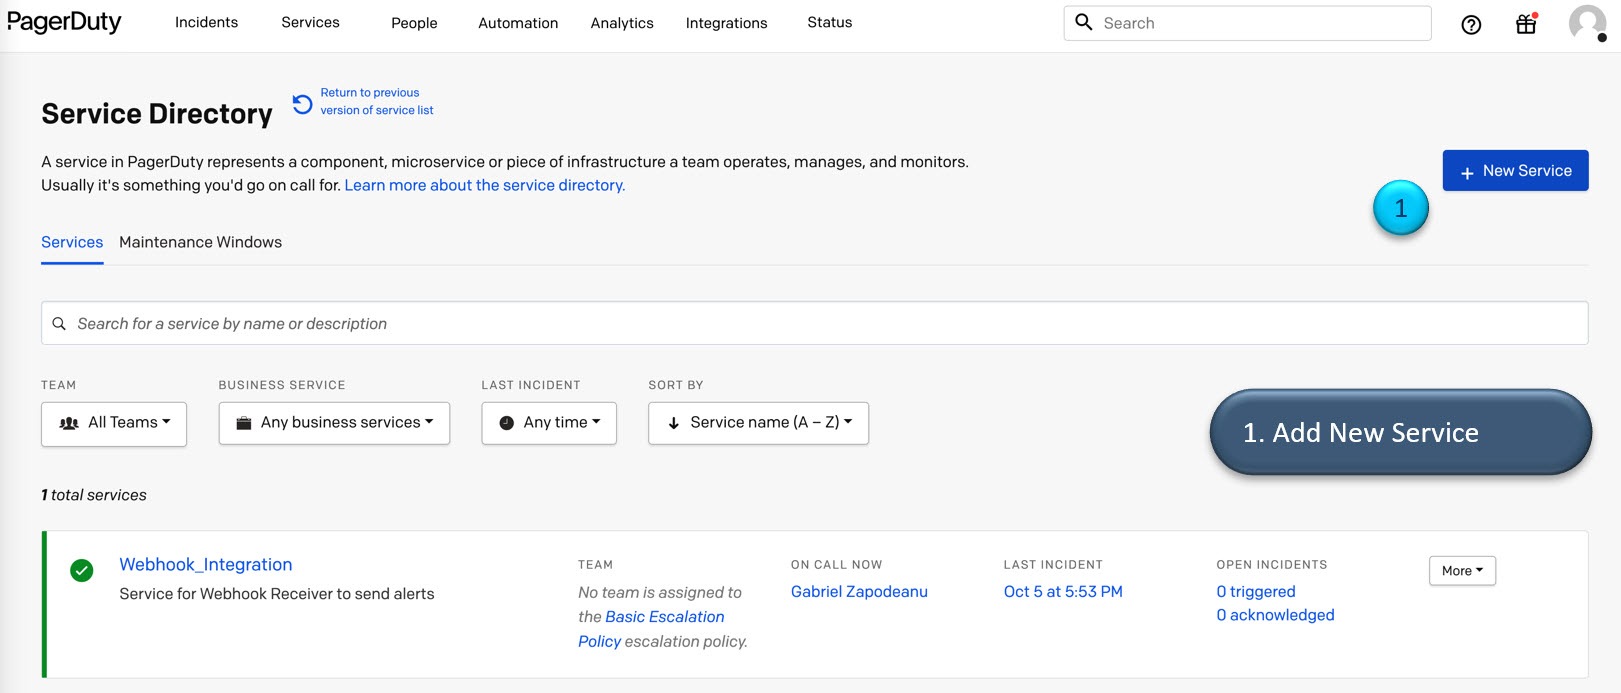
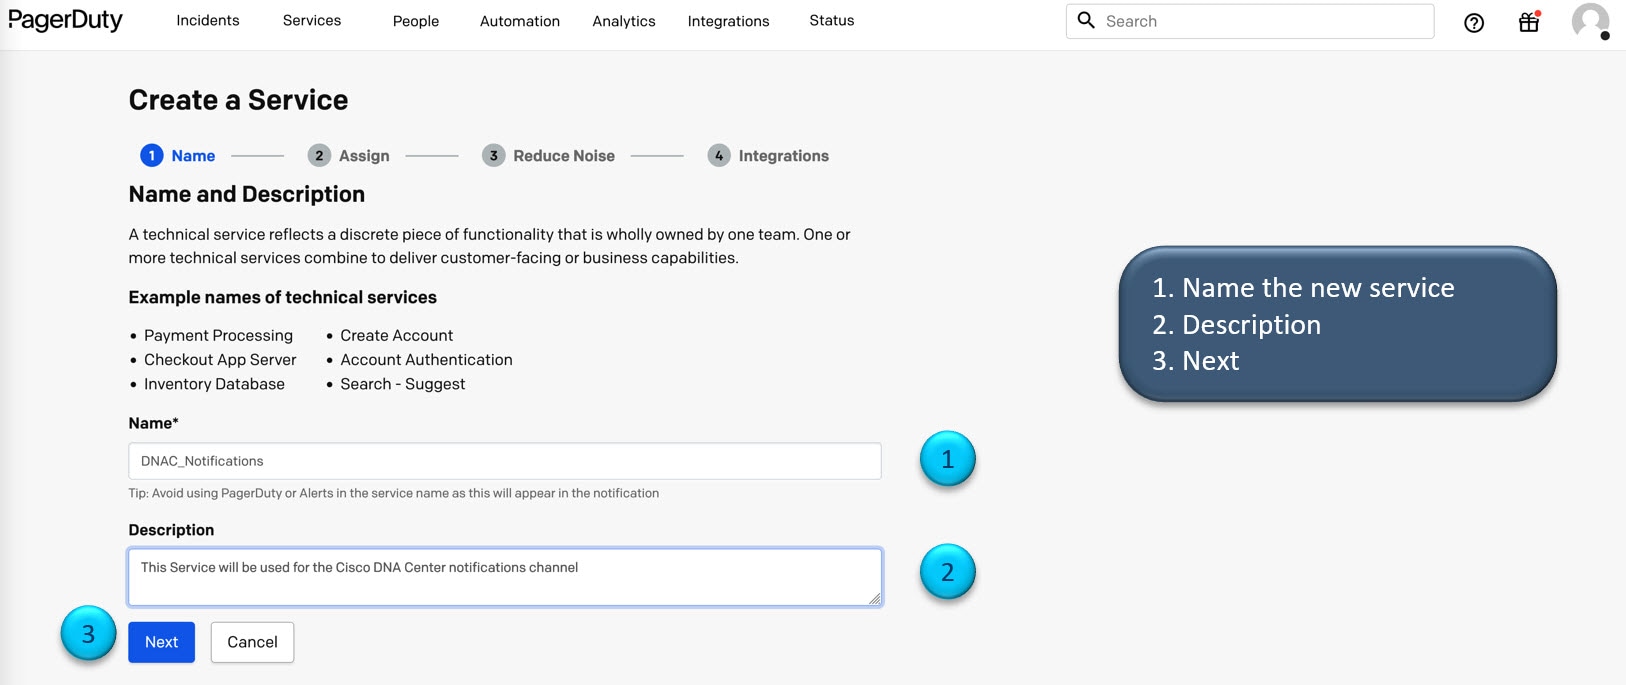
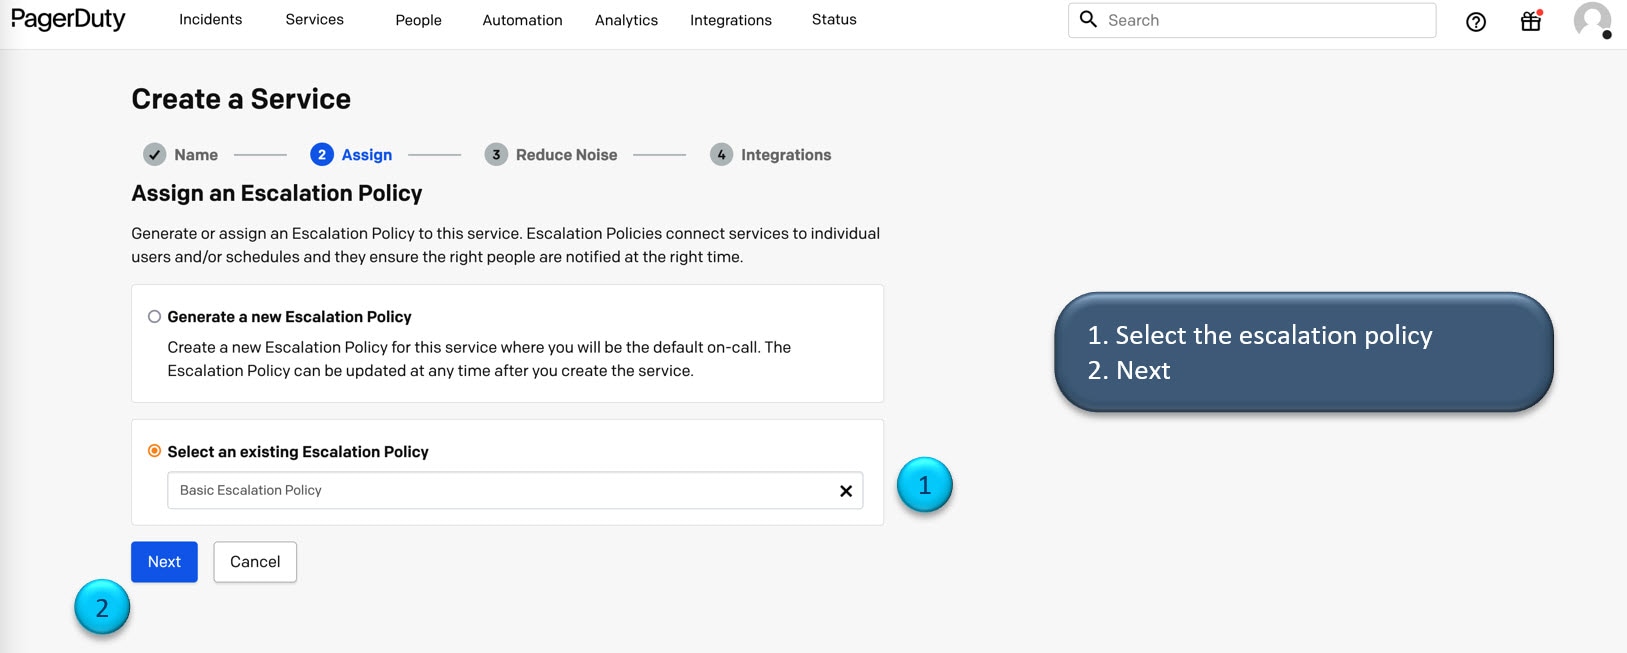
Ensure that you have PagerDuty running on a system that you will integrate with Cisco DNA Center platform. Refer to your PagerDuty documentation for instructions on setting up PagerDuty.
You must have the appropriate permissions to perform the tasks as described in this procedure. For information about role-based access control for the Cisco DNA Center platform, see the Cisco DNA Center Administrator Guide.
Procedure
| Step 1 |
In the Cisco DNA Center GUI, click the menu icon ( |
||||
| Step 2 |
In the Events window, review the events table.
|
||||
| Step 3 |
Review the data on an individual event within the table. The following Events data is provided:
|
||||
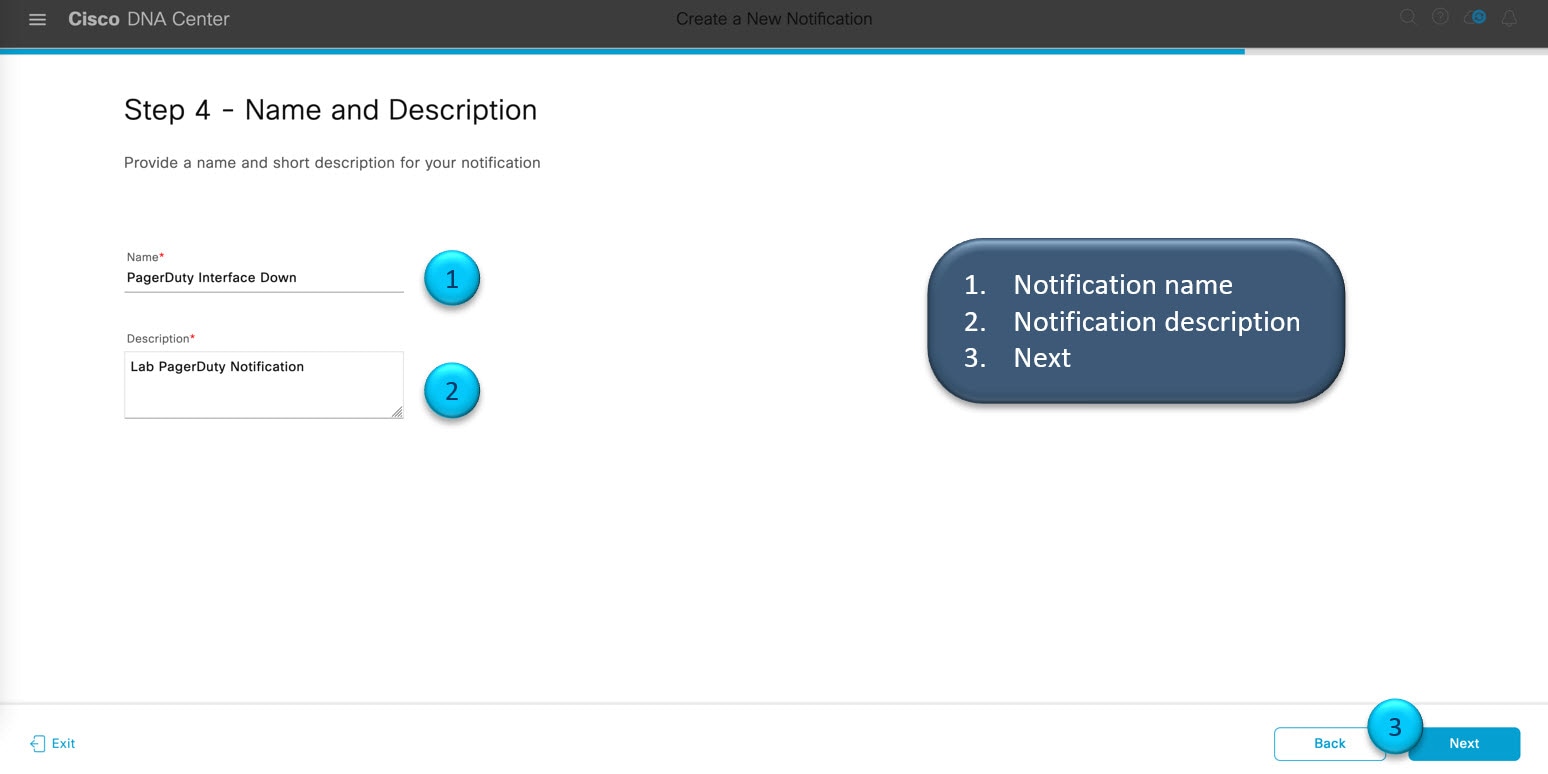
| Step 4 |
Click a Name link to open an event subscription slide-in pane. |
||||
| Step 5 |
Review the data displayed in the event subscription slide-in pane. The following Event Details tab data is displayed:
|
||||
| Step 6 |
Click the Active Subscriptions tab. The following Active Subscriptions tab data is displayed:
|
||||
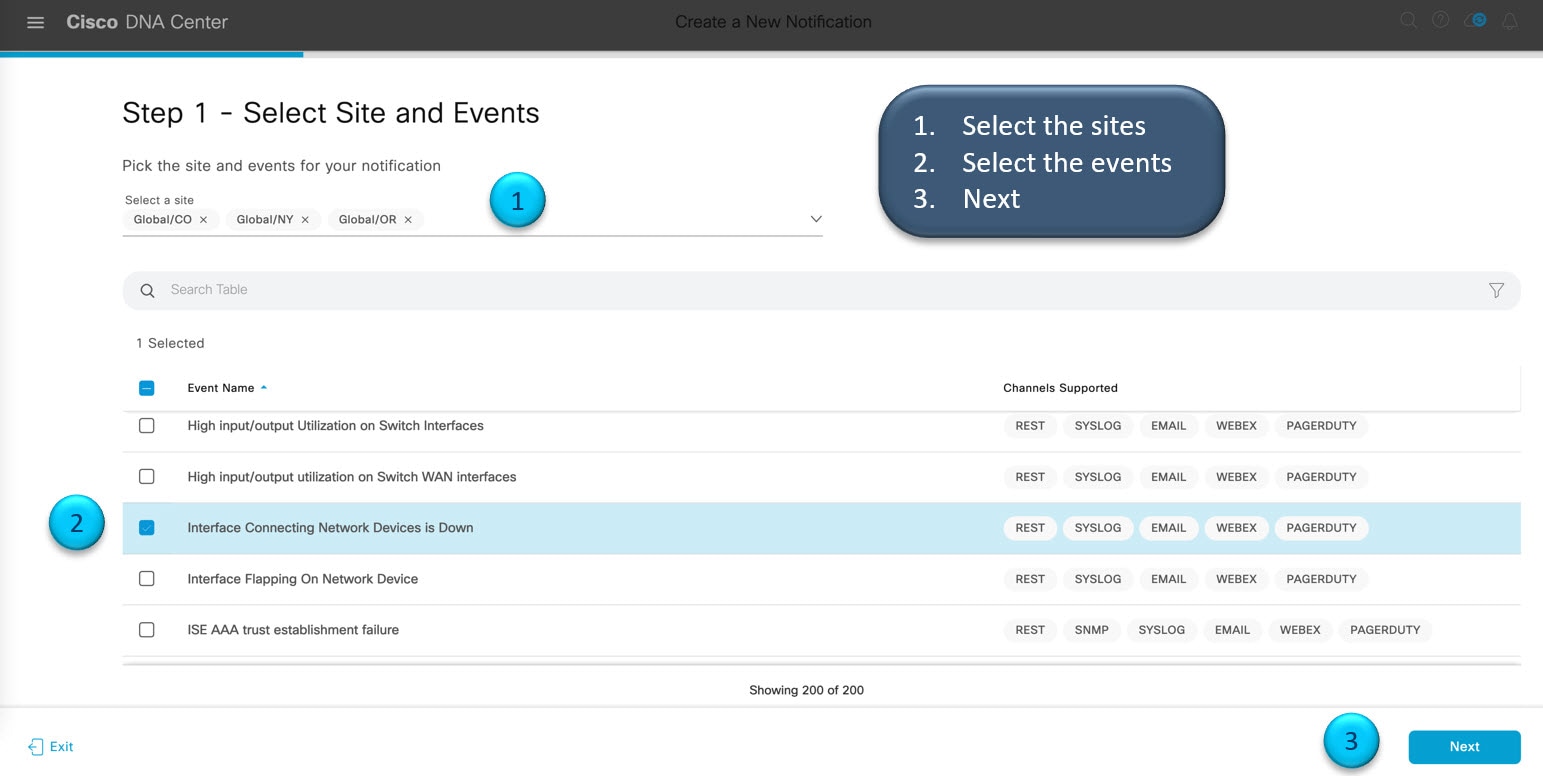
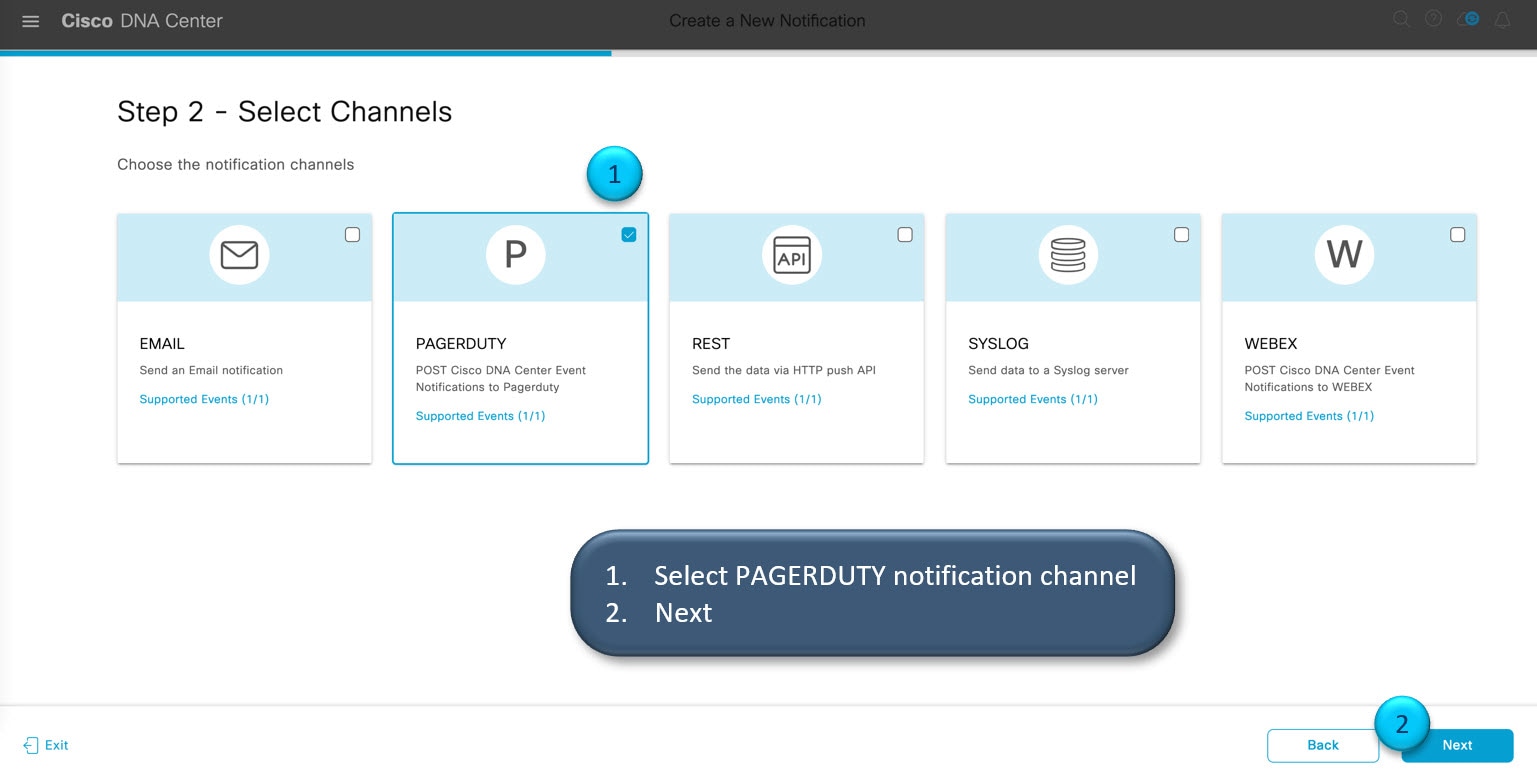
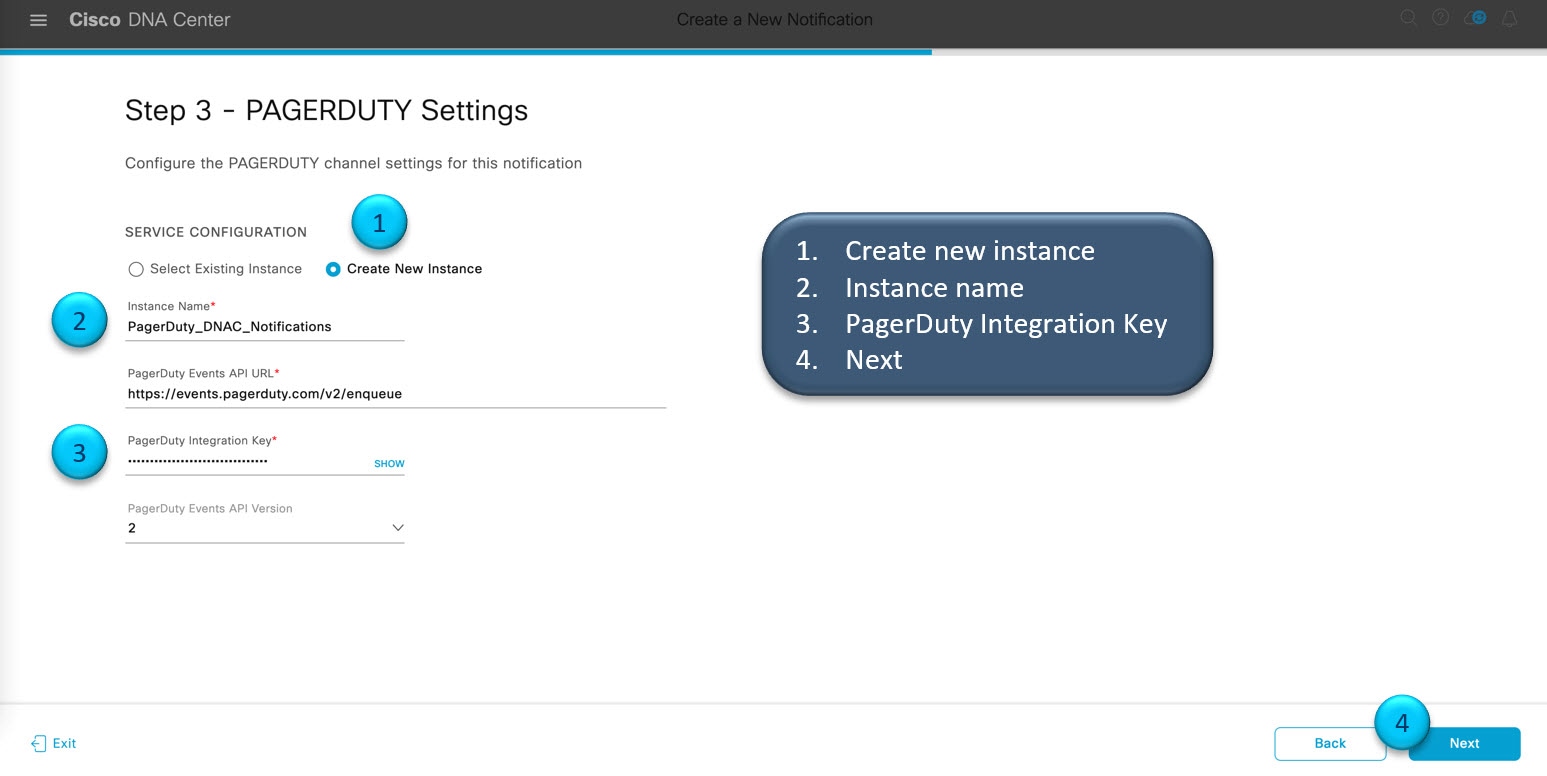
| Step 7 |
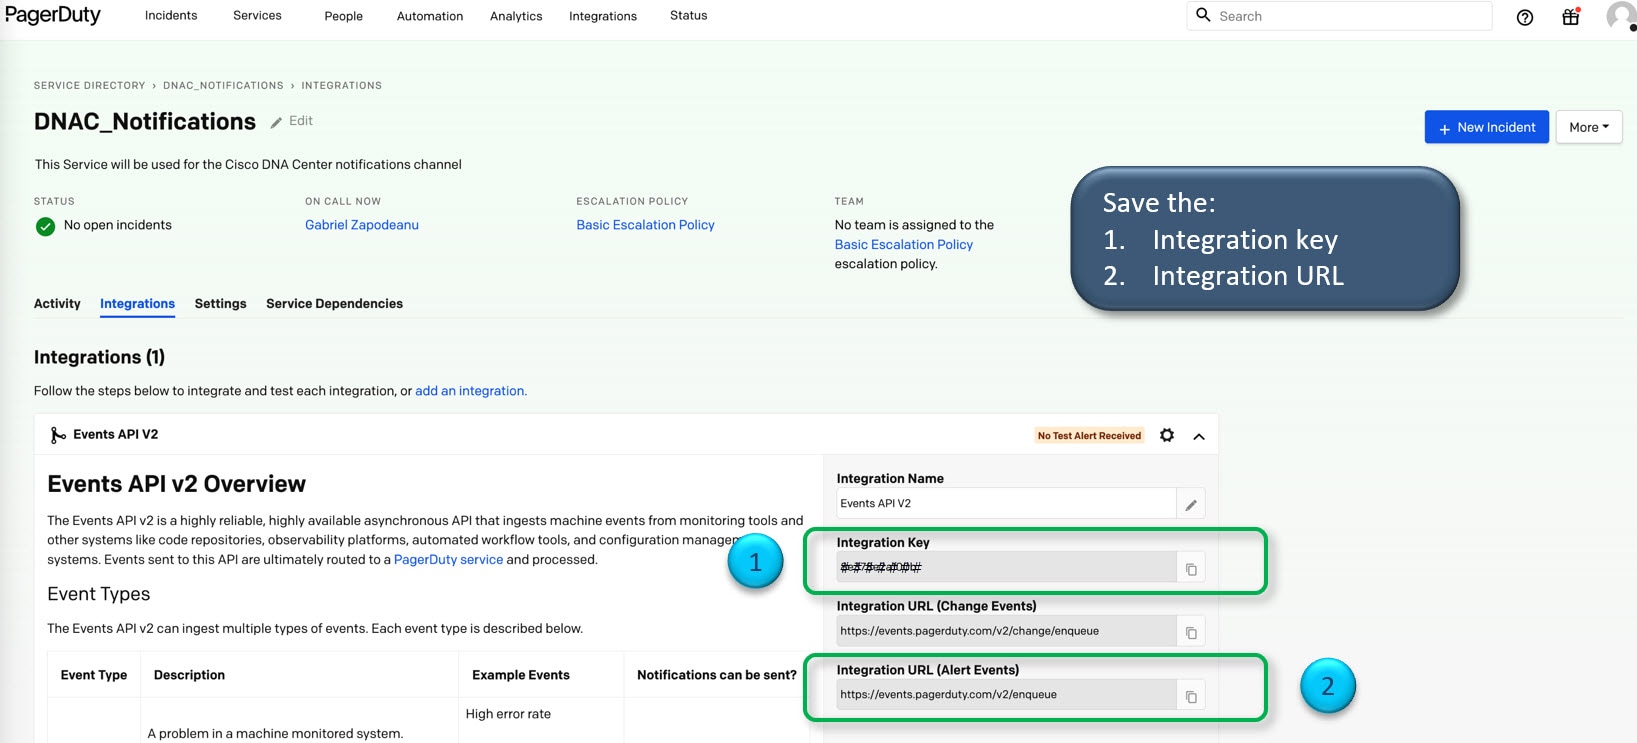
Click the Subscribe button to add this event to your active subscription of events. For a PagerDuty subscription, configure the following fields:
Enter values for the following fields:
Click Subscribe to save and enable the subscription. |
||||
| Step 8 |
Review your subscriptions in the Active Subscriptions tab. The following information is provided for a subscription:
|
What to do next
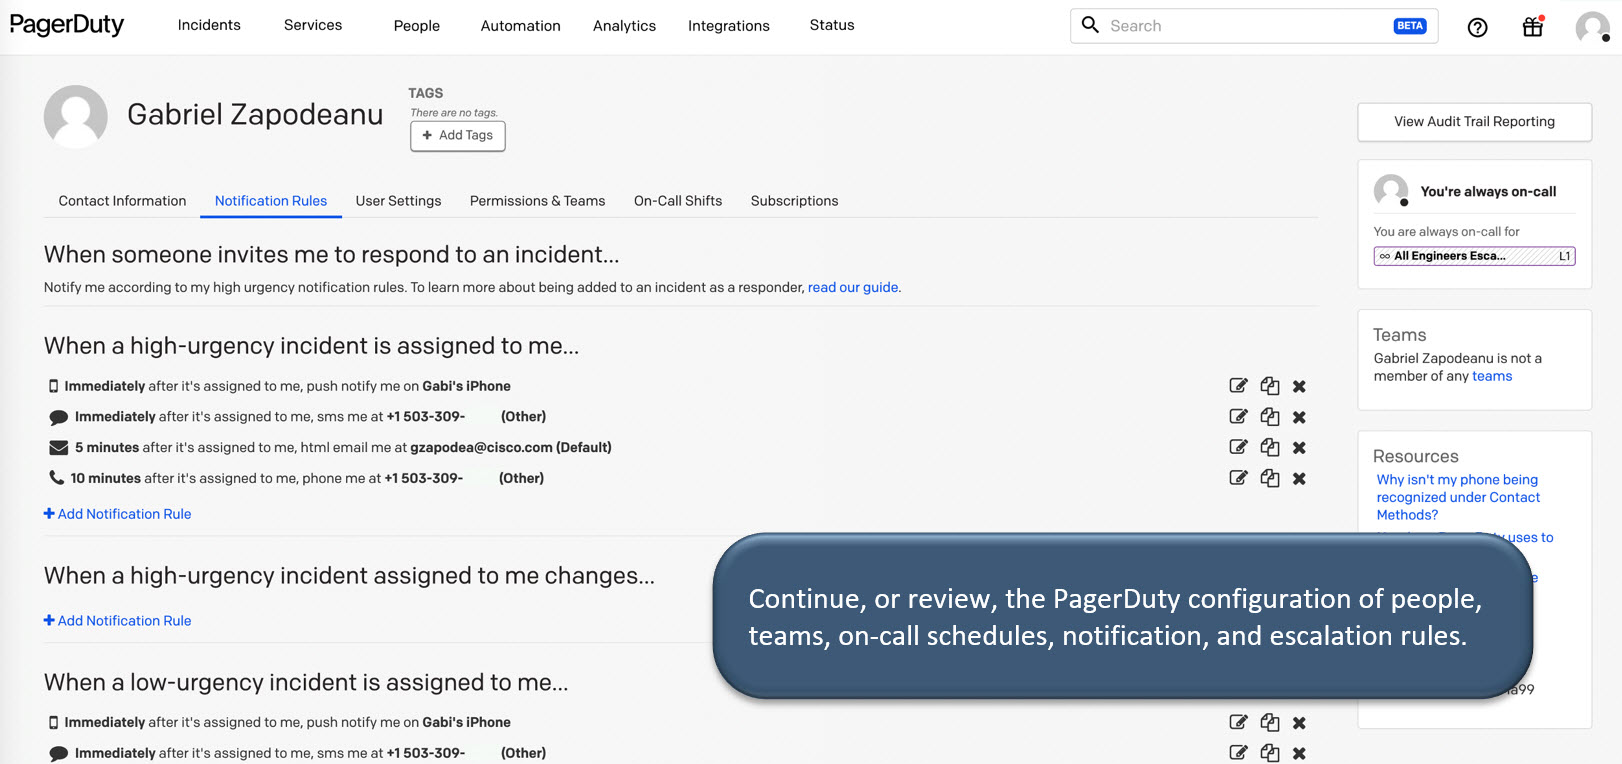
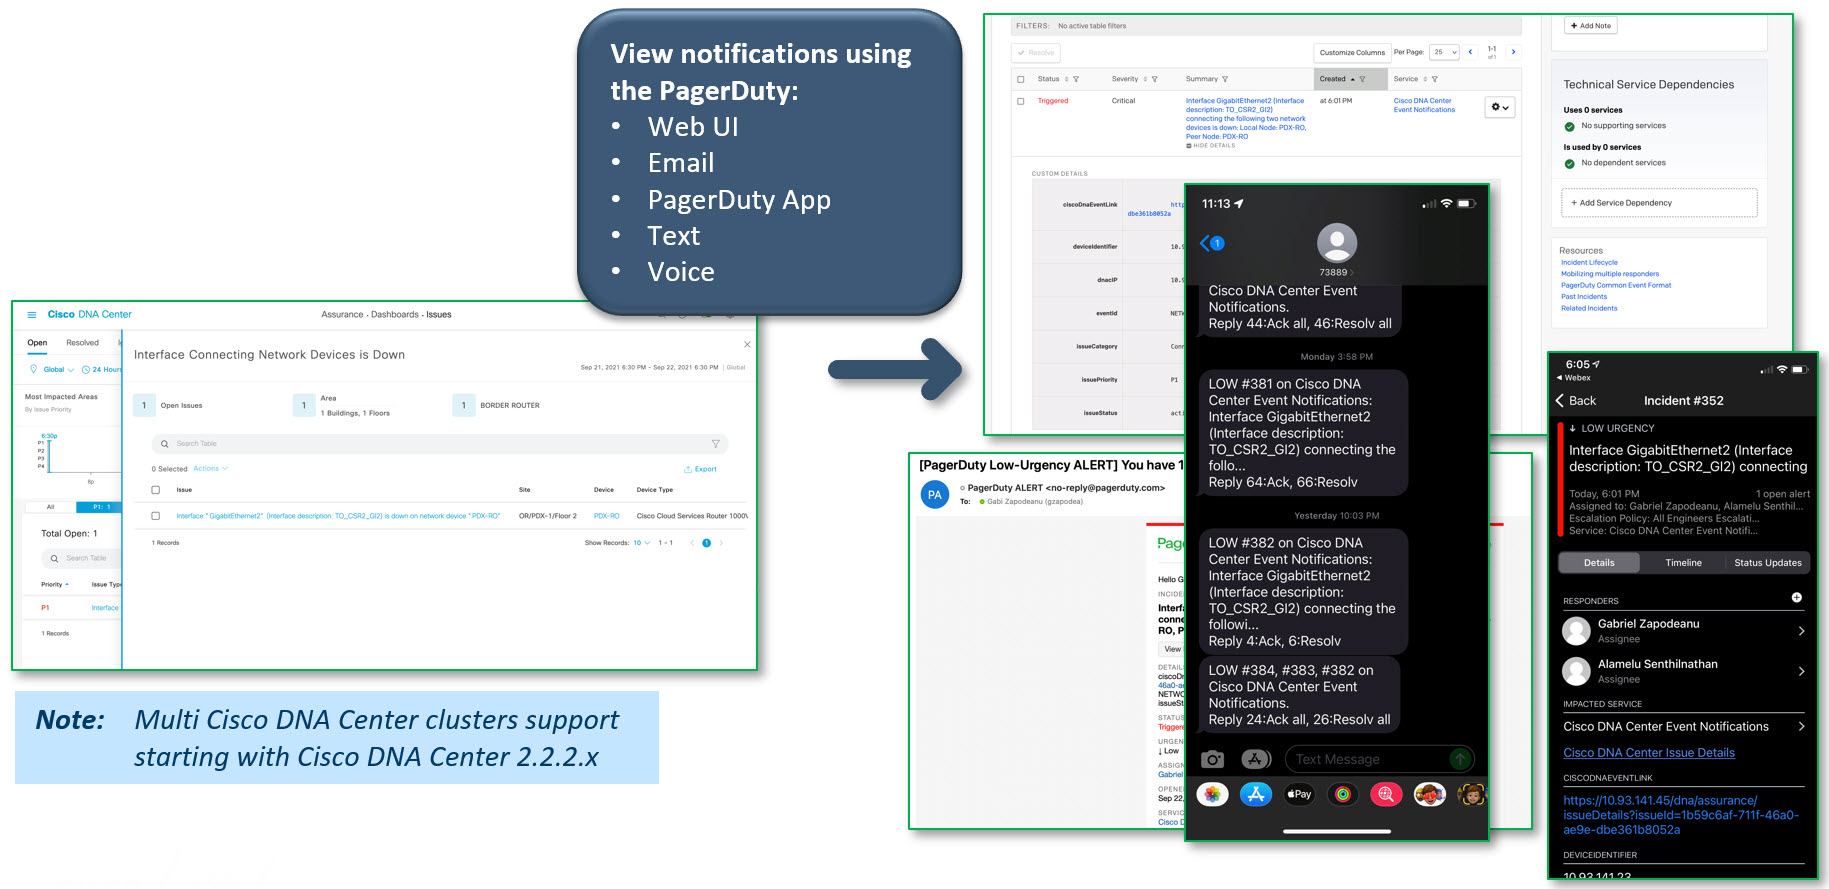
Access PagerDuty to review the events.
The Cisco DNA Center events will appear in PagerDuty as alerts within the PagerDuty INCIDENTS window. You can review and mark the alert as Resolved in this window.
Integration Workflow Test


 Feedback