Cisco Application Policy Infrastructure Controller Enterprise Module Installation Guide, Release 1.4.1.x
Bias-Free Language
The documentation set for this product strives to use bias-free language. For the purposes of this documentation set, bias-free is defined as language that does not imply discrimination based on age, disability, gender, racial identity, ethnic identity, sexual orientation, socioeconomic status, and intersectionality. Exceptions may be present in the documentation due to language that is hardcoded in the user interfaces of the product software, language used based on RFP documentation, or language that is used by a referenced third-party product. Learn more about how Cisco is using Inclusive Language.
- Updated:
- April 4, 2017
Chapter: Preparing Virtual Machines for Cisco APIC-EM
Preparing Virtual
Machines for Cisco APIC-EM
- Preparing a VMware System for Cisco APIC-EM Deployment
- Virtual Machine Configuration Recommendations
- Configuring Resource Pools Using vSphere Web Client
- Configuring a Virtual Machine Using vSphere Web Client
Preparing a VMware System for Cisco APIC-EM Deployment
To ensure that the Cisco APIC-EM works well within a virtual environment, configure the virtual machine with recommended resource pool values. A resource pool is a logical abstraction for the virtual machines that can be used to manage resources. Resource pools can be grouped into hierarchies and then used to partition CPU and memory resources.
You can configure and prepare the virtual machine using either the VMware vSphere Client or Web Client. We recommend that you use the VMware vSphere Web Client, since the Latency Sensitivity setting for resource pools must be configured as High. The Latency Sensitivity setting can only be configured using the VMware vSphere Web Client.
 Note | When deploying the Cisco APIC-EM in a virtual environment, you must first configure the VMware system before installing Cisco APIC-EM. To install Cisco APIC-EM, you need to download the ISO image containing the controller from Cisco.com and then map the ISO image to the VMware system and boot from it. |
Virtual Machine Configuration Recommendations
The following table lists the recommended configuration settings for a successful Cisco APIC-EM VMware vSphere installation, including resource pools. When installing Cisco APIC-EM on a supported virtual machine, we recommend that the following configuration settings are used.
Note | When preparing the virtual machine for the Cisco APIC-EM, the configuration settings terminology may differ depending upon the VMware application and GUI that your are using. |
Configuring Resource Pools Using vSphere Web Client
To ensure that the Cisco APIC-EM works well within a virtual environment, you should configure resource pools with the recommended values. A resource pool is a logical abstraction for the virtual machines that can be used to manage resources. Resource pools can be grouped into hierarchies and then used to partition CPU and memory resources.
Note | You should first create a new resource pool with the recommended configuration values as described in this procedure, and then subsequently create a virtual machine (where the Cisco APIC-EM will be installed) on that resource pool. |
You have reviewed your VMware documentation concerning resource pools and their configuration.
You are familiar with the VMware vSphere Web Client and have a basic knowledge of how to create, manage and troubleshoot virtual machines using it.
You have your host and virtual datastores already set up and accessible in vSphere Web Client for this procedure.
| Step 1 | Open the VMware
vSphere Web Client to perform the procedure.
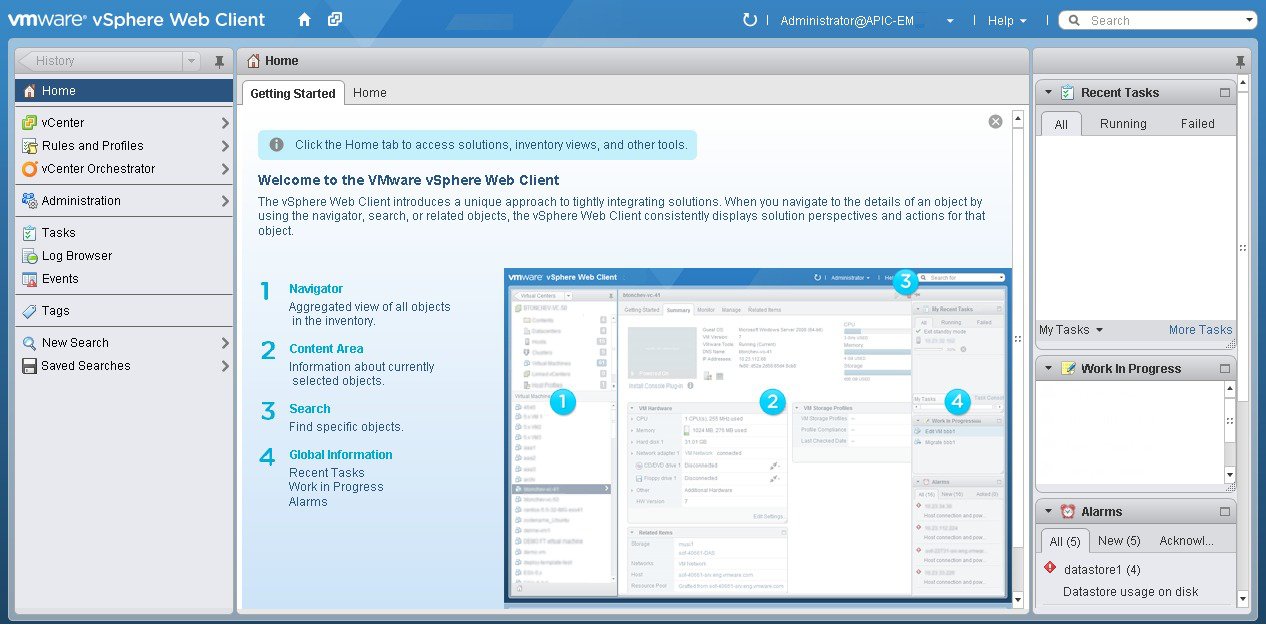 |
| Step 2 | Click
vCenter in the
Navigator.
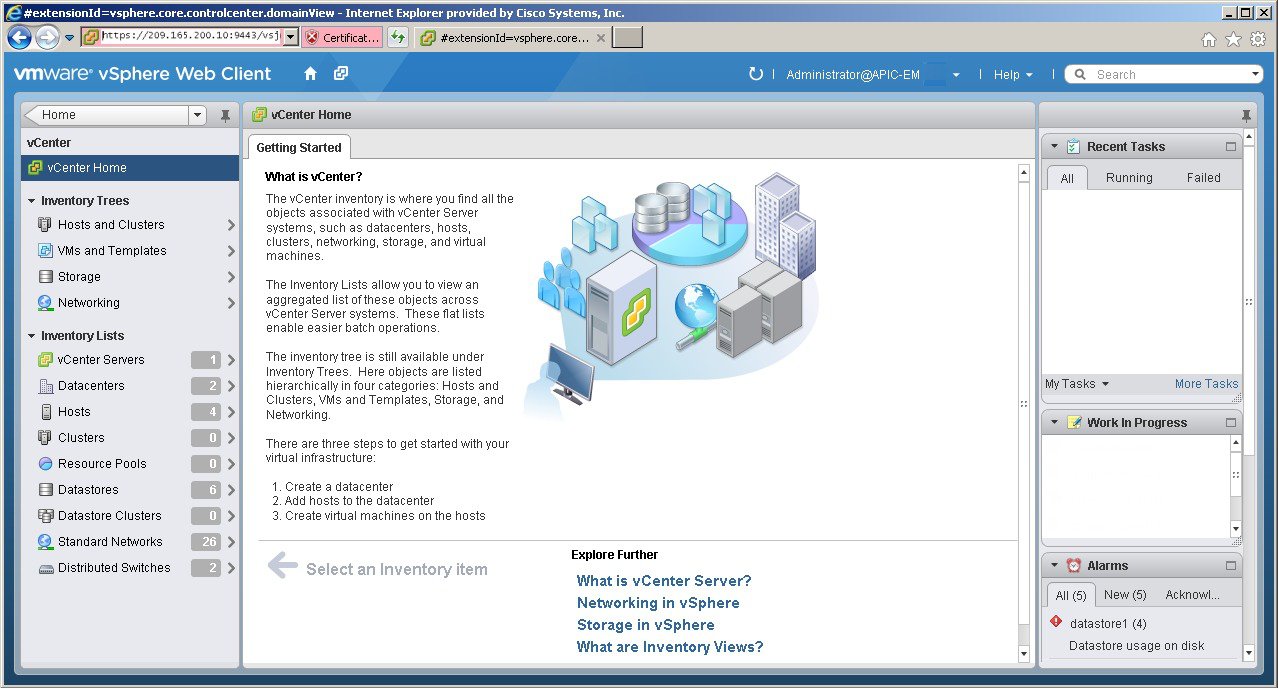 |
| Step 3 | Click on
Hosts.
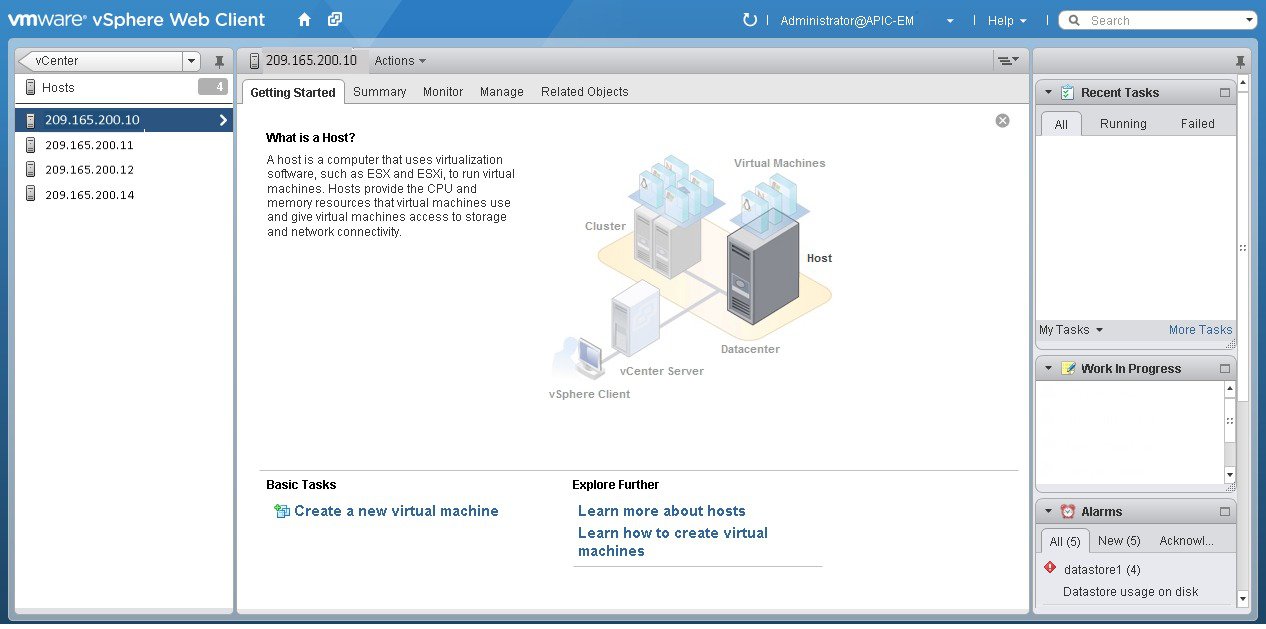 Choose a host where you will create the resource pool. |
| Step 4 | Right-click on
the selected host and click
All
vCenter Actions |
New
Resource Pool.
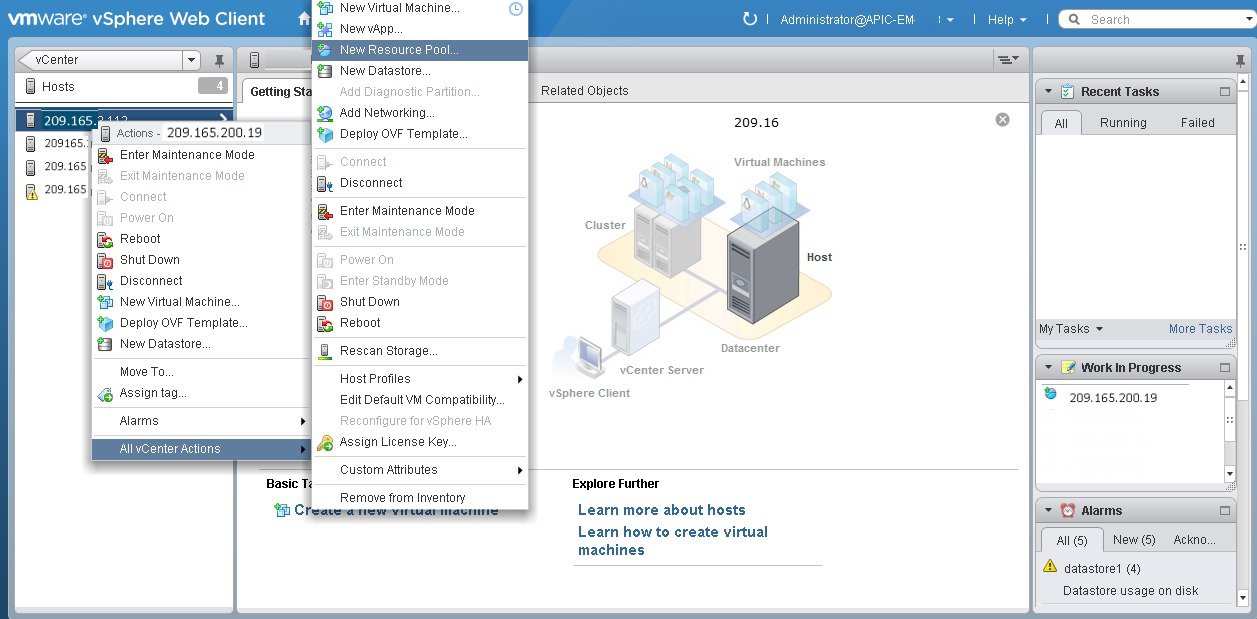 |
| Step 5 | Enter a name and
specify values for the resource pool in the
New
Resource Pool dialog box.
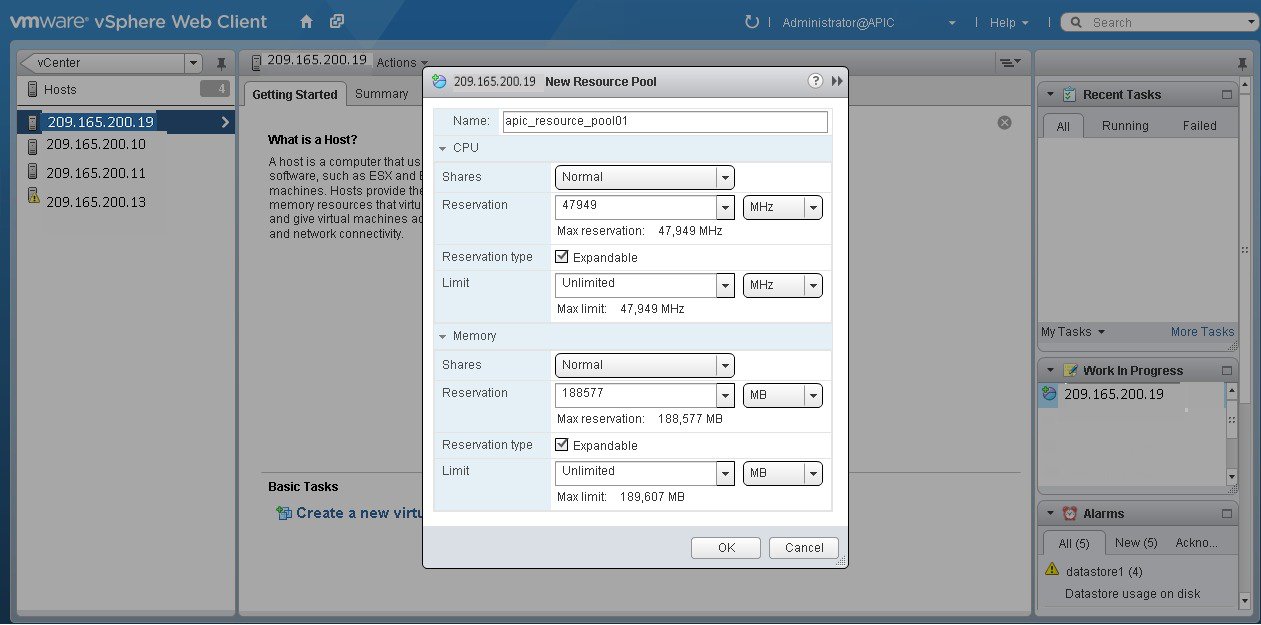 We recommend entering the following resource pool values in this dialog box: |
| Step 6 | Click OK to save the configured resource pool values. |
What to Do Next
Proceed to create a new virtual machine on this resource pool. For assistance with this procedure, see the following procedure, Configuring a VMware Server Using vSphere Web Client.
Configuring a Virtual Machine Using vSphere Web Client
To ensure that the Cisco APIC-EM properly functions in a virtual environment, create the virtual machine(s) following the procedure described below with the recommended settings.
Note | You must create this virtual machine on the resource pool that you earlier configured, as described in the previous procedure. |
You have reviewed the minimum system requirements for a successful Cisco APIC-EM VMware vSphere installation, as previously described in this guide.
You are familiar with the VMware vSphere Web Client and have a basic knowledge of how to create, manage and troubleshoot virtual machines using the Web Client.
You have your host and virtual datastores already set up and accessible in vSphere Web Client for this procedure.
You have already created a resource pool on the host, following the steps described in the previous procedure, Configuring Resource Pools Using vSphere Web Client.
| Step 1 | Open the VMware
vSphere Web Client to perform the procedure.
| ||||||||||||
| Step 2 | Click
vCenter in the
Navigator.
| ||||||||||||
| Step 3 | Click Resource Pools in the Inventory Lists in vCenter. | ||||||||||||
| Step 4 | Choose the
resource pool where you will install the virtual machine from the list.
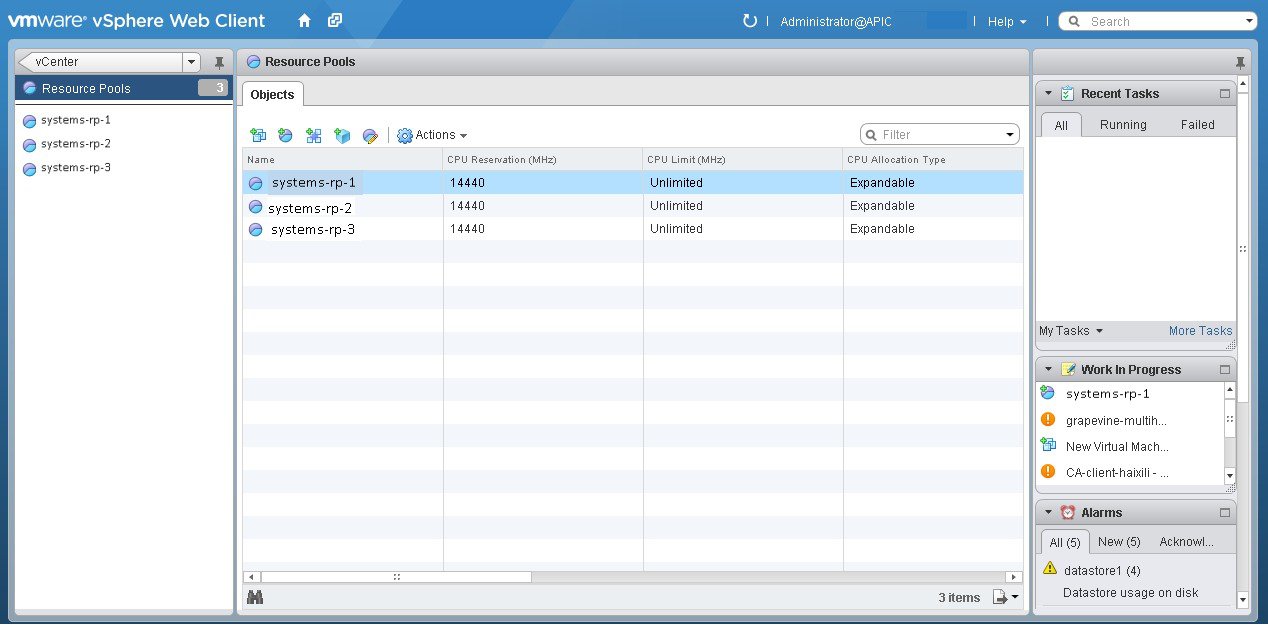 | ||||||||||||
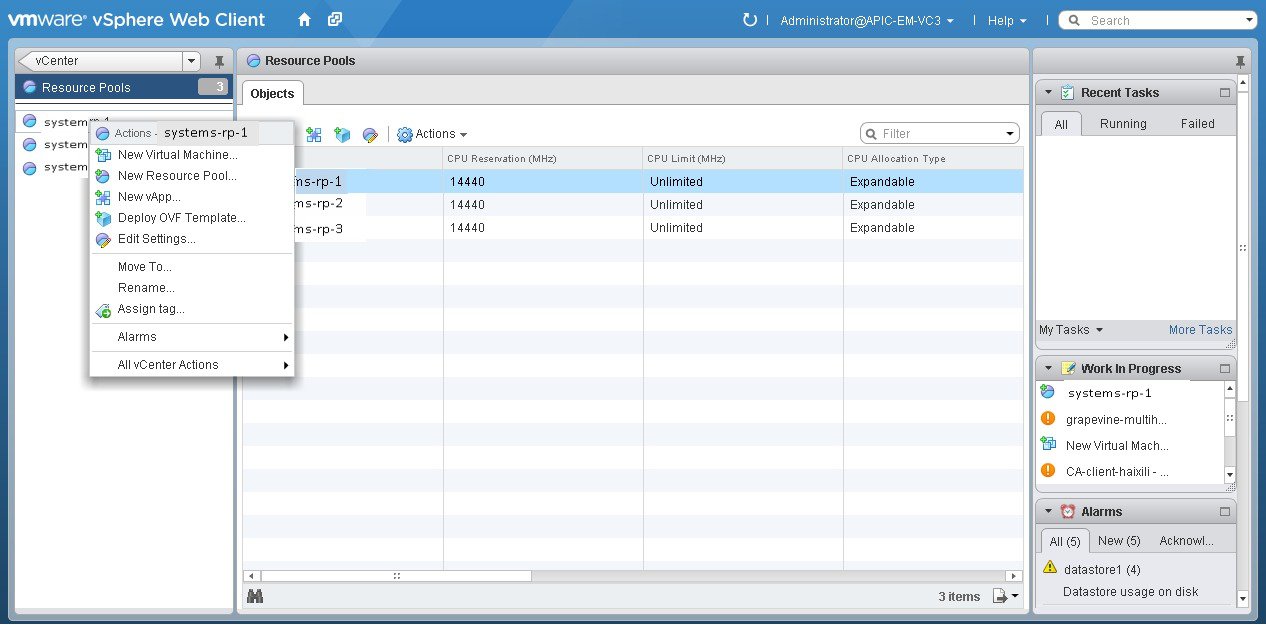
| Step 5 | Right click on
the resource pool and select
New
Virtual Machine from the menu.
| ||||||||||||
| Step 6 | Click
Create a
new virtual machine in the
New
Virtual Machine dialog box under
1a
Select creation type.
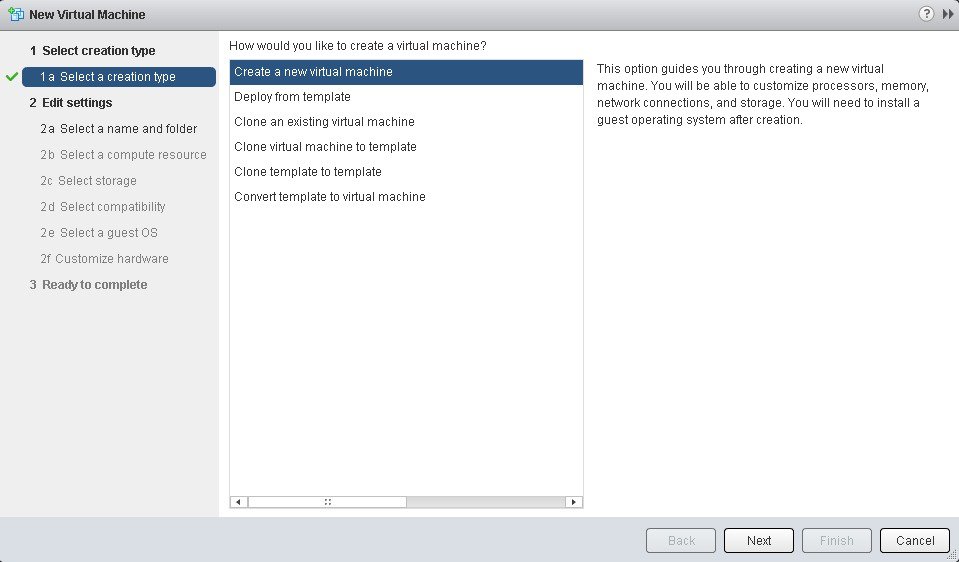 Click Next to proceed to the next step. | ||||||||||||
| Step 7 | In the New Virtual
Machine dialog box under
2 Edit
Settings, click
2a
Select a name and folder.
Enter a name for the virtual machine and a location for the virtual machine.
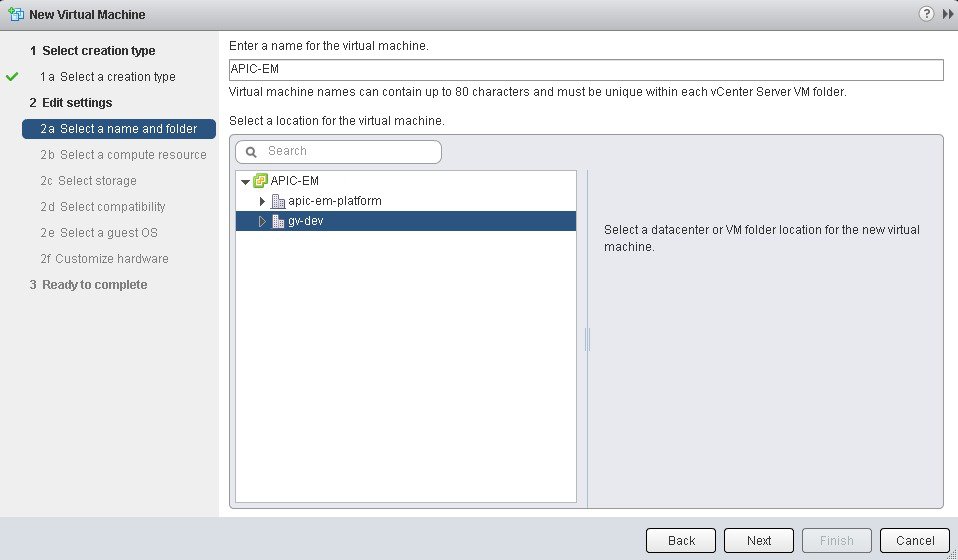 Click Next to proceed to the next step. | ||||||||||||
| Step 8 | Click
2b
Select a computer resource.
Select the resource pool that was created in the previous procedure.
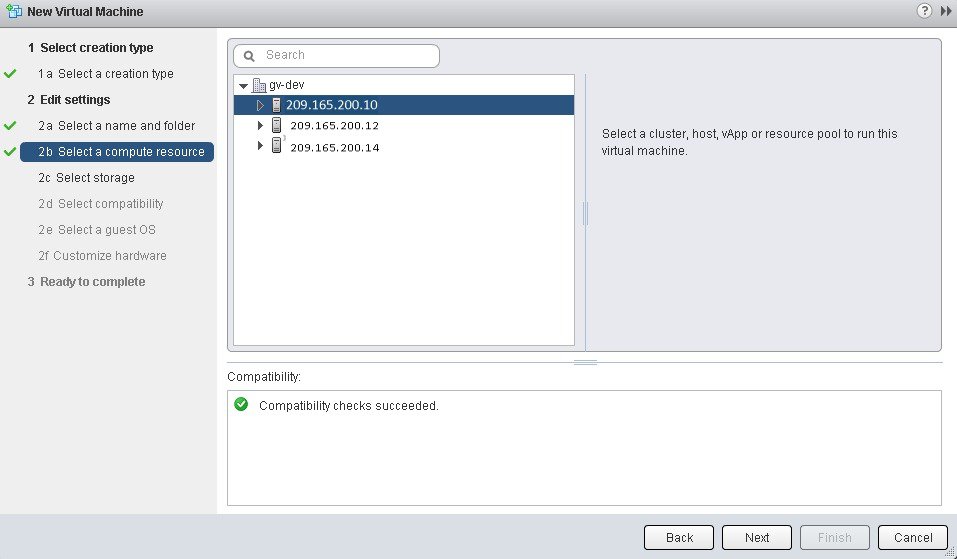 Click Next to proceed to the next step. | ||||||||||||
| Step 9 | Click
2c
Select storage.
Select a datastore for your virtual machine.
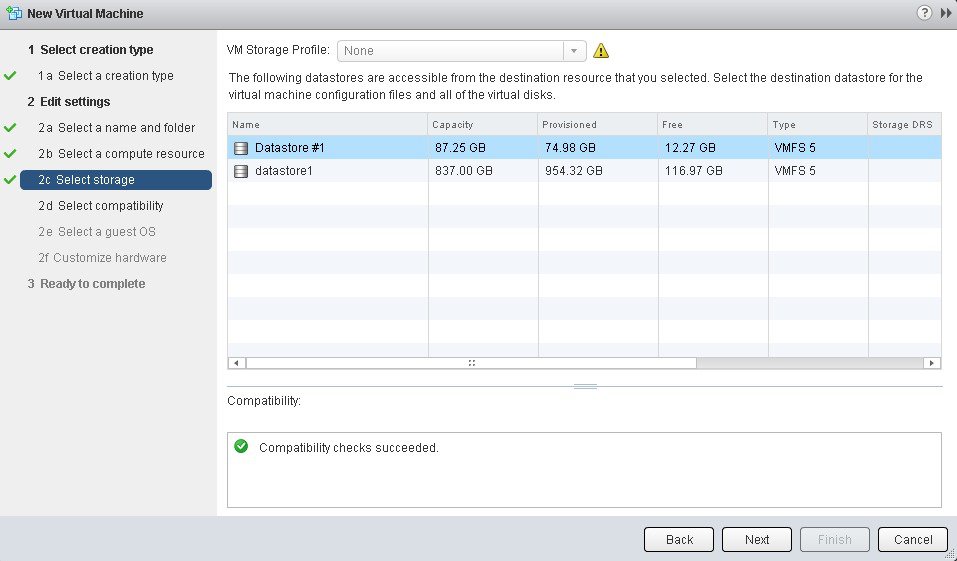 Click Next to proceed to the next step. | ||||||||||||
| Step 10 | Click
2d
Select compatibility.
Select ESX 5.1 and later from the drop down menu.
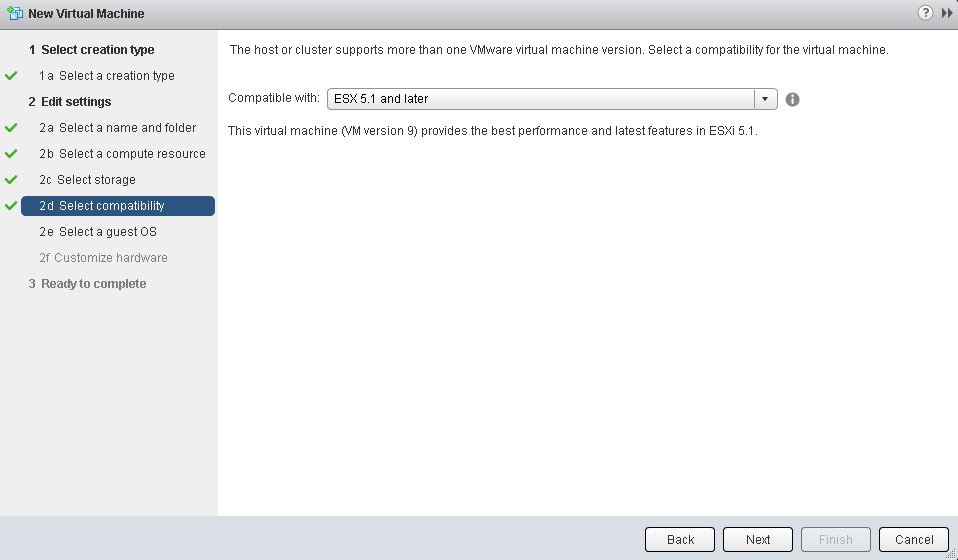 Click Next to proceed to the next step. | ||||||||||||
| Step 11 | Click
2e
Select a guest OS.
Select the following values from the drop down menus:
 Click Next to proceed to the next step. | ||||||||||||
| Step 12 | Click
2f
Customize hardware.
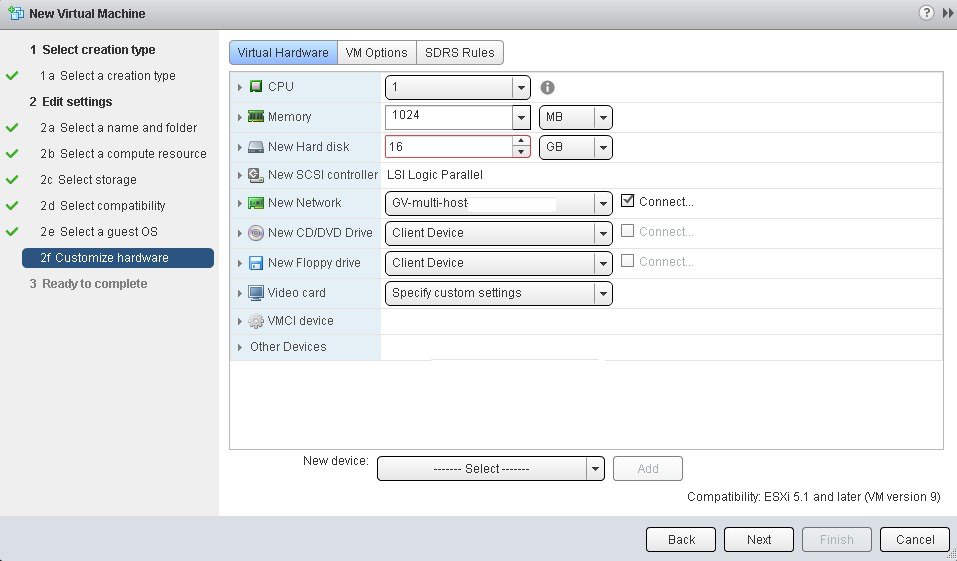 | ||||||||||||
| Step 13 | In the
Virtual Hardware tab, ensure that the following
CPU values are selected.
| ||||||||||||
| Step 14 | In the
Virtual Hardware tab, ensure that the following
Memory values are selected.
| ||||||||||||
| Step 15 | In the
Virtual Hardware tab, ensure that the following
New
Hard disk value is entered.
| ||||||||||||
| Step 16 | In the
Virtual Hardware tab, ensure that the following
New
SCSI controller value is entered.
| ||||||||||||
| Step 17 | In the
Virtual Hardware tab, ensure that the following
New
Network values are entered.
| ||||||||||||
| Step 18 | In the
Virtual Hardware tab, ensure that the following
New
CD/DVD Drive value is entered.
| ||||||||||||
| Step 19 | Click the
VM
Options tab to open it and ensure that the following values are
entered.
Click Ok to save your configuration and to proceed to the next step. | ||||||||||||
| Step 20 | Click
3
Ready to complete.
Click Finish to finish the virtual machine configuration. | ||||||||||||
| Step 21 | In the virtual machine, map the Cisco APIC-EM ISO image onto the local drive (CD/DVD). | ||||||||||||
| Step 22 | Boot up the virtual machine and choose the CD-ROM option from the Boot Menu. | ||||||||||||
| Step 23 | Choose Install Grapevine Appliance from the Ubuntu window that appears in the virtual machine. |
What to Do Next
Proceed to configure the controller by following the configuration wizard prompts.
For information about the configuration process, see following sections:
 Feedback