

If you are using a secondary Administration node, you can obtain a backup of the Cisco ISE CA certificates and keys from the Primary Administration Node, and restore it on the Secondary Administration Node. This allows the Secondary Administration Node to function as the root CA or subordinate CA of an external PKI if the primary PAN fails, and you promote the Secondary Administration Node to be the Primary Administration Node.For more information about backing up and restoring certificates and keys, see:
Backup and Restore of Cisco ISE CA Certificates and Keys.
Regenerate the Root CA Chain
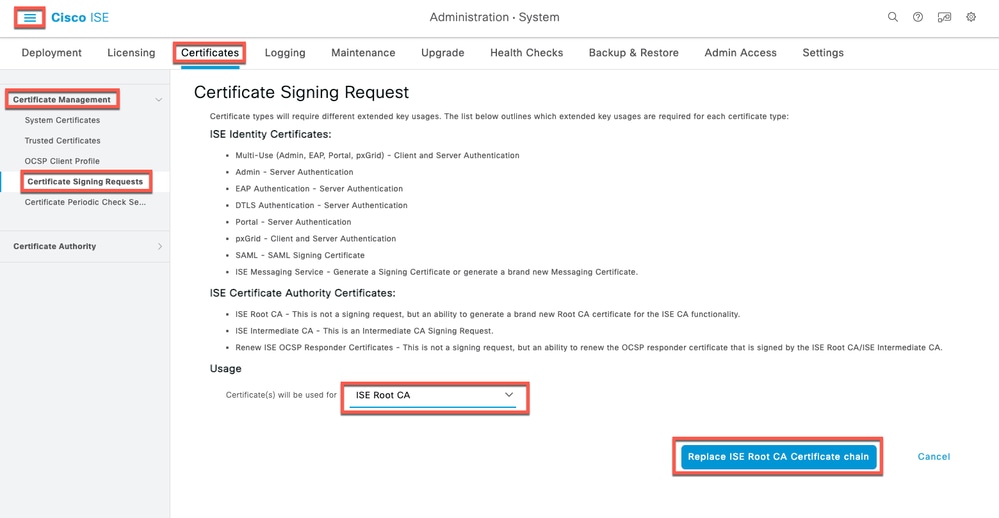
In specific upgrade scenarios, you must regenerate the root CA chain after the upgrade process is complete. Regenerate the root CA chain by completing these steps:
Step (1): From the Cisco ISE main menu, choose.
Step (2): ClickGenerate Certificate Signing Request (CSR).
Step (3): ChooseISE Root CAin theCertificate(s) would be used fordrop-down list.
Step (4): ClickReplace ISE root CA Certificate Chain.
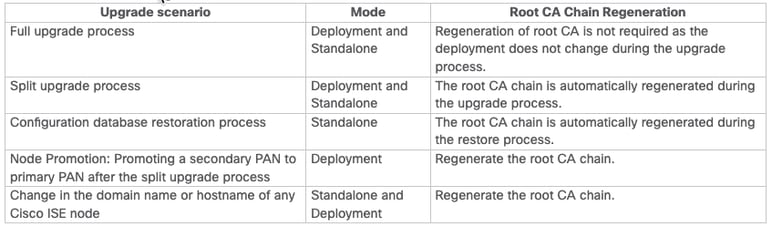
Table ShowsRoot CA Chain Regeneration Scenarios:
Threat-Centric NAC
If you have enabled the Threat-Centric NAC (TC-NAC) service, after you upgrade, the TC-NAC adapters could not be functional. You must restart the adapters from the Threat-Centric NAC pages of the ISE GUI. Select the adapter and click Restart to start the adapter again.
SMNP Originating Policy Services Node Setting
If you had manually configured the Originating Policy Services Node value under SNMP settings, this configuration is lost during upgrade. You must reconfigure the SNMP settings.
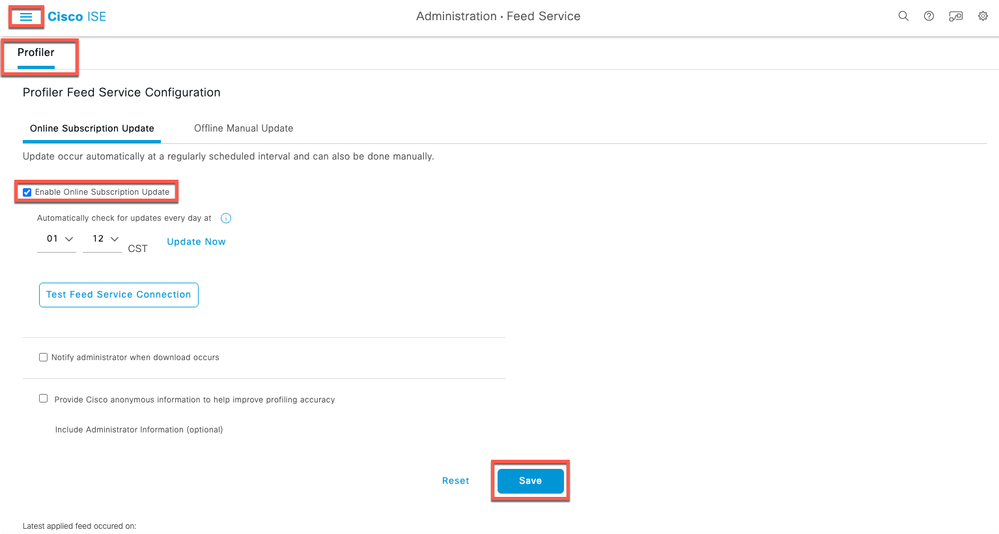
Profiler Feed Service
Update the profiler feed service after upgrade to ensure that the most up-to-date OUIs are installed. From the Cisco ISE Admin portal:
- In the Cisco ISE GUI, click theMenuicon (
 ) and choose. Ensure that the profiler feed service is enabled.
Click Update Now.
 Profiler Update
Client Provisioning
Check the native supplicant profile that is used in the client provisioning policy and ensure that the wireless SSID is correct. For iOS devices, if the network that you are trying to connect is hidden, check the Enable if target network is hidden check box in the iOS Settings area.
Online Updates
- In the Cisco ISE GUI, click theMenuicon (
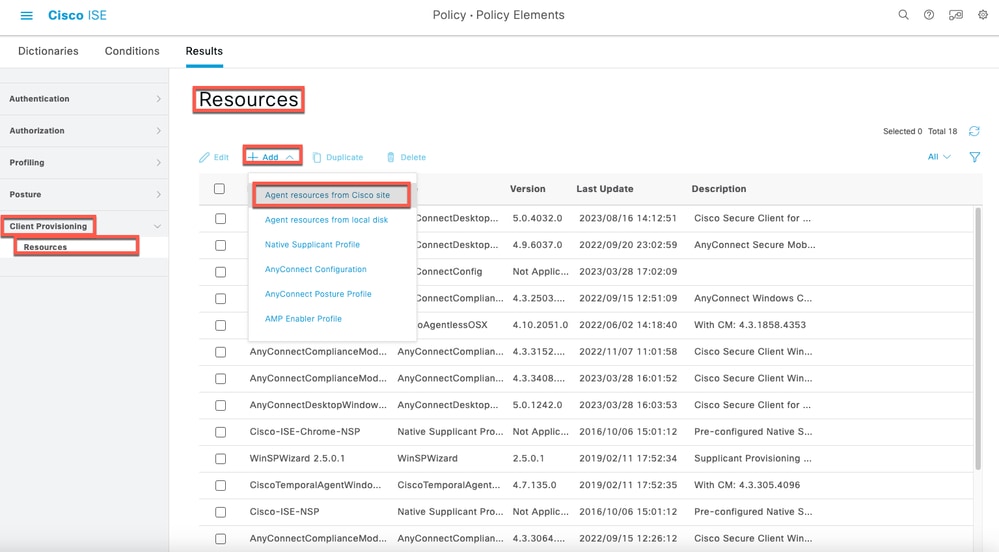
 ) and choosePolicy > Policy Elements > Results > Client Provisioning > Resources to configure the client provisioning resources.
 - Click Add.
- Choose Agent Resources From Cisco Site.
- In the Download Remote Resourceswindow, select the Cisco Temporal Agent resource.
- Click Save and verify that the downloaded resource appears in the Resources page.
 Online Update - Client Provisioning
Offline Updates
- In the Cisco ISE GUI, click the Menu icon (
 ) and choosePolicy > Policy Elements > Results > Client Provisioning > Resourcesto configure the client provisioning resources.
 - Click Add.
- Choose Agent Resources from Local Disk.
- From the Category drop-down, choose Cisco Provided Packages.
Post Upgrade Monitoring and Troubleshooting
-
Reconfigure email settings, favorite reports, and data purge settings.
-
Check the threshold and filters for specific alarms that you need. All the alarms are enabled by default after an upgrade.
-
Customize reports, based on your needs. If you had customized the reports in the old deployment, the upgrade process overwrites the changes that you made.
Refresh Policies to Trustsec NADs
Run the commands, in the showing order, to download the policies on Cisco TrustSec-enabled Layer 3 interfaces in the system. If you faced any enforcement issues after a successful upgrade.
-
no cts role-based enforcement
-
cts role-based enforcement
Profiler Endpoint Ownership Synchronization/ Replication

Note: When you upgrade to Cisco ISE 2.7 and later version, as part of JEDIS framework the port 6379 is required to be opened between all nodes in the deployment for to-and-fro communication.
After the upgrade process, you could encounter the events
-
No data in live logs.
-
Queue link errors.
-
Health status is unavailable.
-
No date available in the system summary for some nodes.
Issues mentioned can be detected through ISE Dashbord. For the Queue Link Errors you would see an alarm under alarm section. The section for the System Summary would not show any data if there is and issue.
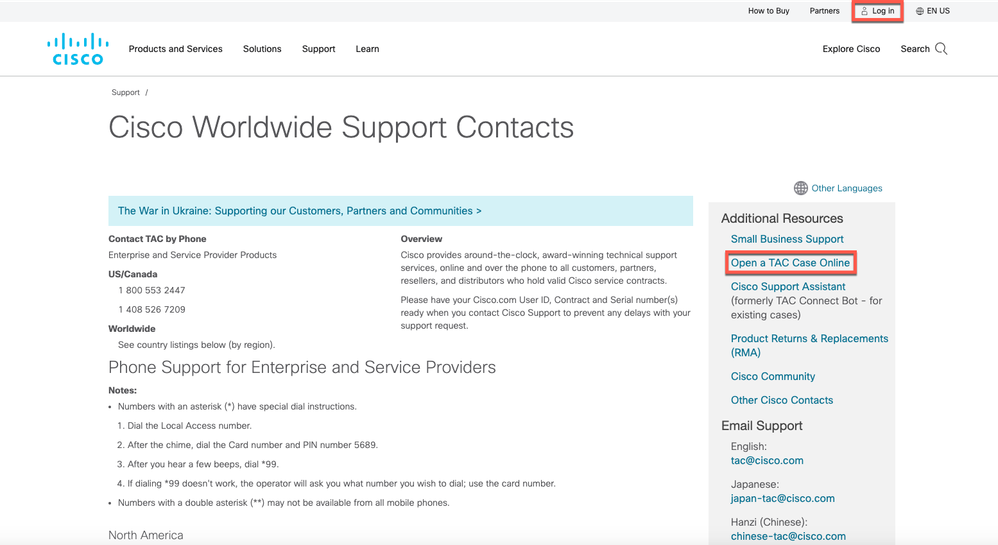
All Issues mentioned can be fixed by Regenerateing ISE internal Root CA. Specially for the Queue Link Errors in case the alarm comes for (Unknow_Ca). If you still counter the issue, Pleaes Open TAC Support Case for farther assistance.
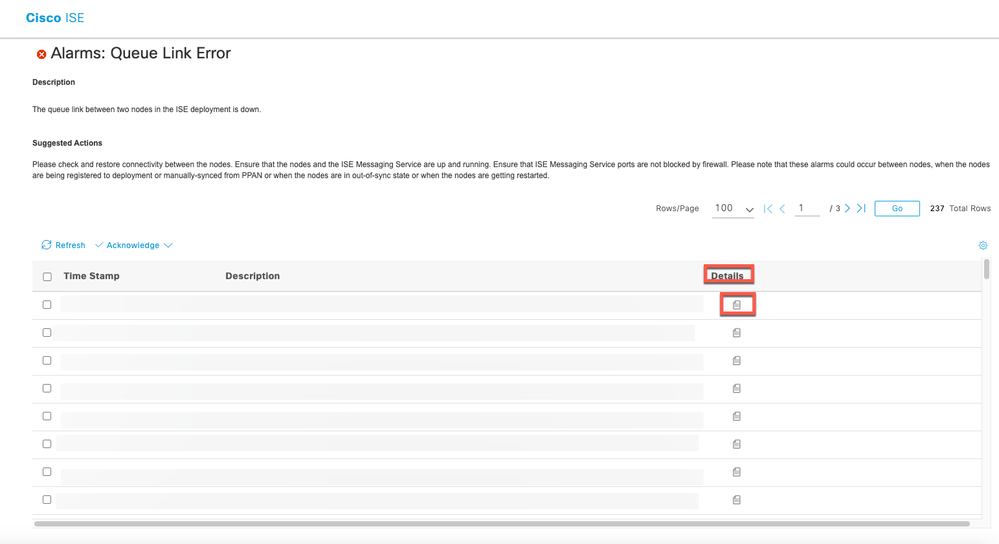 Queue Link Alarm Example
Note: If you run into any issues after a Successful Upgrade. Please Open a TAC case using the Keyword for the new issue. Please do not use the Upgrade Keyword. Upgrade keyword must be used only when you face issues with the Actual Upgrade Process.
Authentication Issues after the upgrade
After a successul upgrade you could run into Authentication issue. Pleaes verify and Check:
- Raduis Live Logs report Details. check the Failure Reason, Suggested Resolution and Root Cause. See Example:
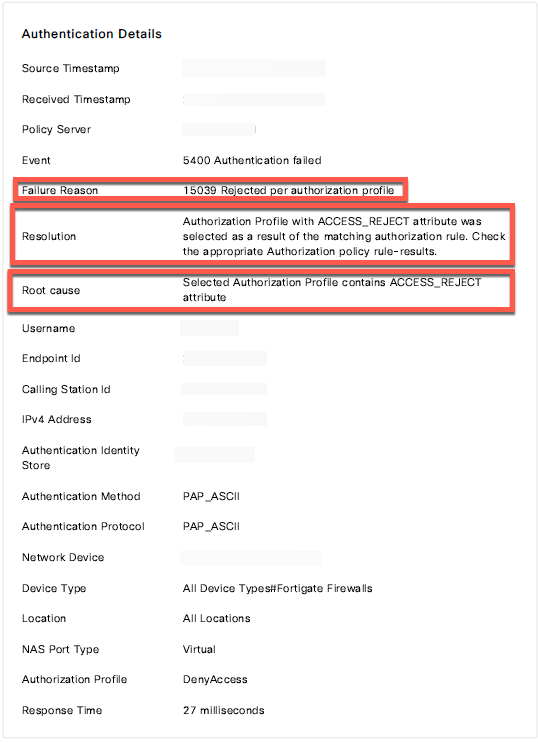 Radius Live Logs Report Example
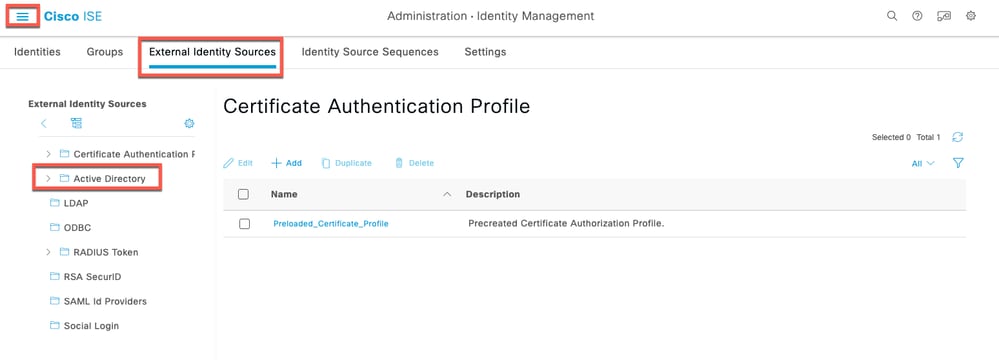
- Authentication can fail after upgrade If you use Active Directory as your external identity source, and the connection to Active Directory is lost, then you must join all Cisco ISE nodes with Active Directory again. After the joins are complete, perform the external identity source call flows to ensure the connection.
- If you still facing issues and you need to Open a TAC Case, Please make to Complete Tasks:
Note: Please use the Authentication Keyword when you open a case for the Authentication issue. Do not use the same case which is opened for the Upgrade.
1. Pick one machine that is experincing the issue for troubleshooting.
2. Note the time stamp for testing.
3. Note the MAC Address for the testing device.
4. recreate the issue.
5. Collect Radius Live logs details. Make sure the time stamp matches.
6. if you are using AnyConnect, Collect DART Bundle from the end user mahcine.
7. Generate a Support Bundle from the PSN hundling the authentication requests.
8. Upload all information to your case.
Note: Various issues on ISE require different sets of logs to troubleshoot. A full list of needed debugs must be provided by the TAC engineer.
 Feedback