-
Cisco MDS 9000 Family Storage Media Encryption Configuration Guide
-
Index
-
New and Changed Information
-
Preface
-
Cisco SME Overview
-
Cisco SME Getting Started
-
Cisco SME Cluster Management
-
Cisco SME Interface Configuration
-
Cisco SME Tape Management
-
Cisco SME Key Management
-
Using the CLI to Configure Cisco SME
-
Cisco SME Best Practices
-
Cisco SME Troubleshooting
-
Cisco SME CLI Commands
-
Offline Data Restore Tool
-
Creating Self-sign certificates
-
Database Backup and Restore
-
Planning for Cisco SME Installation
-
 Feedback
Table Of Contents
About Cisco Storage Media Encryption Tape Management
Cisco SME Tape Configuration
This chapter contains information about managing tapes that are encrypted using Cisco SME. It includes the following sections:
•
About Cisco Storage Media Encryption Tape Management
About Cisco Storage Media Encryption Tape Management
Once provisioned, Cisco SME provides transparency to hosts and targets. To manage the paths from a hosts to tape devices, Cisco SME uses the following:
•
•
•
•
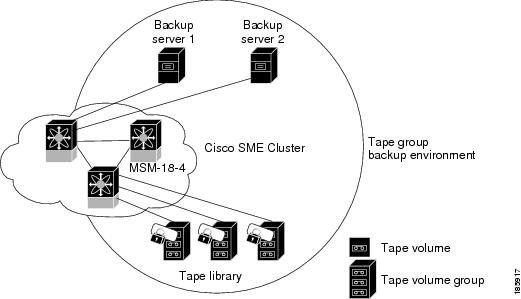
Cisco SME provides the capability to export a volume group with an encryption password. This file could later be imported to a volume group. Also, volume group filtering options provide mechanisms to specify what type of information will be included in a specific volume group. For example, you could filter information in a volume group by specifying a barcode range.
Figure 5-1 shows the Cisco SME tape backup environment.
Figure 5-1 Cisco SME Tape Backup Environment and Configuration
The following concepts are used in tape management procedures:
•
•
•
•
•
•
•
Note
Adding Tape Groups
Note
Note
To add a tape group, follow these steps:
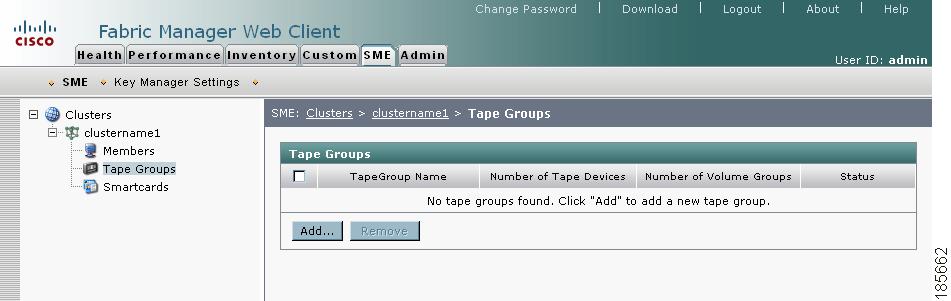
Step 1
Figure 5-2 Adding Tape Groups
Note
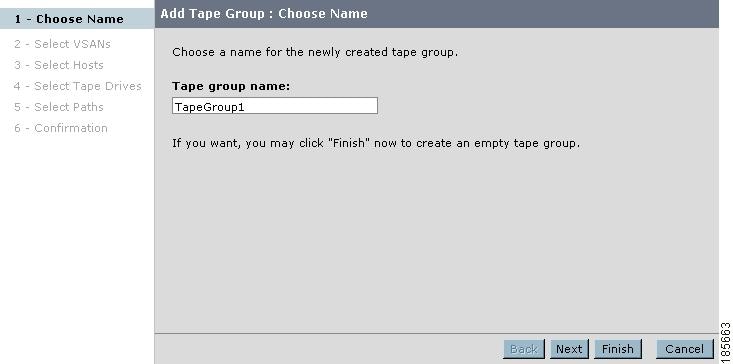
Step 2
Figure 5-3 Name the Tape Group
Note
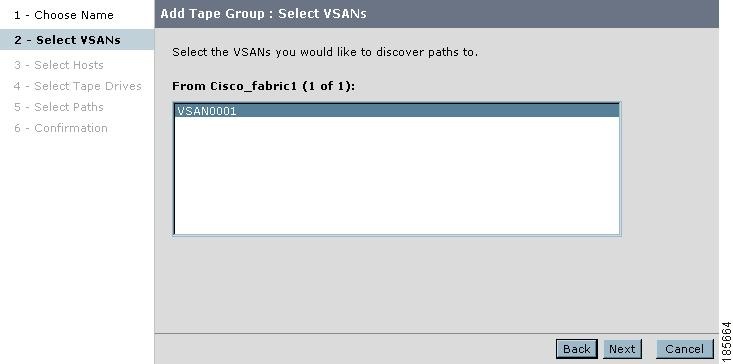
Step 3
Figure 5-4 Select VSANs
Step 4
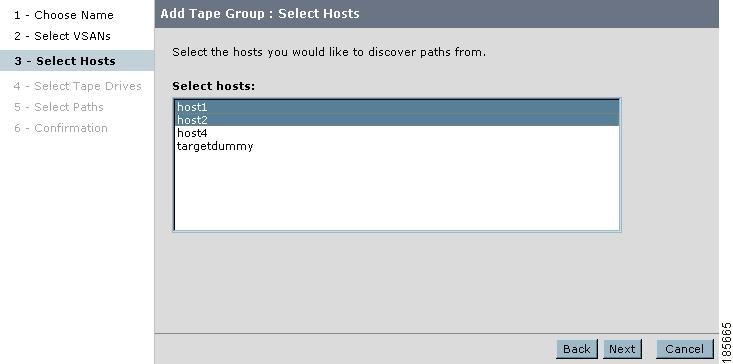
Figure 5-5 Select Hosts (backup servers)
Step 5
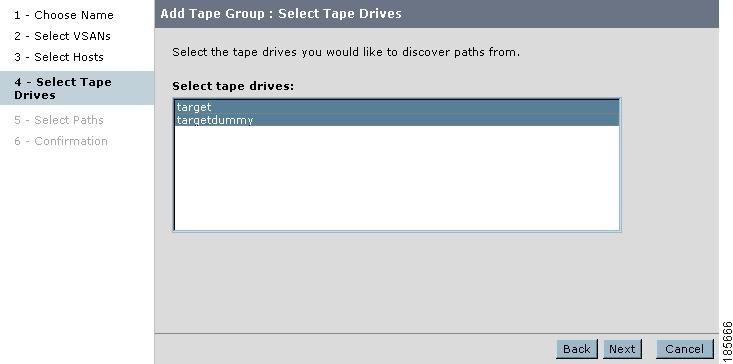
Figure 5-6 Select Tape Drives
Step 6
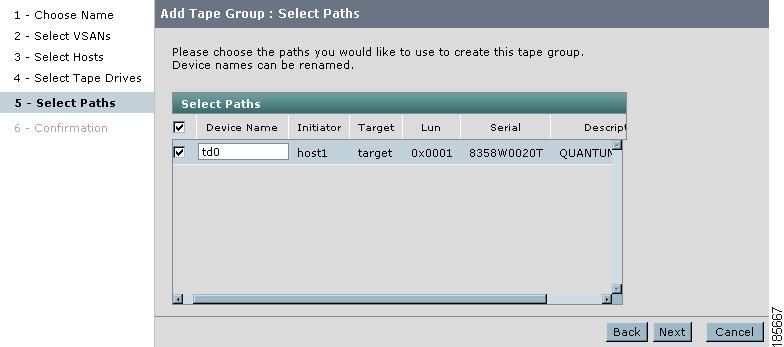
Figure 5-7 Select the Paths
Step 7
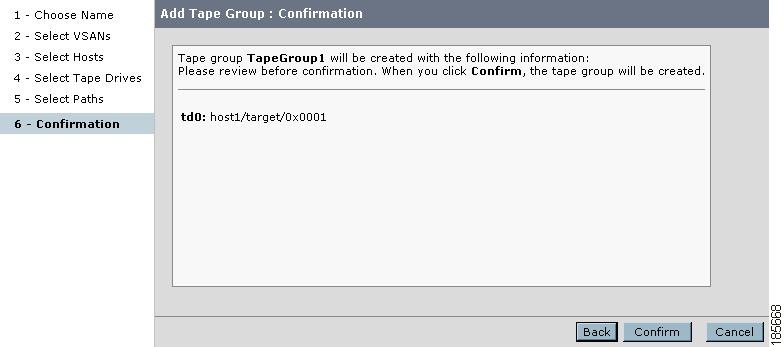
Figure 5-8 New Tape Group Confirmation
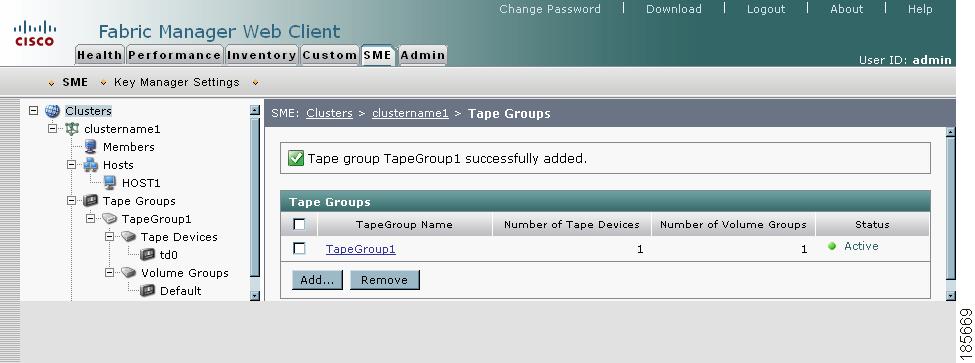
Step 8
Figure 5-9 New Tape Group Added to the Cluster
Note
Deleting Tape Groups
Note
To delete a tape group, follow these steps:
Step 1
Step 2
Step 3
Adding Tape Devices
To add tape devices to an existing tape group, follow these steps:
Step 1
Figure 5-10 Adding Tape Devices to an Existing Tape Group
Step 2
Figure 5-11 Selecting VSANs
Step 3
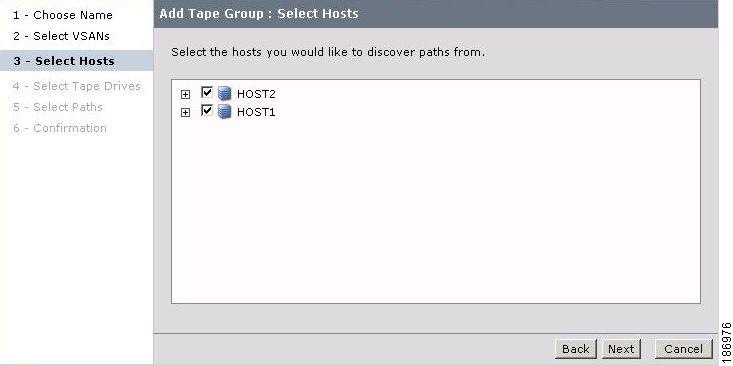
Figure 5-12 Selecting Hosts
Step 4
Figure 5-13 Selecting Tape Drives
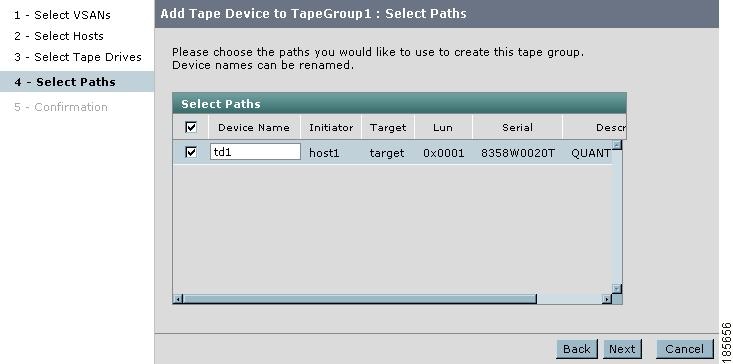
Step 5
Figure 5-14 Selecting Paths
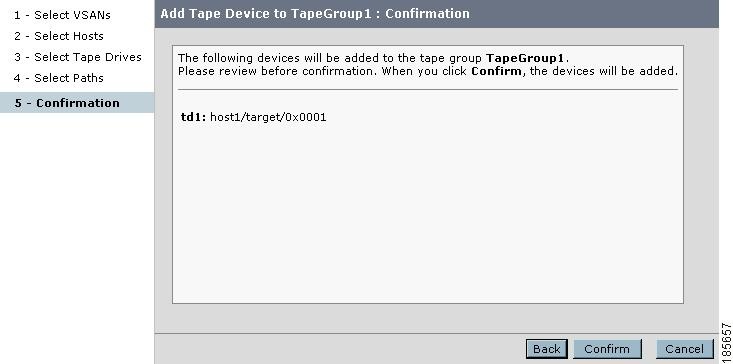
Step 6
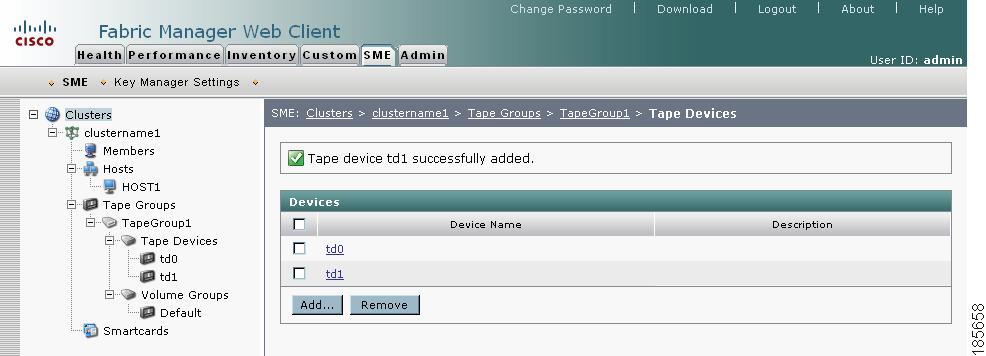
Figure 5-15 New Tape Device Confirmation
Step 7
Figure 5-16 New Tape Device Added to the Cluster
Deleting Tape Devices
To delete a tape device from an existing tape group, follow these steps:
Step 1
Step 2
Figure 5-17 Deleting Tape Devices From an Existing Tape Group
Step 3
Figure 5-18 Tape Device Deletion Confirmation
Step 4
Figure 5-19 Tape Device Removed
Adding Tape Paths
Use the Tape Path Wizard to quickly add or modify tape paths between hosts and target backup devices.
To add a tape path to a tape device, follow these steps:
Step 1
Figure 5-20 Adding Tape Paths to an Existing Tape Device
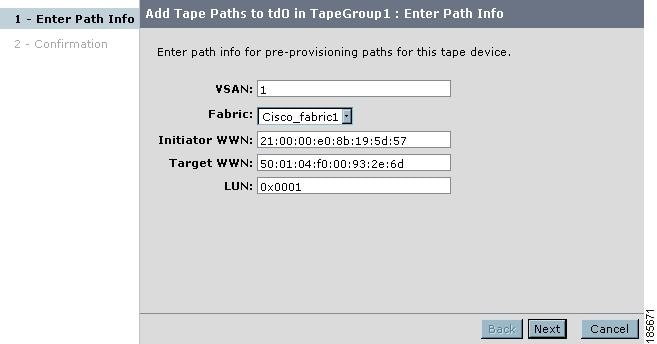
Step 2
Figure 5-21 Entering Path Information
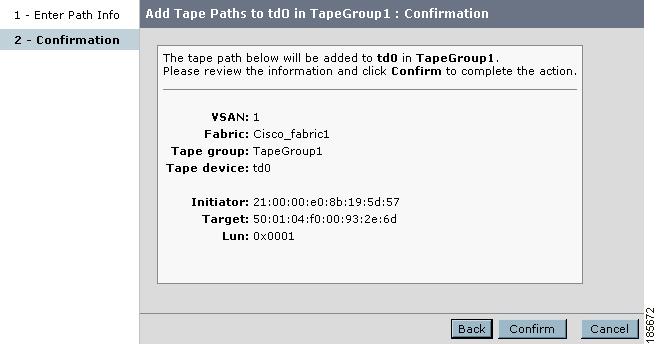
Step 3
Figure 5-22 Confirming New Tape Paths
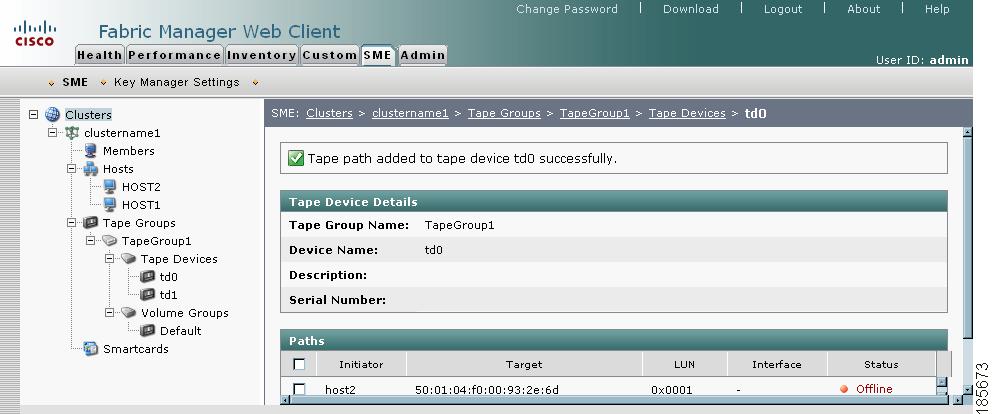
Step 4
Figure 5-23 Displaying a New Tape Path
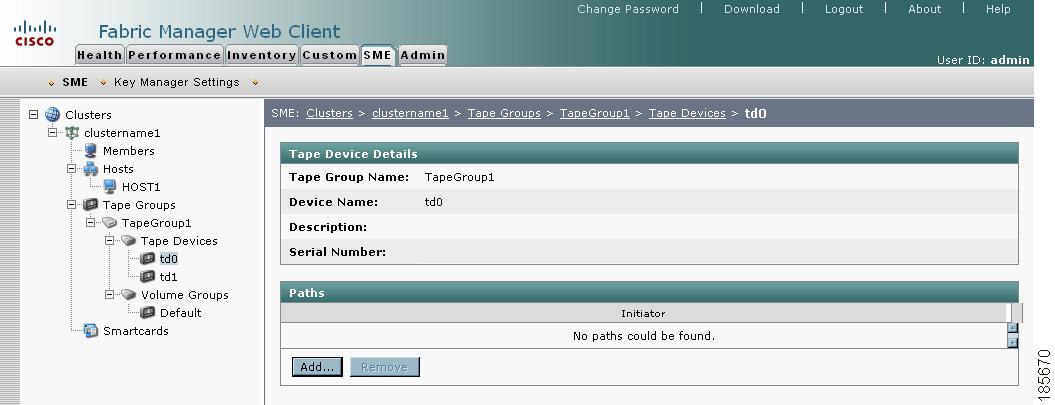
Deleting Paths from a Device
To delete a tape path from a device, follow these steps:
Step 1
Figure 5-24 Selecting a Tape Path
Step 2
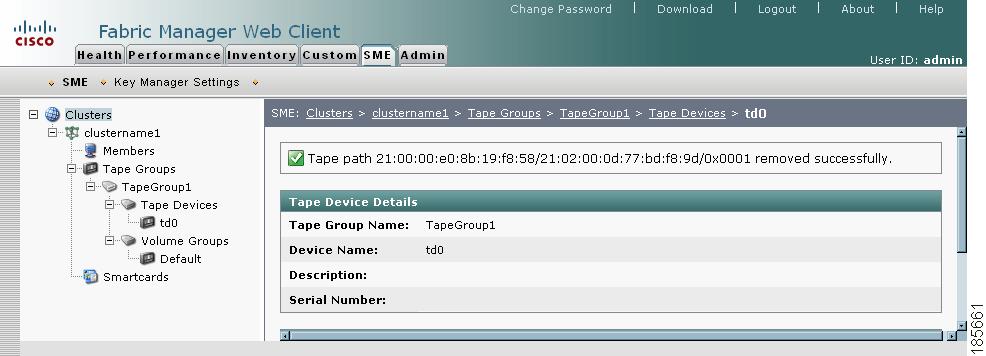
Figure 5-25 Tape Path Removed Confirmation
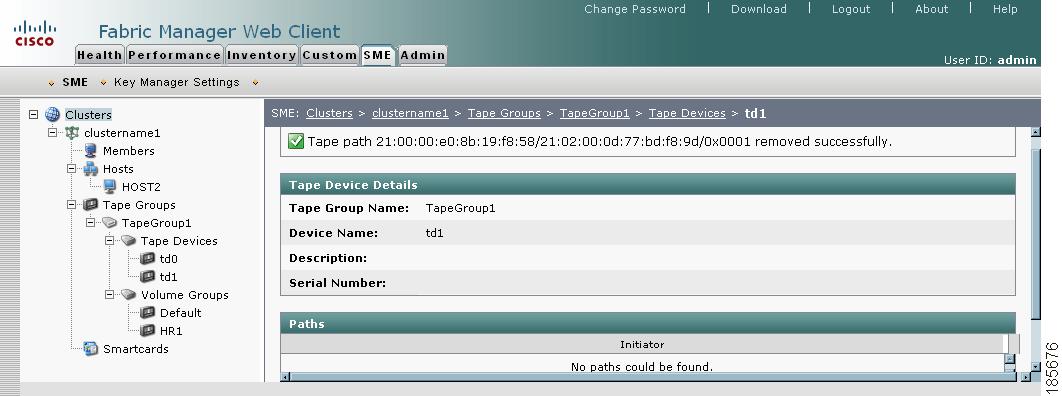
Step 3
Figure 5-26 Tape Path Removed Notification
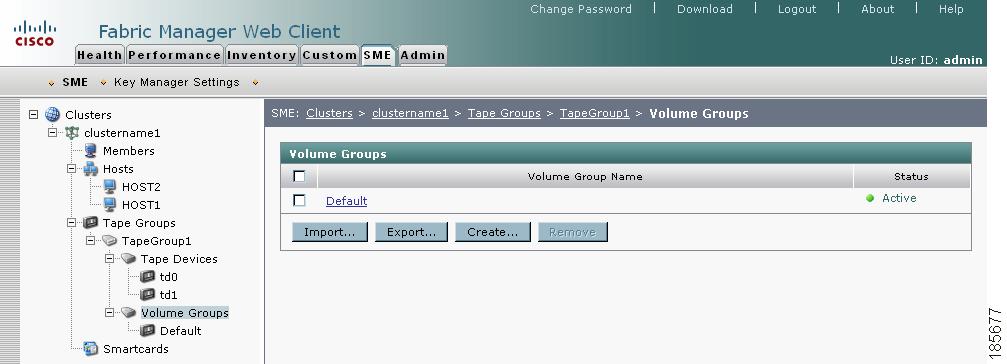
Adding Tape Volume Groups
To add tape volume groups to an existing tape group, follow these steps:
Step 1
Figure 5-27 Adding Tape Volume Groups to an Existing Tape Group
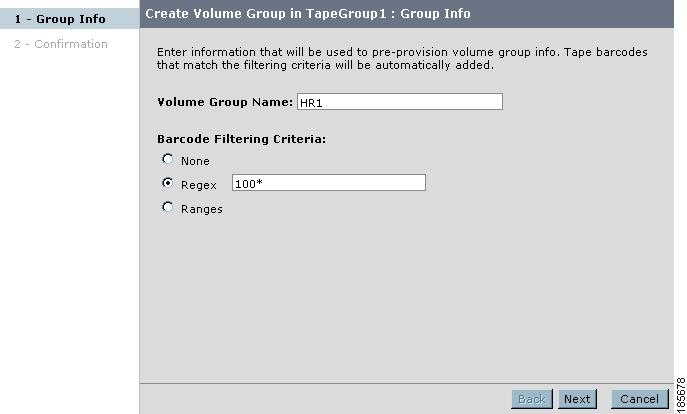
Step 2
•
•
•
Note
Note
Figure 5-28 Filtering by Regex
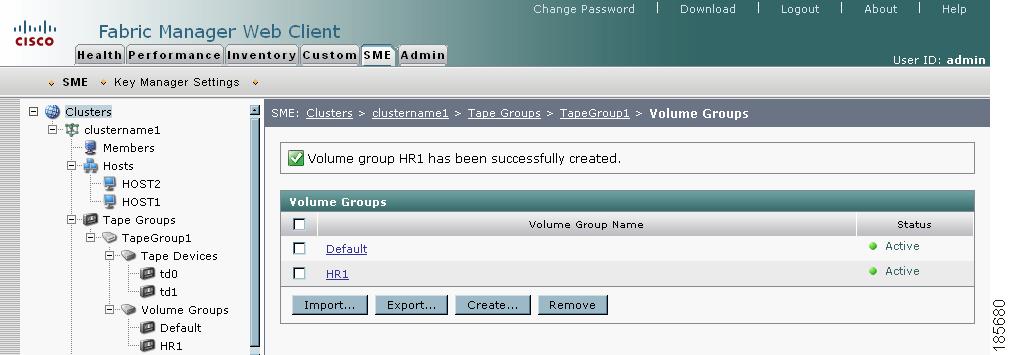
Step 3
Step 4
Figure 5-29 Viewing a New Volume Group
Note
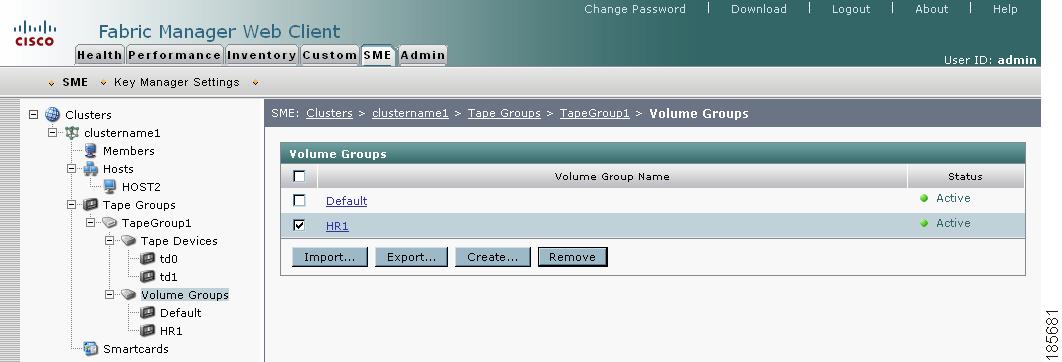
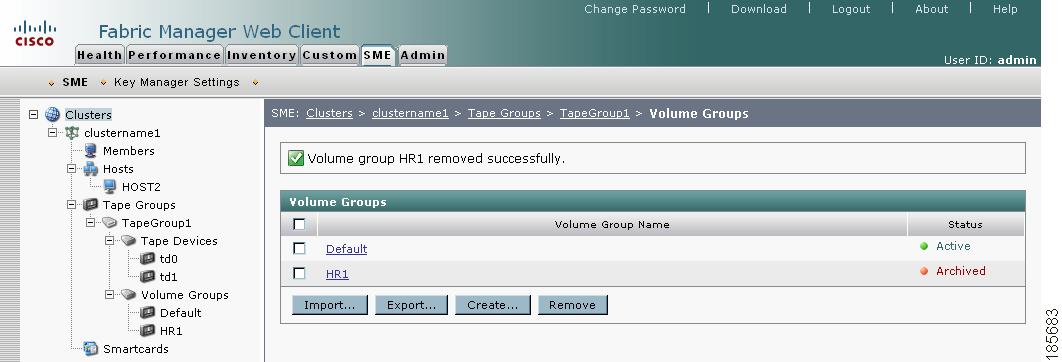
Deleting Tape Volume Groups
To delete a tape volume group from a Cisco SME cluster, follow these steps:
Step 1
Figure 5-30 Volume Groups
Step 2
Figure 5-31 Volume Groups Removed Confirmation
Step 3
Figure 5-32 Volume Groups Removed Notification
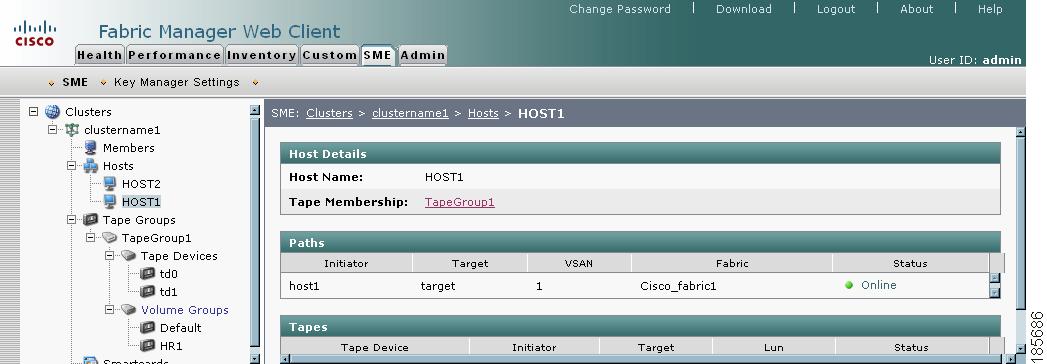
Viewing Host Details
You can view detailed information about hosts in a Cisco SME cluster. Information for a specific host includes the tape group membership, paths from the host to the target, VSAN, fabric, status, and the tape device.
Step 1
Figure 5-33 Viewing Host Details
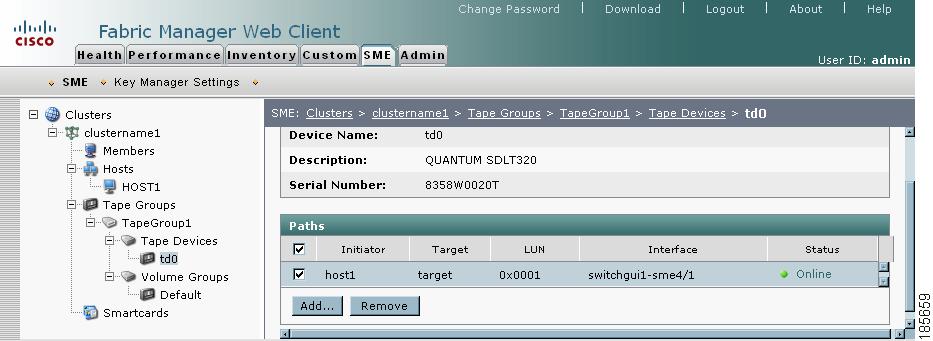
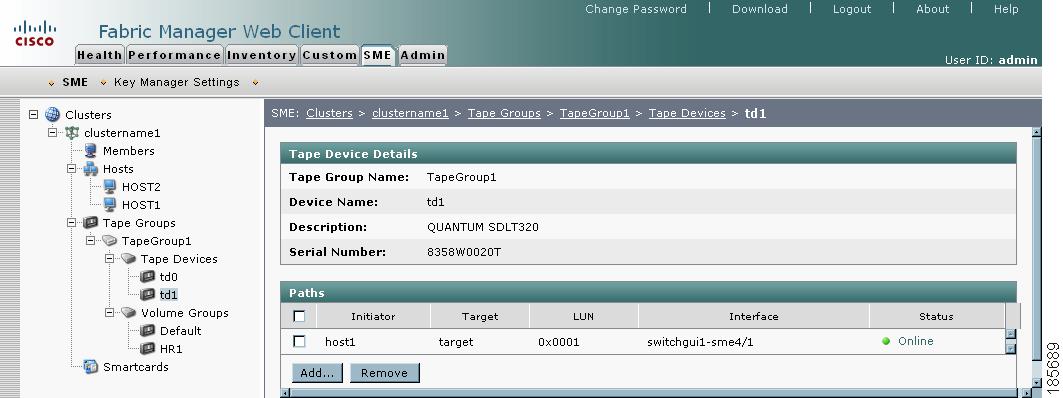
Viewing Tape Device Details
You can view detailed information about tape devices in a Cisco SME cluster. Information for a specific tape device includes the tape group membership, device description, serial number, and the host and target PWWN.
Step 1
Figure 5-34 Viewing Tape Device Details