Downloads |
 Feedback Feedback
|

Table Of Contents
Exploring the User Interface
This chapter introduces the WSA Explorer Client user interface and gives details about the main window layout plus information about each tool bar button, status bar, and menu item:
Main Window
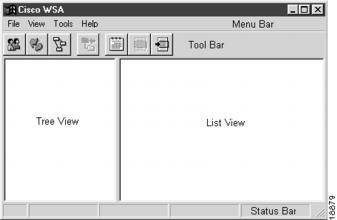
The WSA Explorer Client contains five distinct areas, as shown in , "".
Figure 2-1 Main Window Layout
To resize the window, select the resize tab in the bottom right corner or select any edge and move the mouse as required.
Tree View
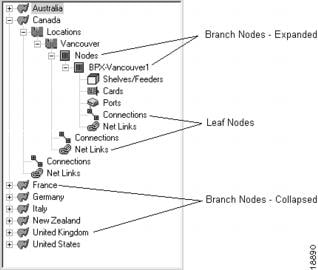
The tree view provides a hierarchical information display with expandable branch nodes preceded by the + or - symbol. Leaf nodes are at the end of a branch of information and indicate that the information they relate to does not contain subsidiary parts.
An example of a populated tree view, showing leaf nodes and both expanded and collapsed branch nodes is shown in , "".
Figure 2-2 Tree View
To expand or collapse a branch node, either double-click on its title or single-click on the + or - symbol to its left.
To select a node, branch, or leaf, single-click its title.
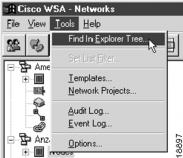
To search the contents for the first instance of a particular string, such as a customer or feeder device name, activate the Tools->Find In Explorer Tree... menu, as shown in , "".
Figure 2-3 Find In Explorer Tree Menu
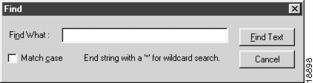
A small text entry dialog appears, as shown in , "".
Figure 2-4 Find Dialog
Enter the string for which you are searching, check Match case to perform a case sensitive search, and press Find Text to perform the search.
If the entered string is found in the tree view, the item with that title is selected and the tree is expanded so that it becomes visible if it was not previously visible.
List View
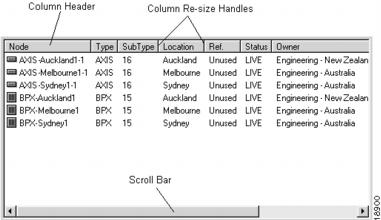
The WSA Explorer list view can be a large icon view, as shown in , "", or a detailed view, as shown in , "", depending on the information being displayed.
Typically, if the item selected in the Tree View is a branch node (see the section Tree View), then the list view is in large icon view, as shown in , "". If the item selected in the tree view is a leaf node, then the list view is in detailed view, as shown in , "".
Figure 2-5 Large Icon View
Figure 2-6 Detail View
To sort the contents of a column in descending alphabetical order, click the column header once. To make the width of a column larger or smaller, user the column resize handles. If the information displayed by the list view is wider or taller than the listview itself, use the horizontal and vertical scroll bars to page through the information.
Tool Bar
The WSA Explorer Client has three main views:
•
Customers
•
•
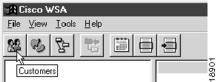
To enter the customer view, select the customer tool bar button, as shown in , "", or activate the View->Customer menu.
Figure 2-7 Customers Tool Bar Button
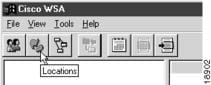
To enter the locations view, select the locations tool bar button, as shown in , "", or activate the View->Location menu.
Figure 2-8 Locations Tool Bar Button
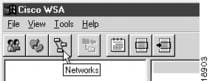
To enter the networks view, select the networks tool bar button, as shown in , "", or activate the View->Network menu.
Figure 2-9 Networks Tool Bar Button
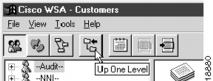
When the tree view is populated, you can move up one level (select the tree node that is the parent of the currently selected node) in the tree, by selecting the up one level tool bar button, as shown in , "".
Figure 2-10 Up One Level Tool Bar Button
All information displayed in the WSA Explorer tree and list views is filtered, where appropriate, by the live and cease dates of the entities being listed.
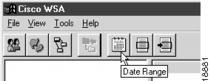
To set the dates between which the listed entities must exist, select the date range tool bar button, as shown in , "".
Figure 2-11 Date Range Tool Bar Button
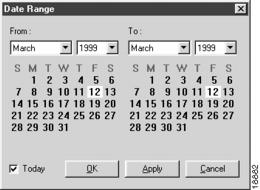
A date range dialog appears, as shown in , "".
Figure 2-12 Date Range Dialog
By default, the WSA Explorer filters its displayed data to show entities that exist on the current calendar date. If you wish to filter by some different date range, uncheck Today and select the end dates required.
The following entity lists can have a more sophisticated filter applied to them:
•
•
•
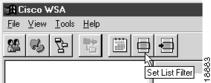
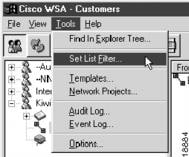
When any of these entities is listed, the Set List Filter tool bar button and menu become active and can be selected, as shown in , "", and , "".
Figure 2-13 Set List Filter Tool Bar Button
Figure 2-14 Set List Filter Menu
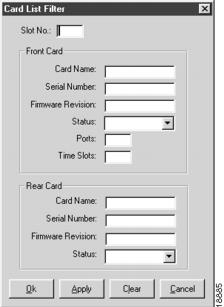
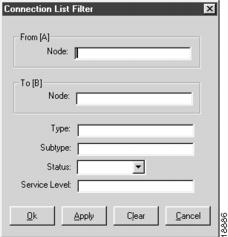
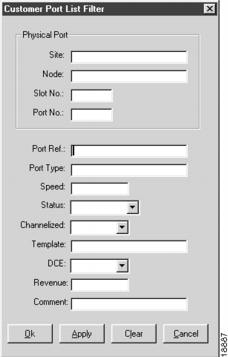
The list filter definition dialog appears, as shown in , "", , "", and , "".
Figure 2-15 Card List Filter
Figure 2-16 Connection List Filter
Figure 2-17 Customer Port List Filter
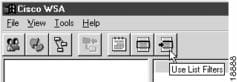
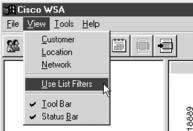
To toggle the use or non-use of the currently set list filters, select and de-select the use list filters tool bar button as required, as shown in , "", and , "".
Figure 2-18 Use List Filters Tool Bar Button
Figure 2-19 Use List Filters Menu
Status Bar
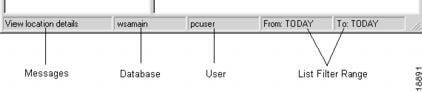
The WSA Explorer Client status bar is divided into five elements, as shown in , "":
•
•
•
•
•
Figure 2-20 Status Bar
Only the messages element of the status bar changes size as the application is resized, all the other elements retain their fixed size.
Menu Bar
Many of the WSA Explorer Client menus have been mentioned in previous sections of this chapter. However, a few remain to be described, as follows.
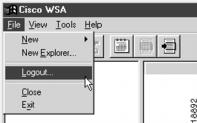
To log out of the application but leave it running for another user to log in, select File->Logout..., as shown in , "".
Figure 2-21 Logging Out
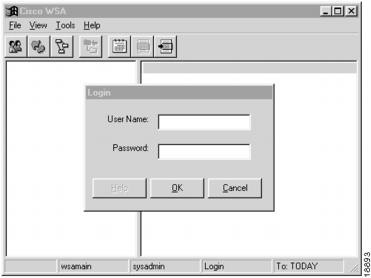
The tree and list views are cleared of all information, and a login dialog appears, as shown in , "".
Figure 2-22 Login Dialog
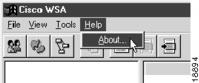
To view build and copyright information for the application and check the current memory status of your PC, select Help->About..., as shown in , "".
Figure 2-23 About WSA
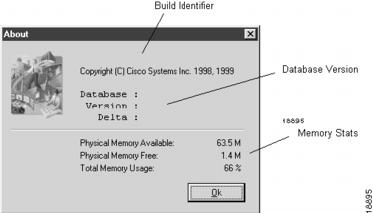
A dialog appears, similar to the one shown in , "". In any release version, the build identifier and database version information appear.
Figure 2-24 The About Dialog
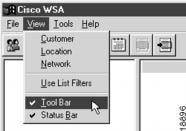
To maximize the space available for information display in the WSA Explorer Client, it is possible to hide the status bar and/or tool bar, as shown in , "".
Figure 2-25 Hiding the Tool Bar