Feedback
|
Table Of Contents
Installing CiscoWorks2000 Voice Manager 2.0
Modifying the Configuration of the CVM Server
Installing CiscoWorks2000 Voice Manager 2.0
This chapter describes how to install CiscoWorks2000 Voice Manager (CVM) 2.0, administer the CVM server, manage traps, and manage users of CVM.
Note
Before you install CVM, make sure your server and client environments meet the system requirements described in the "System Requirements" section.
This chapter contains the following sections:
Installing CVM
The CVM installation process consists of three steps that must be completed in this order:
1.
Install CiscoWorks2000 CD One
2.
Install CiscoWorks2000 Voice Manager 2.0
3.
Install Telemate.net Quickview
CautionYou must install CiscoWorks2000 CD One before installing CVM. The CVM installation process will fail if you attempt to install CVM first.
The following steps describe how to complete the installation process:
Step 1
Install CiscoWorks2000 CD One. Refer to "Installing CiscoWorks2000 CD One on Windows NT" (included with your CiscoWorks2000 CD One package) for installation instructions.
Step 2
Insert the CiscoWorks2000 Voice Manager 2.0 CD-ROM into your CD-ROM drive.
Step 3
Double-click setup.exe in the CD drive listing. The installation wizard appears.
Step 4
Click Next. The Port and Password window appears specifying the default server port, default poller port, and default password. The CVM client uses this server port to pass data to the CVM server. The CVM server uses the poller port to poll devices. The password is the default password for the CVM administrator.
•
To change a default value, proceed to Step 5.
•
To accept the default Server Port, Poller Port, and Password, proceed to Step 6.
Step 5
To select a new port and/or password:
a.
Assign a new port in the Port field. The CVM client uses this port to pass data to the CVM server. Make sure you assign a port that CVM can use to transfer information to the CVM server.
b.
Assign a password in the Password field. Record the password; the administrator will need the password to log in to CVM.
Step 6
Click Next. The Installation Complete window appears.
Step 7
Click Finish. CVM is installed on your system.
Step 8
Install Telemate.net Quickview. Refer to the documentation on the Telemate.net Quickview CD for installation instructions.
The installation is complete.
Uninstalling CVM
To uninstall CVM, follow these steps:
Step 1
Select Start:Programs:CiscoVoiceManager:Uninstall CiscoVoiceManager from the Windows NT desktop. The Uninstallation window appears.
Step 2
Click Next. Messages about uninstalling CVM appear and the uninstallation finishes.
Note
To reinstall CVM, follow the steps in the "Installing CVM" section.
Server Administration
You can make changes to the default configuration of the CVM server. To do this, start CVM and then modify the configuration of the CVM server.
This section contains the following:
•
Modifying the Configuration of the CVM Server
Starting CVM
You need to start CVM before you can make changes to the configuration of the CVM server. To start CVM:
Step 1
Start CiscoWorks2000. See "Installing CiscoWorks2000 CD One on Windows NT" for instructions.
Step 2
Select CVM 2.0 from the options presented in Ciscoworks2000. A new browser appears with the CVM login screen. (See Figure 2-1.)
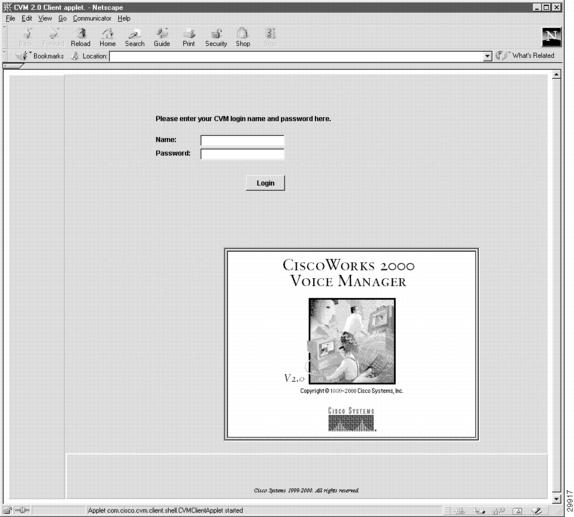
Figure 2-1 CVM Login Screen
Step 3
Enter your CVM username. The default username is admin.
Step 4
Enter your CVM password, assigned during the installation (default is admin).
Step 5
Click Login. The CVM applet loads and the client appears. (See Figure 2-2.)
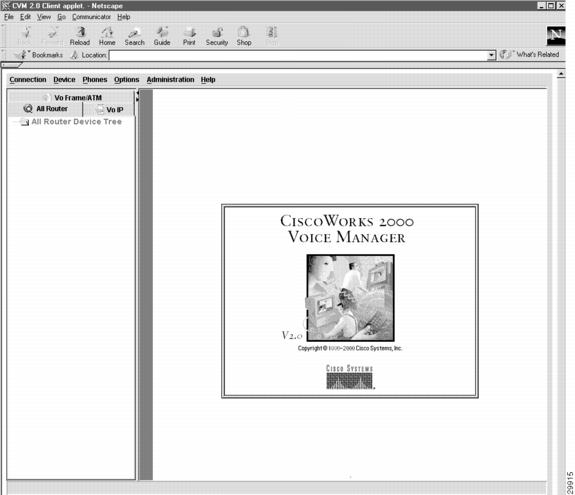
Figure 2-2 CVM Client
Modifying the Configuration of the CVM Server
The CVM administrator can modify the configuration of the CVM server to make changes to the default configuration. For example, you would modify the configuration of the CVM server when you want to change the maximum number of clients that can access CVM at one time.
To modify the configuration of the CVM server:
Step 1
Select Server Configuration from the Administration menu. The Server Configuration window appears with the default setting for CVM.
Step 2
You can modify any of the following default parameters on the server:
•
Max Number of Clients—Maximum number of clients that can access CVM at one time. The default value is 10. There is no limit to the number of clients that can access CVM.
•
Number Poller Threads—Number of poller threads used by the CVM poller. The default value is 10. Increasing this value increases the performance of CVM but also increases the amount of CPU and memory resources used by CVM.
•
Poller Port—Default poller port used by the CVM server and poller. The default port is 1235.
•
Disk Threshold—Percentage of disk space that CVM can use before triggering a disk trap. The default value is 75% of the disk space on the disk partition where CVM is installed.
•
Disk Monitor Interval—How often CVM checks the amount of disk space used to see if it exceeds the Disk Threshold. The default value is 30 minutes.
•
CVM Port—Port used by CVM clients to access the CVM server. The default port is 1000.
•
DB Threshold—Percentage of the CVM database CVM can use before triggering a database usage notification. The default value is 75%.
•
SMTP Server—IP address of the SMTP server CVM uses to send email notification. The default value is null.
•
CVM Trap Port—Default trap port used by CVM. The default value is 162.
•
Trap Forward Host—IP address that CVM uses to forward all the traps it received. The default value is null.
•
Trap Forward Port—Port used by CVM to forward traps to another system. The default value is null.
•
Merge Digits—How many digits CVM will check before merging dial plans. The default value is 4.
•
CVM to Poll Routers—Specifies whether CVM is polling the routers in your network. The default is enabled.
Traps
CVM is a trap monitoring tool and not a trap management tool. By default, CVM is configured to collect the traps listed in Table 2-1. The CVM administrator can add traps to CVM and delete traps from CVM.
Viewing Traps
To view traps on a router:
Step 1
Select the router on which you want to view traps.
Step 2
Select View Traps from the Device menu. The View Traps dialog box appears.
Step 3
Select a trap and click Acknowledge if you want to acknowledge a trap.
Step 4
Click Finish. The View Traps dialog box closes.
Adding Traps
The CVM administrator can add a trap to CVM. To add a trap:
Step 1
Select Server Configuration from the Device menu.
Step 2
Enter the OID for the trap you want to add in the OID field.
Step 3
Enter a description for the trap in the Description field (optional).
Step 4
Click Add. The trap will appear in the Trap IDs list.
Step 5
Click Finish. The Server Configuration dialog box closes.
Deleting Traps
The CVM administrator can delete a trap from CVM. To delete a trap:
Step 1
Select Server Configuration from the Device menu.
Step 2
Click the OID for the trap you want to delete in the Trap IDs list.
Step 3
Click Delete. The trap is removed from the Trap IDs list.
Step 4
Click Finish. The Server Configuration dialog box closes.
Managing Users
When CVM is installed, a username and a password are assigned for the CVM administrator. The CVM administrator can then add users (clients) to CVM. This section contains the following:
Adding a User
The CVM administrator can add users (clients) to CVM.
Note
The CVM administrator must provide the IP address and port number of CiscoWorks2000 to users, who will use this IP address and port number to start CiscoWorks2000 and CVM.
To add a user:
Step 1
Select User Administration from the Administration menu.
Step 2
Click Add.
Step 3
Enter a username in the Access Control panel.
Step 4
Enter a password in the Password and Password Confirm fields.
Step 5
Assign access types for specific devices and traps from the Access Tables.
Step 6
Click the Administrator Check Box to give the user the same rights as the CVM administrator.
Step 7
Click Done. The user now has a username, password, and customized access rights to devices and traps.
Modifying a User Profile
A user profile is the combination of a user's assigned username, password, and specific access rights to devices and traps in the network. To modify a user profile:
Step 1
Select User Administration from the Administration menu.
Step 2
Select the user whose profile you want to manage.
Step 3
Click Edit. The User Administration window appears.
Step 4
You can modify any of the following for a user:
•
Username
•
Password
•
Access Types—Access to specific devices and traps
Step 5
Click Done. The user profile is changed.
Deleting a User
When you delete a user, the username, password, and access types for the selected user are automatically deleted from the CVM database. To delete a user:
Step 1
Select User Administration from the Administration menu.
Step 2
Select the user you want to delete from the system.
Step 3
Click Delete.
Step 4
Click OK. The user is deleted.
Feedback


