简介
本文档介绍如何将SecureX与Secure Firewall 7.2上的Cisco Secure Firewall集成进行集成和故障排除。
先决条件
要求
建议掌握下列主题的相关知识:
- Firepower Management Center (FMC)
- 思科安全防火墙
- 映像的可选虚拟化
- 安全防火墙和FMC必须获得许可
使用的组件
- 思科安全防火墙- 7.2
- Firepower管理中心(FMC) - 7.2
- 安全服务交换(SSE)
- SecureX
- 智能许可证门户
- 思科威胁响应(CTR)
本文档中的信息都是基于特定实验室环境中的设备编写的。本文档中使用的所有设备最初均采用原始(默认)配置。如果您的网络处于活动状态,请确保您了解所有命令的潜在影响。
背景
7.2版包括对Secure Firewall与SecureX和SecureX Orchestration集成的方式的更改:
| 功能 |
描述 |
| 改进的SecureX集成、SecureX协调。 |
We have streamlined the SecureX integration process. Now, as long as you already have a SecureX account, you just choose your cloud region on the new Integration > SecureX page, click Enable SecureX, and authenticate to SecureX. The option to send events to the cloud, as well as to enable Cisco Success Network and Cisco Support Diagnostics, are also moved to this new page. When you enable SecureX integration on this new page, licensing and management for the systems's cloud connection switches from Cisco Smart Licensing to SecureX. If you already enabled SecureX the "old" way, you must disable and re-enable to get the benefits of this cloud connection management. Note that this page also governs the cloud region for and event types sent to the Secure Network Analytics (Stealthwatch) cloud using Security Analytics and Logging (SaaS), even though the web interface does not indicate this. Previously, these options were on System > Integration > Cloud Services. Enabling SecureX does not affect communications with the Secure Network Analytics cloud; you can send events to both. The management center also now supports SecureX orchestration—a powerful drag-and-drop interface you can use to automate workflows across security tools. After you enable SecureX, you can enable orchestration.
|
请参阅7.2完整的发行版本注释以检查此版本中包含的所有功能。
配置
在开始集成之前,请确保您的环境中允许使用以下URL:
美国地区
- api-sse.cisco.com
- eventing-ingest.sse.itd.cisco.com
欧盟地区
- api.eu.ss e.itd.cisco.com
- eventing-ingest.eu.ss e.itd.cisco.com
APJ地区
- api.apj.sse.itd.cisco.com
- eventing-ingest.apj.sse.itd.cisco.com
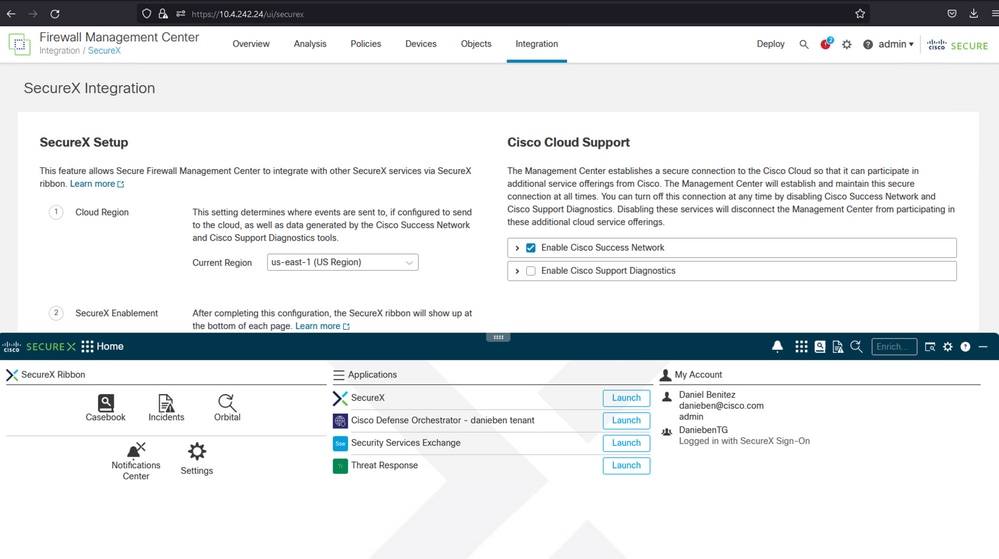
第1步:开始集成登录到FMC。转至Integration>SecureX,选择要连接的地区(美国、欧盟或APJC),选择要转发到SecureX的事件类型,然后选择Enable SecureX:
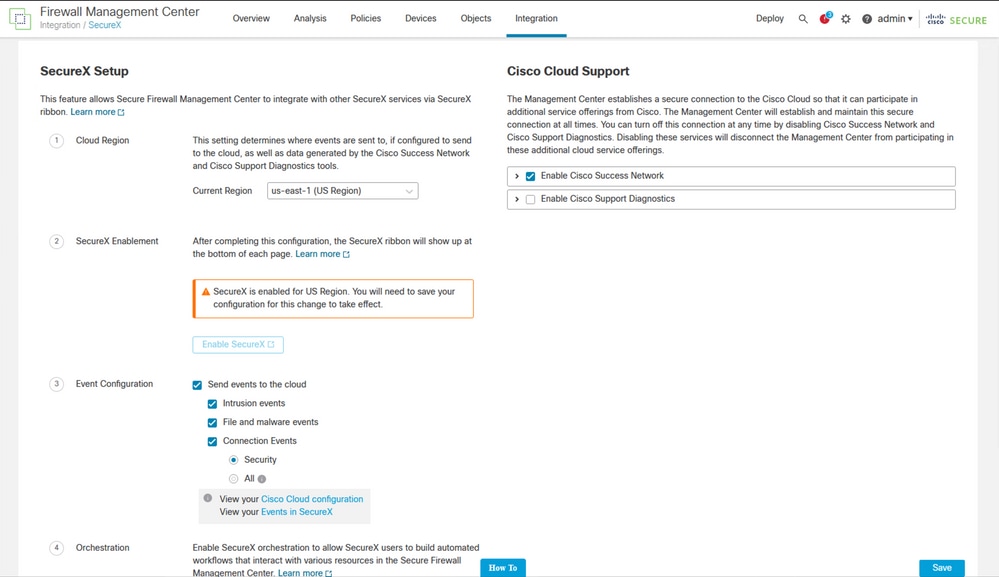
请注意,只有选择 Save 后,更改才会应用。
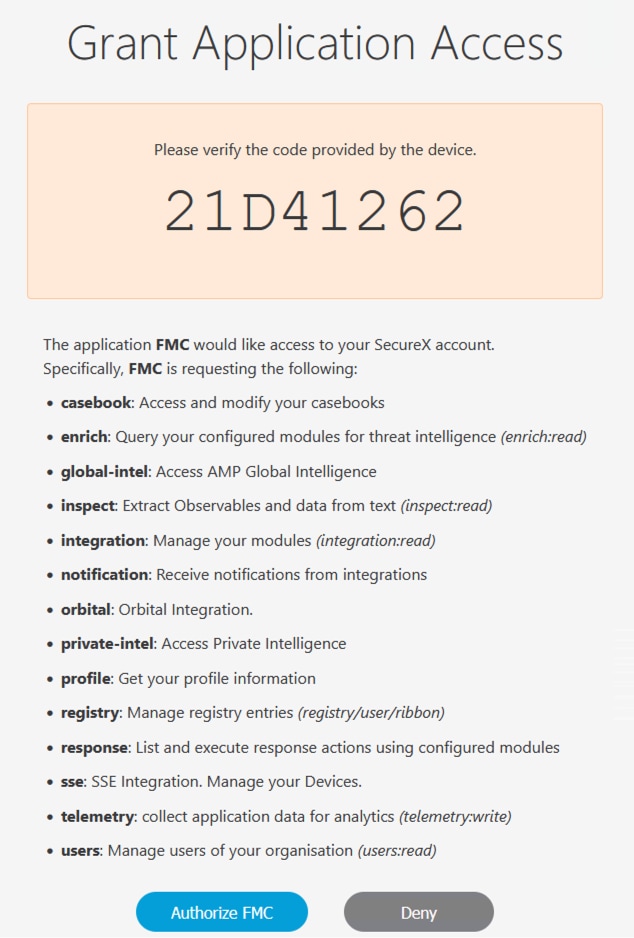
第二步:选择保存后,您将被重定向到“在SecureX帐户中授权您的FMC”(您需要在此步骤之前登录到SecureX帐户),选择Authorize FMC:
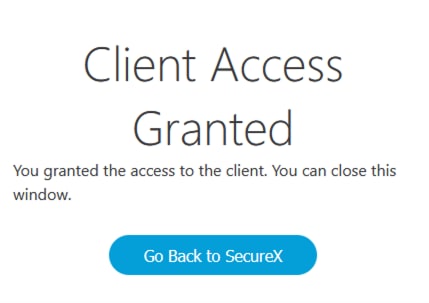
第三步:一旦授权被授予,您将被重定向到SecureX:
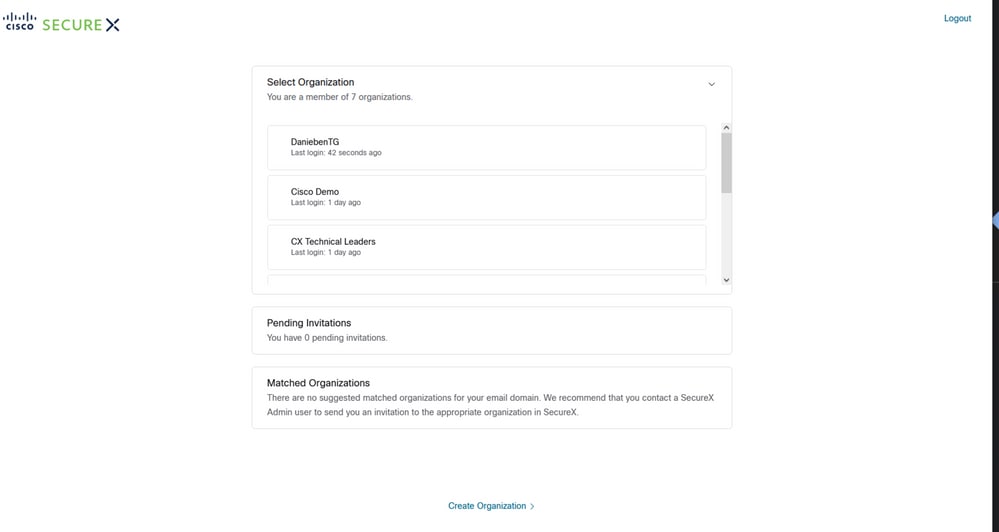
如果您有多个组织,则会显示SecureX登录页面,以选择要将FMC和安全防火墙设备集成到的组织:
第四步:选择SecureX组织后,您将被再次重定向到FMC,您必须获得显示集成成功的消息:

验证
完成集成后,您可以在页面底部展开功能区:
在功能区中启动安全服务交换,然后在设备下您必须看到刚刚集成的FMC和安全防火墙:

 反馈
反馈