AP Migration from Traditional Wireless to SD-Access Fabric
SD-Access wireless architecture integrates wireless access into the SD-Access fabric to gain all the advantages of the fabric and Cisco DNA Center automation. Over The Top (OTT) wireless architecture involves running a traditional wireless on top of the fabric network.
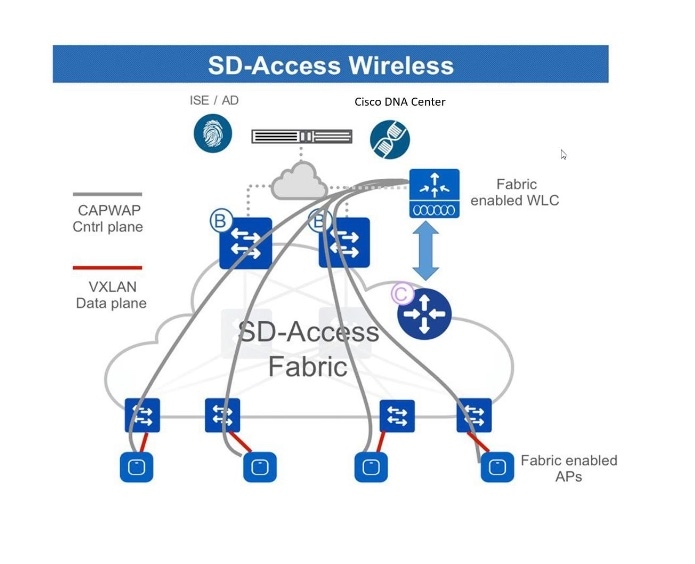
This guide describes how to migrate APs from a traditional wireless or OTT network to Cisco SD-Access fabric network using Cisco DNA Center.
This guide is based on Cisco DNA Center 2.3.3; steps and examples may vary based on your Cisco DNA Center version.
Prerequisites
Ensure the following:
-
You have set up a Cisco SD-Access fabric network using Cisco DNA Center.
-
The devices involved in the migration are discovered and available in the Cisco DNA Center inventory.
Scenario 1: Migrate APs that are not managed by Cisco DNA Center
In this scenario, APs belong to a traditional wireless network that is not managed by Cisco DNA Center. Migration involves deploying a new Cisco SD-Access fabric wireless controller using Cisco DNA Center and then migrating the APs to the fabric wireless controller.
Procedure
|
Step 1 |
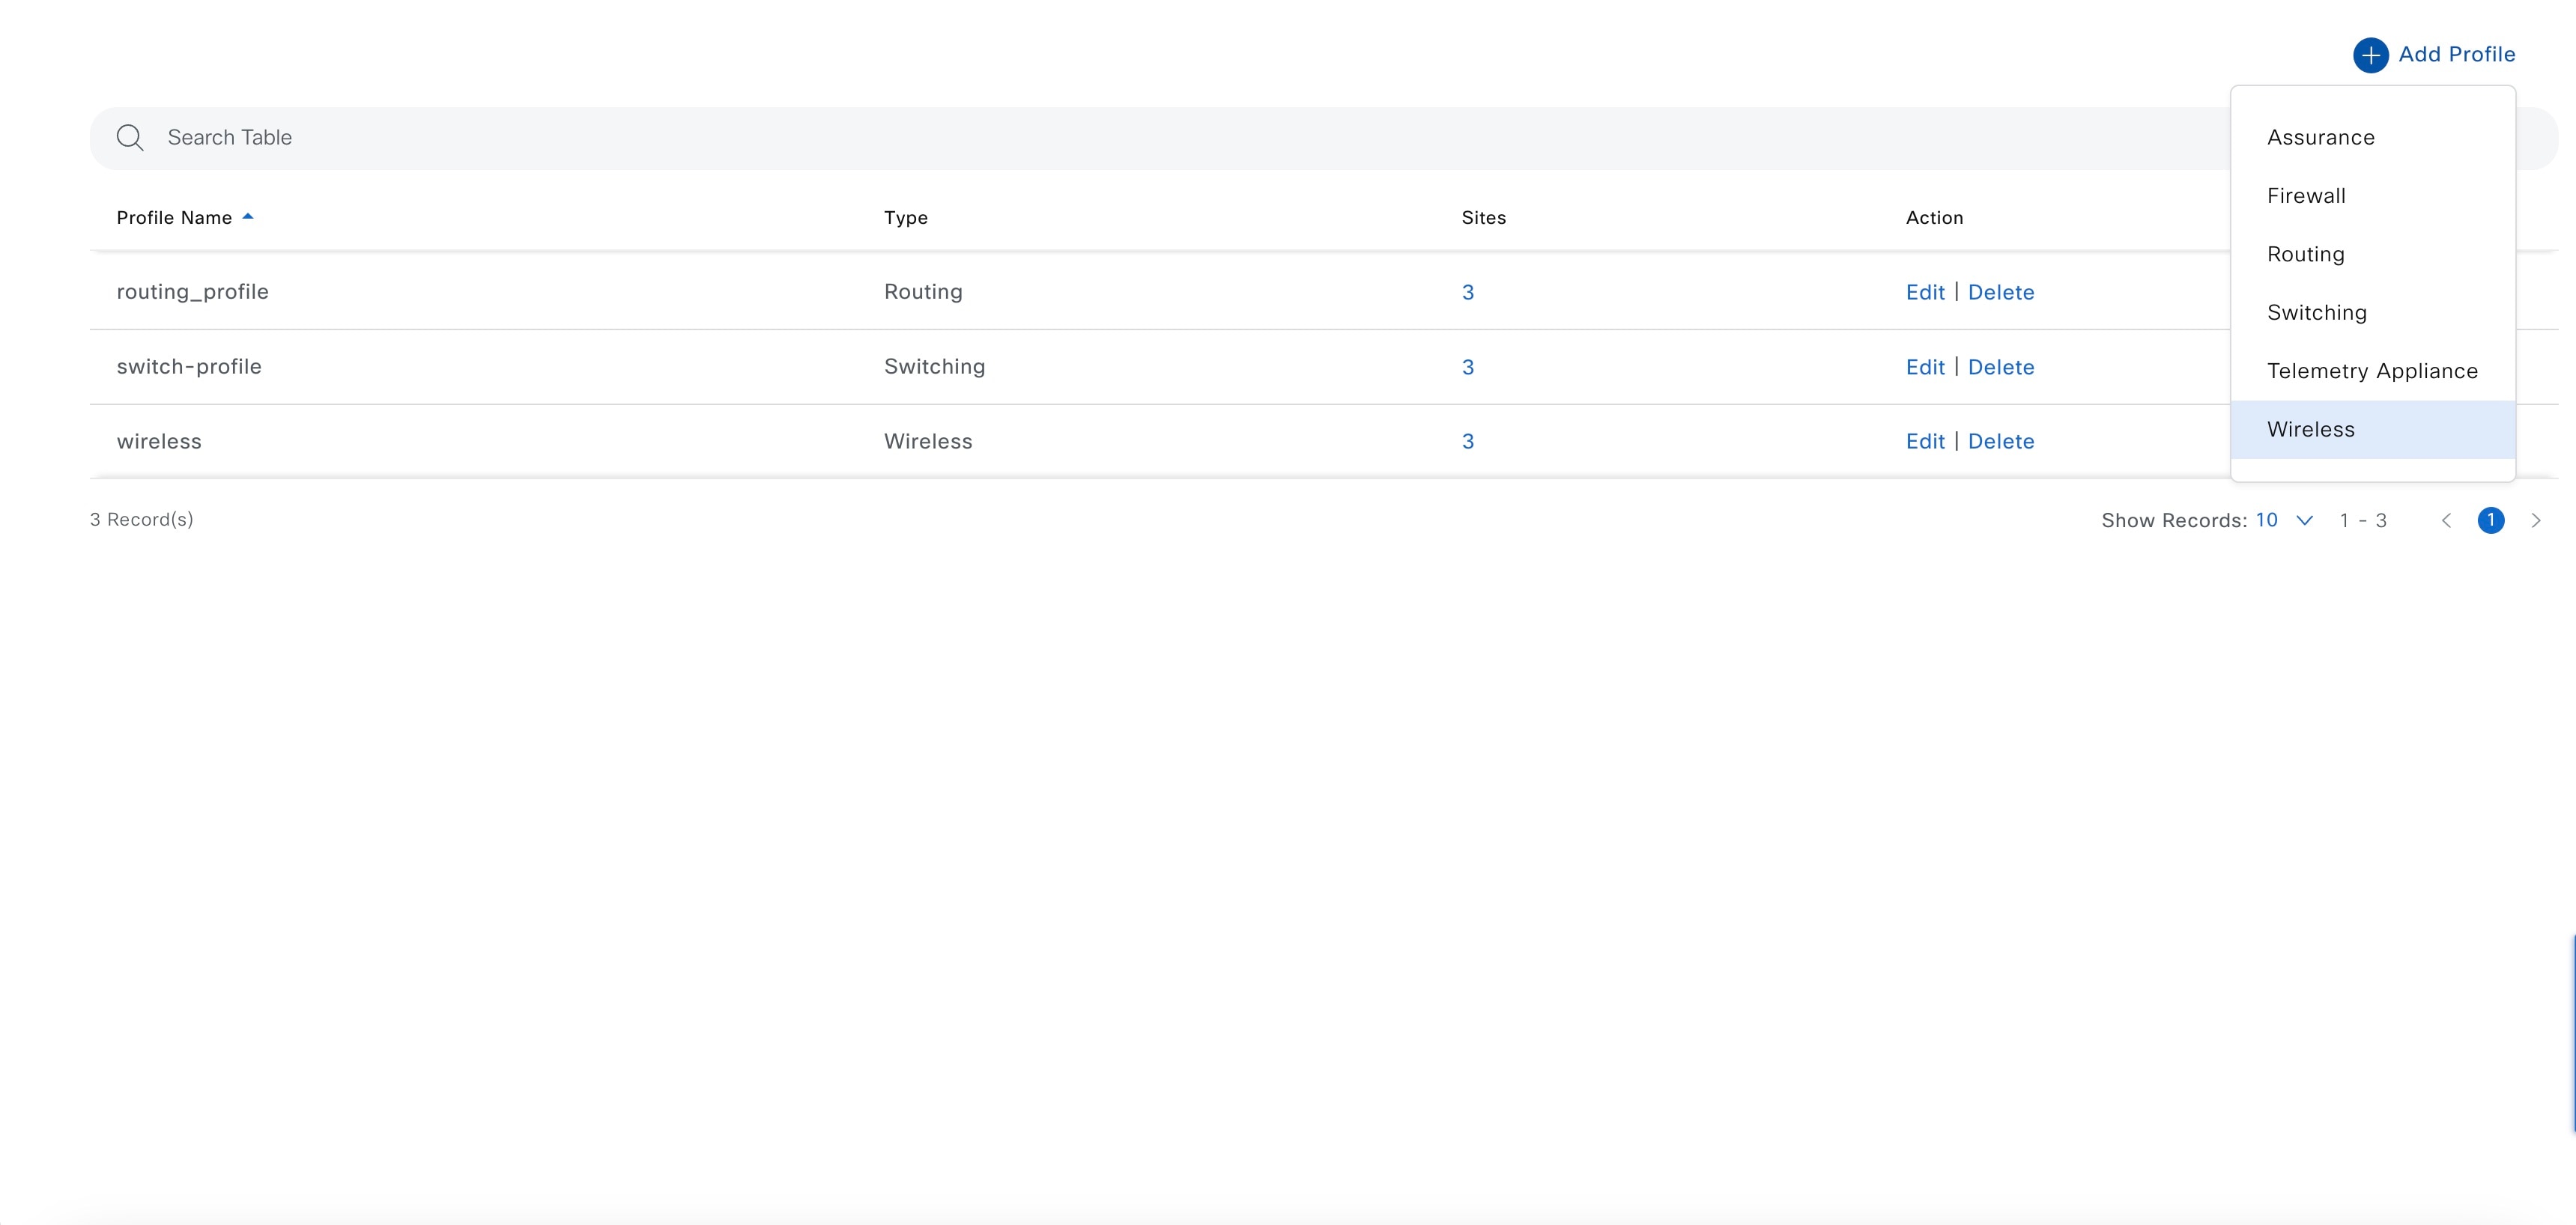
Create a network profile for the fabric network and assign it to the sites to be migrated.
|
|
Step 2 |
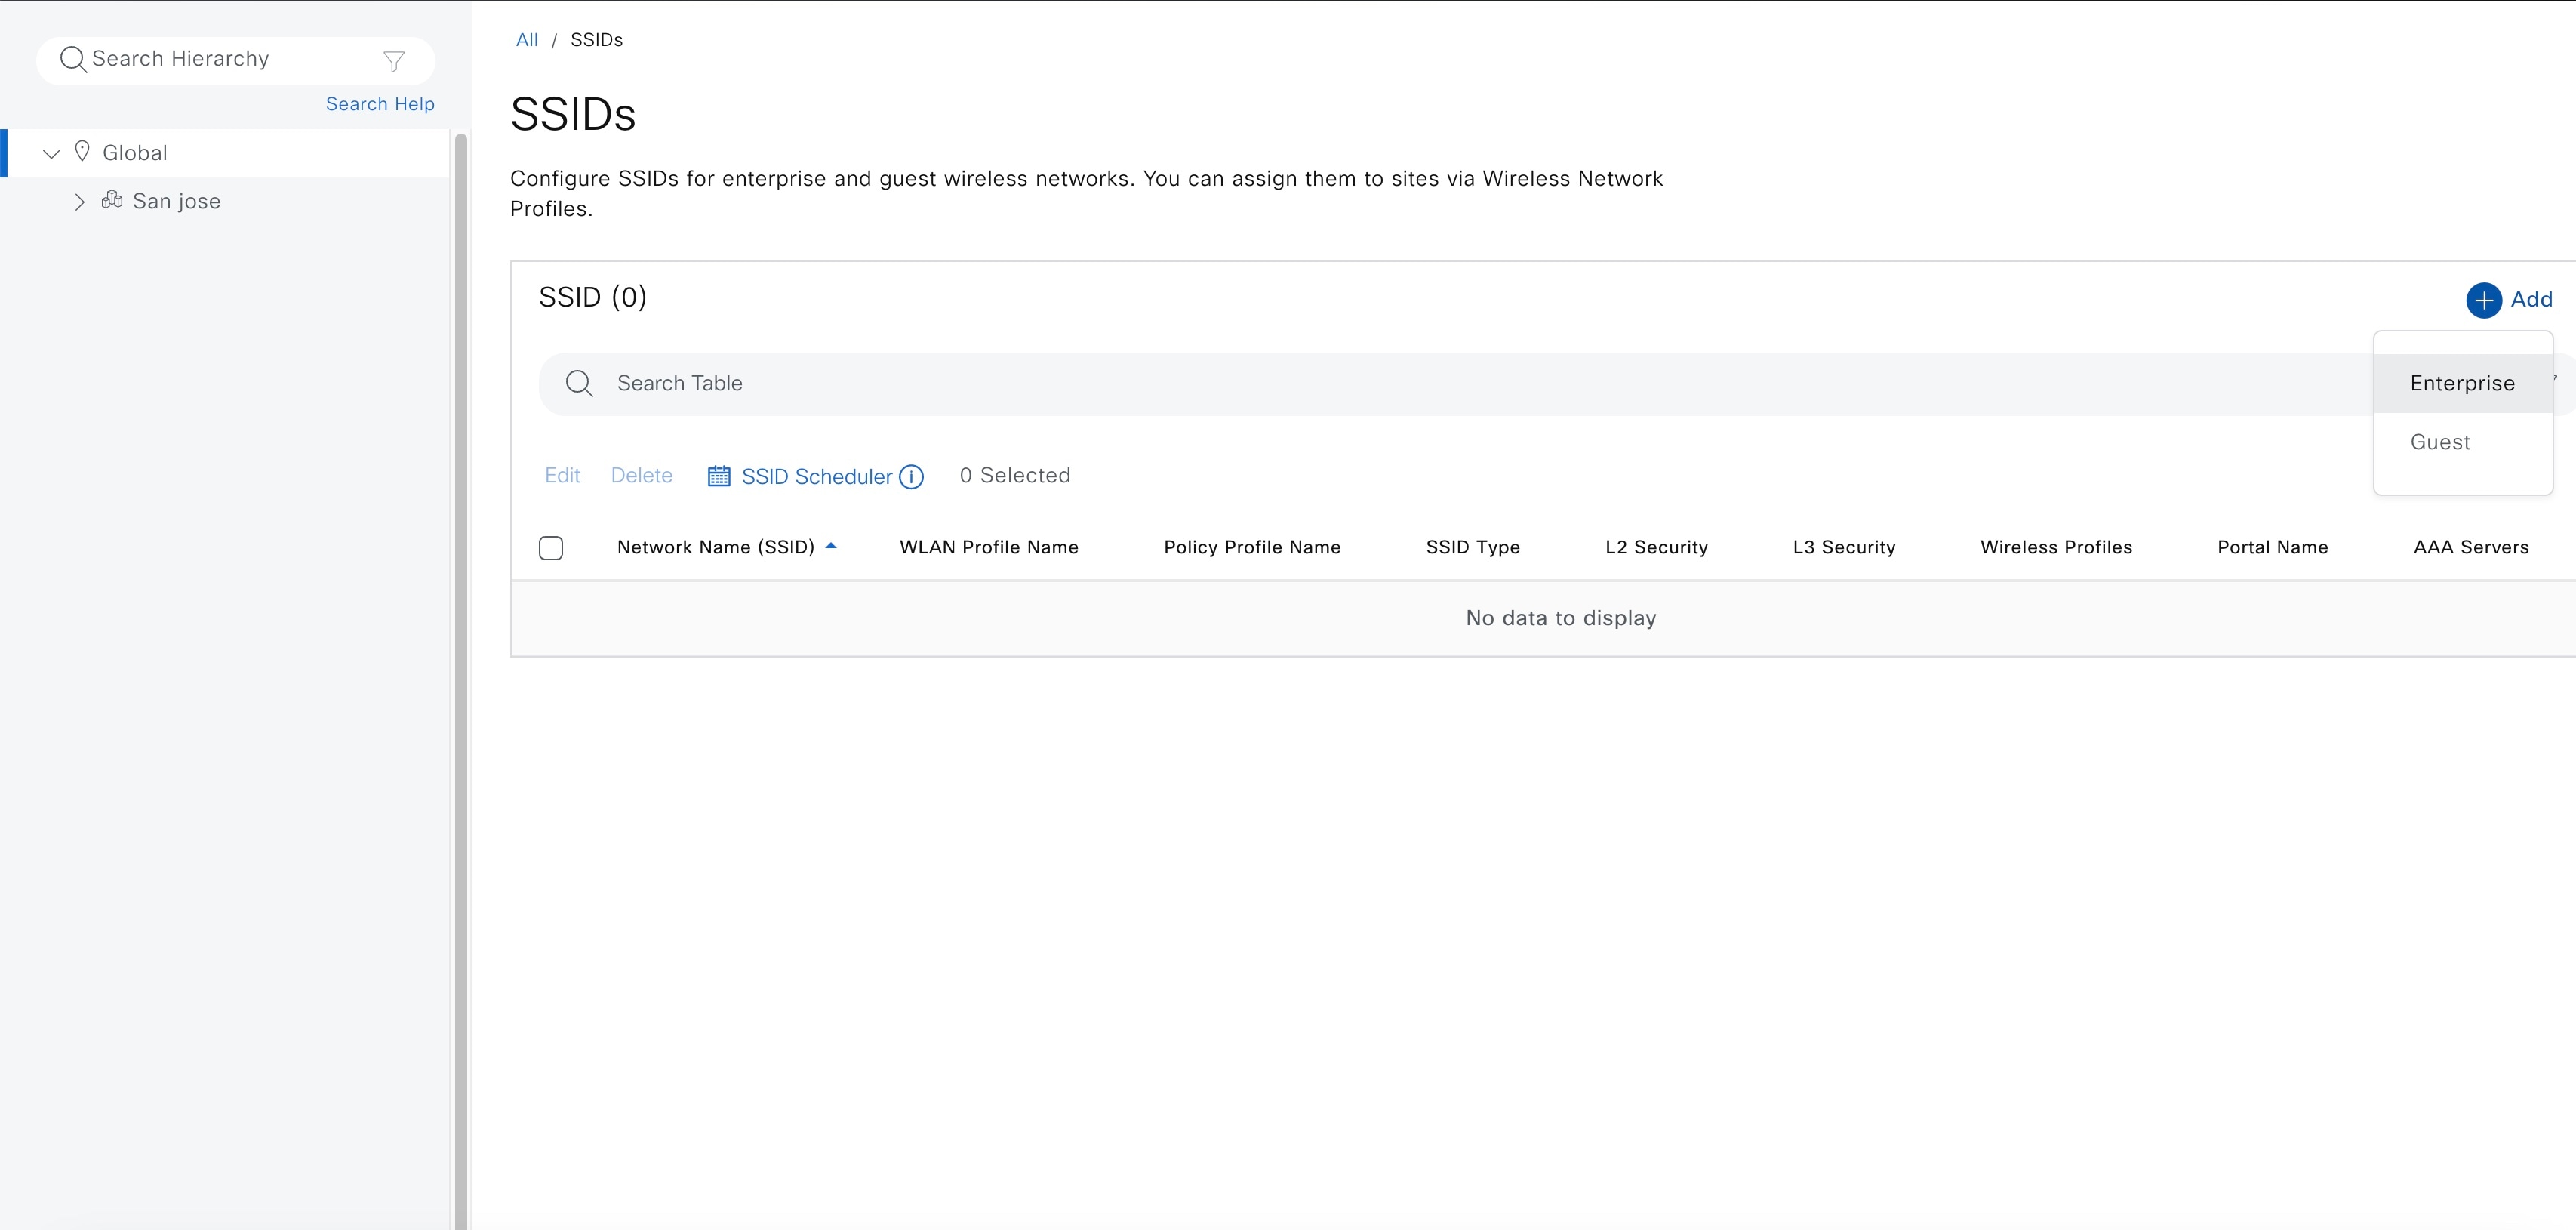
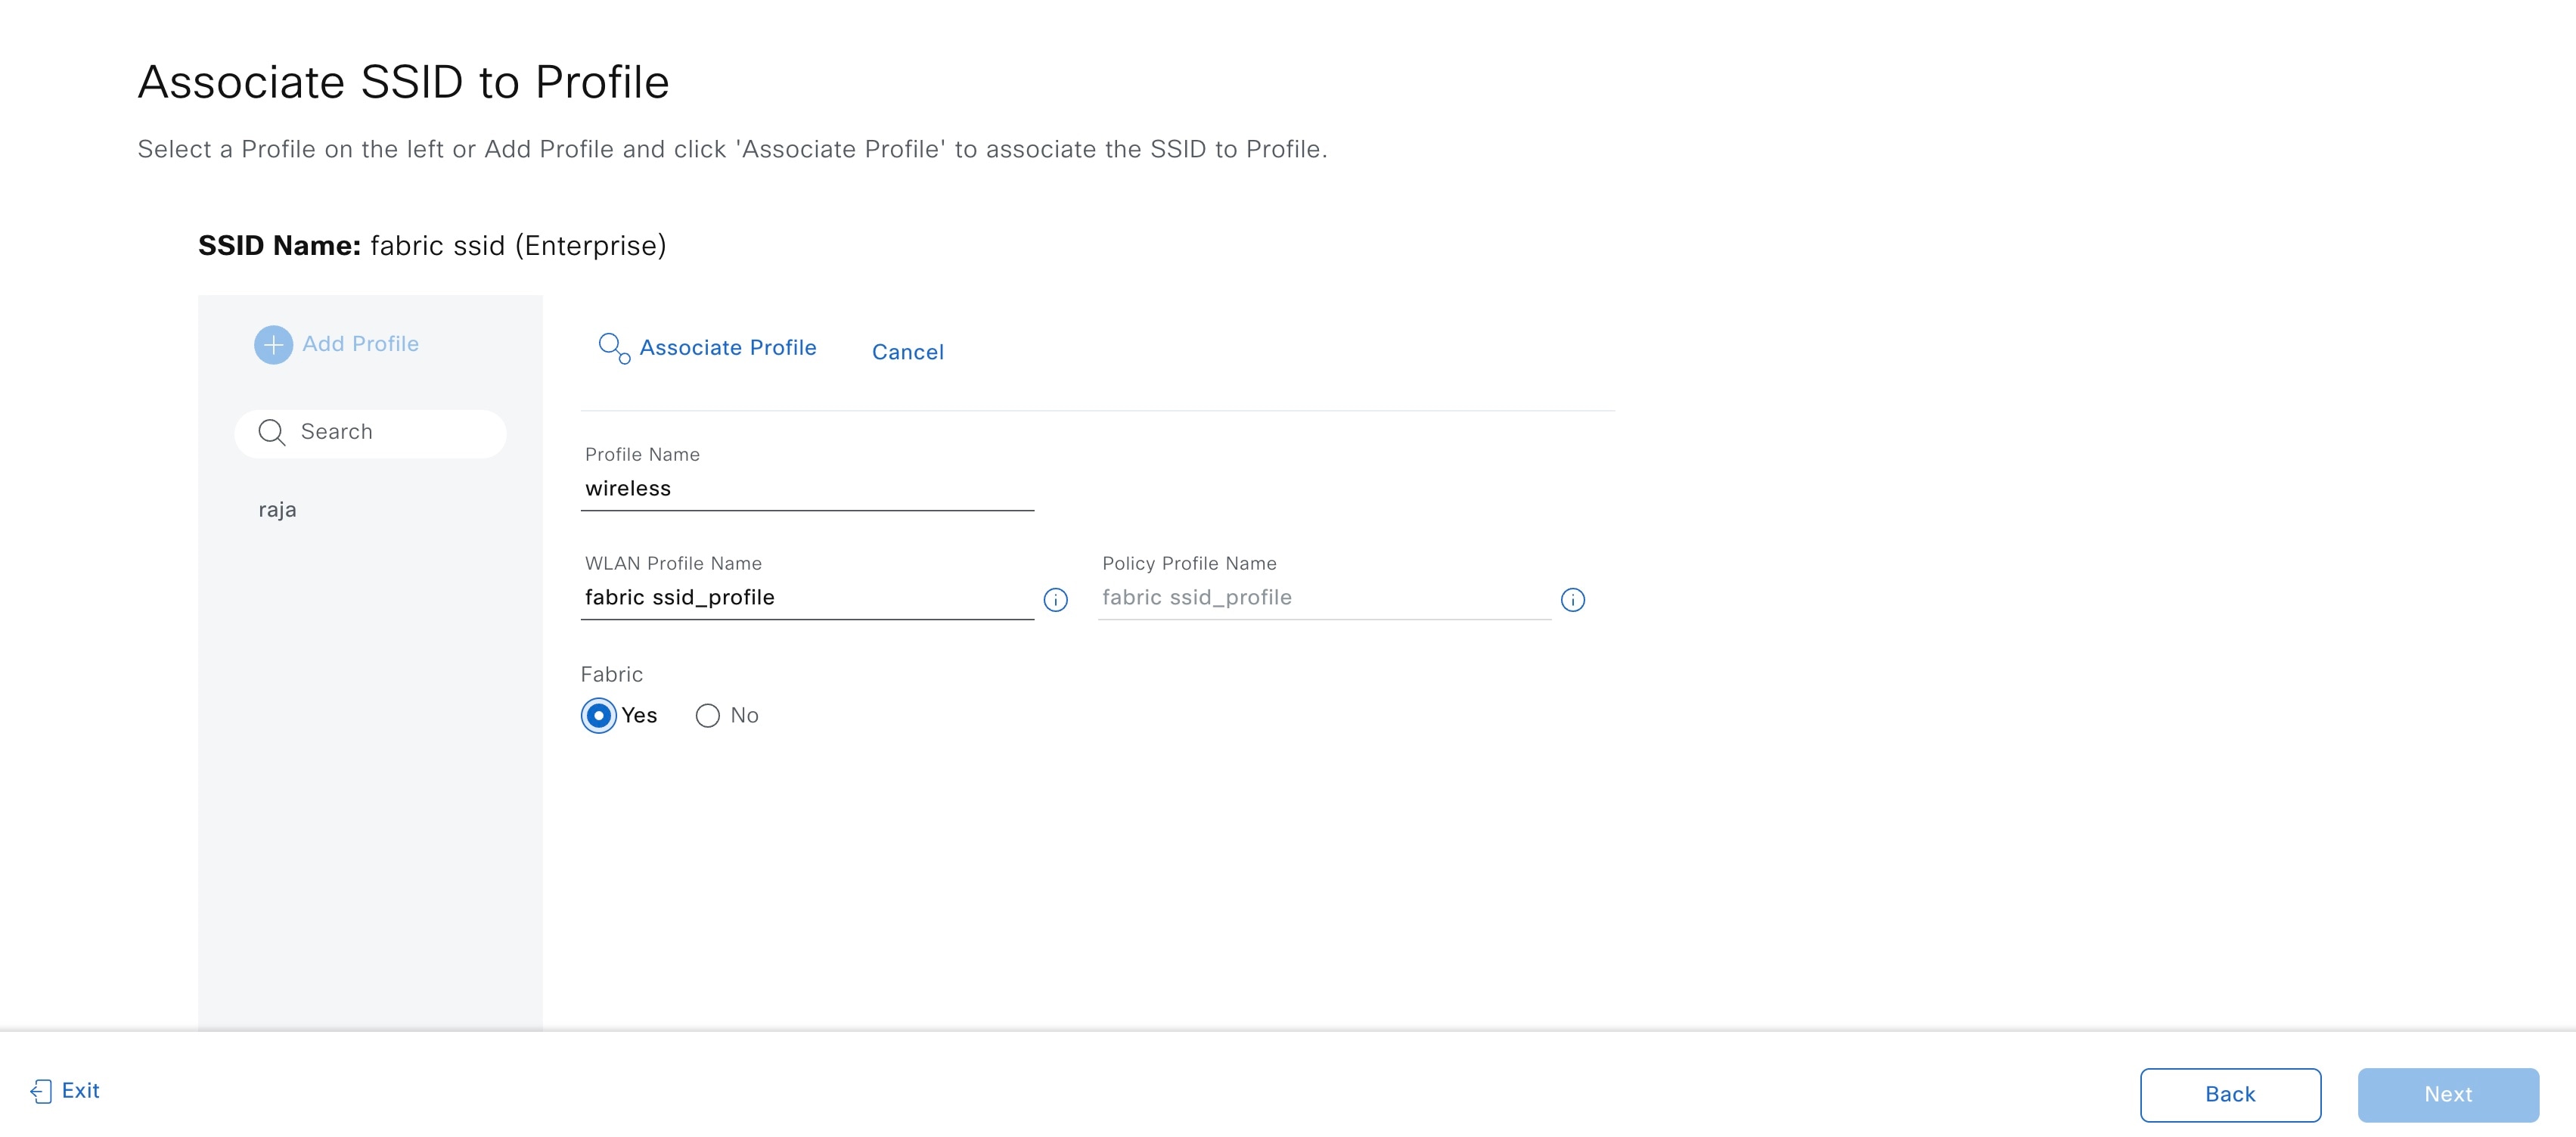
Create SSIDs for the wireless fabric network and associate it to the fabric profile.
|
|
Step 3 |
Provision the wireless controller.
|
|
Step 4 |
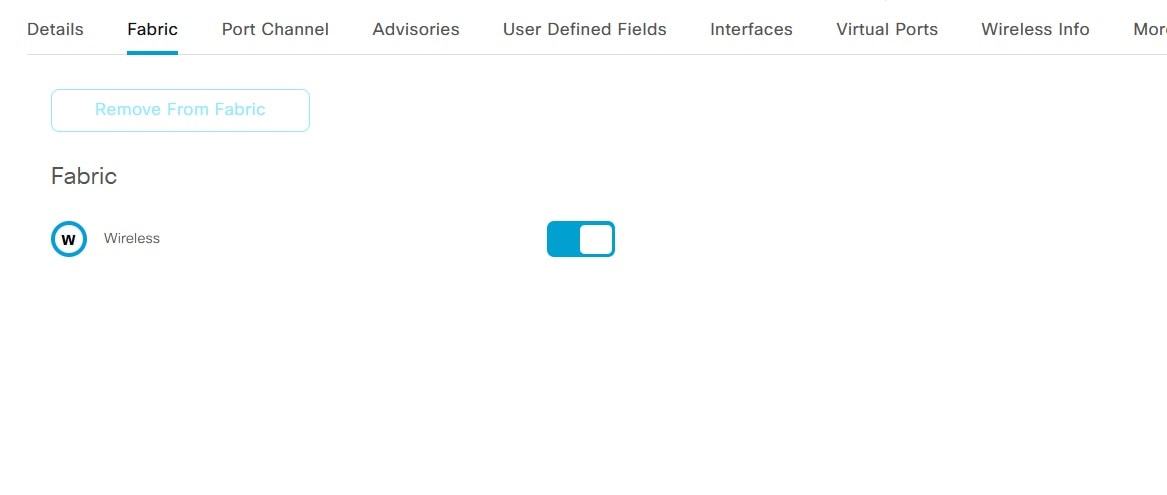
Add the wireless controller to the fabric network.
|
|
Step 5 |
Assign an IP pool to the SSID.
|
|
Step 6 |
On the DHCP server, configure the DHCP Option 43 in the INFRA VN to point to the fabric wireless controller. |
|
Step 7 |
On the traditional wireless controller GUI, select an AP and perform a factory-reset. |
|
Step 8 |
Connect the AP to the fabric edge. The AP gets the IP address from the INFRA VN and joins the fabric wireless controller. |
|
Step 9 |
Check the Cisco DNA Center inventory to ensure that the AP is reachable and in a managed state. Resync the fabric wireless controller, if needed. 
|
|
Step 10 |
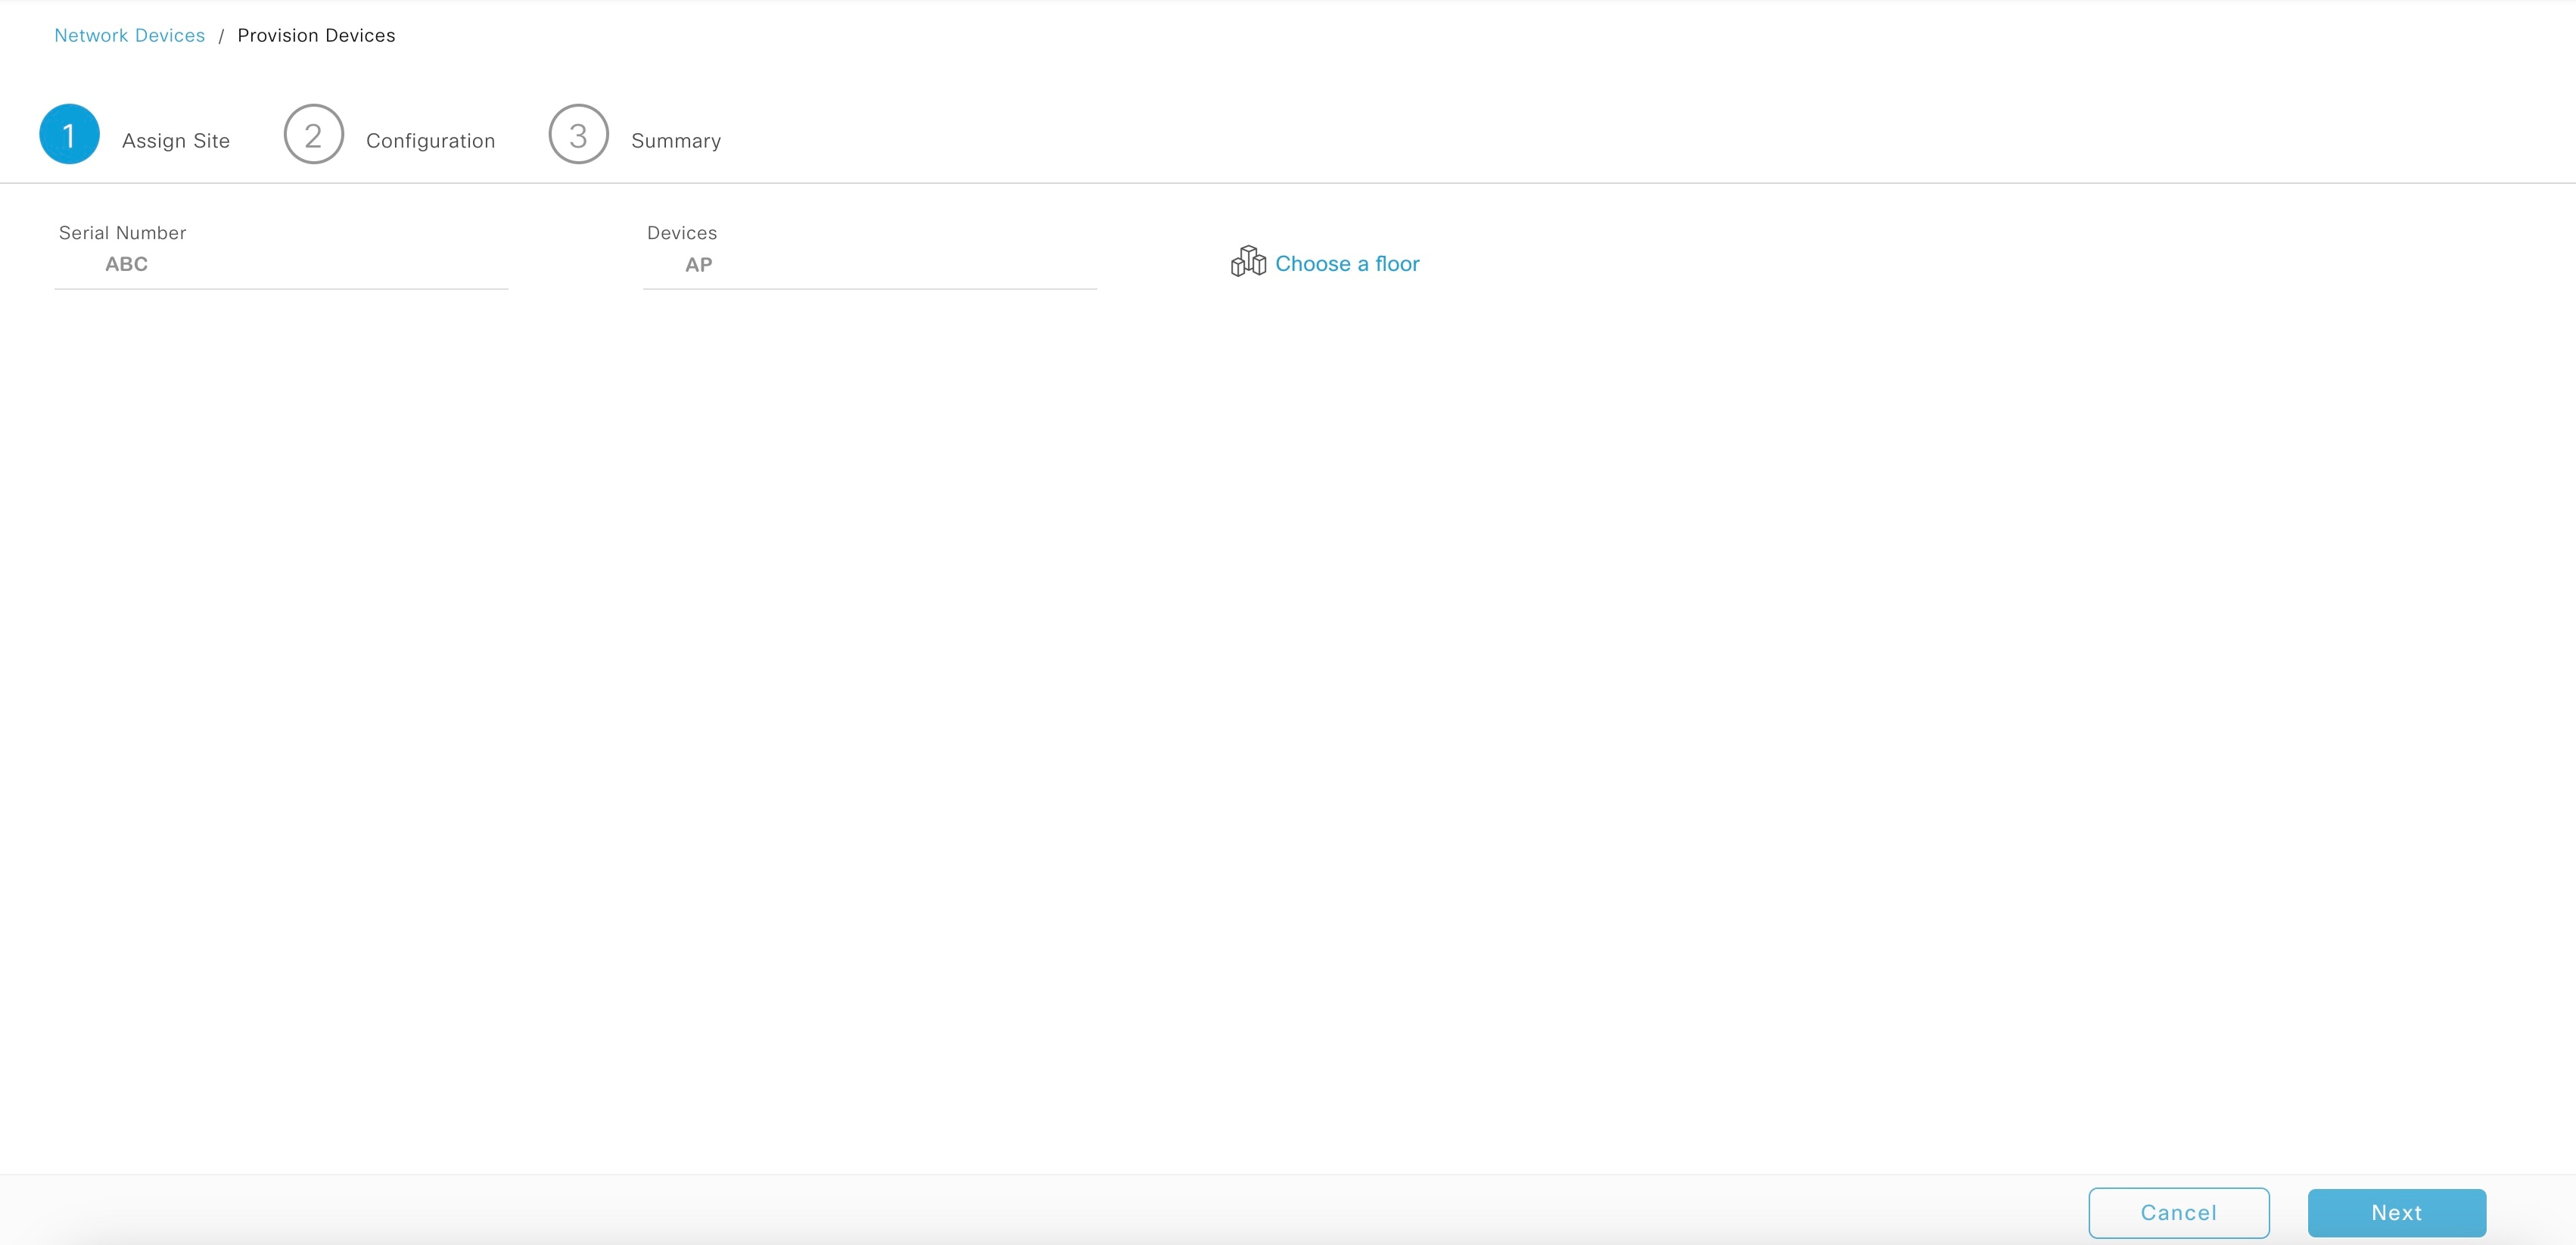
Provision the AP.
|
|
Step 11 |
Repeat Step 8 through Step 10 to migrate the remaining APs. |


What to do next
Ensure that there are access tunnels for all the migrated APs on the fabric edge nodes and the APs are shown as fabric-enabled on the fabric wireless controller.
Ensure that the APs are broadcasting the fabric SSIDs. You can check the SSID status on the AP using the run show dot11 wlan command; the SSIDs must be in up state.
Scenario 2: Migrate Local Mode APs (managed by Cisco DNA Center)
In this scenario, APs belong to a traditional or OTT wireless controller that is managed by Cisco DNA Center. Migration involves deploying a new Cisco SD-Access fabric wireless controller using Cisco DNA Center and migrating the APs to the fabric wireless controller. This scenario assumes that APs are already part of the INFRA VN and connected to the fabric edge and are in Local mode (central switching).
Before you begin
Ensure that APs are connected to the fabric edge nodes.
In this scenario, since the traditional or OTT wireless controller is already managing the fabric site, you must create two buildings under the network hierarchy, one for the OTT wireless controller and the other for the fabric wireless controller. For example, Building 1 for the OTT wireless controller and Building 2 for the fabric wireless controller. These buildings are used temporarily during the migration process for provisioning the wireless controllers.
Procedure
|
Step 1 |
Create a network profile for the fabric network and assign it to the new site (Building 2) created for the fabric wireless controller.
|
||
|
Step 2 |
Create SSIDs for the wireless fabric network and associate it to the fabric profile.
|
||
|
Step 3 |
Provision the fabric wireless controller.
|
||
|
Step 4 |
Add the fabric wireless controller to the fabric network.
|
||
|
Step 5 |
Assign an IP pool to the SSID.
|
||
|
Step 6 |
On the DHCP server, configure the DHCP Option 43 in the INFRA VN to point to the fabric wireless controller. |
||
|
Step 7 |
On the wireless controller GUI, select an AP and perform a factory-reset. The AP reboots, gets the IP address from the INFRA VN, and joins the fabric wireless controller. |
||
|
Step 8 |
Check the Cisco DNA Center inventory to ensure that the AP is reachable and in a managed state. Resync the fabric wireless controller, if needed.
|
||
|
Step 9 |
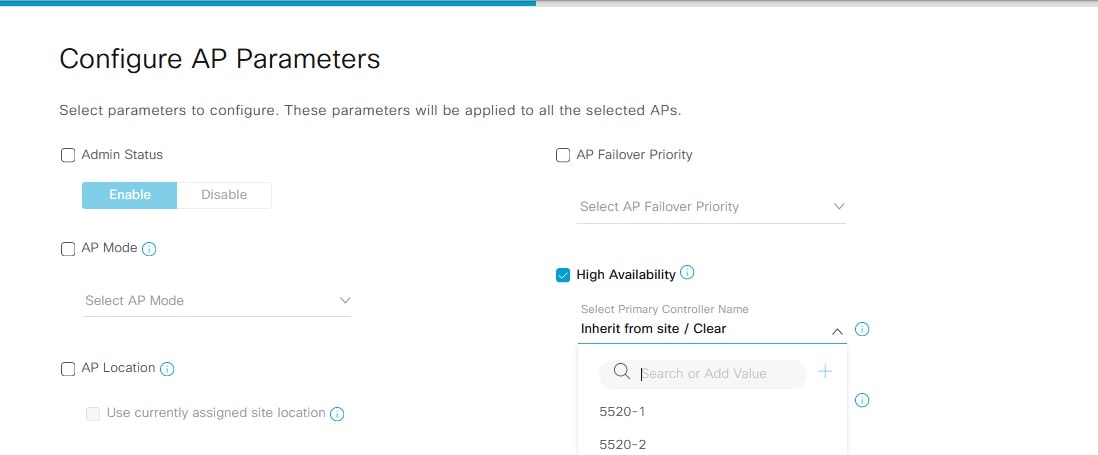
Migrate the rest of the APs using the Cisco DNA Center Configure Access Points workflow.
|
||
|
Step 10 |
Log in to the fabric wireless controller GUI and make sure that AP has joined the wireless controller. |
||
|
Step 11 |
Resync the fabric and OTT wireless controllers on the Cisco DNA Center GUI. |
||
|
Step 12 |
Provision the OTT wireless controller by removing the sites to be migrated and assigning the new site (Building 1) under managed AP locations. |
||
|
Step 13 |
Assign the sites to be migrated in the fabric profile. |
||
|
Step 14 |
Provision the fabric wireless controller by adding the sites to be migrated and removing the new site (Building 2) from the managed AP locations. |
||
|
Step 15 |
Provision the migrated APs.
Ensure that the APs have the correct site tag, RF tag, and policy tag. |
||
|
Step 16 |
Use the above procedure for migrating additional sites, if required. |
||
|
Step 17 |
After migrating all the sites under the OTT wireless controller, remove the OTT wireless controller from Cisco DNA Center and delete the temporary sites that were created (Building 1 and Building 2). |
What to do next
Ensure that there are access tunnels for all the fabric APs on the fabric edge nodes and the APs are shown as fabric-enabled on the fabric wireless controller.
Ensure that the APs are broadcasting the fabric SSIDs. You can check the SSID status on the AP using the run show dot11 wlan command; the SSIDs must be in up state.
Scenario 3: Migrate Flex Mode APs (managed by Cisco DNA Center)
In this scenario, APs belong to a traditional or OTT wireless controller that is managed by Cisco DNA Center. Migration involves deploying a new Cisco SD-Access fabric wireless controller using Cisco DNA Center and migrating the APs to the fabric wireless controller. This scenario assumes that APs are already part of the INFRA VN and connected to the fabric edge and are in FlexConnect mode (local switching).
Before you begin
Ensure that APs are connected to the fabric edge nodes.
In this scenario, since the traditional or OTT wireless controller is already managing the fabric site, you must create two buildings under the network hierarchy, one for the OTT wireless controller and the other for the fabric wireless controller. For example, Building 1 for the OTT wireless controller and Building 2 for the fabric wireless controller. These buildings are used temporarily during the migration process for provisioning the wireless controllers.
Procedure
|
Step 1 |
Create a network profile for the fabric network and assign it to the new site (Building 2) created for the fabric wireless controller.
|
||
|
Step 2 |
Create SSIDs for the wireless fabric network and associate it to the fabric profile.
|
||
|
Step 3 |
Provision the fabric wireless controller.
|
||
|
Step 4 |
Add the fabric wireless controller to the fabric network.
|
||
|
Step 5 |
Assign an IP pool to the SSID.
|
||
|
Step 6 |
On the DHCP server, configure the DHCP Option 43 in the INFRA VN to point to the fabric wireless controller. |
||
|
Step 7 |
On the wireless controller GUI, select an AP and perform a factory-reset. |
||
|
Step 8 |
Set the AP switchport to default value using the default int <> command on the switch. The AP reboots, gets the IP address from the INFRA VN, and joins the fabric wireless controller. |
||
|
Step 9 |
Check the Cisco DNA Center inventory to ensure that the AP is reachable and in a managed state. Resync the fabric wireless controller, if needed.
|
||
|
Step 10 |
Migrate the rest of the APs using the Cisco DNA Center Configure Access Points workflow.
|
||
|
Step 11 |
Set the AP switchports to default values. For bulk configurations, use Cisco DNA Center templates. |
||
|
Step 12 |
Log in to the fabric wireless controller GUI and make sure that AP has joined the wireless controller. |
||
|
Step 13 |
Resync the fabric and OTT wireless controllers on the Cisco DNA Center GUI. |
||
|
Step 14 |
Provision the OTT wireless controller by removing the sites to be migrated and assigning the new site (Building 1) under managed AP locations. |
||
|
Step 15 |
Assign the sites to be migrated in the fabric profile. |
||
|
Step 16 |
Provision the fabric wireless controller by adding the sites to be migrated and removing the new site (Building 2) from the managed AP locations. |
||
|
Step 17 |
Provision the migrated APs.
Ensure that the APs have the correct site tag, RF tag, and policy tag. |
||
|
Step 18 |
Use the above procedure for migrating additional sites, if required. |
||
|
Step 19 |
After migrating all the sites under the OTT wireless controller, remove the OTT wireless controller from Cisco DNA Center and delete the temporary sites that were created (Building 1 and Building 2). |
||
|
Step 20 |
Remove the VLANS that are not needed from all the fabric edges. You can use Cisco DNA Center templates for this task. |
What to do next
Ensure that there are access tunnels for all the fabric APs on the fabric edge nodes and the APs are shown as fabric-enabled on the fabric wireless controller.
Ensure that the APs are broadcasting the fabric SSIDs. You can check the SSID status on the AP using the run show dot11 wlan command; the SSIDs must be in up state.
 Feedback