Web Customization in Captive Portal on WAP321 Access Points
Available Languages
Objective
The Captive Portal feature allows you to block the access of wireless clients to the network if they have failed to pass the verification stage. The Captive Portal allows clients on the WAP321 network to see a special web page for authentication purpose before the usage of Internet normally. You can customize this page with your own images (three for each locale) and other graphics. These default image graphics can be replaced for user customization:
• Logo — Displayed at the top left page for branding information. Must conform within dimension 168 x 78 pixels (Width x Height).
• Account — Displayed above the login field. Must conform within dimension 295 x 55 pixels (Width x Height).
• Background — Displayed as a page background. Must conform within dimension 10 x 800 pixels (Width x Height).
This article explains how to upload and delete binary image files for web customization on the WAP321 access point and customize the authentication page with textual and graphic elements.
Captive Portal configuration has these elements:
• Global Captive Portal Configuration — The Captive Portal will allow clients on the WAP network to see a special web page for authentication purposes before they can use the Internet normally. The database of the authenticated users is stored locally on the WAP device or on the RADIUS server. The global configuration page is used to control the administrative state of the Captive Portal feature and to configure global settings that will affect all Captive Portal instances configured on WAP device. To know more about global configuration on Captive Portal, refer to the article, Captive Portal Global Configuration on WAP321 Access Point.
• Instance Configuration — Captive Portal instances are a defined set of configurations that are used to authenticate clients on the WAP network. Different instances (maximum up to two) can be configured to respond differently to users as they attempt to access the associated virtual access point. To know more about instance configuration on Captive Portal, refer to the article, Captive Portal Instance Configuration on WAP321 Access Point.
• Instance Association — Captive Portal instances are a defined set of configurations that are used to authenticate clients on the WAP network. VAPs are segmented wireless LANs in multiple broadcast domains that are wireless equivalents of Ethernet VLANs. This makes it so that multiple access points are simulated in one physical WAP device. To know more about instance association on Captive Portal refer to the article, Captive Portal Instance Association on WAP321 Access Points.
• Web Portal Customization — The Captive Portal allows clients on the WAP321 network to see a special web page for authentication purpose before the usage of Internet normally. You can customize this page with your own images (three for each locale) and other graphics. This article explains how to upload and delete binary image files for web customization on the WAP321 access point and customize the authentication page with textual and graphic elements.
• Local Groups — In Captive Portal each local user is assigned to a user group and each group is assigned to a Captive Portal instance. The group helps to manage the assignment of users to Captive Portal instance. Default group is already present cannot be deleted. Two additional user groups can be created. To know more about local groups configuration on Captive Portal. refer to the article, Local Groups in Captive Portal on WAP321 Access Points.
• Local Users — The Local Users page is used to configure either guest users or authorized users. Apart from guest users, authorized users must provide a valid username and password to access the WAP network. To know more about local users configuration on captive portal, refer to the article, Captive Portal Local User Configuration on WAP321 Access Points.
Applicable Device
• WAP321
Software Version
• 1.0.3.4
Web Customization
Step 1. Log in to the Access Point Configuration Utility and choose Captive Portal > Web Portal Customization. The Web Portal Customization page opens:
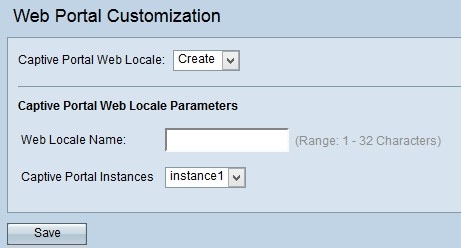
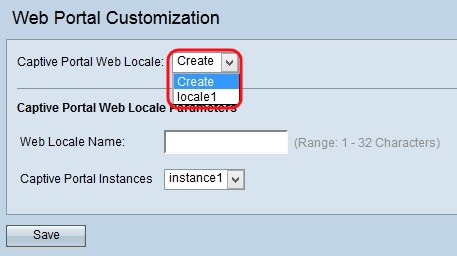
Step 2. Choose Create from the Captive Portal Web Locale drop-down list to create a user for the Captive Portal Web. If you want to edit a previous web locale, then choose the created web locale from the Captive Portal Web Locale drop-down list and skip to Step 6.
Step 3. Enter the name of the locale in the Web Locale Name field.
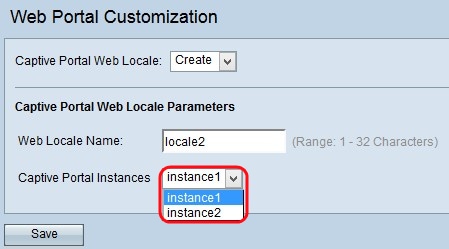
Step 4. Choose the Captive Portal instance from the Captive Portal Instances drop-down list.
Step 5. Click Save to save configurations made. Then, the Captive Portal Web Locale Parameters area appears with additional information.
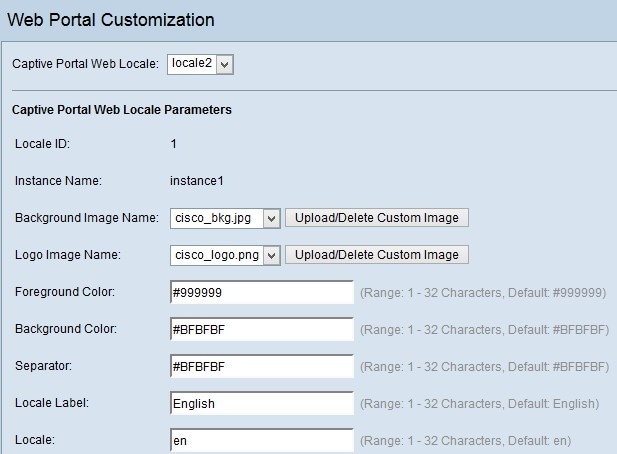
In the Captive Portal Web Locale Parameters area, the sequence number of the locale is displayed in the Locale ID field.
The name of the chosen instance is displayed in the Instance Name field.
Note: The Locale ID and the Instance Name cannot be edited in this area and are generated automatically.
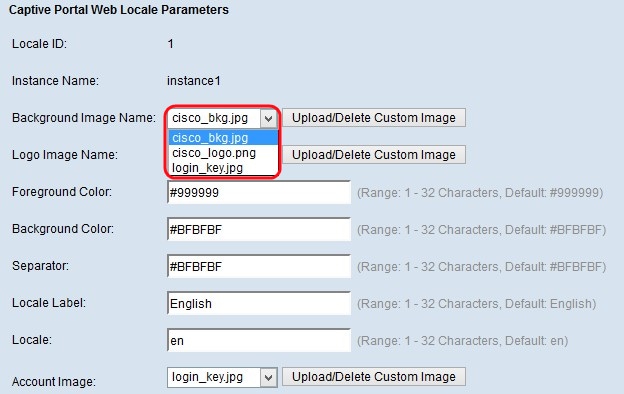
Step 6. Choose the image for the background from the Background Image Name drop-down list.
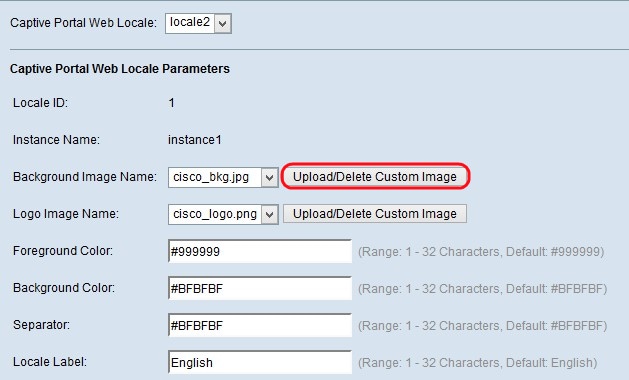
Note: If you did not find the desired image from the Background Image Name drop-down list or if you want to get a new image or if you want delete image from the list, then click Upload/Delete Custom Image button. For upload and delete custom image go to Upload/Delete Custom Image.
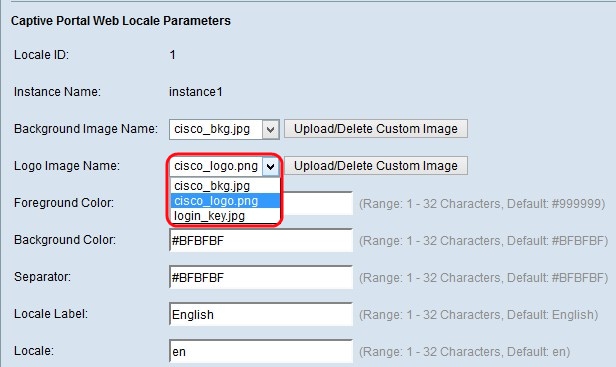
Step 7. Choose the image for the logo from the Logo Image Name drop-down list.
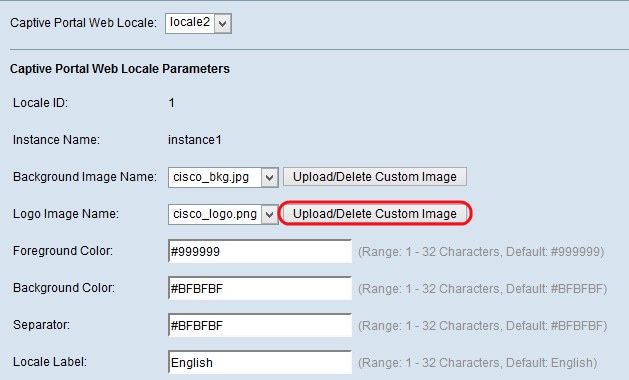
Note: If you did not find the desired image from the Logo Image Name drop-down list or if you want to get a new image or if you want delete image from the list, then click Upload/Delete Custom Image button. For upload and delete custom image go to Upload/Delete Custom Image.

Step 8. Enter the color number for the foreground in the Foreground Color field.
Step 9. Enter the color number for the background in the Background Color field.
Step 10. Enter the color number for the separator (line that separates the header from the body page) in the Separator field.
Note: The colors mentioned are in hexadecimal format and HTML code.
Step 11. Enter the label for the locale in the Locale Label field. The default is English.
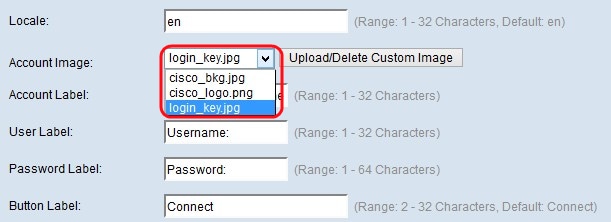
Step 12. From the Account Image drop-down list, choose the image to be displayed in the authenticated login above the login field.
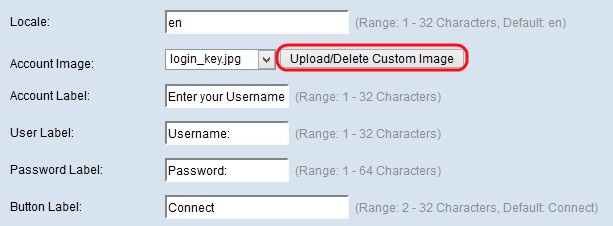
Note: If you did not find the desired image from the Account Image drop-down list or if you want to get a new image or if you want delete image from the list then click Upload/Delete Custom Image button. For upload and delete custom image go to Upload/Delete Custom Image.
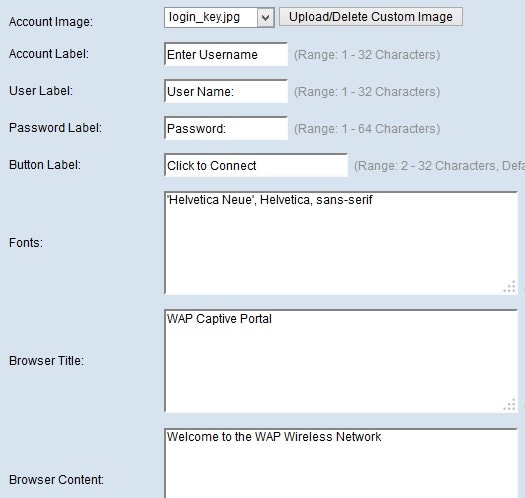
Step 13. Enter the text which gives the user the instruction to enter a user name to login in the Account label field.
Step 14. Enter the name for the user name text box in the User Label field.
Step 15. Enter the name for the user password text box in the Password Label field.
Step 16. Enter the name of the button used to update the information and authenticate the user in the Button Label field.
Step 17. Enter the name of the font that the user can use in the Captive portal page in the Fonts field. Multiple options can be entered with each option separated by a comma.
Step 18. Enter the name to be displayed in the Title Bar of the window in the Browser Title field.
Step 19. Enter the welcome text that is displayed towards the right of the logo image in the Browser Content field.

Step 20. Enter the instruction for the user that is displayed in the body page in the Content field.
Step 21. Enter the conditions that the user has to accept to login and use the captive portal in the Acceptance Use Policy field.
Step 22. Enter the text for the user to accept the Use Policy and check the check box in the Accept Label field.
Step 23. In the No Accept Text field, enter the text which appears when the user does not accept the policy and wants to login. The default is an error message which appears in a pop-up window.
Step 24. In the Work In Progress Text field, enter the text that displays while the user waits for the authentication.
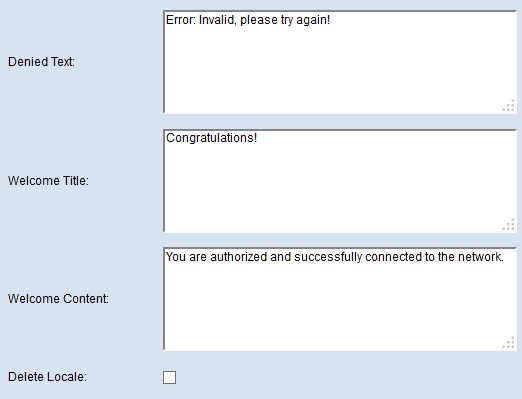
Step 25. In the Denied Text field, enter the text that is displayed when the authentication of the user fails.
Step 26. In the Welcome Title field, enter the text that displays when the user has been authenticated.
Step 27. In the Welcome Content field, enter the text that indicates when the user gets connected to the Captive Portal network.
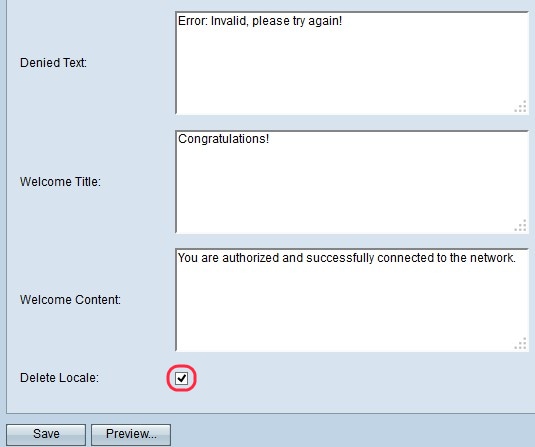
Step 28. (Optional) If you want to delete the current local configuration, then check the Delete locale check box.
Step 29. Click Save to save all the configurations made.
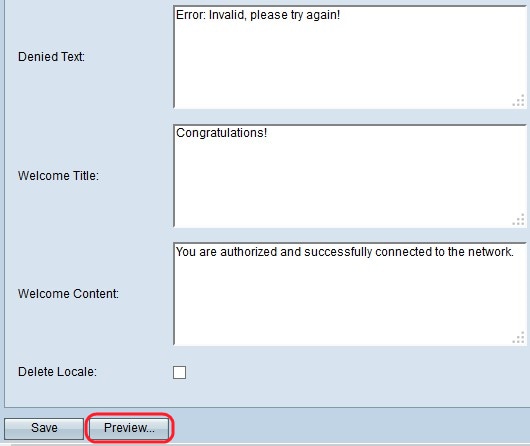
Step 30. (Optional) If you want to preview the local configurations made, then click Preview. The Captive Portal Web Locale Web Locale Parameters Preview page opens:
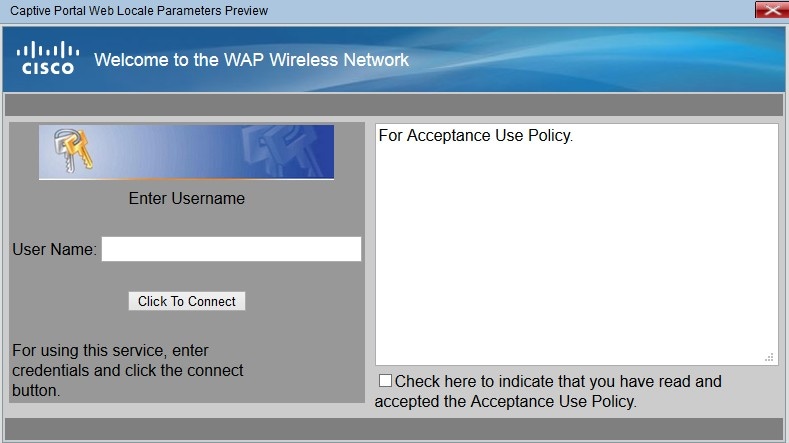
Note: Preview shows the text and images that have already been saved to the Startup Configuration. If you make a change, click Save before clicking Preview to see your changes.
Upload/Delete Custom Image
Step 1.Click the Upload/Delete Custom Image button in the Captive Portal Web Locale Parameters page if you did not find the desired image from the Account Image drop-down list or if you want to get a new image or if you want delete image from the list. The Web Portal Custom Image opens:
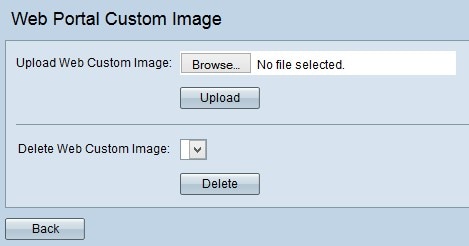
• Upload Web Custom Image — If you want to upload a new custom image then go to Upload Web Custom Image.
• Delete Web Custom Image — If you want to delete the custom image form list then go to Delete Web Custom Image.
Upload Web Custom Image
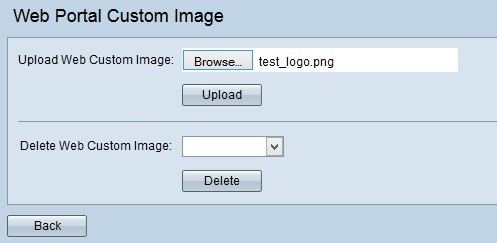
Step 1. In the Upload Web Custom Image field, click Browse to select a file from the computer. The Choose File to Upload page opens.
Step 2. Select the image file from your local computer and click Open.
Note: The image must be 5 kilobytes or smaller and must be a GIF or JPEG format file.
Step 3. Click Upload to upload the image to the WAP device.
Delete Web Custom Image
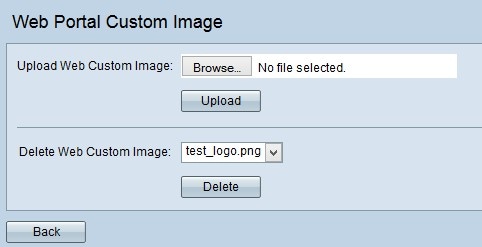
Step 1. Choose the file which you want to be deleted from the drop-down list in the Delete Web Custom Image field.
Step 2. Click Delete to delete the selected file from the WAP device.
Caution: Deletion of currently used images will reset the section of the web customization page to default.
 Feedback