Configuration of QoS Properties on Sx500 Series Stackable Switches
Available Languages
Introduction
Quality of Service (QoS) is mainly used to improve the network performance and is used to provide the desired services for the users. It prioritizes the traffic flow based on the type of traffic. Usually, voice traffic is given a greater priority than data traffic.
In this scenario, QoS Properties are going to be configured on a switch in basic mode and with the highest priority.
Objective
The objective of this document is to show how to configure the QoS properties on the interface of an Sx500 and SG500X Series Stackable Switch.
Applicable Devices
- Sx500 Series
- SG500X Series
Software Version
- 1.4.8.06
Configure QoS Properties
Note: Images may slightly vary depending on the exact model of the device you are using. The images below are taken from the SG500X-48MP switch.
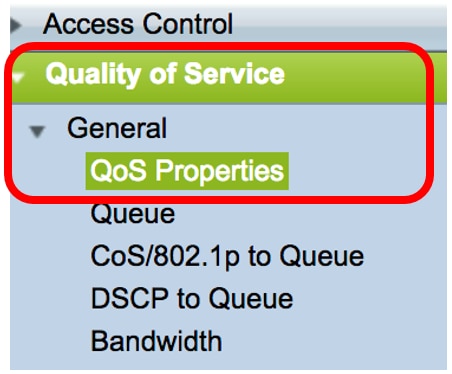
Step 1. Log in to the switch web-based utility and choose Quality of Service > General > QoS Properties.
Step 2. Click the preferred QoS mode. The options are:
- Disable — QoS is disabled in the device. In this mode all traffic is mapped to a single queue which makes the best effort and so no type of traffic is prioritized.
- Basic — QoS is enabled on the device in the Basic mode. Basic mode is the mode where all the traffic of the same class receives the same treatment. This value is assigned externally. This QoS value determines the traffic class and QoS action which should be taken for the traffic.
- Advanced — QoS is enabled on the device in the Advanced mode. Advanced mode is the mode which operates by per flow QoS service. It consists of a class map and a policer. The Class map tells about the kind of traffic which is present in the flow and it also consists of few ACLs. The packets that match the ACL belong to one flow. The policer applies the configured QoS to the flow. The QoS configuration values can be the egress queue, DSCP or CoS/802.1p values and the actions which can be taken on the excess traffic.
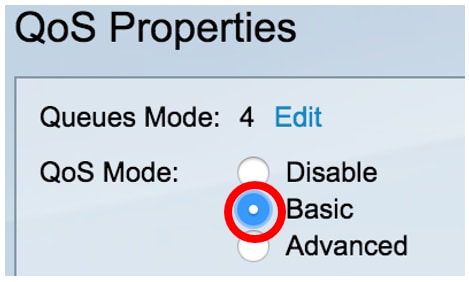
Note: In this example, Basic is chosen. This is the default setting.
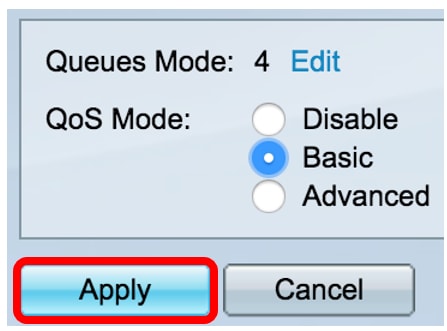
Step 3. Click Apply to save the settings.
Step 4. In the Interface CoS Configuration Table, choose the Interface Type for the QoS properties from the Interface Type drop-down list and then click Go to view or modify its corresponding interfaces.

Note: In this example, Port of Unit 1/1 is chosen.
The QoS Configuration Table will then display ports based on the Interface Type that you have chosen with the following columns:
- Interface — There are two types of Interface:
- Port — Denotes the individual ports of the switch. The Port of Unit options contain the set of ports that can be configured per unit in the stack. The interface of port is represented as the unit ID of the unit (active, member, standby) in the stack and number of expansion slots available in it. For example, the Port of Unit 1/2 denotes that the port is connected to the switch in the stack which is configured with unit ID of 1 and it contains two expansion slots. If you are unfamiliar with the terms used, check out Cisco Business: Glossary of New Terms.
- LAG — Denotes the Link Aggregation Group (LAG) of the switch. A LAG contains the set of ports. The Interface Type configuration is made to the LAG which ensures all the ports within LAG are configured.
- Default CoS — Displays the default VLAN Priority Tag (VPT) value for incoming packets that do not have this VLAN tag. The default Class of CoS is 0. So these defaults are only applicable for frames which are untagged and those which are in the Basic mode and Trust CoS is selected in the Global Settings page.
Step 5. Check the check box of the Interface where you wish to set QoS and then click the Edit button.
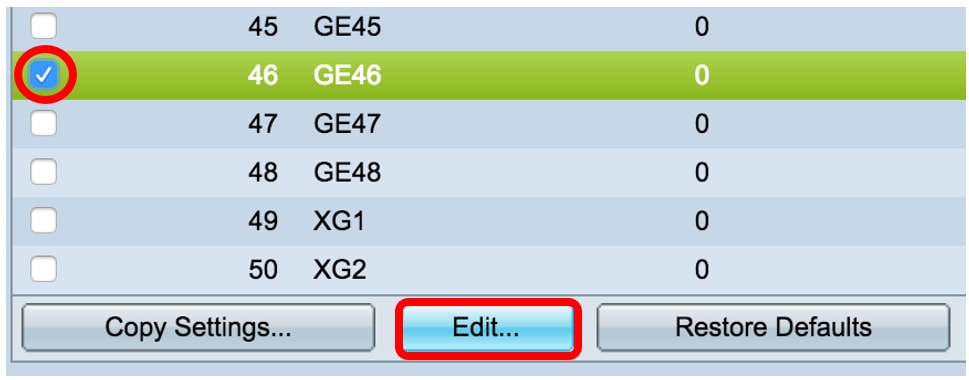
Note: In this example, Port GE46 is chosen.
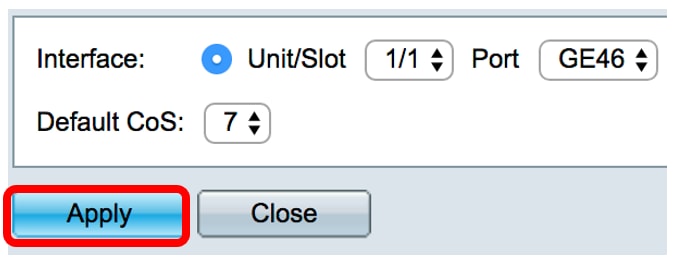
Step 6. In the Edit QoS Configuration window that pops up, verify that the marked Interface is the one you have chosen in the previous page. Otherwise, choose the correct Interface from the drop-down menu.

Step 7. From the Default CoS drop-down list, choose the default CoS value to be assigned to the incoming packets. These are the ones that do not have a VLAN tag. The range is from 0 to 7 where 0 is for the lowest priority and 7 is for the highest priority.
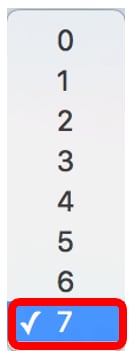
Note: In this example, the priority is set to 7.
Step 8. Click Apply.
You now have successfully configured QoS properties on the switch.
Copy QoS Settings
To apply the same configuration to another port, you can copy the settings from one port to another. Follow the steps below:
Step 1. In the Interface CoS Configuration Table, click on the port that you wish to copy then click Copy Settings.
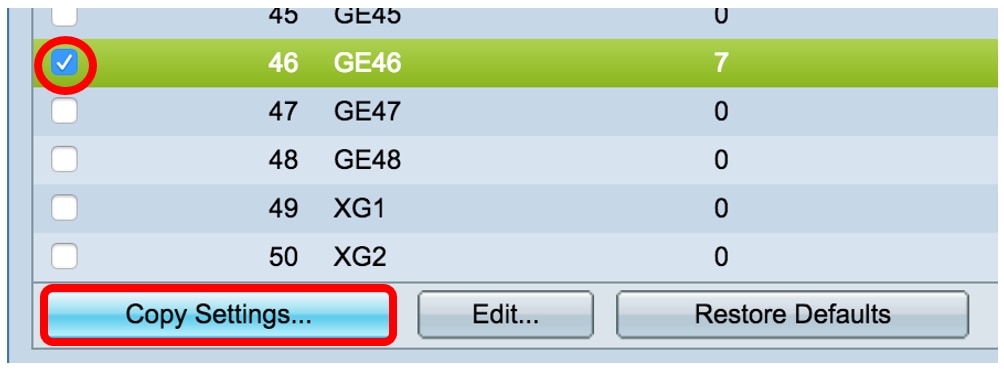
Note: In this example, Port GE46 is chosen.
Step 2. In the pop-up window that appears, enter the port where you wish to apply the same settings and click Apply.
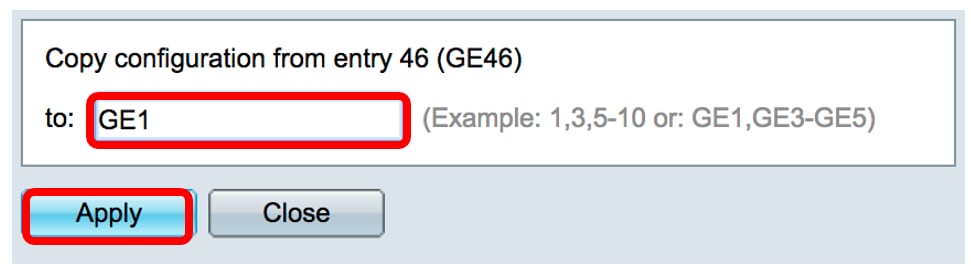
Note: In this example, the settings from GE46 are going to be copied to GE1 only.
You now have successfully copied QoS settings to GE1.
Restore to Factory Defaults
To restore the settings to factory default, follow the steps below:
Step 1. In the Interface CoS Configuration Table, check the check box of the port or ports that you wish to reset the settings to default. In this example, GE1 and GE6 are chosen.
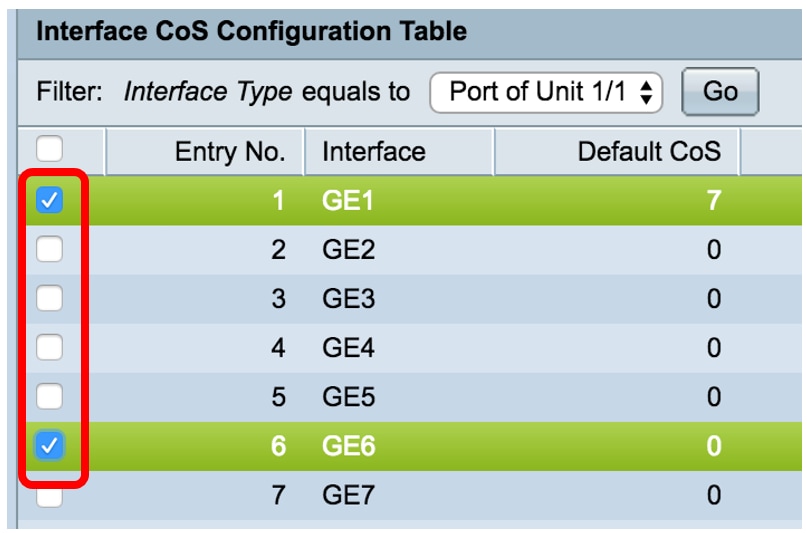
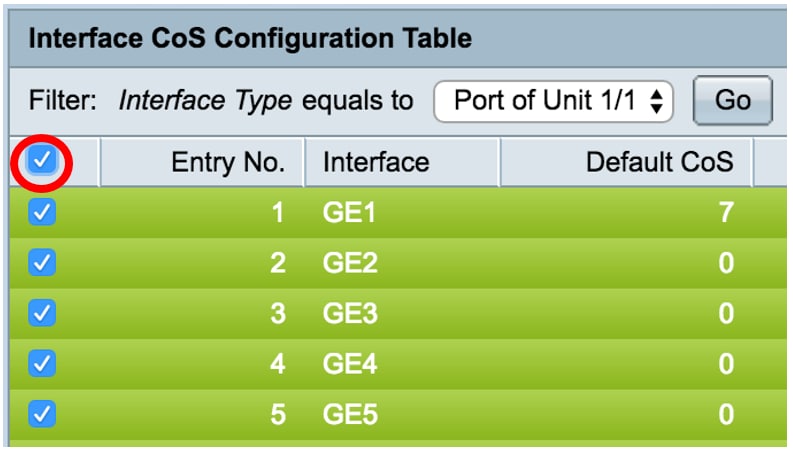
Note: You can also click on the box at the top of the table to check all ports.
Step 2. Click Restore Defaults.

Step 3. To permanently save the configuration, click the blinking  at the upper portion of the web-based utility.
Revision History
| Revision | Publish Date | Comments |
|---|---|---|
1.0 |
11-Dec-2018 |
Initial Release |
 Feedback