Manage User-Defined Tags in the Smart Network Application (SNA) on your Switch
Available Languages
Objective
Tags are used to identify devices in the Topology view of the Smart Network Application (SNA) system by attributes or by user-defined names. Tags are used to quickly select multiple elements by searching for a specific tag. For example, if you are searching for all phone devices in the network, as long as each of these devices is tagged as Phone, they will all show up when you enter Phone in the search bar.
There are two types of tags in SNA:
- Built-in tags — These are automatically applied tags to devices based on information gathered by any Discovery protocols.
- User-defined tags — These are tags that are manually added and defined.
The objective of this document is to show you how to view, create, and add user-defined tags in the SNA.
Applicable Devices
- Sx350 Series
- SG350X Series
- Sx550X Series
Software Version
- 2.2.5.68
Manage User-Defined Tags
View User-Defined Tags
Step 1. Launch the SNA session. To learn how, click here.
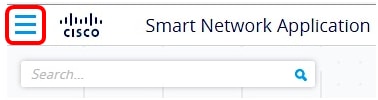
Step 2. Click on the Options icon on the upper left side of the Topology map.
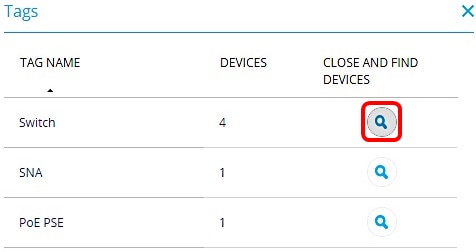
Step 3. Choose Open tags inventory from the displayed menu.

Step 4. In the Tags window that appears, click on the Search icon for a specific tag under the CLOSE AND FIND DEVICES area.
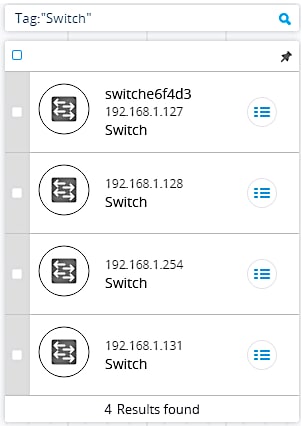
You will then be redirected to the Topology map and all the devices listed with the selected tag will be displayed.
Create User-Defined Tags
Step 1. Launch the SNA session.
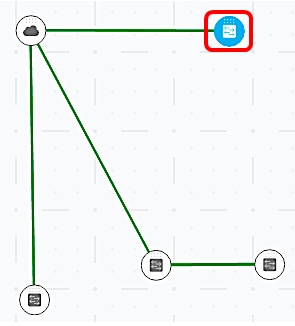
Step 2. Click on any device in the Topology map.
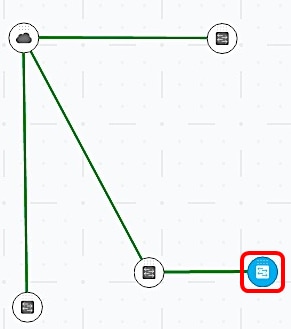
Note: In this example, a switch is clicked.
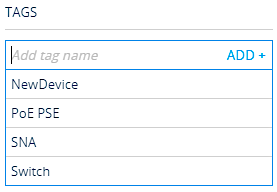
Step 3. At the right-hand panel under TAGS, click on the Add tag name field and enter a name for the new tag.
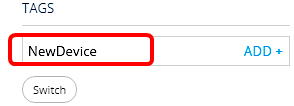
Note: In this example, NewDevice is used.
Step 4. Click ADD+.
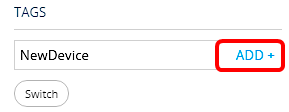
The new tag is now created.
Add a Tag to a Device
Step 1. Launch the SNA session.
Step 2. Click on the specific device that you want to add a tag into in the Topology map.
Step 3. At the right-hand panel under Tags, click on the Add tag name field to show all the built-in and created tags.
Step 4. Click on the tag that you want to add to your device.
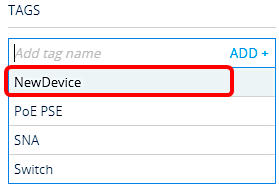
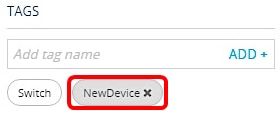
Note: In this example, the NewDevice tag is added.
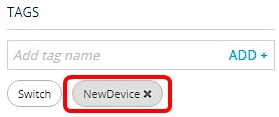
The additional tag to your device will now appear. When you search for devices under this specific tag, your device will be included in the list of results.
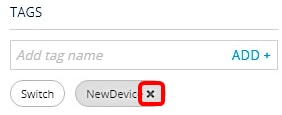
Step 5. (Optional) To delete a tag, just hover your mouse over the tag you want to delete and click on the X beside the name of the tag.
You should now have successfully viewed, created, and added user-defined tags in the SNA on your switch.
 Feedback