Enable Web Protection for URL Filtering on RV016 and RV082 VPN Routers
Available Languages
Objective
The Cisco ProtectLink Web is a security measure that blocks spam, unwanted content, and spyware. This is helpful when using the Internet. Before your browser visits a URL, Cisco ProtectLink Web checks the website and blocks any threats to security.
One feature of the Cisco ProtectLink Web is that a user can create a list of approved URLs. The web protection for URL is a feature that helps to block access to websites based on pre-defined categories. This article explains how to configure the Web Protection for URL on RV082 VPN Routers.
Applicable Devices
• RV082
Software Version
• v4.2.2.08
URL Filter
Note: Before you begin the configuration be sure that the ProtectLink access is enabled in the device. Follow the steps mentioned in the document ProtectLink Web Registration and Activation on the RV082 VPN Routers to enable ProtectLink.
Step 1. Log in to the web configuration utility and choose Cisco ProtectLink Web > Web Protection. The Web Protection page opens:
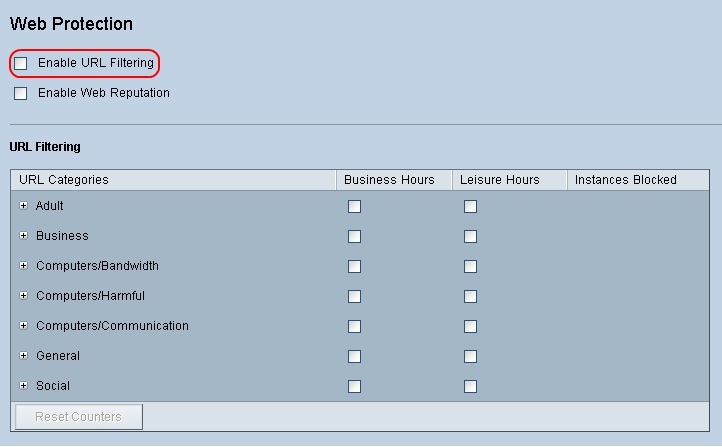
Step 2. Check the Enable URL Filtering check box to activate the filtering of URLs.
Step 3. Check the Business Hours check box of the categories and subcategories that you would like to block during business hours. To view the subcategories, click the + button beside a category. Business hours are set in the Business Hour Settings section.
Step 4. Check the Leisure Hours check box of the categories and subcategories that you would like to block during leisure hours. Leisure hours are defined as any time outside of the specified business hours.
Step 5. Click Save to save changes or Cancel to undo changes.
Business Hour Settings
Scroll down to the Business Hour Setting section in the Web Protection page, here you can determine which hours are considered business hours and which hours are considered leisure hours. Any time not considered business hours will be considered leisure hours.
Step 1. In the Business Days field, choose the days which you want to apply the business hour URL filters to.
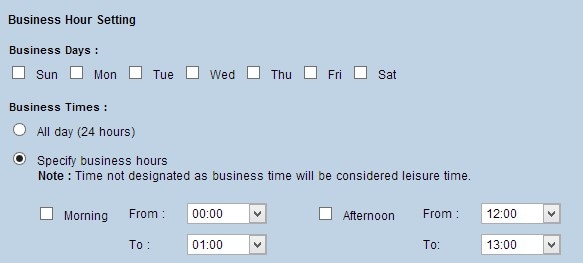
Step 2. In the Business Times field, click the radio button that corresponds to the method you would like to use to determine the business hours. The available options are:
• All day (24 hours) — Apply the business hour filtering for the whole day.
• Specify Business Hours — Manually set the time period for which the business hour filtering applies.
Step 3. If Specify Business Hours is chosen, check the Morning check box and choose the From and To times from the drop-down lists to specify the business hours in the morning. Check the Afternoon check box and choose the From and To times from the drop-down lists to specify the business hours in the afternoon.
Step 4. Click Save to save changes or Cancel to undo changes.
Web Reputation
Web Reputation helps you to prevent threat against potentially malicious websites. It verifies the websites from the Cisco ProtectLink Web Security database.
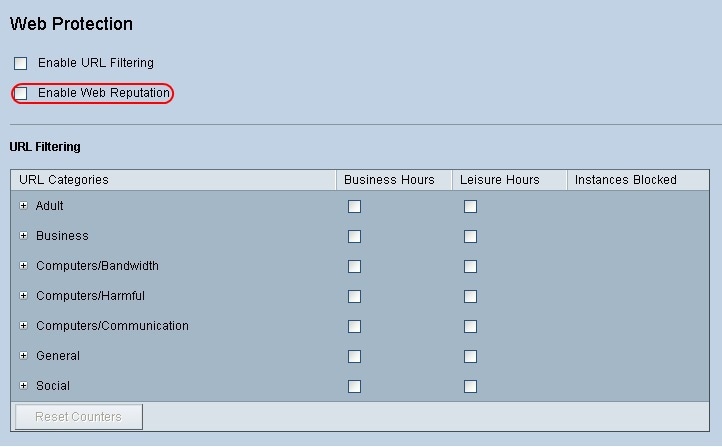
Step 1. Check the Enable Web Reputation check box to enable Web Reputation.
Step 2. Scroll down to the Web Reputation field and click the radio button of the appropriate security level.
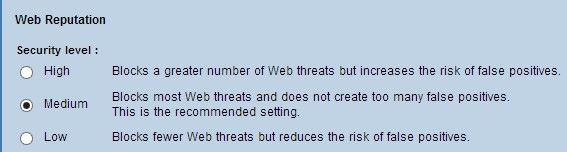
• High - This option blocks a higher number of potentially malicious websites, but also has a higher incidence of false positives (legitimate sites that are classified as malicious).
• Medium - This option blocks most potentially malicious websites, and has a lower incidence of false positives. Medium is the recommended setting.
• Low - This option blocks fewer potentially malicious websites, and therefore reduces the risk of false positives.
Step 3. Click Save to save changes or Cancel to undo changes.
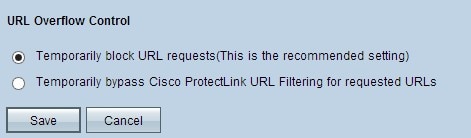
URL Overflow Control
In the URL Overflow Control field, you can determine the action to be taken when there are more URL requests than the service can handle.
Step 1. Click on the radio button that corresponds to the action that you want ProtectLink to take in case of an overflow. The available options are:
• Temporarily block URL requests — This is a recommended and default setting which blocks all URL requests until the requests are processed.
• Temporarily bypass URL verification for requested URLs — This option allows all the requests to be passed without verification. This setting is not recommended.
Step 2. Click Save to save changes or Cancel to undo changes.
Revision History
| Revision | Publish Date | Comments |
|---|---|---|
1.0 |
12-Dec-2018 |
Initial Release |
 Feedback