VPN Clients on the CVR100W VPN Router
Available Languages
Objective
A Virtual Private Network (VPN) is used to connect endpoints on different networks together over a public network, such as the Internet. This feature is useful to enable remote users who are away from a local network to securely connect to the network over the Internet. A VPN Client is a remote user authorized to access the VPN. VPN clients are used for the Cisco Quick VPN program. Cisco QuickVPN makes it easier to setup the VPN using basic VPN security settings. VPN policies do not need to be configured.
This article explains how to configure VPN clients on the CVR100W VPN Router.
Applicable Devices
• CVR100W VPN Router
Software Version
• 1.0.1.19
Manage VPN Clients
Step 1. Log in to the web configuration utility and choose VPN > VPN Clients. The VPN Clients page opens:
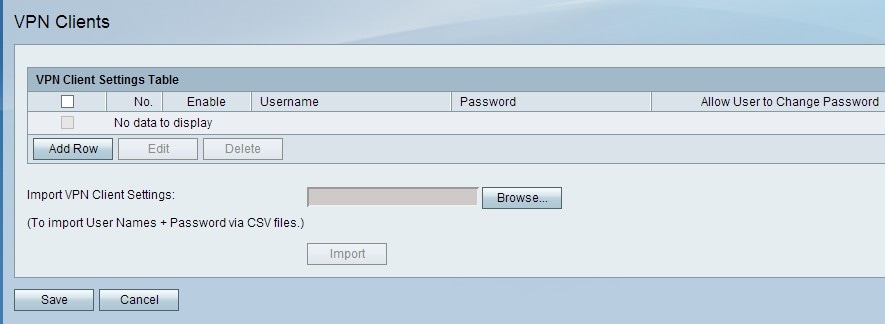
Step 2. In the VPN Client Settings Table, click Add Row to add a VPN client.
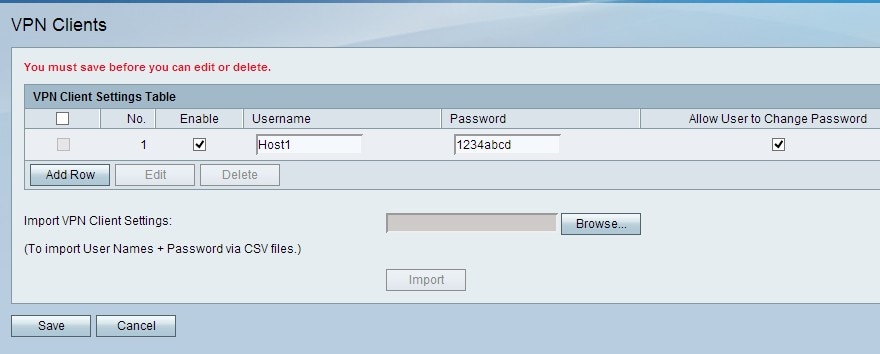
Step 3. (Optional) Check the Enable check box to enable the VPN client.
Step 4. In the Username field, enter a name for the user.
Step 5. In the Password field, enter a password for the user.
Step 6. (Optional) Check the Allow User to Change Password check box to allow the user to change their password after a secure connection is established.
Step 7. Click Save to apply the settings.
Note: If the Local IP address of the router is a 192.168.x.x private IP address, a warning label is displayed to indicate that in order to ensure proper functionality, the router will need to change its IP address to 10.x.x.1 to avoid conflicts with the remote network. This can affect connectivity with devices on the Local LAN with static IP addresses. The router needs to reboot for the settings to be applied.
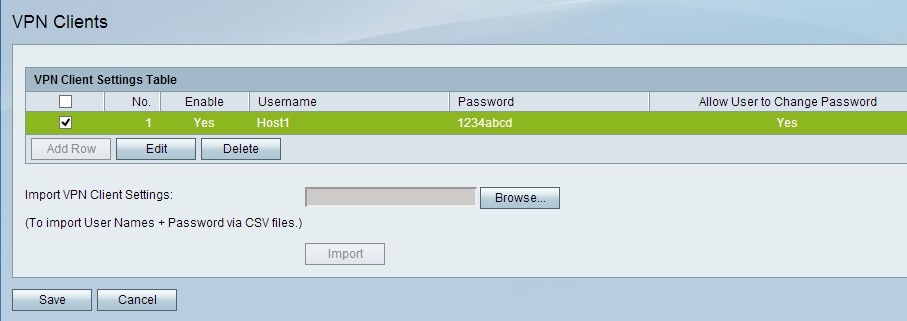
Step 8. (Optional) To edit a VPN client entry in the VPN Client Settings Table, check the check box of the entry, click Edit, edit the required fields, and click Save.
Step 9. (Optional) To delete a VPN client entry in the VPN Client Settings Table, check the check box of the entry, click Delete, and click Save.
Import VPN Clients
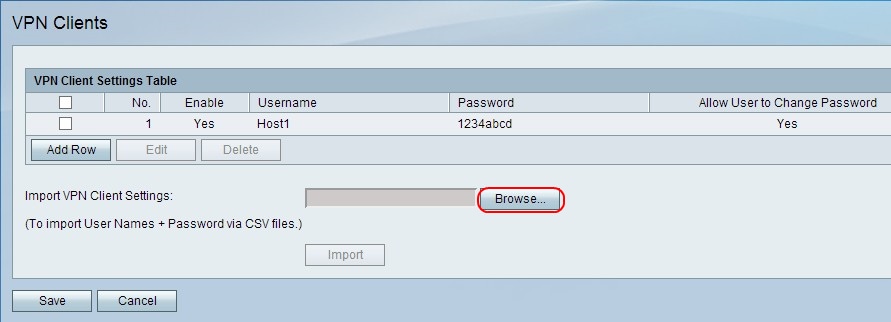
Step 1. Click Browse at the bottom of the page to choose the .csv file from the current system.
Step 2. Click Import to load the file.
Step 3. Click Save.
 Feedback