VPN Certificate Management on the CVR100W VPN Router
Available Languages
Objective
Certificate management is a protocol which allows the user to obtain digital certificates that are used to create a secure VPN connection. To keep the VPN more secure, Certificate Management offers to Generate a New Certificate and Import a Certificate. Also, it allows options to Export for Administrator or Export for Client giving the user more control over who the access of the device is given to. These certificates are issued by an organization called a Certificate Authority (CA). This article explains about certificate management on the CVR100W VPN Router.
Note: To obtain a certificate the user should be enrolled with a Certificate Authority (CA) over the network or create a file request to the CA for enrollment.
Applicable Device
• CVR100W
Software Version
• 1.0.1.19
Certificate Management
Generate a New Certificate
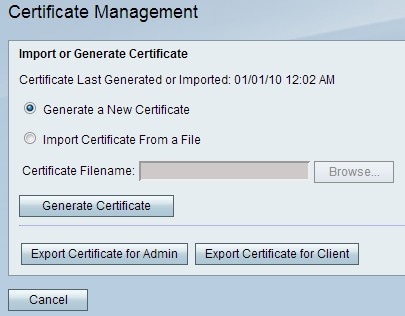
Step 1. Log in to the web configuration utility and choose VPN > Certificate Management. The Certificate Management page opens:

Step 2. Click the Generate a New Certificate radio button to generate a new certificate. This replaces the old certificate with the new one.
Step 3. Click Generate Certificate.
Import Certificate From a File
Step 1. Log in to the web configuration utility and choose VPN > Certificate Management. The Certificate Management page opens:

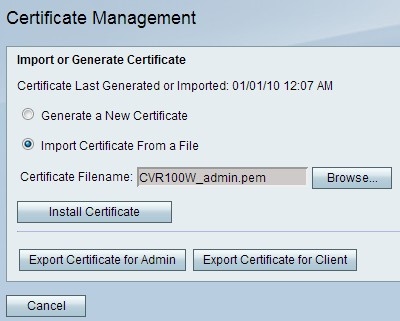
Step 2. Click Import Certificate From a File to choose a previously stored certificate.
Step 3. Click Browse to choose the desired certificate file.
Step 4. Click Install Certificate.
Export for Administrator
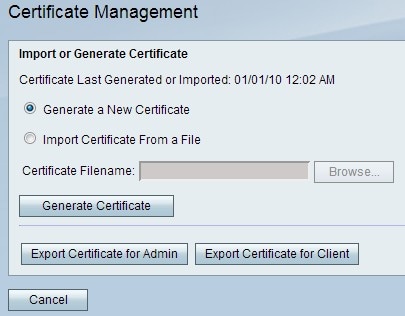
Step 1. Log in to the web configuration utility and choose VPN > Certificate Management. The Certificate Management page opens:

Step 2. Click Export Certificate for Admin to export the new certificate to the administrator and save it as a backup for future use. The file contains the private key and it should be stored in a secure location on the computer.
Export for Client
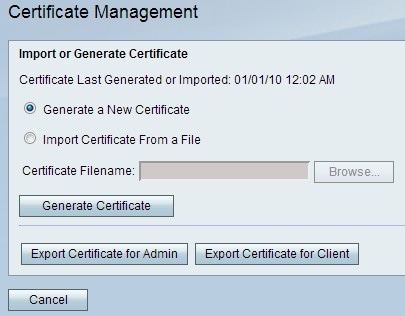
Step 1. Log in to the web configuration utility and choose VPN > Certificate Management. The Certificate Management page opens:

Step 2. Click Export Certificate for Client to export the new certificate to the client so it can be used by the Quick VPN users. You are then asked to save it on your PC.
 Feedback