Reimage a Hardware Model of a Secure Firewall Management Center
Available Languages
Introduction
This document describes an example of a reimage procedure for the Secure Firewall Management Center (formerly Firepower Management Center).
Prerequisites
Requirements
There are no specific requirements for this document.
Components Used
The information in this document is based on these software and hardware versions:
- Firewall Management Center (FMC) Version 6.7.0
The information in this document was created from the devices in a specific lab environment. All of the devices used in this document started with a cleared (default) configuration. If your network is live, ensure that you understand the potential impact of any command.
Background Information
Specific requirements for this document include:
- A console cable connected on the FMC.
- An FTP Server with the installation package (.iso) already uploaded.
This reimage procedure is supported on appliances:
- Firewall Management Center 1600
- Firewall Management Center 2600
- Firewall Management Center 4600
Before You Begin
- A reimage procedure erases all previous configurations. To restore any configurations, generate a backup before you start this procedure.
- Verify the model is compatible with this procedure.
Configure
Step 1. Reboot your FMC appliance:
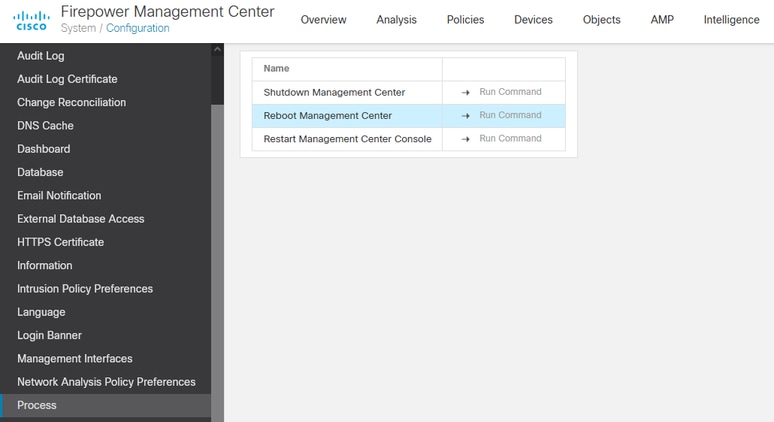
A. To do this via GUI:
I. Log into the GUI of your Firewall Management Center.
II. Navigate to System > Configuration > Process.
III. Click Run Command for the Reboot Management Center.
GUI Reboot Example:
B. To do this via CLI:
I. Log into the CLI of the Firewall Management Center.
II. Enter to expert mode.
III. Elevate your privilege level to the root user mode.
IV. Execute the command reboot in order to restart the console
CLI Example:
Copyright 2004-2021, Cisco and/or its affiliates. All rights reserved.
Cisco is a registered trademark of Cisco Systems, Inc.
All other trademarks are property of their respective owners.

Cisco Firepower Extensible Operating System (FX-OS) v2.10.1 (build 175)
Cisco Firepower Management Center 2600 v6.7.0 (build 84)

> expert
admin@fmc_lab:~$ sudo su
Password:
Last login: Tue Jan 24 01:08:10 UTC 2023 on pts/0
root@fmc_lab:/Volume/home/admin# reboot
Step 2. On the boot menu, type number 3 to select the System Restore Mode:
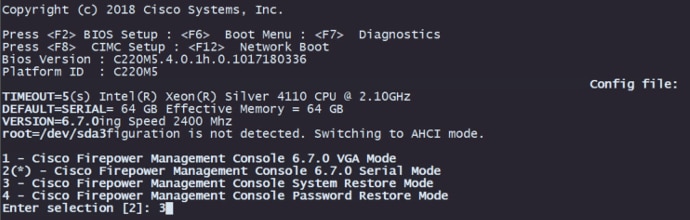
Step 3. On the menu, type number 2 to select Serial Mode as an output method for the system restore procedure in case it is not the default option:

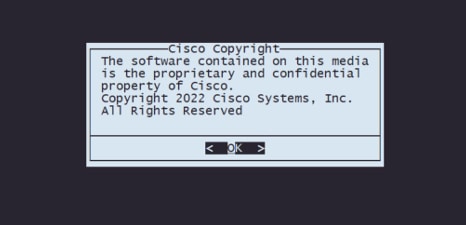
Step 4. Click Enter to confirm the copyright notice.
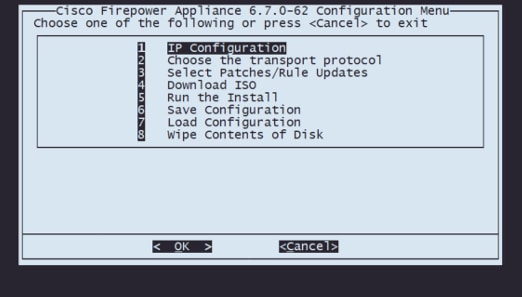
Step 5. On the Configuration Menu, select Option 1 to set the IP Configuration:
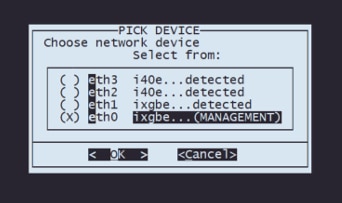
Step 5.1. Choose the network interface that is able to reach the FTP server:
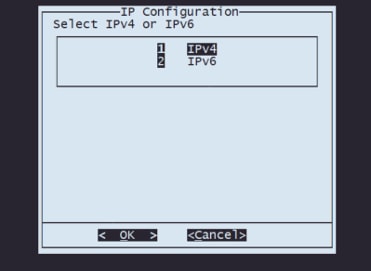
Step 5.2. Select the version of IP you would like to configure:
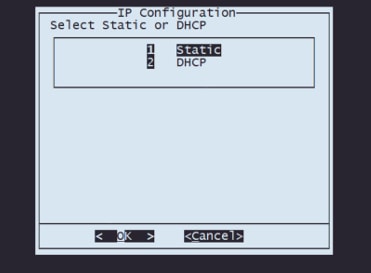
Step 5.3. Select the method of IP configuration you would like to use:
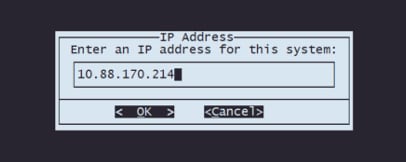
Step 5.4. Enter the IP address for the system:
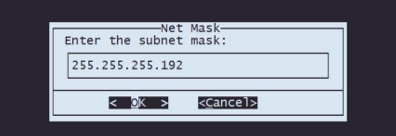
Step 5.5. Enter the subnet mask that belongs to your IP address:
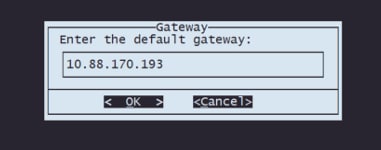
Step 5.6. Enter the default gateway IP to be used:
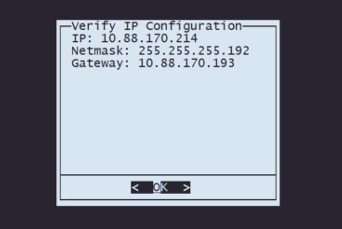
Step 5.7. Validate that the network settings are correct:
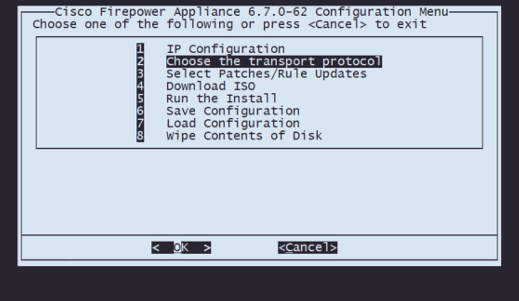
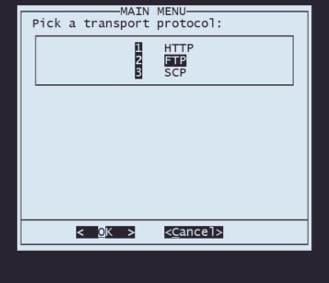
Step 6. On the Configuration Menu, select Option 2 to set the transport protocol (remote storage server):
Step 6.1. Select a transport protocol:
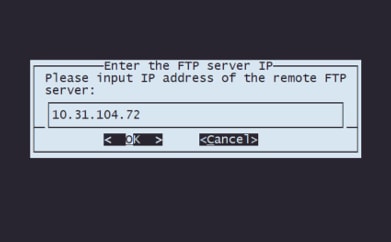
Step 6.2. Enter the remote storage IP:
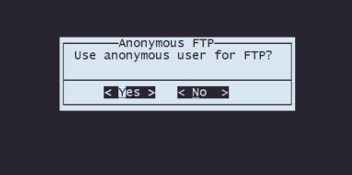
Step 6.3. Select the type of user for your remote storage:
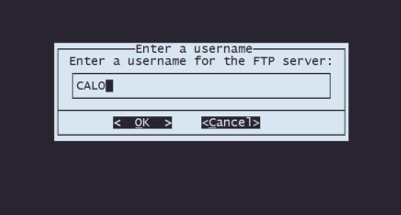
Step 6.4. If the user is not anonymous, enter the username for the remote storage server.
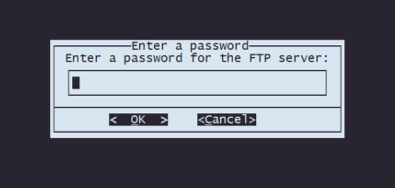
Step 6.5. Enter the password for the remote storage.
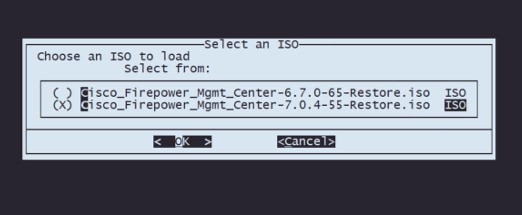
Step 6.6. Select the ISO package you plan to use for the reimage.
Step 6.7. Validate that the configuration looks correct:

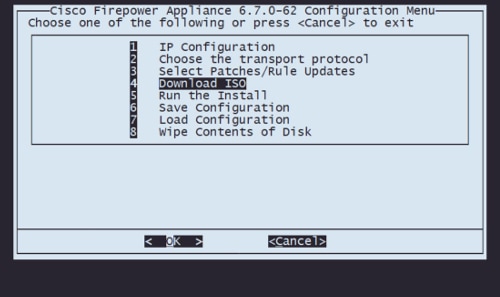
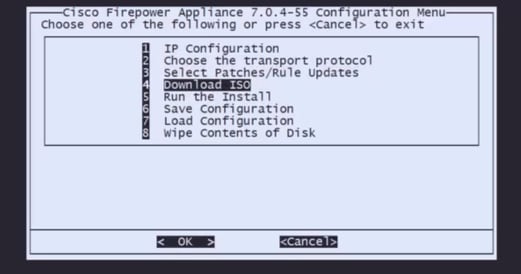
Step 7. On the Configuration Menu, select Option 4 to Download ISO:
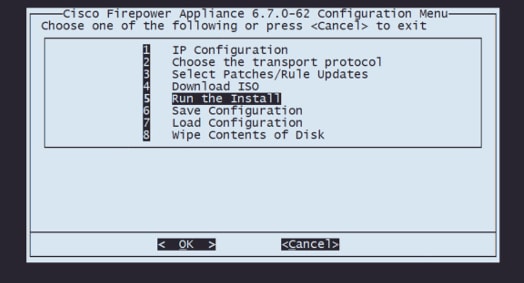
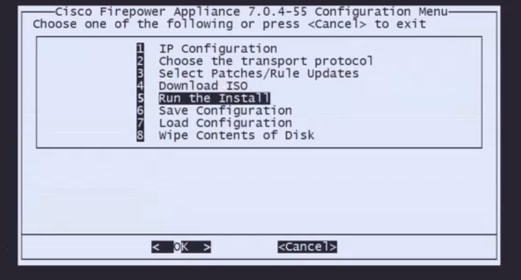
Step 8. On the Configuration Menu, select Option 5 to Run the Install of the downloaded package:
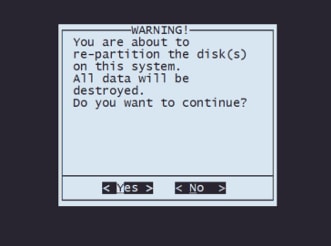
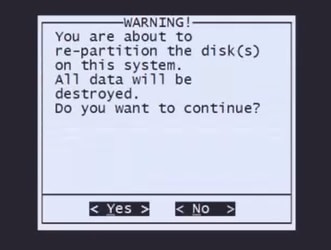
Step 8.1. On the warning screen, press Enter to confirm the re-partition of the disk:
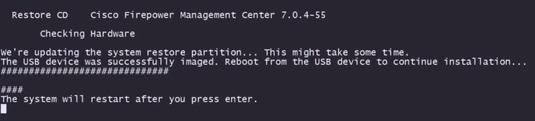
Step 8.2. After the re-partition finishes, press Enter to proceed with the restart of the system
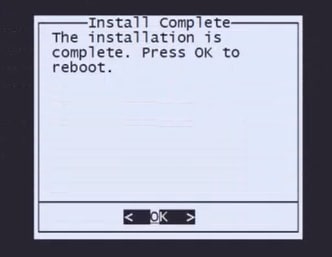
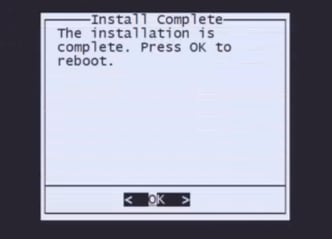
Step 8.3. Press Enter on the pop-up window to confirm the reboot
Step 9. On the configuration menu, select option 4 and re-download the installation package
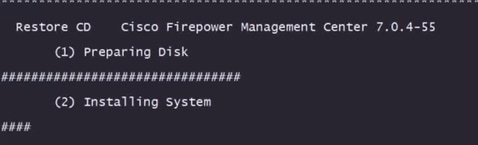
Step 10. Once you are back on the Configuration Menu, select option 5 to run the installation package
Step 10.1. On the warning screen, press Enter to confirm the re-partition of the disk
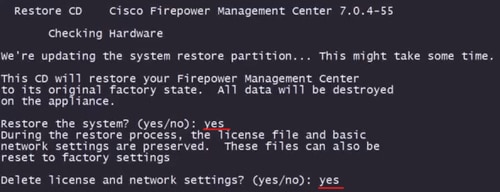
Step 10.2. To confirm the Restore of the system and deletion of license and network settings type yes and press Enter on each prompt
Step 10.3 One final warning is displayed, type yes and press Enter to proceed

Step 10.3. Press Enter on the pop-up window to confirm the reboot
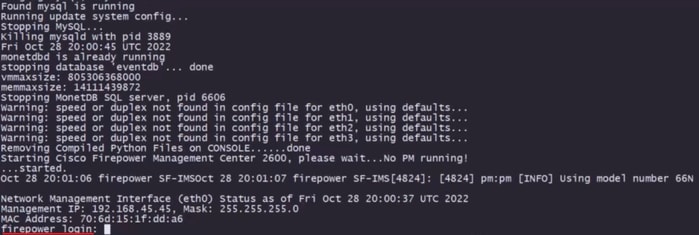
Example of login screen after FMC Reimage.
Revision History
| Revision | Publish Date | Comments |
|---|---|---|
2.0 |
21-Apr-2026
|
Removed Cisco from the Title and Formatting. |
1.0 |
13-Apr-2023
|
Initial Release |
 Feedback