-
null
Bias-Free Language
The documentation set for this product strives to use bias-free language. For the purposes of this documentation set, bias-free is defined as language that does not imply discrimination based on age, disability, gender, racial identity, ethnic identity, sexual orientation, socioeconomic status, and intersectionality. Exceptions may be present in the documentation due to language that is hardcoded in the user interfaces of the product software, language used based on RFP documentation, or language that is used by a referenced third-party product. Learn more about how Cisco is using Inclusive Language.
- Updated:
- August 18, 2014
Chapter: Appendix A, Social Authentication
Social Connectors Set up
Facebook Application Set up
To set up the Facebook application, follow these steps:
Step 1![]() Go to https://developers.facebook.com and sign in with your Facebook username and password.
Go to https://developers.facebook.com and sign in with your Facebook username and password.
Step 2![]() Choose Apps > Create a New App.
Choose Apps > Create a New App.
The Create a New App pop-up window appears.

Step 3![]() Enter a name for your application in the Display Name text box.
Enter a name for your application in the Display Name text box.
Step 4![]() Choose a category from the Category drop-down list.
Choose a category from the Category drop-down list.
The Security Check pop-up window appears.
Step 6![]() Complete the security verification and click Submit.
Complete the security verification and click Submit.
The Dashboard tab with App ID and App Secret is displayed.

Step 7![]() Choose Settings from the left sidebar menu.
Choose Settings from the left sidebar menu.
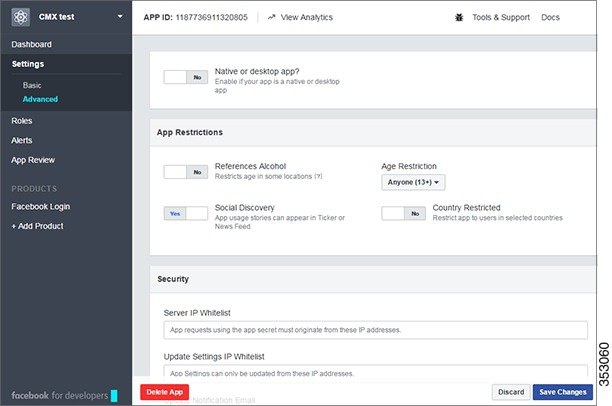
Step 8![]() Enter the Email ID in the Contact Email text box. This mail ID is used for all communication about your application.
Enter the Email ID in the Contact Email text box. This mail ID is used for all communication about your application.
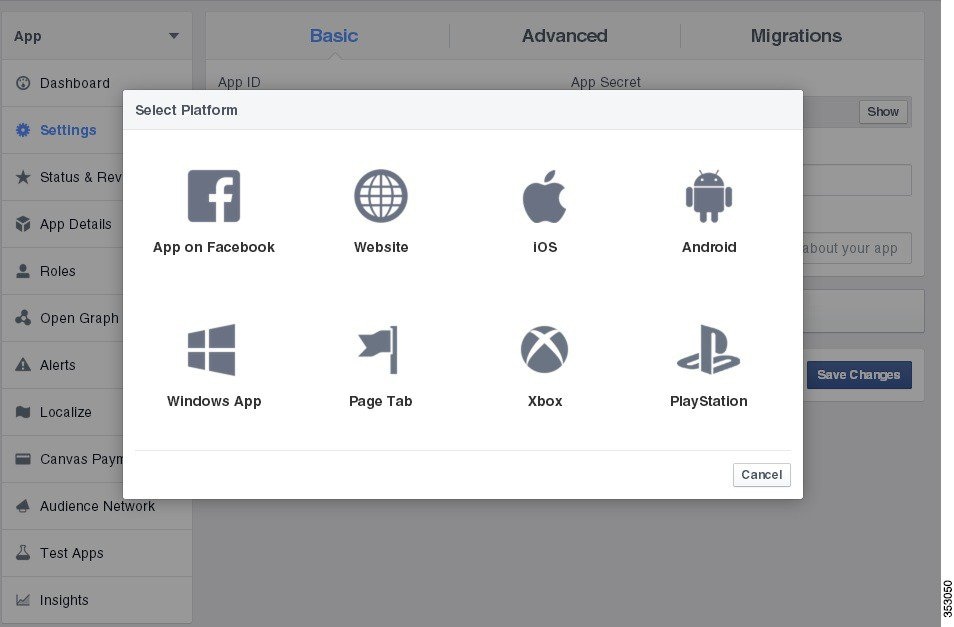
Step 9![]() Click +Add Platform in the right pane and select a platform for the application.
Click +Add Platform in the right pane and select a platform for the application.
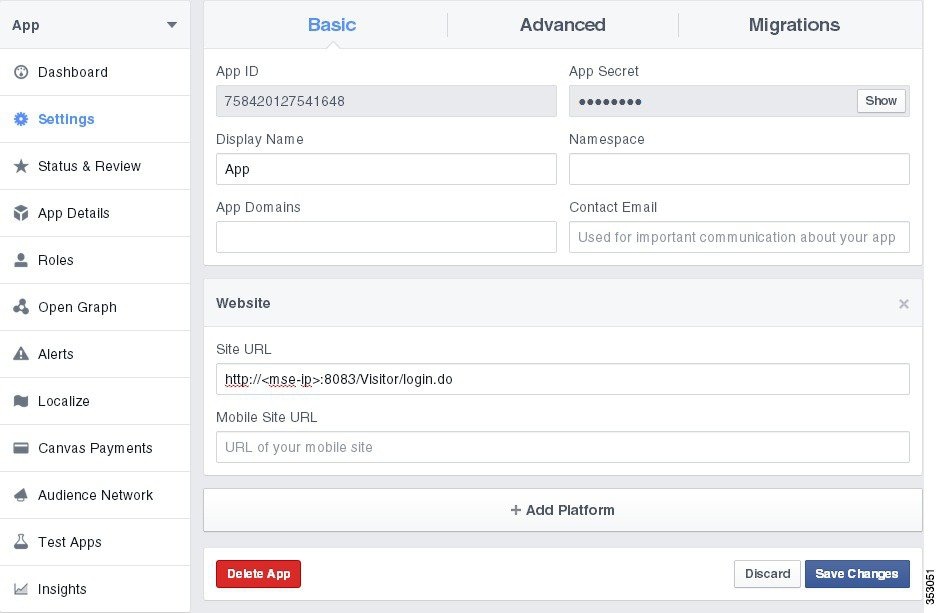
Step 10![]() The Website group box appears in the right pane where you can enter the URL of your site.
The Website group box appears in the right pane where you can enter the URL of your site.
Step 11![]() Choose Status & Review from the left sidebar menu.
Choose Status & Review from the left sidebar menu.
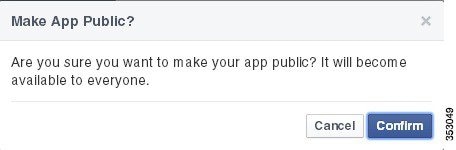
Step 12![]() To make the application available to all users, click YES.
To make the application available to all users, click YES.
Click Confirm in the Make App Public pop-up window.
Step 13![]() Click Start a Submission.
Click Start a Submission.
Google Application Set up
To set up the Google application, follow these steps:
Step 1![]() Go to https://code.google.com/apis/console to access the API Console.
Go to https://code.google.com/apis/console to access the API Console.
Step 2![]() Log into to the Google account using your username and password.
Log into to the Google account using your username and password.
Step 3![]() Choose APIS &AUTH > APIs > Credentials from the My Project sidebar menu.
Choose APIS &AUTH > APIs > Credentials from the My Project sidebar menu.
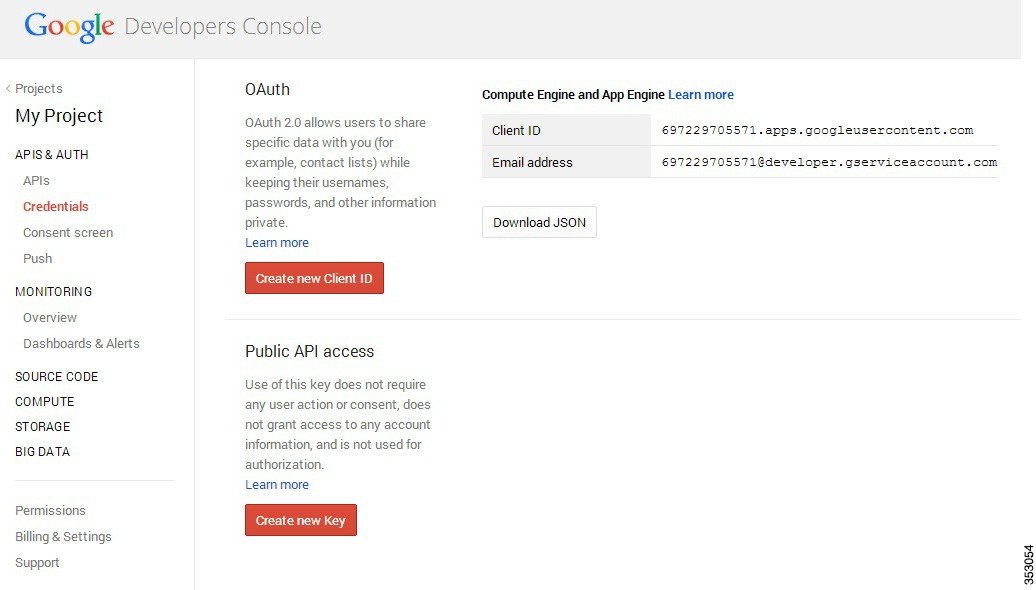
Step 4![]() Click Create new Client ID.
Click Create new Client ID.
The Create Client ID page appears.
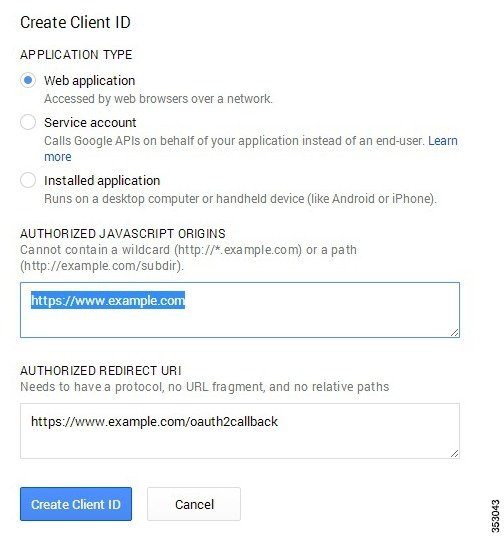
Step 5![]() Select the application type as Web application.
Select the application type as Web application.
Step 6![]() Enter the MSE IP address in the AUTHORIZED JAVASCRIPT ORIGINS text box.
Enter the MSE IP address in the AUTHORIZED JAVASCRIPT ORIGINS text box.
Step 7![]() Click Create Client ID.
Click Create Client ID.
The Client ID for web application is created.
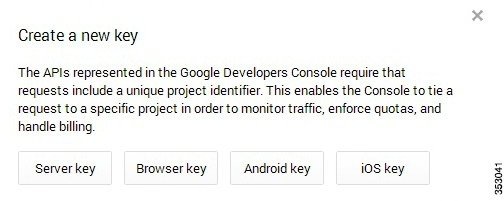

Step 10![]() Enter the MSE IP address in the ACCEPIT REQUESTS FROM THESE HTTP REFERERS (WEB SITES) text box and click Create.
Enter the MSE IP address in the ACCEPIT REQUESTS FROM THESE HTTP REFERERS (WEB SITES) text box and click Create.
The new key is created and you can use this key to deploy in your clients application.
Step 11![]() Click Consent Screen from the My Project left sidebar menu.
Click Consent Screen from the My Project left sidebar menu.
Step 12![]() Enter a name for the product in the PRODUCT NAME text box.
Enter a name for the product in the PRODUCT NAME text box.
Linkedin Application Set up
To set up the Linkedin application, follow these steps:
Step 1![]() Go to https://www.linkedin.com/secure/developer to launch Linkedin Developer network.
Go to https://www.linkedin.com/secure/developer to launch Linkedin Developer network.
Step 2![]() Click Add New Application.
Click Add New Application.
Step 3![]() Fill in all mandatory fields in the application.form to register a new application:
Fill in all mandatory fields in the application.form to register a new application:
–![]() Website URL—Enter the MSE IP address. For example, http://<mse-ip>:8083/visitor/social.do
Website URL—Enter the MSE IP address. For example, http://<mse-ip>:8083/visitor/social.do
–![]() Developer Contact Email and Phone
Developer Contact Email and Phone
–![]() Business Contact Email and Phone
Business Contact Email and Phone
–![]() In the OAuth 1.0 Accept Redirect URL, enter https://localhost:8083/visitor/social.do
In the OAuth 1.0 Accept Redirect URL, enter https://localhost:8083/visitor/social.do
–![]() In the OAuth 1.0 Cancel Redirect URL, enter https://localhost:8083/visitor/social.do
In the OAuth 1.0 Cancel Redirect URL, enter https://localhost:8083/visitor/social.do
–![]() In the JavaScriptAPI Domains text box, enter http://<mse-ip>:8083.
In the JavaScriptAPI Domains text box, enter http://<mse-ip>:8083.
The application is now registered and an API key and Secret key for the newly registered application is displayed.
 Feedback