Cisco TelePresence Content Server Release 6.x Public SSL Certificate Installation Guide
Available Languages
Table of Contents
Cisco TelePresence Content Server Release 6.x Public SSL Certificate Installation Guide
Create Certificate Signing Request
Submit Certificate for Signing
Self-Signed Certificate Installation
Obtaining Documentation and Submitting a Service Request
Cisco TelePresence Content Server Release 6.x Public SSL Certificate Installation Guide
This document provides instructions for installing a single-use domain name or subdomain SSL certificate, or a self-signed certificate, on a Cisco TelePresence Content Server Release 6.x.
SSL Certificate Installation
Complete these steps to install a single-use SSL certificate on the Content Server:
1.
Create Certificate Signing Request
2.
3.
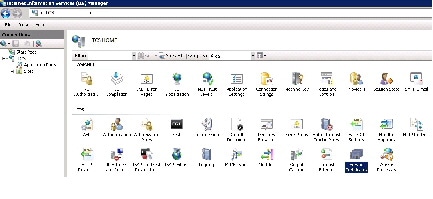
Contact a certificate authority (CA) to request an SSL certificate for use with Window Server 2008 R2 Internet Information Services Version 7 (IIS7). You can use any CA, these four are among the best known:
- VeriSign—www.verisign.com
- GoDaddy—www.godaddy.com
- Comodo—www.comodo.com
- Network Solutions—www.networksolutions.com
Create Certificate Signing Request
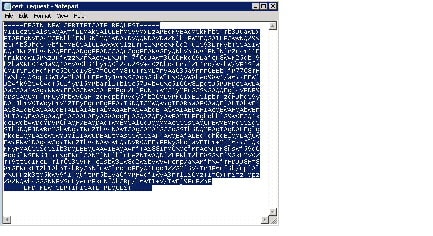
Follow these steps to create a certificate signing request (CSR or certification request) to apply for a digital identity certificate.
Step 1
Step 2
Step 3
Step 4

Step 5
a.

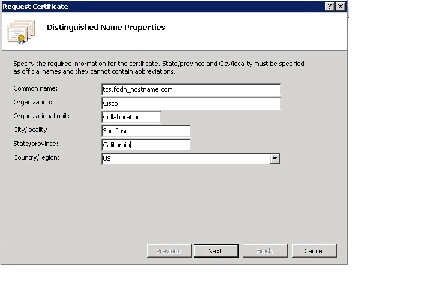
Note Do not use the Content Server IP address for the Common name. For the certificate to function properly, enter the Content Server FQDN.
Some certificate authorities provide Unified Communications certificates that allow the listing of multiple Subject Alternative Names (SAN) to secure multiple distinct hostnames in one certificate. The SAN option is not available when using the IIS certificate utility. The IIS utility supports only single-use certificates.
b.
Step 6
a.
b.
Step 7
Step 8
Submit Certificate for Signing
Step 1
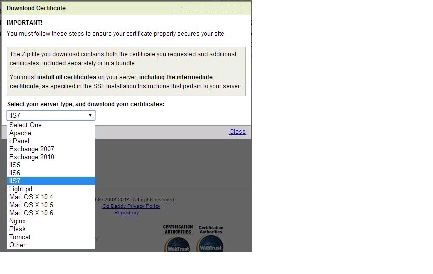
Follow the CA instructions to create an account and order an SSL certificate.
Step 2

Step 3
Step 4
Note Make certain that you properly identify and copy the two certificate files. The intermediate certificate PKCS #7 Certificates includes all of the necessary intermediate certificates. The Security Certificate is the server certificate.

Step 5
Step 6
Step 7
Step 8
Step 9
Step 10
Step 11
Note If you incorrectly choose the Server certificate at this step, you will need to start over at Step 7. You will need to create a new cert_request.txt file, and request a certificate re-key from the CA (the CA will revoke the original key and reissue a new key).

Step 12
Step 13
Step 14
a.
b.
c.

Complete Certificate Request
Step 1
Step 2
Step 3

Step 4
a.
b.
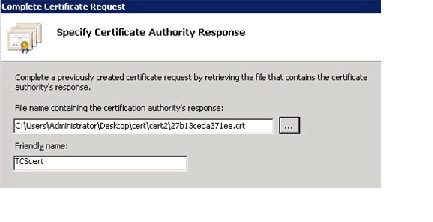
Step 5
Next, you will bind and enable the certificate within IIS for the Content Server website.
Step 6

Step 7
Step 8
Note If you do not see the friendly name certificate that you created in Step 4, confirm that you have correctly completed all previous steps in this procedure.
Step 9

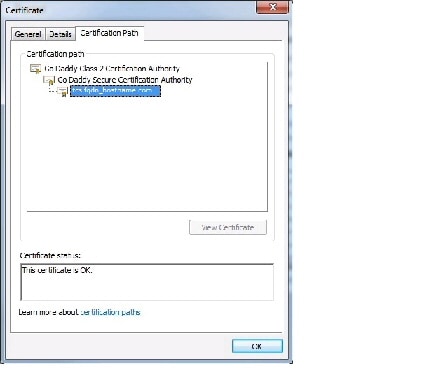
Verify Certificate
Step 1
Step 2
Step 3
Self-Signed Certificate Installation
If you use a self-signed certificate for the Content Server, client browsers will generate an error stating that the signing certificate authority is unknown and not trusted. Because of the certificate-error message, you should develop an appropriate work around that is consistent with your security policies for all users that access the Content Server.
Follow these steps to install a self-signed certificate:
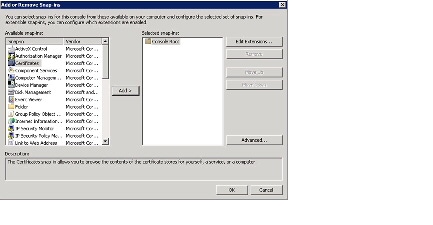
Step 1
Step 2
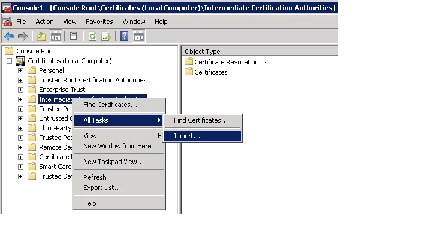
Step 3
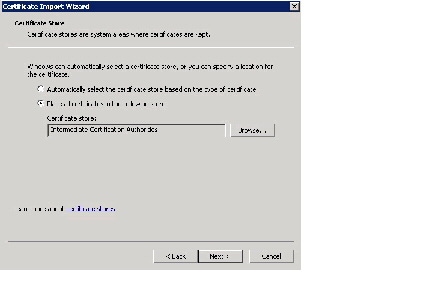
Step 4
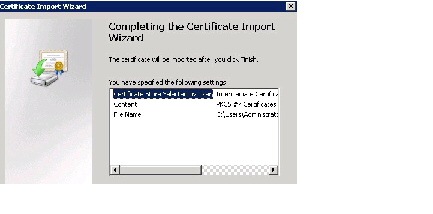
Step 5
Related Documentation
http://www.cisco.com/en/US/products/ps11347/tsd_products_support_series_home.html
http://www.cisco.com/en/US/products/ps12130/products_installation_and_configuration_guides_list.html
Obtaining Documentation and Submitting a Service Request
For information on obtaining documentation, using the Cisco Bug Search Tool (BST), submitting a service request, and gathering additional information, see What’s New in Cisco Product Documentation at: http://www.cisco.com/c/en/us/td/docs/general/whatsnew/whatsnew.html .
Subscribe to What’s New in Cisco Product Documentation , which lists all new and revised Cisco technical documentation, as an RSS feed and deliver content directly to your desktop using a reader application. The RSS feeds are a free service.
This document is to be used in conjunction with the documents listed in the “Related Documentation” section.
Cisco and the Cisco logo are trademarks or registered trademarks of Cisco and/or its affiliates in the U.S. and other countries. To view a list of Cisco trademarks, go to this URL: www.cisco.com/go/trademarks. Third-party trademarks mentioned are the property of their respective owners. The use of the word partner does not imply a partnership relationship between Cisco and any other company. (1110R)
Any Internet Protocol (IP) addresses and phone numbers used in this document are not intended to be actual addresses and phone numbers. Any examples, command display output, network topology diagrams, and other figures included in the document are shown for illustrative purposes only. Any use of actual IP addresses or phone numbers in illustrative content is unintentional and coincidental.
 Feedback
Contact Cisco
- Open a Support Case

- (Requires a Cisco Service Contract)