Cisco IoT FND Deployment on an Open Virtual Appliance
This chapter provides an overview of the steps required to install Cisco IoT Field Network Director (Cisco IoT FND) Release 4.10 or later within Open Virtual Appliance (OVA) software, VMware ESXi versions 6.5 and above.
 Note |
For an overview of the features and functionality of the IoT FND application and details on how to configure features and manage the Cisco IoT Field Network Director after its installation, refer to Cisco IoT Field Network Director User Guide, Release 4.9.x. |
Installing VMware ESXi 6.5 and above on a Server
To deploy the FND 4.10.0-x OVA into ESXi server running version 6.5 and above:
BEFORE YOU BEGIN
-
Log in to the IP address of VMware ESXi server running 6.5 and above via a web browser with your user credentials (username and password).
-
Ensure that you meet the VMware server machine (VM CPU and memory) requirements as listed below.
-
24 GB memory
-
4 vCPUs
-
Hard disk : 450 GB
-
To import the IoT FND open virtual appliances (OVA) into ESXi 6.5 and above:
Procedure
|
Step 1 |
Enter the ESXi IP address in the URL. |
||||
|
Step 2 |
Provide the ESXi root login credentials and click Log In. 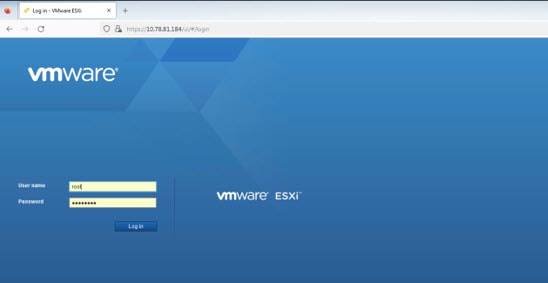 |
||||
|
Step 3 |
In the Host page, select Create/ Register VM. 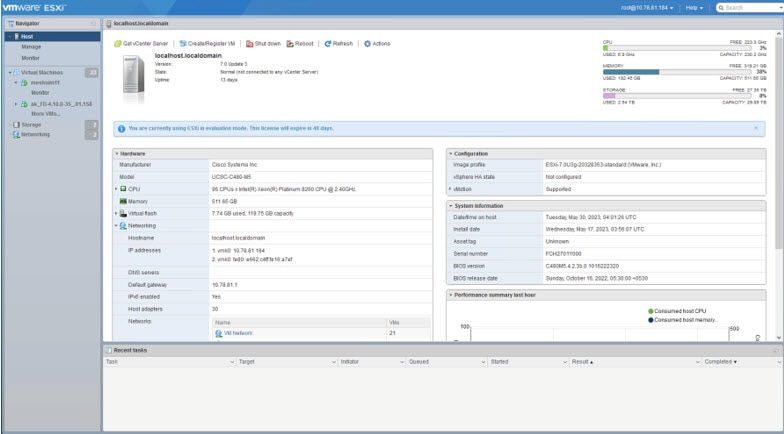 |
||||
|
Step 4 |
In the New virtual machine window, select Deploy a virtual machine from an OVF or OVA file in Select creation type tab and click Next.  |
||||
|
Step 5 |
In the Select OVF and VMDK files tab, provide a name for the virtual machine and browse to an OVF package from the internet or a file accessible from your computer (for example, iot-fnd-4.10.0-40.ova). Click Next.  |
||||
|
Step 6 |
Select a storage location for the virtual machines from the listed options (example - Datastore-2). 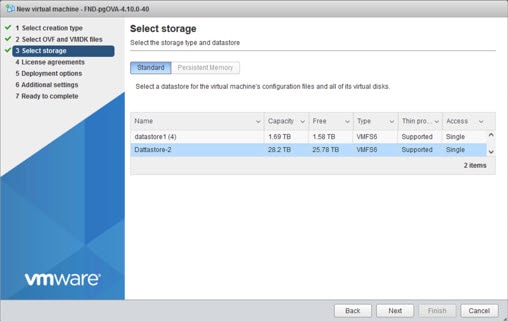 |
||||
|
Step 7 |
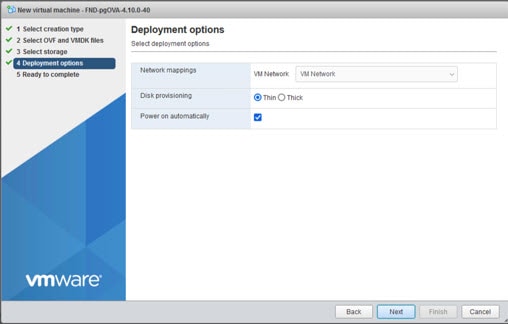
After selecting the data store, select the provisioning type and enable the Power on automatically option. This ensures to power on the virtual machine once the deployment process is complete. Click Next.
 |
||||
|
Step 8 |
Do a final review of the Ready to Complete window. If you do not want to change any settings, click Finish.
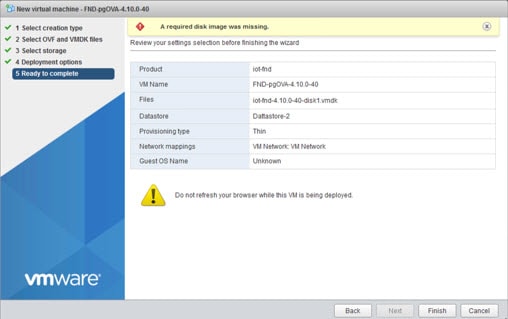 The virtual machine deployment is initiated. After completion of the install, the "Completed successfully" message appears in the Recent tasks pane at the bottom of the install window. 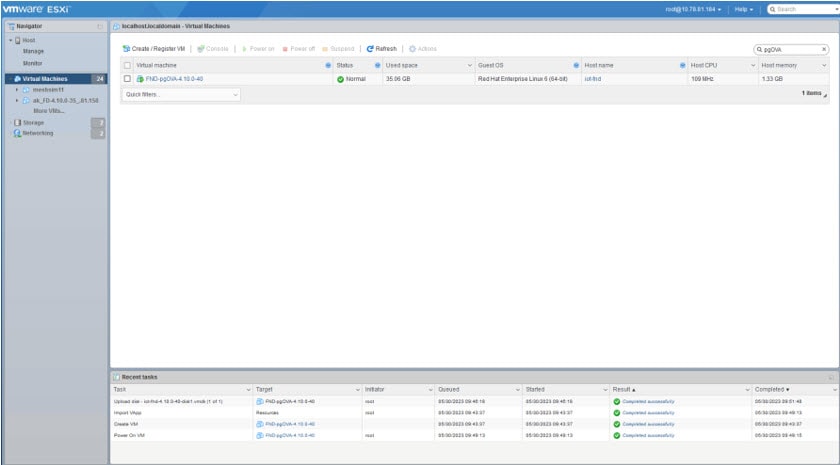 |
||||
|
Step 9 |
Click Virtual Machines in the left pane and select the newly deployed VM. The deployed VM gets listed in the left pane. Select the IoT FND machine name. 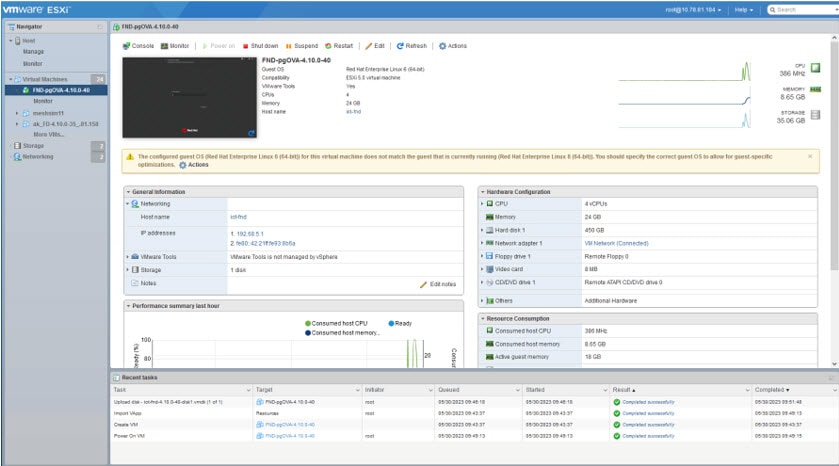 |
||||
|
Step 10 |
Click Console in the page that opens. The console opens the RHEL server where you will be prompted for your username and password.
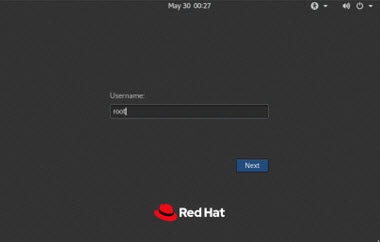 Once you enter the default password, you are prompted to reset your password. 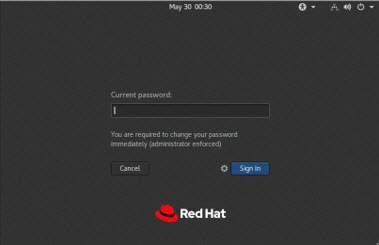 |
||||
|
Step 11 |
Reset the default root password. After you complete the password reset, IoT FND 4.10.0 is fully deployed. |
||||
|
Step 12 |
Enter the new password and click Sign in.
 |
||||
|
Step 13 |
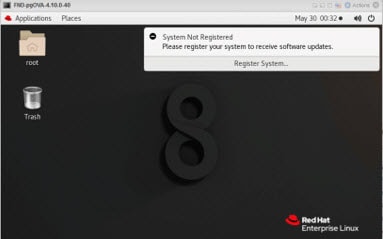
Click the panel on the top right corner near the power button to view the menu options and click the Settings icon in the menu.  |
||||
|
Step 14 |
In the Settings window, select Network in left pane and click the cog icon under Wired. 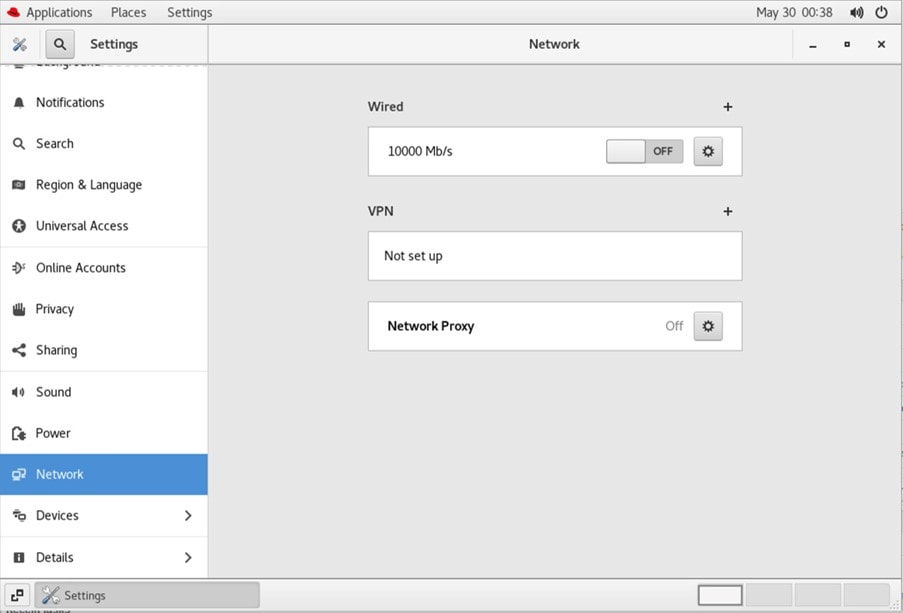 |
||||
|
Step 15 |
The following settings are enabled by default under Details tab. 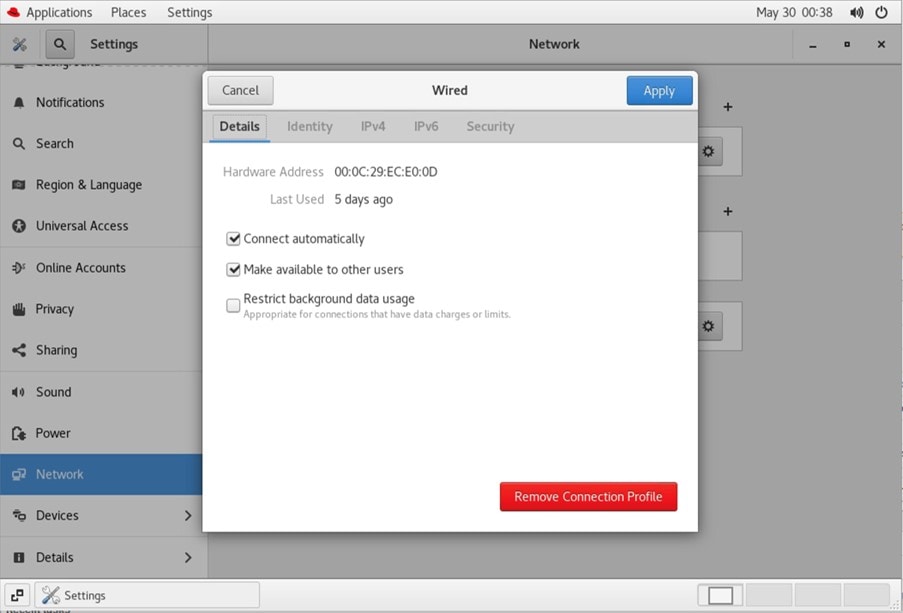 |
||||
|
Step 16 |
Under IPv4 tab, select the method as Manual and provide the IPv4 address as below and click Apply. 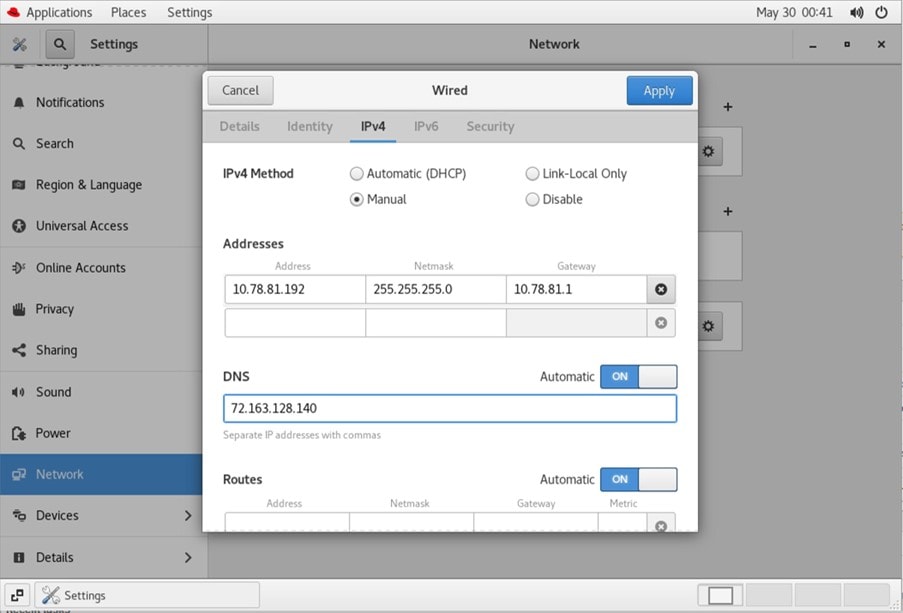 |
||||
|
Step 17 |
Toggle the Wired Network between OFF and ON for the network to restart and for the new IP address to take effect. 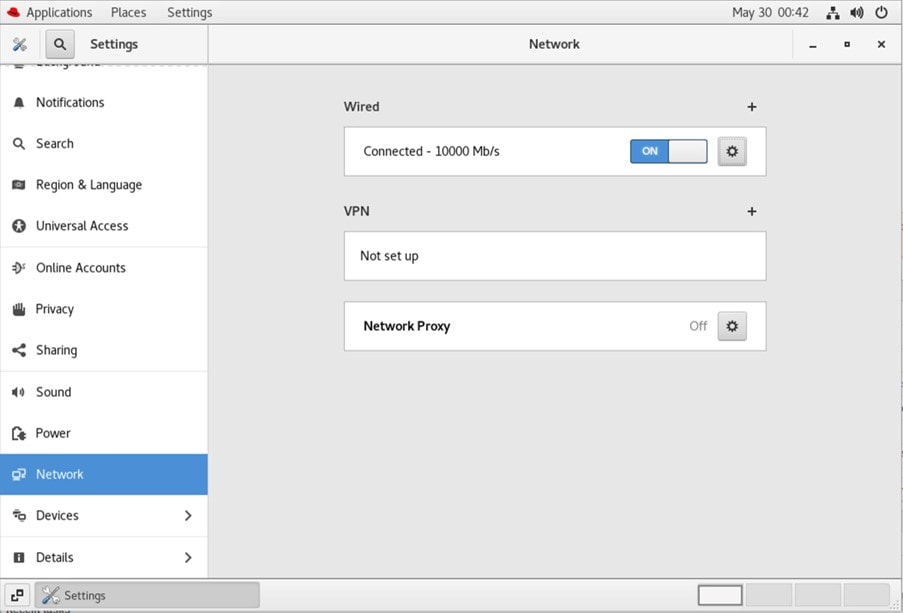 |
 Feedback