-
Cisco Video Management and Storage System 1.0 Installation and Upgrade Guide
-
Overview of Cisco Video Management and Storage Software Installation
-
Installing Cisco Video Management and Storage Software in a New System
-
Upgrading to Cisco Video Management and Storage Software (Backup and Restore Required)
-
Upgrading to Cisco Video Management and Storage Software Using the Online Installer (No Backup and Restore Required)
-
Upgrading from an Earlier Cisco Video Management and Storage Software Release Using Boot Helper
-
Appendix A: Backing Up Files
-
Appendix B: Restoring Files
-
Index
-
Table Of Contents
Activating IP Connectivity and Licensing
Activating Module Connectivity
Entering the VSMS and VSOM License Keys
Entering the VSMS License Key During the Bootup Process
Entering the VSOM license Key By Using the GUI
Entering the VSMS License Key By Using the GUI
Activating IP Connectivity and Licensing
Last Updated: April 7, 2008
After you install the Cisco Video Management and Storage module hardware into the host router, activate the IP communication link between the host router and the Cisco Video Management and Storage module. For instructions on installing the Cisco Video Management and Storage hardware, see Installing Cisco Network Modules in Cisco Access Routers.
Note
The Cisco Video Management and Storage software is installed on the module at the factory. Spare modules (that is, field-replaceable spare modules) are also shipped with the software installed.
Before installing new software or upgrading existing software to a later release, you must first establish communications with the Cisco Video Management and Storage module. After you have installed new software or upgraded existing software, begin configuring the Cisco Video Management and Storage software by using the Cisco Video Management and Storage System 1.0 CLI Administrator Guide.
This chapter provides procedures for the following tasks:
•
•
Activating Module Connectivity
Prerequisites
The following information is required for activating the software:
•
•
•
•
SUMMARY STEPS
1.
2.
3.
4.
5.
6.
DETAILED STEPS
Examples
The following example shows the IP connectivity activation procedure:
Router(config)# interface GigabitEthernet0/1Router(config-if)# ip address 10.10.10.98 255.255.255.0Router(config-if)# duplex autoRouter(config-if)# speed autoRouter(config-if)# media-type rj45Router(config-if)# no keepaliveRouter(config-if)# exitRouter(config)# interface integrated-service-engine 2/0Router(config-if)# ip unnumbered gigabitethernet 0/1Router(config-if)# service-module ip address 10.0.0.9 255.255.0.0Router(config-if)# service-module ip default-gateway 10.0.10.10Router(config-if)# exitRouter(config)# ip route 10.0.0.9 255.0.0.0 integrated-service-engine 2/0The following example shows output for the show running-config command:
Router(config)# show running-configinterface integrated-Service-Engine2/0 ip unnumbered GigabitEthernet0/1 service-module ip address 10.0.0.9 255.255.255.255 service-module ip default-gateway 10.0.10.10 no keepalive ! ip route 10.0.0.9 255.0.0.0 integrated-Service-Engine2/0Entering the VSMS and VSOM License Keys
In the Cisco Video Management and Storage System Enhanced Module shipping container, you received instructions on where to obtain the required license keys for the Video Surveillance Media Server and the Video Surveillance Operations Manager. You must enter two license keys for the Cisco Video Management and Storage System to become functional:
1.
2.
After you obtain your license keys from Cisco, you can enter the license keys by using any of three methods:
•
•
•
This section contains the following license key configuration procedures:
•
•
•
Entering the VSMS License Key During the Bootup Process
You can enter the VSMS license key either during bootup or from the Web-based graphic user interface (GUI) after the system completes its bootup process.
To enter the license keys, complete the following steps:
1.
The following prompt appears during the initialization process:
...IMPORTANT::IMPORTANT:: Please see enclosed packaging slip on how to obtain license keysIMPORTANT:: from Cisco Systems for the following MAC address:IMPORTANT::IMPORTANT:: 00:D0:2B:FC:DB:CDIMPORTANT::Do you have a valid license key from Cisco Systems (y,n)?2.
3.
After the [key] prompt enter the license key, as shown in the following example:
[key] CC E1 EB 4F 51 5D 64 4D 79 C1 F6 9A 21 0A D8 15 EA 56 36 8D 6F 73 55 DD
The license key is a 48-digit hexadecimal number. Spaces are optional, and you can enter the digits in either uppercase or lowercase. You can also use arrow keys to edit the line before you press Enter.
4.
5.
6.
IMPORTANT::IMPORTANT:: The VSMS system will not function without a valid licenseIMPORTANT:: key. Once you have obtained this key from Cisco SystemsIMPORTANT:: you will need to enter the key via the Media Server ConfigurationIMPORTANT:: screen of the GUI and then restart the server. Please refer toIMPORTANT:: the documentation for more information on adding or updatingIMPORTANT:: license keys.IMPORTANT::.............................................STARTED: superthread_startup.shSTARTED: BW_startup.shwaiting 27 ...cvmss-module>cvmss-module>cvmss-module> enPassword:cvmss-module#cvmss-module#7.
Entering the VSOM license Key By Using the GUI
To enter the VSOM license key by using the GUI, complete the following steps:
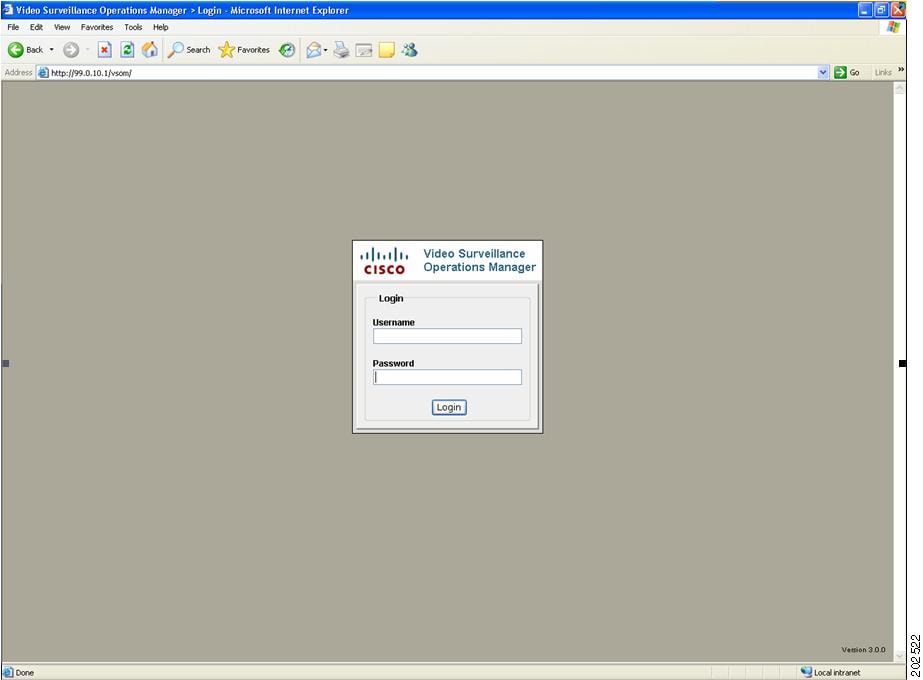
1.
2.
Figure 1 Login Window
3.
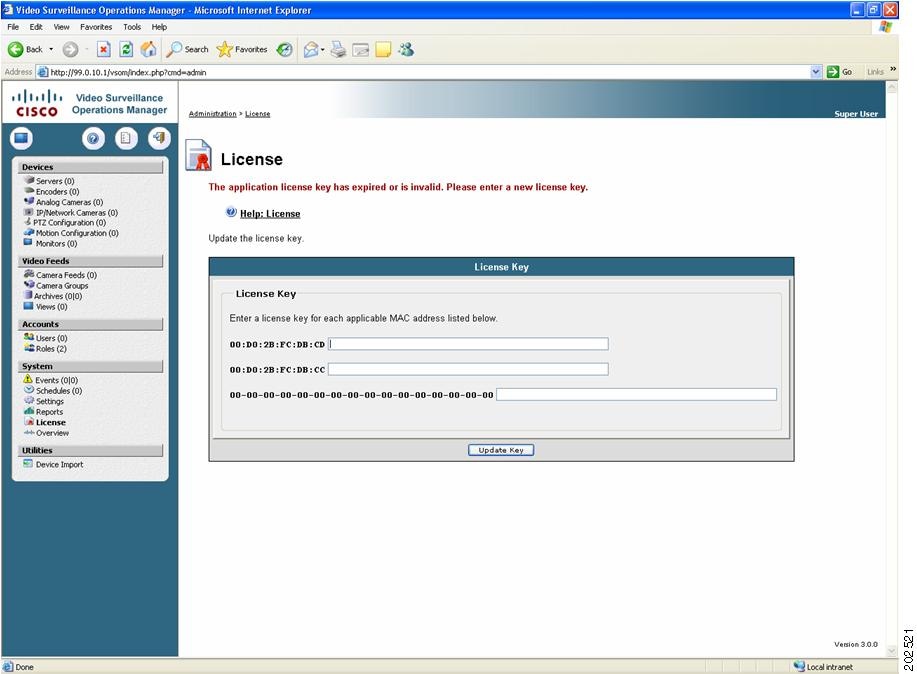
Figure 2 Entering the VSOM License Key
4.
If you did not successfully enter the license key during bootup, you need to continue to "Entering the VSMS License Key By Using the GUI" section and enter the VSMS license before you can use the system.
Entering the VSMS License Key By Using the GUI
To enter the VSMS license key by using the GUI, complete the following steps:
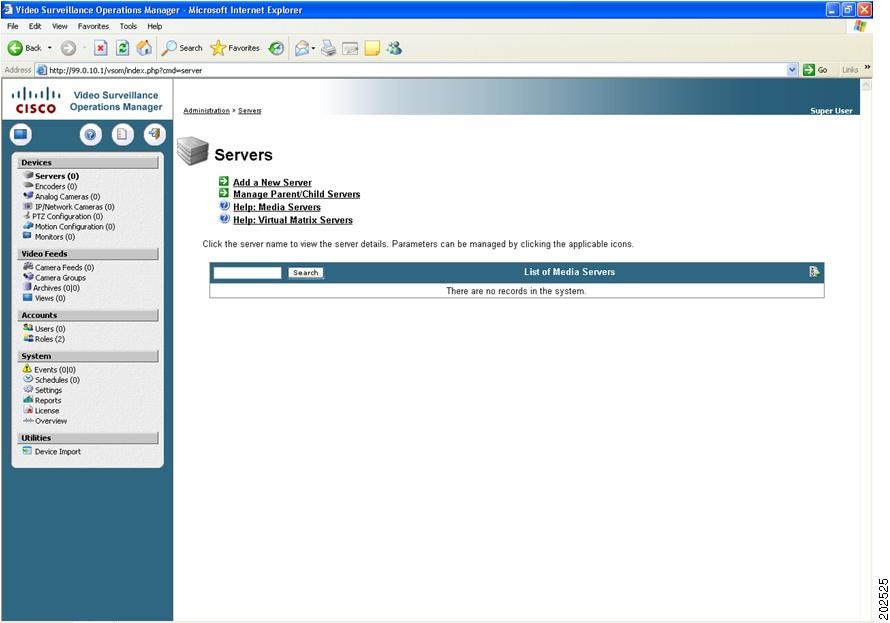
1.
Figure 3 Server Window
2.
3.
Note
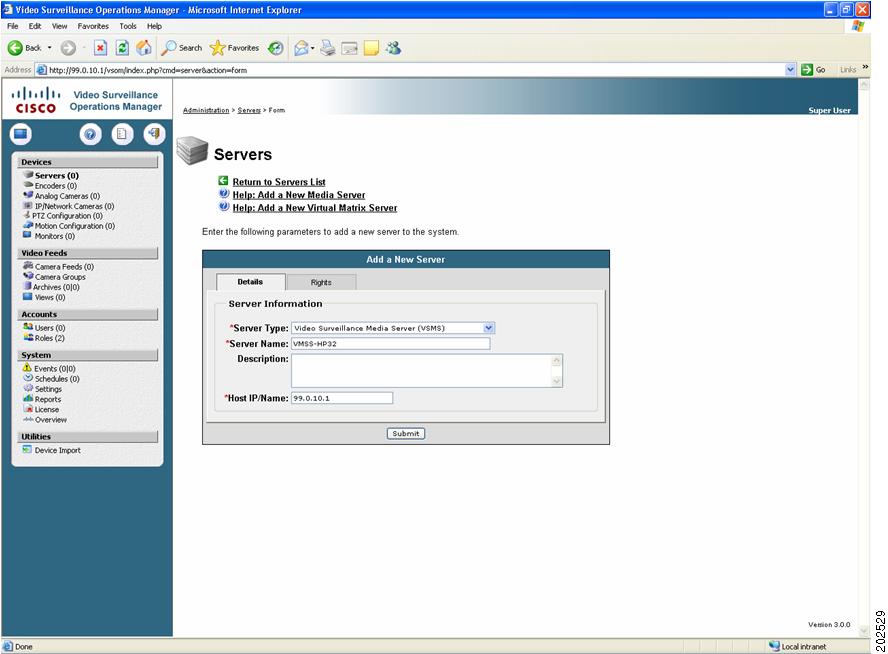
Figure 4 Entering the VSMS Server Type, Server Name, and Host IP/Name
4.
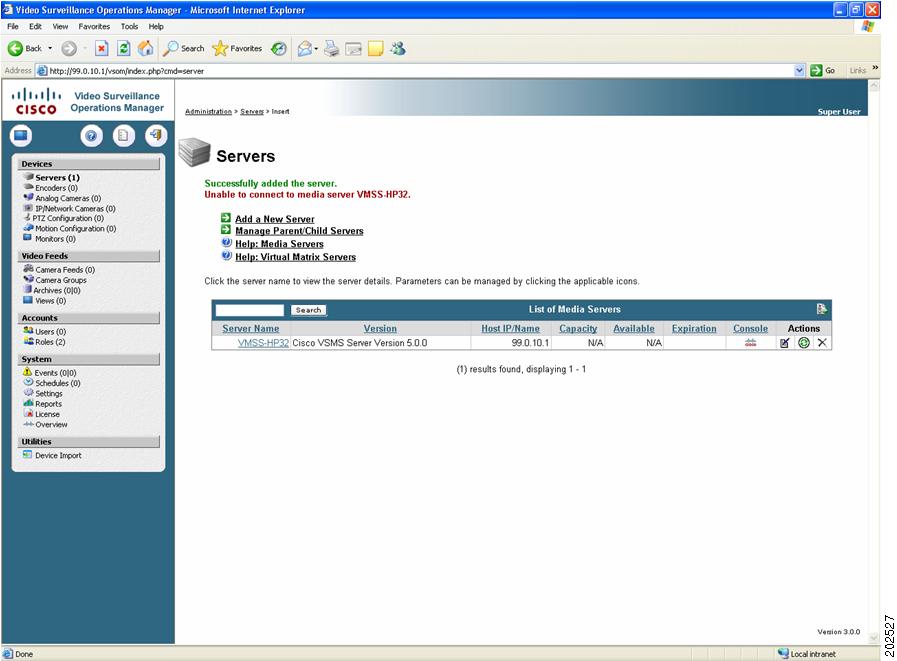
Because it detects the missing VSMS license (which has not yet been entered), ignore the following message that appears at the top of the window:
Unable to connect to media server cvmss-module.
Figure 5 Ignore Error Message
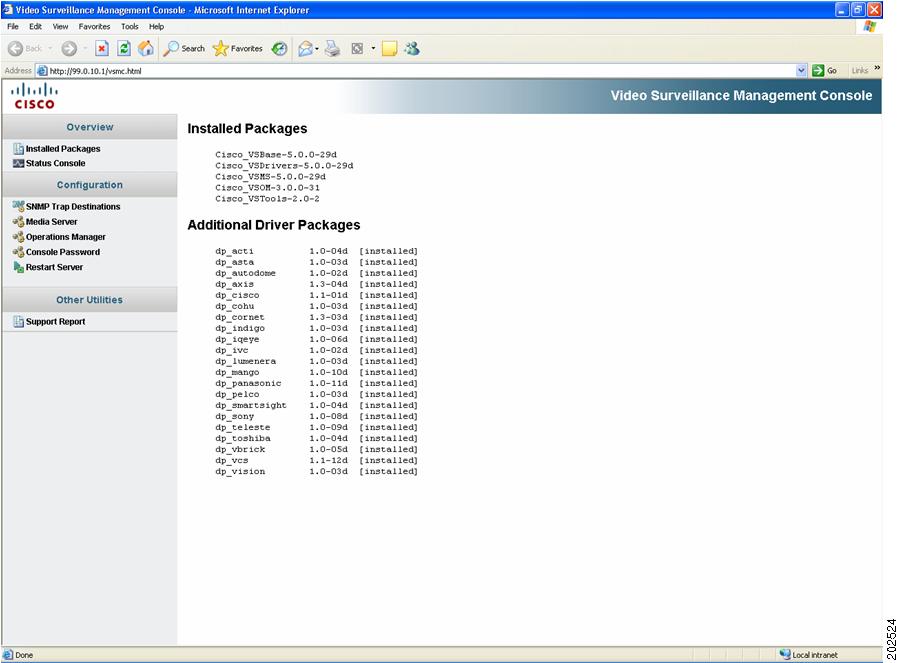
5.
Figure 6 Overview Window
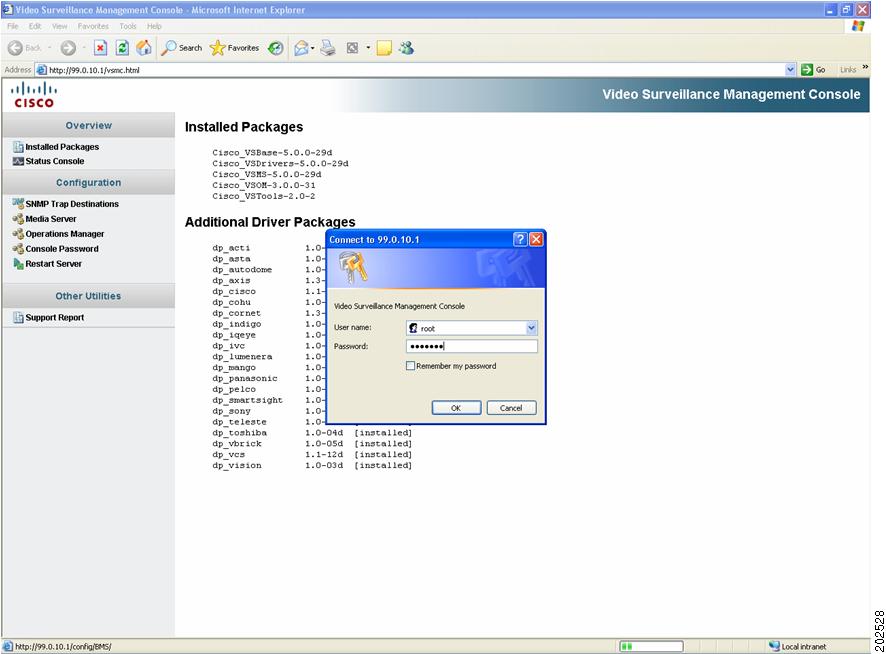
6.
Figure 7 VSMS Login Dialog Box
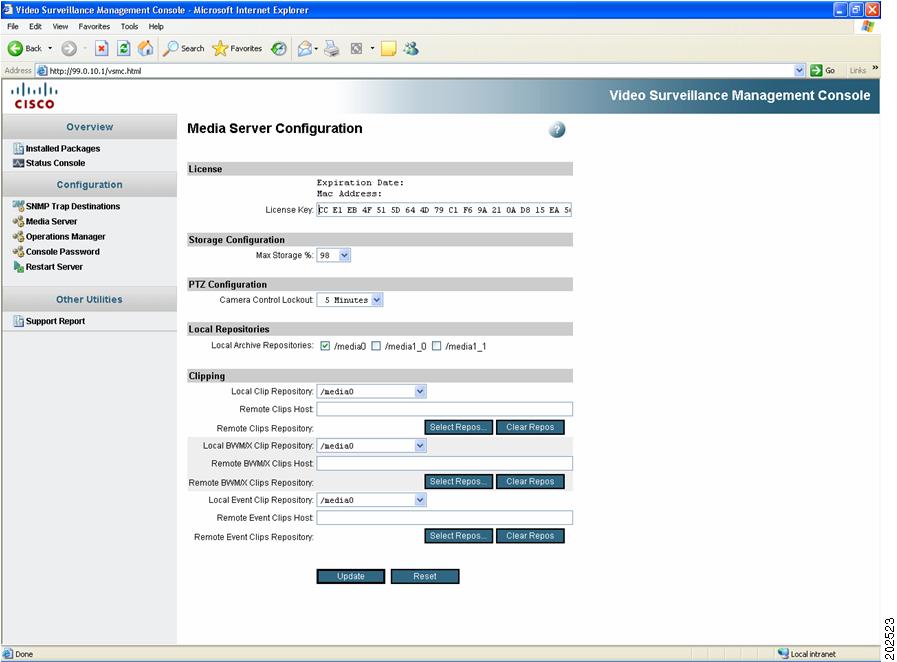
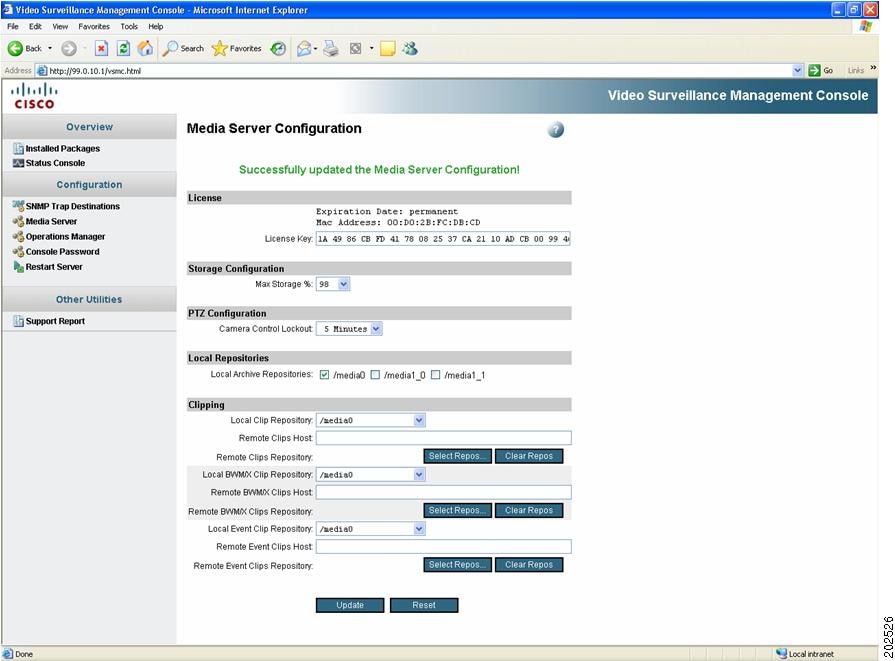
The Media Server Configuration window appears, as shown in Figure 8.
Figure 8 Media Server Configuration Window
7.
8.
Successfully updated the Media Server Configuration.
Figure 9 Successful Media Server License Configuration
9.
You have successfully entered both licenses and may now proceed with other configuration tasks after the Cisco Video Management and Storage becomes operational.