Replacement of DIMM on the Cisco RF Gateway 10
Available Languages
Table of Contents
Replacement of D IMM on the Cisco RF Gateway 10
Replacing the D ual In-Line Memory Module
Obta ining Documentation and Submitting a Service Request Replacement of DIMM on the Cisco RF Gateway 10
Replacing the Dual In-Line Memory Module

Caution Dual in-line memory modules (DIMMs) are ESD-sensitive components and can be damaged due to mishandling. Ensure that it is handled with care during installation and removal.
Warning Only trained and qualified personnel should be allowed to install, replace, or service this equipment. Statement 1030.
- Number 2 Phillips screwdriver
- Small flat-blade screwdriver
- ESD-preventive wrist strap
- Antistatic mat or static shielding bag
- Replacement SDRAM DIMM
Step 1
Attach an ESD-preventive wrist strap and ensure that it makes good contact with your skin.
Step 2
Step 3
Step 4
Step 5
Figure 1 SDRAM MiniDIMM Socket on the Cisco RF Gateway 10 DS-48 Line Card
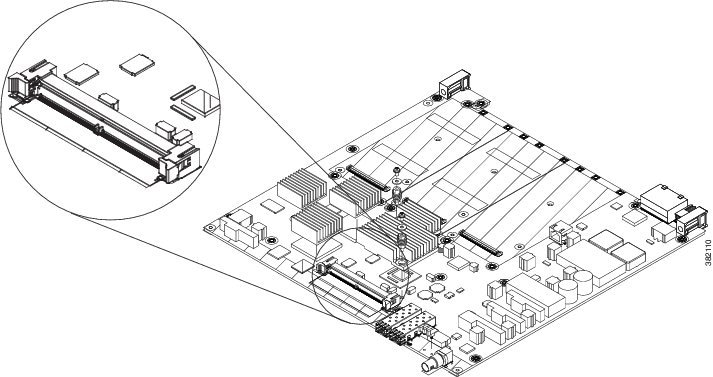
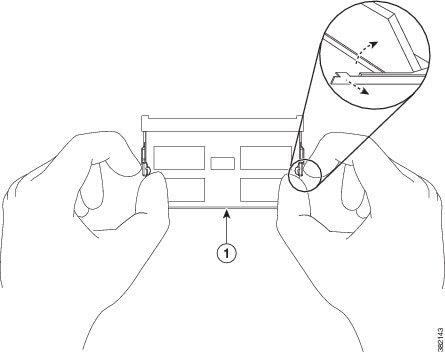
Figure 2 SDRAM SODIMM Socket on the Cisco RFGW-TCC1 Card
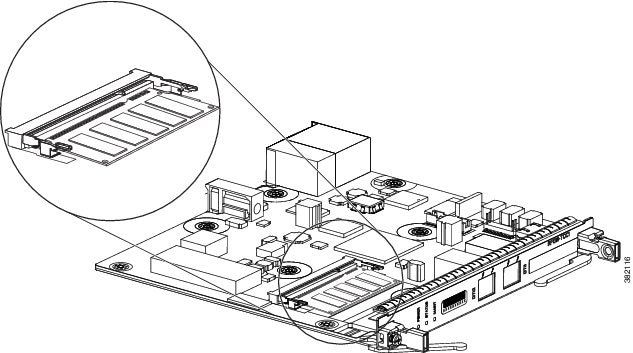
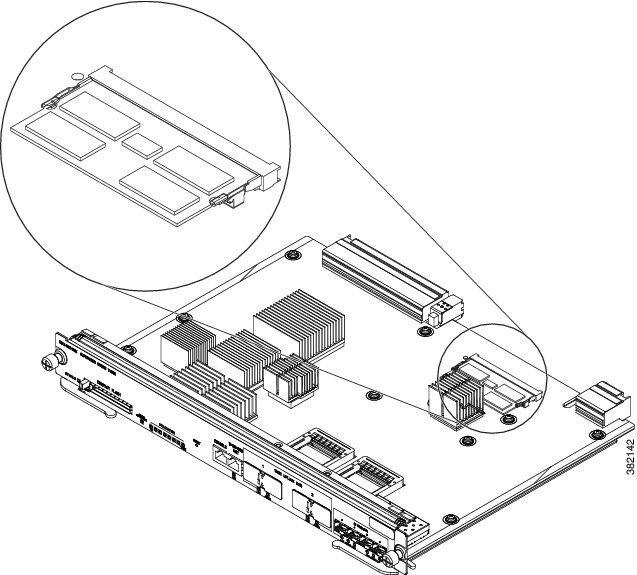
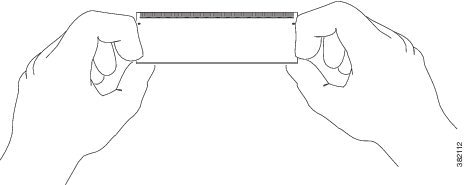
Figure 3 SDRAM SODIMM Socket on the Cisco RFGW-X4516-10GE Card
Step 6
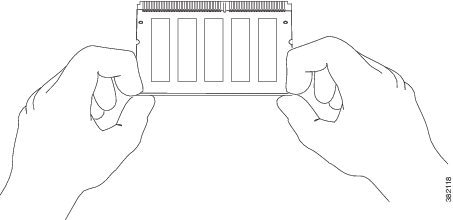
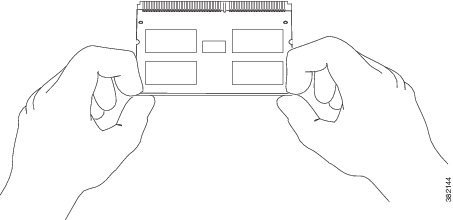
Caution Handle the DIMM only along the edges. Do not touch the memory modules, pins, or traces (metal fingers along the connector edge) to avoid damage.Figure 4 Releasing the Plastic Clips on the Cisco DS48 Line Card MiniDIMM
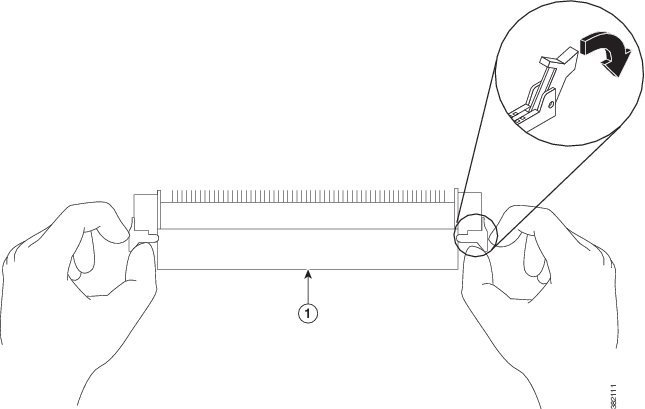
Figure 5 Releasing the Metal Clips on the Cisco RFGW-TCC1 Card SODIMM
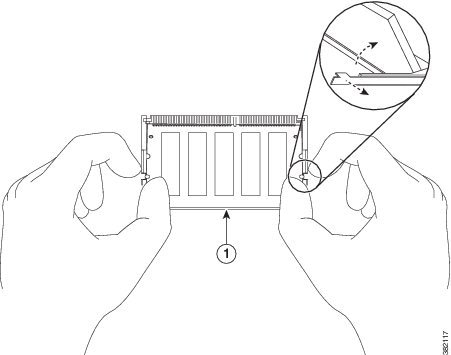
Figure 6 Releasing the Metal Clips on the Cisco RFGW-X4516-10GE Card SODIMM
Step 7
Step 8
Step 9
Step 10
Caution It is normal to feel some resistance when installing a DIMM. Do not use excessive force or touch the surface components to avoid damage.Step 11
Step 12
Step 13
Related Documentation
For more information about the Cisco RF Gateway 10 and its FRUs, go to http://www.cisco.com/c/en/us/support/video/rf-gateway-series/tsd-products-support-series-home.html.
Obtaining Documentation and Submitting a Service Request
For information on obtaining documentation, submitting a service request, and gathering additional information, see the monthly What’s New in Cisco Product Documentation , which also lists all new and revised Cisco technical documentation, at:
http://www.cisco.com/c/en/us/td/docs/general/whatsnew/whatsnew.html
Subscribe to the What’s New in Cisco Product Documentation as a Really Simple Syndication (RSS) feed and set content to be delivered directly to your desktop using a reader application. The RSS feeds are a free service and Cisco currently supports RSS version 2.0
 Feedback