はじめに
このドキュメントでは、Secure Firewall 7.2でSecureXとCisco Secure Firewallの統合を統合してトラブルシューティングする方法について説明します。
前提条件
要件
次の項目に関する知識があることが推奨されます。
- Firepower Management Center(FMC)
- Cisco Secureファイアウォール
- イメージの仮想化(オプション)
- セキュアファイアウォールとFMCのライセンスが必要
使用するコンポーネント
- Cisco Secureファイアウォール – 7.2
- Firepower Management Center(FMC):7.2
- セキュリティサービス交換(SSE)
- SecureX
- スマートライセンスポータル
- Cisco Threat Response(CTR)
このドキュメントの情報は、特定のラボ環境にあるデバイスに基づいて作成されました。このドキュメントで使用するすべてのデバイスは、クリアな(デフォルト)設定で作業を開始しています。本稼働中のネットワークでは、各コマンドによって起こる可能性がある影響を十分確認してください。
背景
リリース7.2では、セキュアファイアウォールをSecureXおよびSecureXオーケストレーションと統合する方法が変更されています。
| 機能 |
説明 |
| SecureX統合、SecureXオーケストレーションの向上 |
We have streamlined the SecureX integration process. Now, as long as you already have a SecureX account, you just choose your cloud region on the new Integration > SecureX page, click Enable SecureX, and authenticate to SecureX. The option to send events to the cloud, as well as to enable Cisco Success Network and Cisco Support Diagnostics, are also moved to this new page. When you enable SecureX integration on this new page, licensing and management for the systems's cloud connection switches from Cisco Smart Licensing to SecureX. If you already enabled SecureX the "old" way, you must disable and re-enable to get the benefits of this cloud connection management. Note that this page also governs the cloud region for and event types sent to the Secure Network Analytics (Stealthwatch) cloud using Security Analytics and Logging (SaaS), even though the web interface does not indicate this. Previously, these options were on System > Integration > Cloud Services. Enabling SecureX does not affect communications with the Secure Network Analytics cloud; you can send events to both. The management center also now supports SecureX orchestration—a powerful drag-and-drop interface you can use to automate workflows across security tools. After you enable SecureX, you can enable orchestration.
|
7.2の完全な『リリースノート』を参照して、このリリースに含まれるすべての機能を確認してください。
設定
統合を開始する前に、使用している環境で次のURLが許可されていることを確認してください。
米国地域
- api-sse.cisco.com
- eventing-ingest.sse.itd.cisco.com
EU地域
- api.eu.ss e.itd.cisco.com
- eventing-ingest.eu.ss e.itd.cisco.com
APJ地域
- api.apj.sse.itd.cisco.com
- eventing-ingest.apj.sse.itd.cisco.com
ステップ1:統合を開始するには、FMCにログインします。Integration > SecureXの順に移動し、接続する地域(US、EU、またはAPJC)を選択し、SecureXに転送するイベントのタイプを選択して、Enable SecureX:
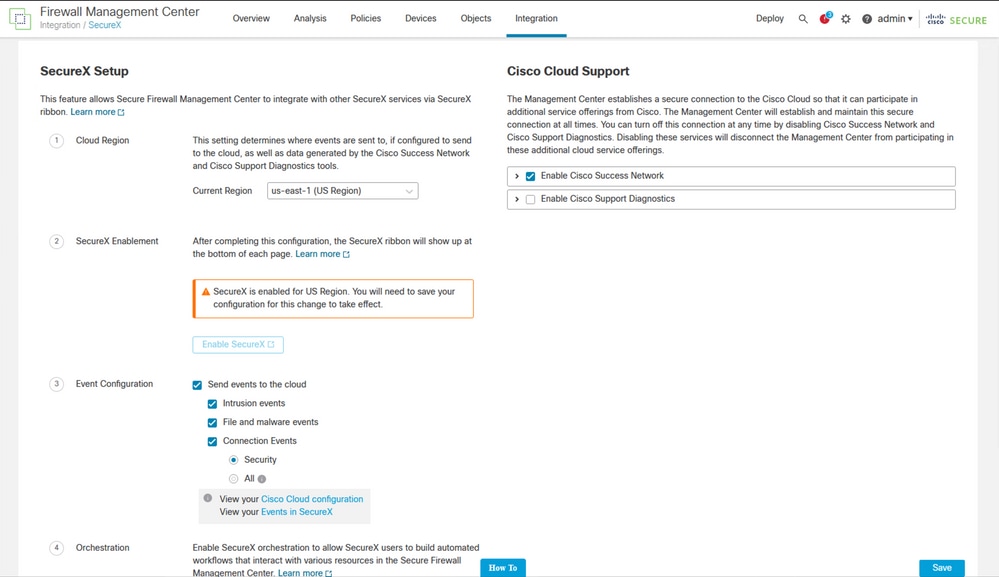
Save を選択するまで、変更は適用されないことに注意してください。
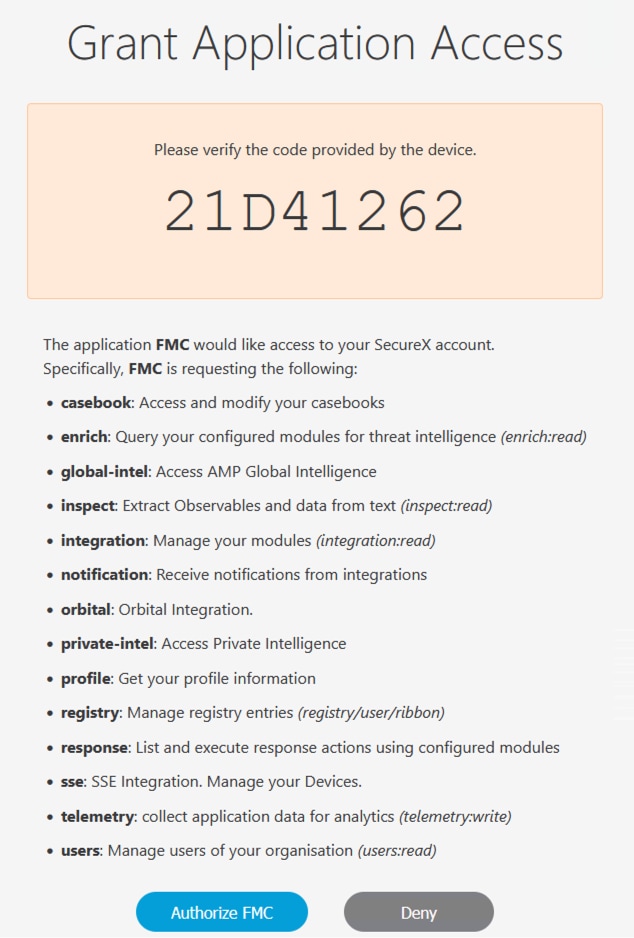
ステップ 2:保存を選択すると、SecureXアカウントで承認されたFMCにリダイレクトされます(この手順の前に、SecureXアカウントにログインする必要があります)。Authorize FMCを選択します。
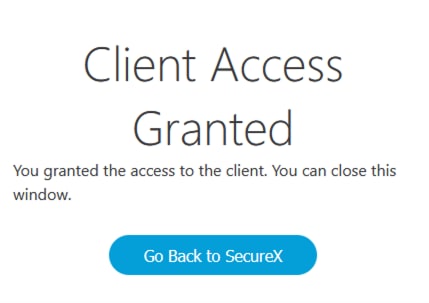
ステップ 3:認可が付与されると、SecureXにリダイレクトされます。
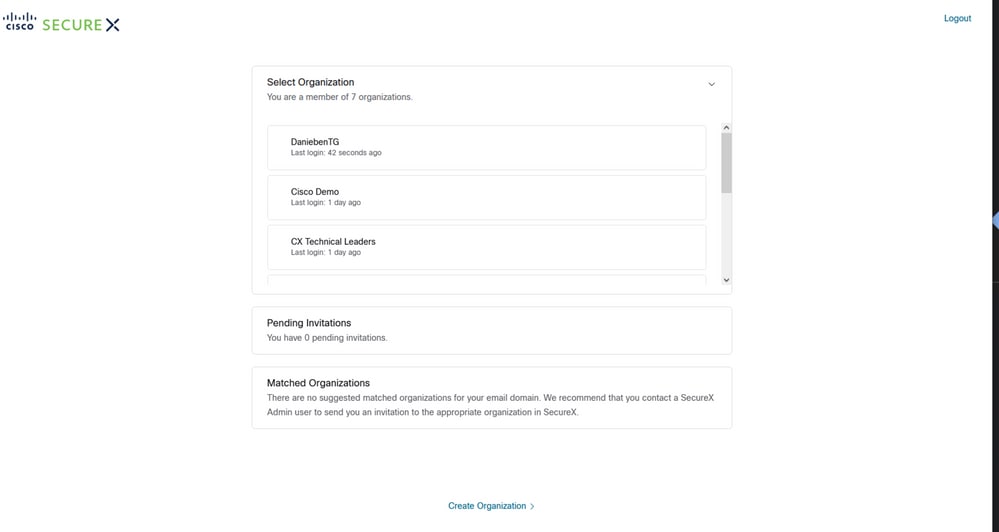
複数の組織がある場合は、SecureXのランディングページが表示され、FMCとセキュアファイアウォールデバイスを統合する組織を選択できます。
ステップ 4:SecureX組織を選択すると、再びFMCにリダイレクトされ、統合が成功したことを示すメッセージが表示されます。

確認
統合が完了したら、ページの下部からリボンを展開できます。
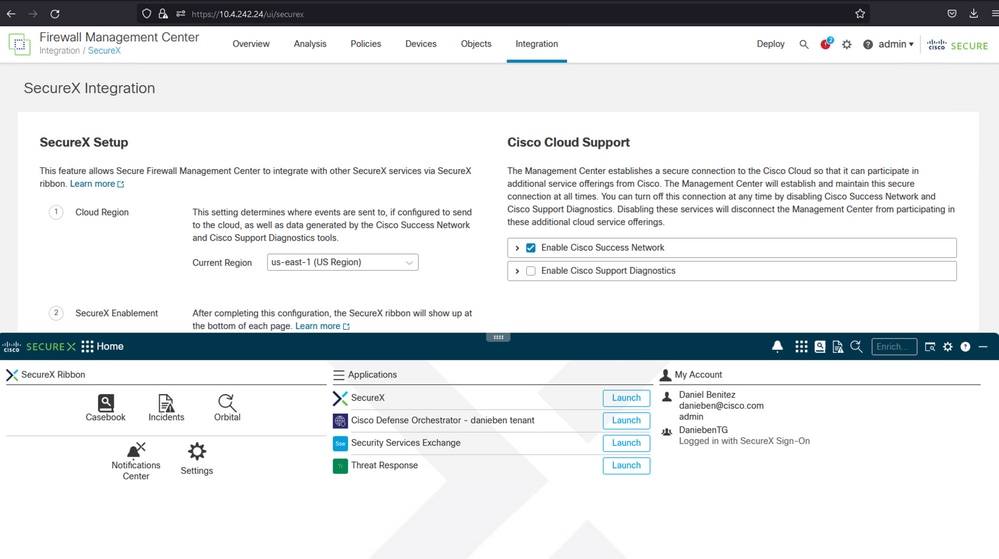
リボンでSecurity Services Exchange を起動し、Devicesの下に、統合したばかりのFMCとSecure Firewallの両方が表示されている必要があります。

 フィードバック