Case Management
Available Languages
Table Of Contents
Case Management Considerations for the Global Controller
Edit and Change the Current Case
Generate and Email a Case Report
Case Management
This chapter contains the following sections:
•
Hide and Display the Case Bar
•
•
Case Management Overview
The Case Management feature can capture, combine, and preserve user-selected MARS data within a specialized report called a case. The following data can be added to a case:
•
•
•
•
•
•
•
•
Any user can create or alter any case. You can assign a case to a MARS user on the same machine, and can change the status of a case to assigned, resolved, or closed. The contents of a case are displayed by category on a single GUI page (View Case), and can be automatically assembled into a single HTML case document. You can email the Case Document to any MARS user account or user group.

Note
Case information collected on incidents, sessions, queries, reports and mitigation logs are forensic evidence pertinent to the following:
•
•
•
•
The case preserves and displays the selected data as it appeared when the data was added to the case, regardless of subsequent changes to the MARS state. For example, MARS data can be purged, topology can change from automatic discoveries or vulnerability scanning, and overall configuration can change when you edit rules or reports, but the data reported in the case remains the same as the time it was captured.
Note
The Case Management homepage is the Cases subtab of the Incidents tab as shown in Figure 19-1.
Figure 19-1 Case Management Tab—Local Controller
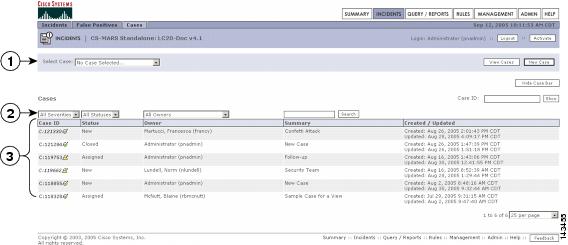
All new, assigned, resolved and closed cases can be accessed from the Cases subtab.
To view the contents of a case, click the Case ID number of a case. The View Case page appears, as shown in Figure 19-2.
To generate an HTML document of the View Case page content that can be emailed, click View Case Document at the bottom of the View Case page. Graphs and charts plotted from reports are also captured in the Case Document.
Figure 19-2 The View Case Page—Local Controller
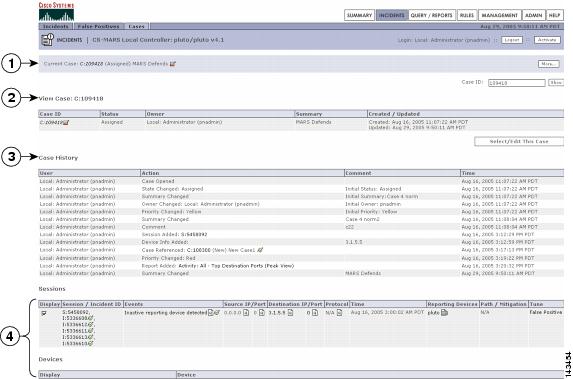
Case Bar—Identifies current case
View Case identifier—Shows the attributes of the case
Case History—Log of all changes made to the case
Summary of data added to the case
Case Management Considerations for the Global Controller
Case management on the Global Controller differs from the Local Controller implementation as follows:
•
They can be viewed and modified.•
All Cases are selected from the Incident -> Cases page.•
Hide and Display the Case Bar
The Case Bar displays by default. When displayed, the Case Bar appears at the top of each page. The Case Bar must be displayed to create or modify a case.
Hiding the Case Bar
To hide the Case Bar, perform the following steps:
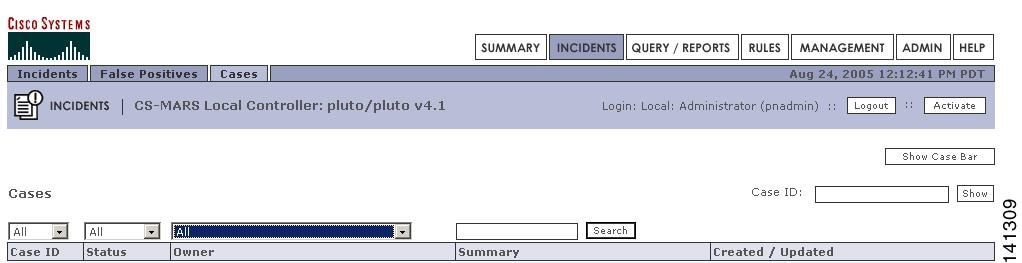
Step 1
Figure 19-3 Case Bar Displayed on the Incidents Page
Step 2
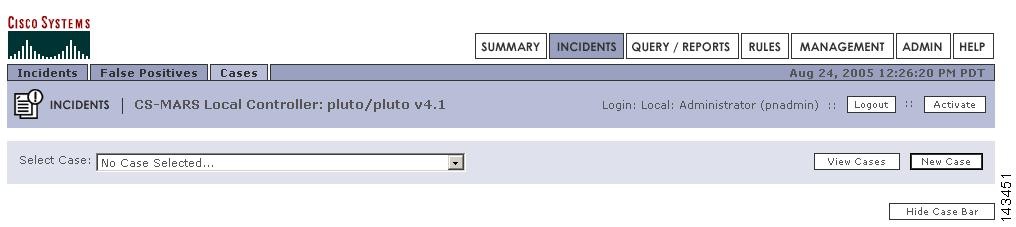
The Case Bar no longer appears on all tabs, as shown in Figure 19-4.Figure 19-4 Case Bar Hidden on the Incidents Page
Displaying the Case Bar
To Display the Case Bar, follow these steps:
Step 1
Step 2
The Case Bar, as shown in Figure 19-3 now appears on all pages.
Create a New Case
To create a new case, perform the following procedure:
Step 1
Step 2
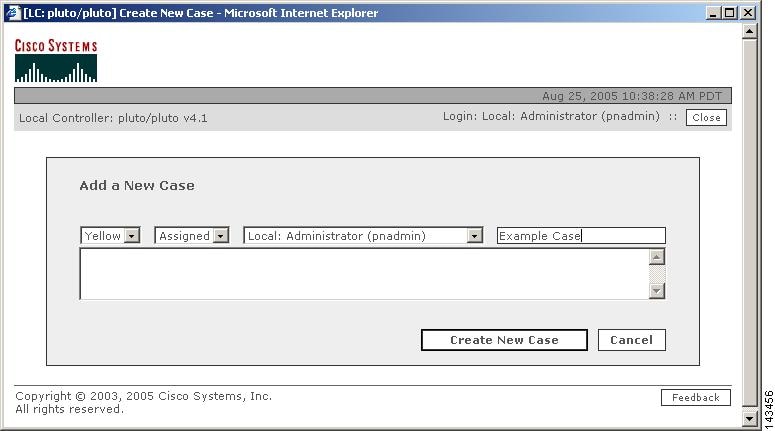
The Add a New Case Dialog box appears, as shown in Figure 19-5.Figure 19-5 Add a New Case Dialog Box
Step 3
Figure 19-5 shows a case with case summary of Example_Case, assigned to the administrator with a yellow priority color (default is Green).Step 4
Step 5
The newly created case is numbered and becomes the current case displayed in the Case Bar as shown in Figure 19-6.Figure 19-6 Case Bar Shows a Newly-Created Case as the Current Case

Proceed to the section Add Data to a Case for steps on how to combine various data into a single case.
Edit and Change the Current Case
Editing the Current Case
To edit the Current Case complete the following procedure:
Step 1
The Case Bar Expands to expose the editing options, as shown in Figure 19-7.
See the section Hide and Display the Case Bar for procedures to display the case bar.Figure 19-7 Expanded Case Bar

Step 2
Step 3
Step 4
Deselecting the Current Case
To replace the Current Case case with another, complete the following procedure:
Step 1
Step 2
The Case Bar drop-down list displays No Case Selected. . . as shown in Figure 19-4.Step 3
Add Data to a Case
To add data to a case, complete the following steps:
Step 1
Step 2
Step 3
Figure 19-8 Case Bar Add Button

Step 4
In the example shown in Figure 19-8, the selected report should appear in the Reports section of the View Case page. A partial View Case page is shown in Figure 19-2.
Generate and Email a Case Report
You can generate a case report of the case data and email the report to any MARS user group or individual user account. The email event is logged in the case history listings on the View Case page.
To add a new user account or user group, see "Create a New User—Role, Identity, Password, and Notification Information" section on page 23-10.
Note
To generate a case report and to email it, follow these steps:
Step 1
Step 2
Step 3

Tip
Step 4
MARS generates and displays the case report.
Step 5
The Case Email dialog box appears, as shown in Figure 19-9.
Figure 19-9 Case Management Email Dialog Box
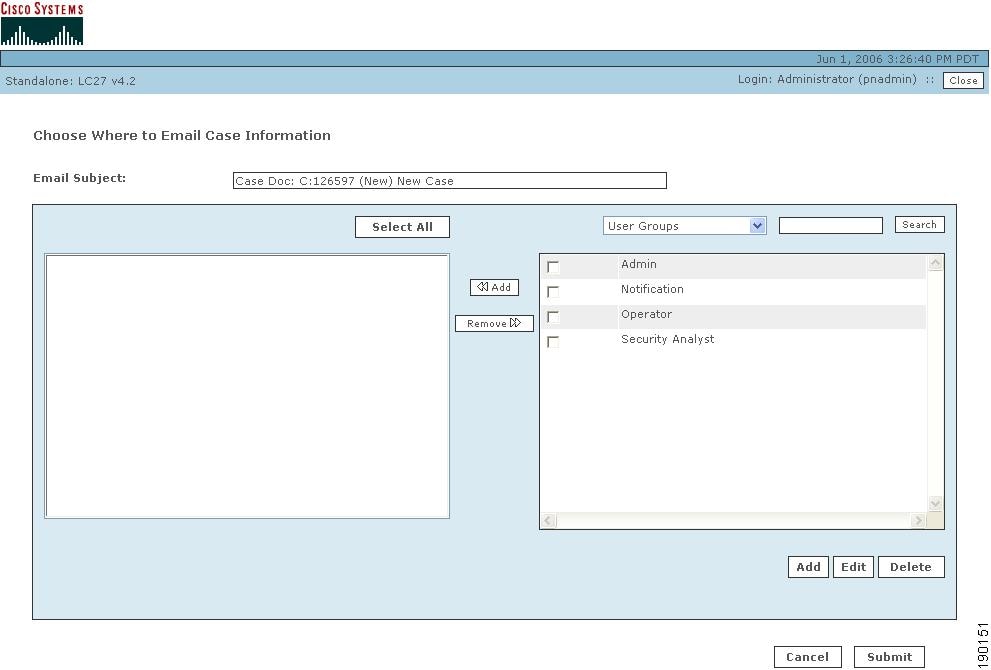
Step 6
Tip
The selected recipients appear in the left-hand area of the dialog box.
Step 7
The email is sent and the case history is updated to show the email event as the lastest item of the case history.
 Feedback