Cisco Modeling Labs Corporate Edition System Administrator Installation Guide, Release 1.0.1
Bias-Free Language
The documentation set for this product strives to use bias-free language. For the purposes of this documentation set, bias-free is defined as language that does not imply discrimination based on age, disability, gender, racial identity, ethnic identity, sexual orientation, socioeconomic status, and intersectionality. Exceptions may be present in the documentation due to language that is hardcoded in the user interfaces of the product software, language used based on RFP documentation, or language that is used by a referenced third-party product. Learn more about how Cisco is using Inclusive Language.
- Updated:
- November 14, 2014
Chapter: Cisco Modeling Labs ISO Installation
Cisco Modeling Labs ISO Installation
Cisco Modeling Labs ISO Image Installation
This chapter details the ISO image installation procedure for a bare metal environment.
A bare metal implementation is a computer system in which the software for a virtual machine is installed directly on hardware rather than as a virtual machine on top of a hypervisor system, such as VMware ESXi, within the host operating system. The term bare metal refers to a hard disk, the usual medium on which a computer's operating system is installed.
 Note | These hardware configurations are for example purposes only; you can deploy the server implementation that best suits your requirements. |
Prerequisites
- Installing the Cisco Modeling Labs ISO Image on a Cisco UCS B-Series Server
- Installing the Cisco Modeling Labs ISO Image on a Cisco UCS C-Series Server
Installing the Cisco Modeling Labs ISO Image on a Cisco UCS B-Series Server
The following sections describe how to install the Cisco Modeling Labs ISO image on a Cisco UCS B-Series Server.
- Logging In to the Cisco UCS Manager Interface
- Mapping the Cisco Modeling Labs ISO Image on a Cisco UCS B-Series Server
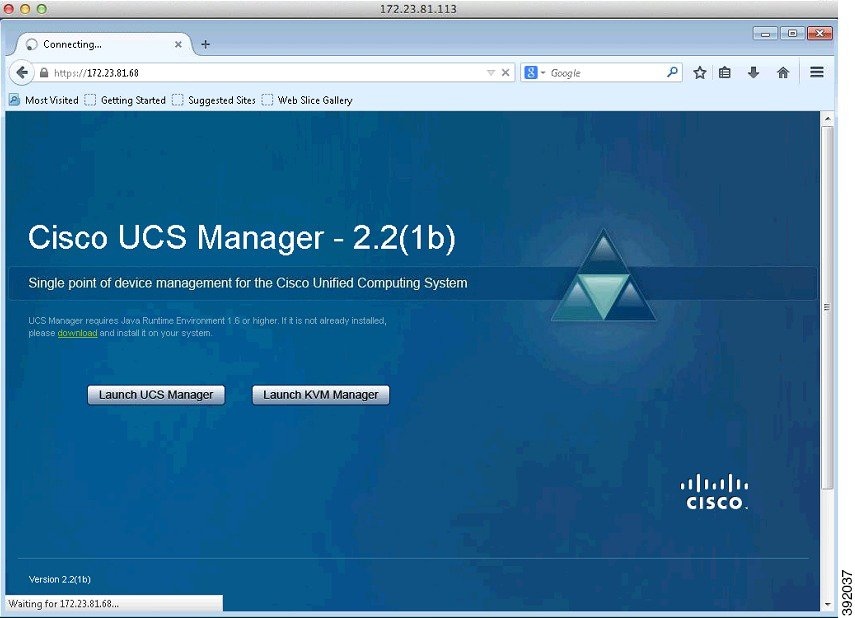
Logging In to the Cisco UCS Manager Interface
The default HTTPS web link for the Cisco UCS Manager interface is https://UCSManager_IP, where UCSManager_IP represents the IP address assigned to Cisco UCS Manager.
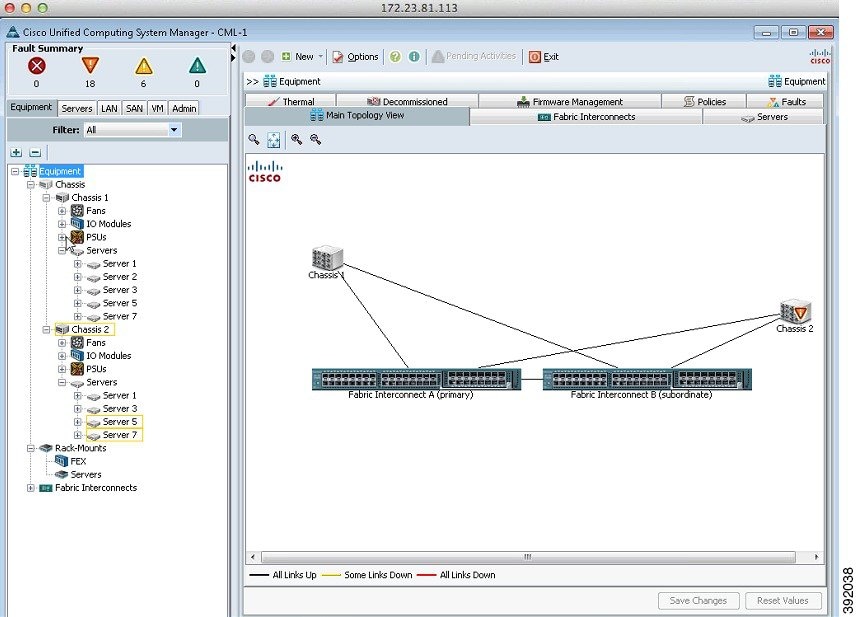
Mapping the Cisco Modeling Labs ISO Image on a Cisco UCS B-Series Server
Note | This procedure requires you to have downloaded the Cisco Modeling Labs ISO image file and to ensure it is accessible from the computer that you are using to log in to the Cisco UCS Manager interface. |
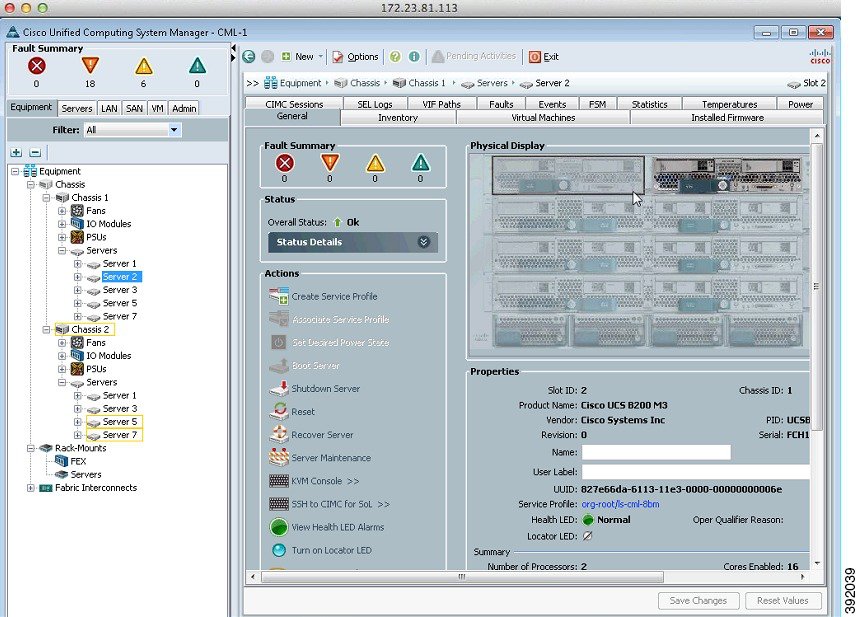
To map the Cisco Modeling Labs ISO image, complete the following steps:
What to Do Next
Installing the Cisco Modeling Labs ISO Image on a Cisco UCS C-Series Server
The following sections describe how to install the Cisco Modeling Labs ISO image on a Cisco UCS C-Series Server.
- Logging In to the Cisco Integrated Management Controller Interface
- Mapping the Cisco Modeling Labs ISO Image on a Cisco UCS C-Series Server
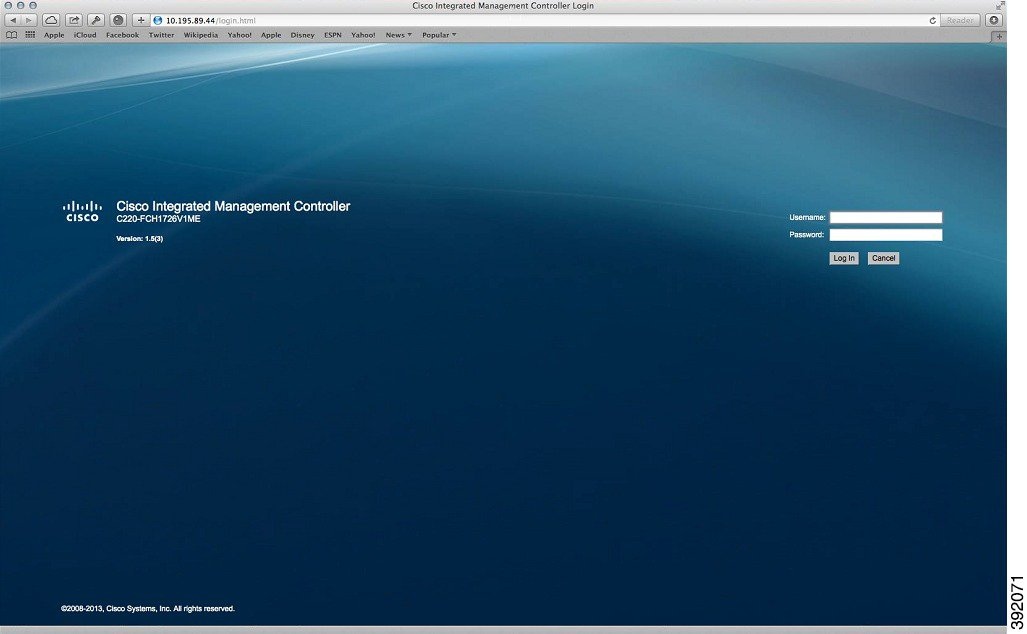
Logging In to the Cisco Integrated Management Controller Interface
The default HTTPS web link for CIMC is https://ip-address.
Mapping the Cisco Modeling Labs ISO Image on a Cisco UCS C-Series Server
Note | This procedure requires you to have downloaded the Cisco Modeling Labs ISO image file and to ensure it is accessible from the computer that you are using to log in to the Cisco Integrated Management Controller (CIMC) interface. |
To map the Cisco Modeling Labs ISO image, complete the following steps:
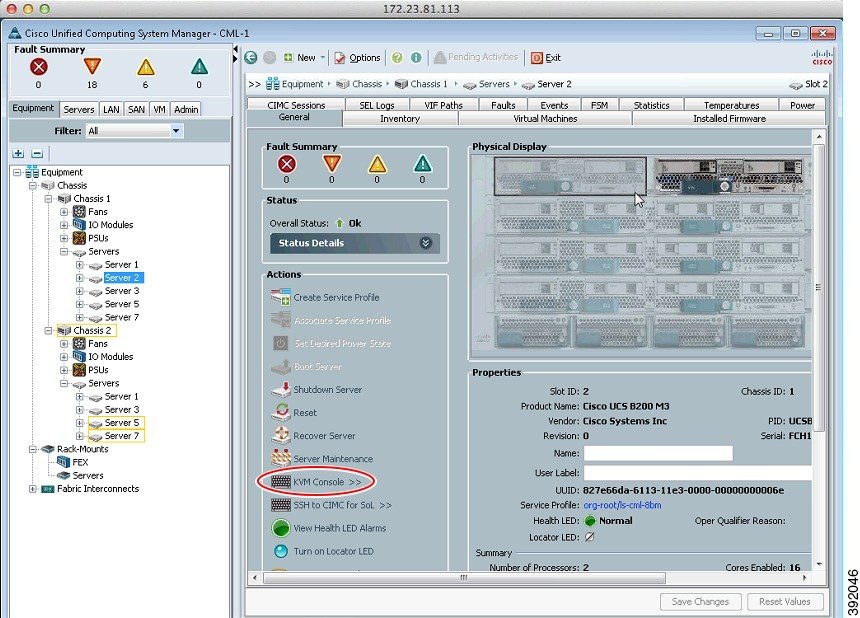
| Step 1 | Under the
General tab,
click
KVM Console to
launch the KVM Console and connect to the KVM server.
 | ||
| Step 2 | If a security dialog box is displayed, perform the following tasks: | ||
| Step 3 | At the Cisco KVM Virtual Console confirmation box, perform the following tasks: | ||
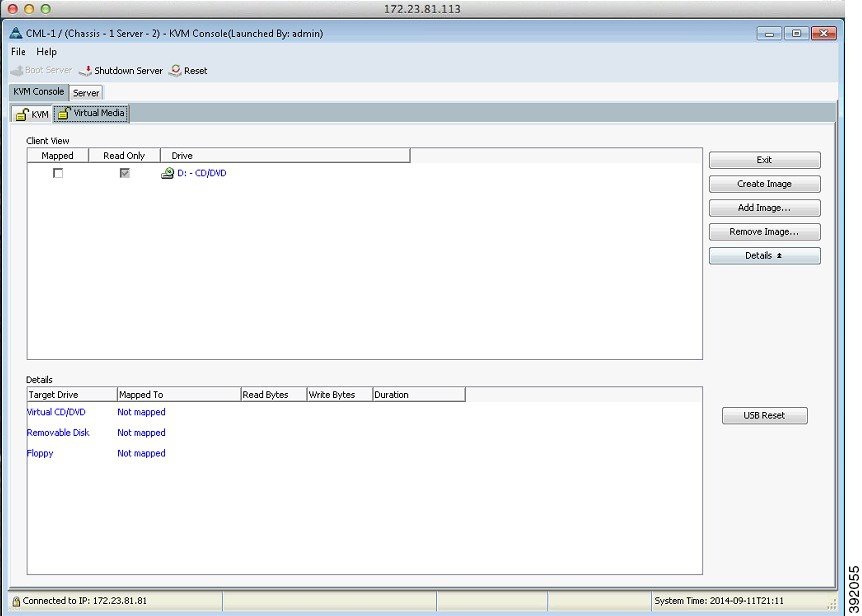
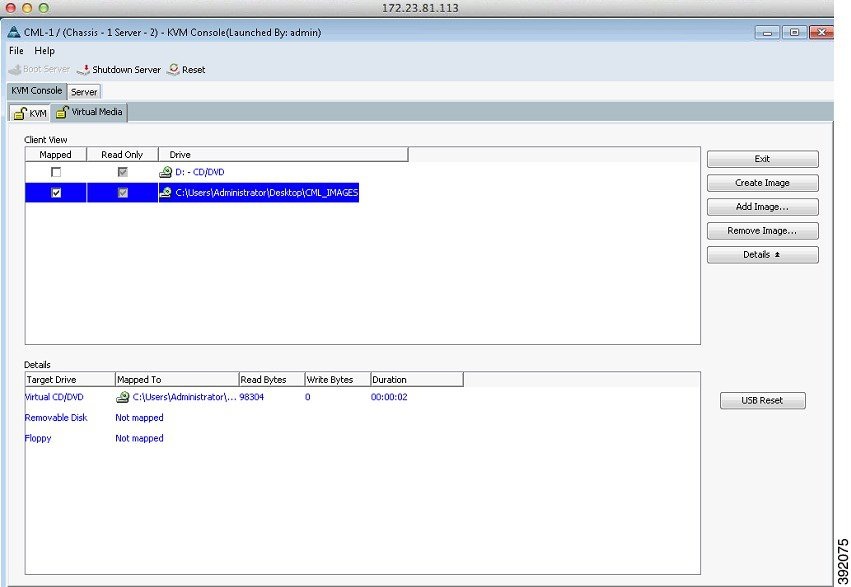
| Step 4 | In the KVM Console, click the Virtual Media tab. (In the KVM Console, the ISO image is mapped to the server so that at boot time, the server boots from the ISO image.) | ||
| Step 5 | Click
Add Image.
 | ||
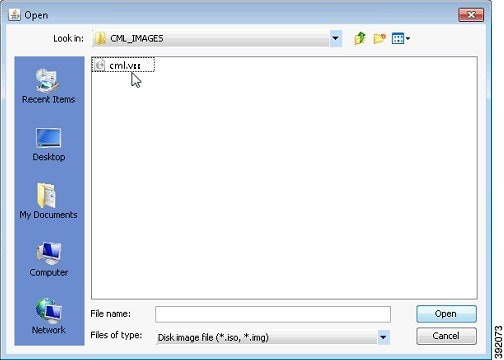
| Step 6 | From the dialog
box that is displayed, navigate to the location of the Cisco Modeling Labs ISO
image, click the corresponding image and click
Open.
 | ||
| Step 7 | The path to the
ISO image is visible in the
Client View.
Check the
Mapped check
box to allow the image file to be accessed by the server. Uncheck the check box
to disconnect the server from the drive or image file.
 | ||
| Step 8 | Click the
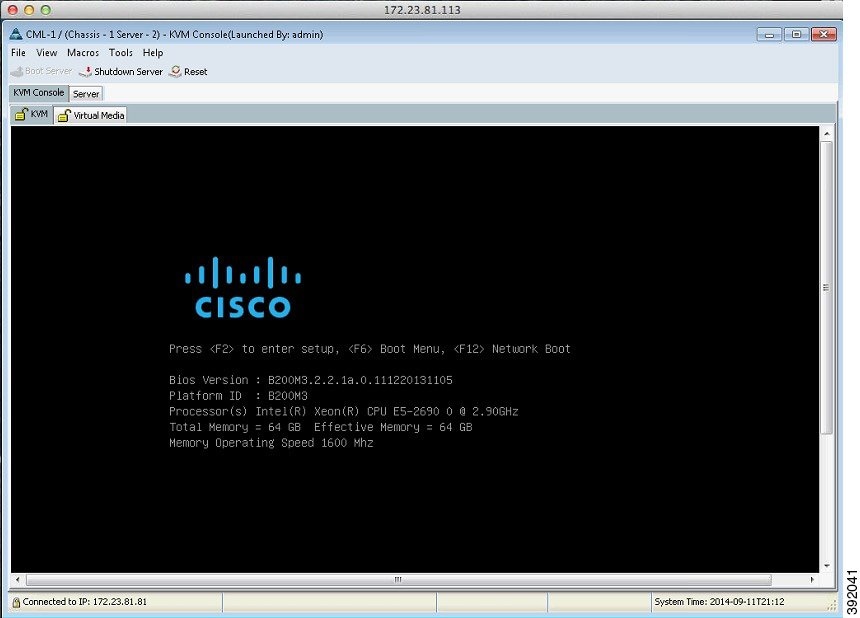
KVM tab. The No
Signal window is displayed.
The No Signal window indicates that the server is not powered on. 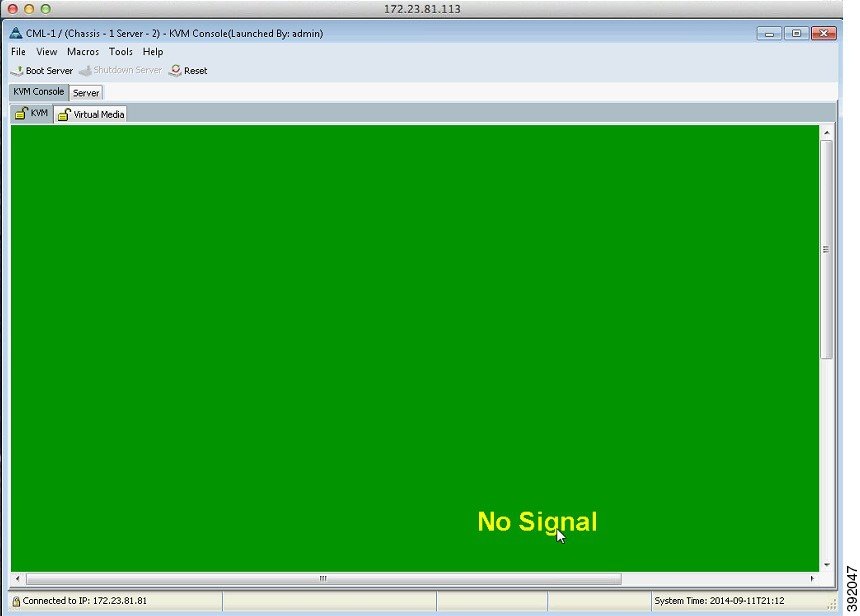 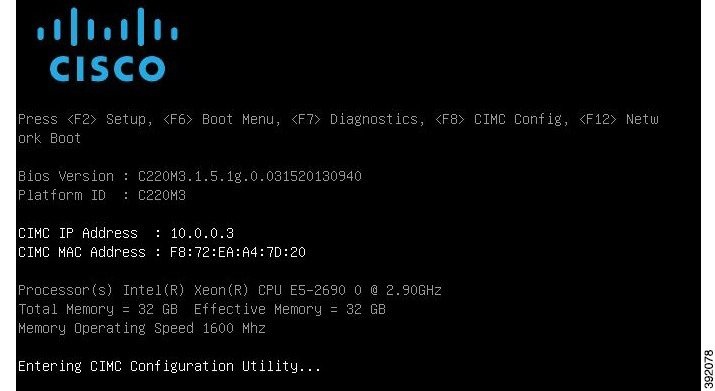 | ||
| Step 9 | Press
<F8> to access the CIMC Config menu.
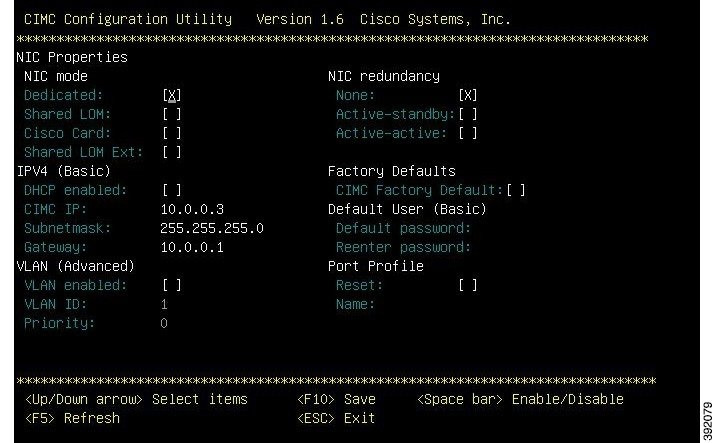 Set the following parameters: Under NIC mode, enable Dedicated. Under IPV4 (Basic), provide values for your network for CIMC IP, Subnetmask, and Gateway. Under NIC Redundancy, enable None. | ||
| Step 10 | When
completed, select
<ESC> to exit the utility and return to the Cisco setup
menu.
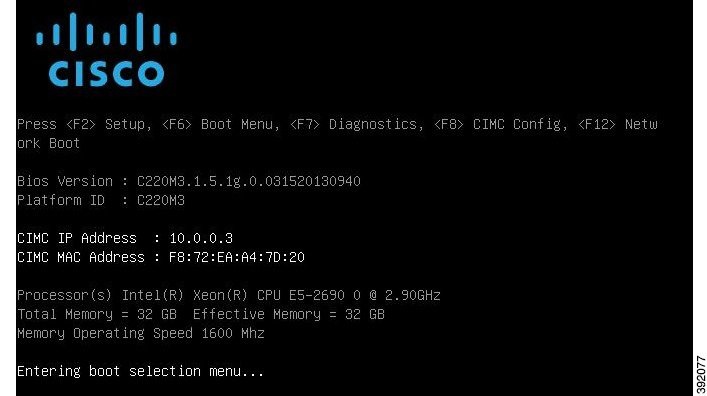 | ||
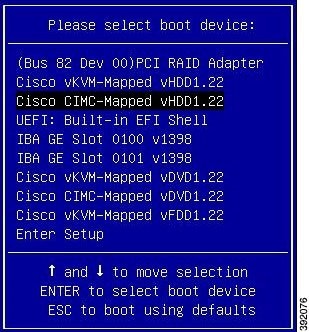
| Step 11 | Press
<F6> to access the Boot Menu. Click the applicable boot
device.
 | ||
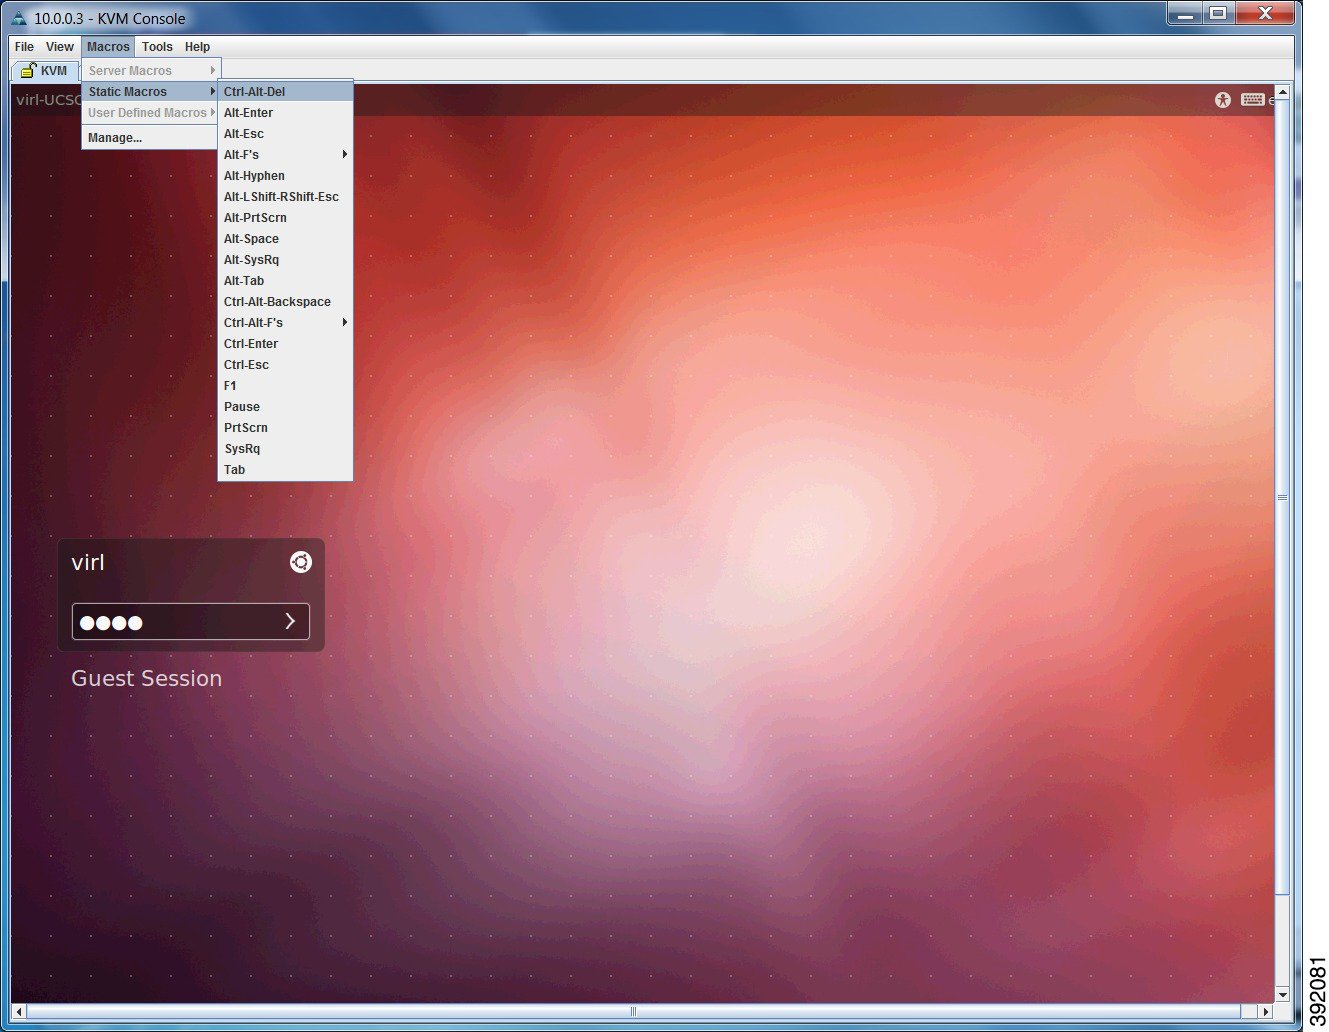
| Step 12 | Reboot the
server using the CTRL-ALT-DEL macro as shown.
 | ||
| Step 13 | On the
Power
cycle the server? confirmation dialog box, click
OK.
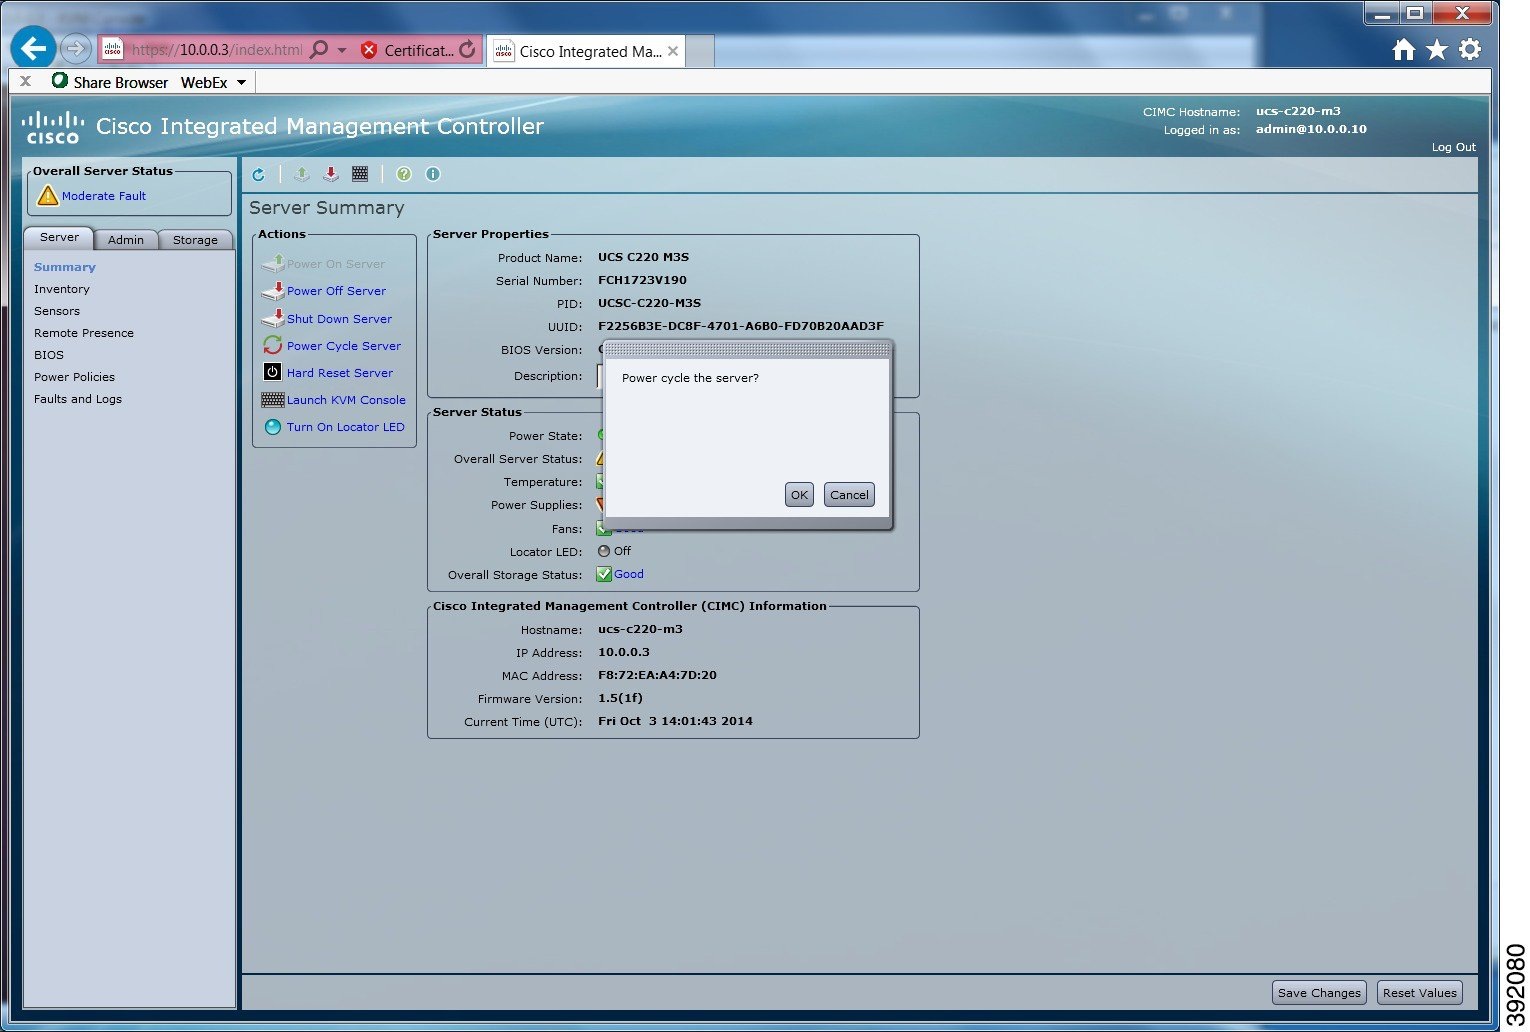 The server boots from the virtual machine and the VIRL Installer window appears. | ||
| Step 14 | There are four
options available:
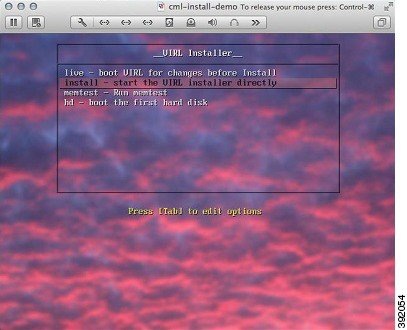 Select the Install option using the [tab] key. The installation process starts and installs the Ubuntu (12.04.3 LTS) operating system and Cisco Modeling Labs. |
What to Do Next
Installing the Cisco Modeling Labs ISO Image
To install the Cisco Modeling Labs ISO image, complete the following steps:
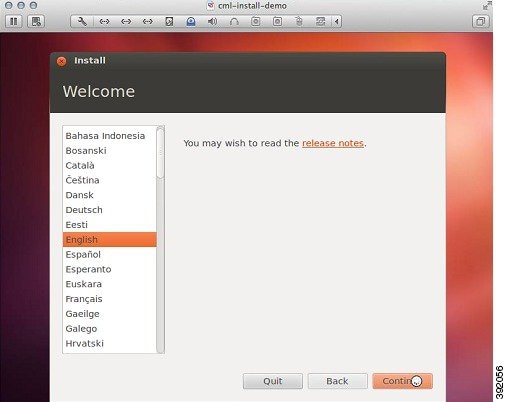
| Step 1 | In the
Welcome window, select the applicable language and
click
Continue.
 | ||||||
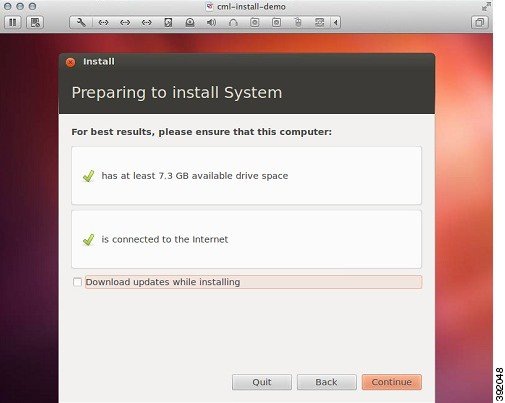
| Step 2 | In the
Preparing
to Install Window screen, ensure that you have adequate resources to
install the ISO image and clickContinue.
 | ||||||
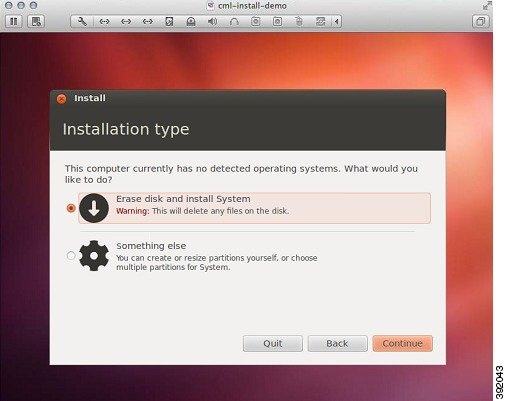
| Step 3 | In the
Installation type window, click the
Erase disk and install
System radio button, and click
Continue.
| ||||||
| Step 4 | In the
Erase
disk and install System window, select the applicable drive from the
Select drive list, and click
Install Now.
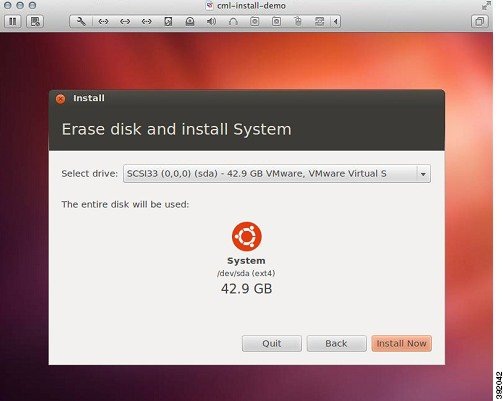
| ||||||
| Step 5 | In the
Where are
you? window, enter the applicable time zone, and click
Continue.
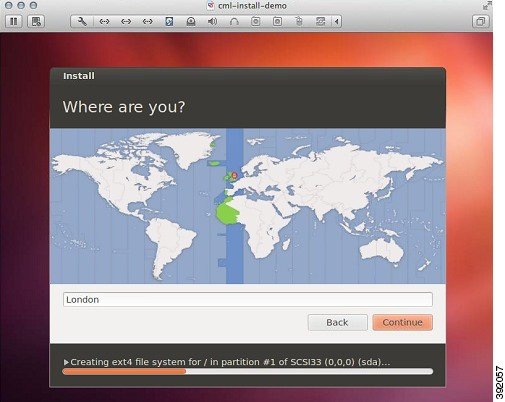
| ||||||
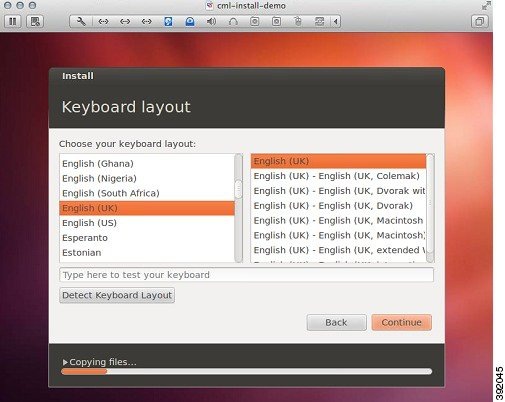
| Step 6 | In the
Keyboard
layout window, select the applicable keyboard layout to use by
clicking the corresponding option from the Choose your keyboard layout list,
and click
Continue.
| ||||||
| Step 7 | In the
Who are
you? window, enter values for the fields exactly as described here:
Click Continue to start the installation. 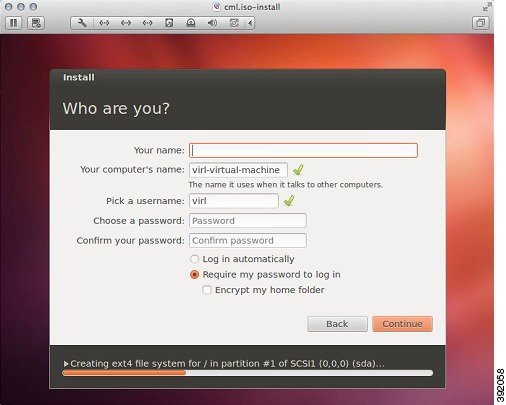 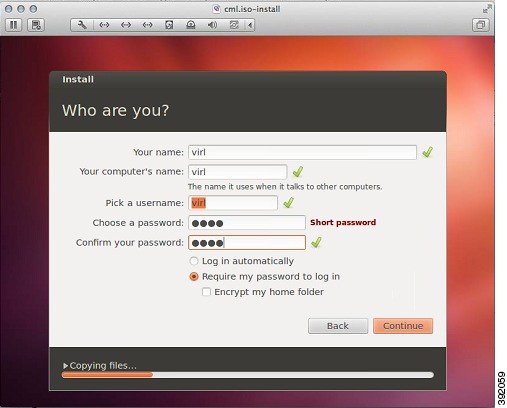
| ||||||
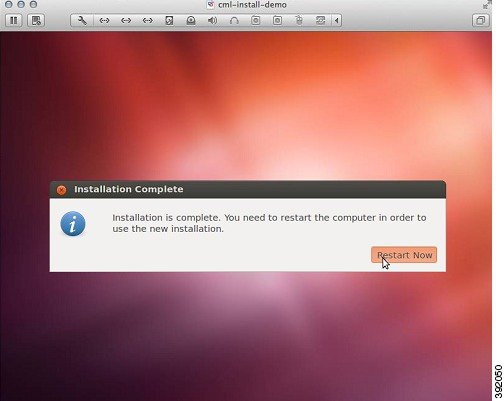
| Step 8 | In the
Installation Complete window, click
Restart Now
to restart the server.
 |
What to Do Next
 Feedback