Using the GUI to Upgrade Cisco APIC-EM
You can update the Cisco APIC-EM to the latest version using the controller's GUI update procedure. This procedure requires that you perform the following tasks:
-
Download the release upgrade pack from the secure Cisco cloud.
-
Run a checksum against the release upgrade pack.
-
Upload the release upgrade pack to the controller using the GUI.
-
Update the controller's software with the release upgrade pack.
 Important |
This procedure should be read in conjunction with the latest version of the Cisco APIC-EM release notes, as there may be specific additional requirements for that release's upgrade. You should first review the Release Notes for Cisco Application Policy Infrastructure Controller Enterprise Module, before beginning this procedure. |
Note |
In a multi-host cluster, you only need to update a single host. After updating that single host, the other two hosts are automatically updated with the release upgrade pack. |
The release upgrade pack is available for download as a tar file that is also compressed, so the release upgrade pack has a .tar.gz extension. The release upgrade pack itself may consist of any or all of the following update files:
-
Service files
-
Grapevine files
-
Linux files
Note |
Each release upgrade pack contains an encrypted Cisco signature for security purposes, as well as release version metadata that validates the package. |
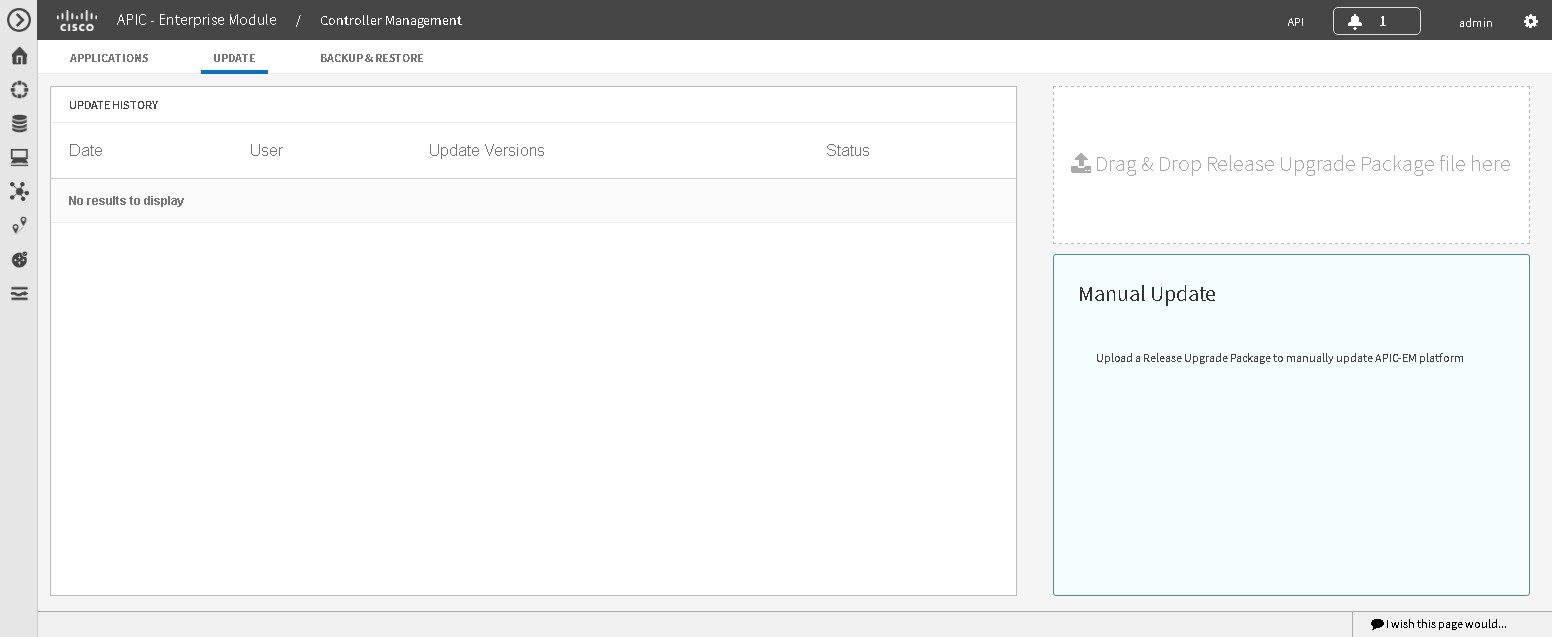
You perform the upload and update procedure using the Update window in the Cisco APIC-EM GUI.
Note |
After a successful upload and software update, you are not permitted to rollback to an earlier Cisco APIC-EM version. |
Before you begin
You must have successfully installed the Cisco APIC-EM and it must be operational.
You must have administrator (ROLE_ADMIN) permissions and either access to all resources (RBAC scope set to ALL) or an RBAC scope that contains all of the resources that you want to group. For example, to create a group containing a specific set of resources, you must have access to those resources (custom RBAC scope set to all of the resources that you want to group).
Note |
When updating or upgrading the Cisco APIC-EM in a virtual machine within a VMware vSphere environment, you must ensure that the time settings on the ESXi host are also synchronized to the NTP server. Failure to ensure synchronization will cause the upgrade to fail. |
You must have received notification from Cisco that the Cisco APIC-EM software update is available for you to download from the secure Cisco website.
You can be notified about the availability of a Cisco APIC-EM software update in the following ways:
-
Email notification from Cisco support and/or updated release notes.
-
System notification through the controller GUI.
Note
Notification about available release upgrade packs can be viewed by clicking the System Notifications icon on the menu bar.
Procedure
| Step 1 |
Review the information in the Cisco notification about the Cisco APIC-EM update file and checksum. The Cisco notification specifies the location of the release upgrade pack and verification values for either a Message Digest 5 (MD5) or Secure Hash Algorithm (SHA) 512 bits (SHA512) checksum.
|
||
| Step 2 |
Download the release upgrade pack from the secure Cisco website to your laptop or to a location within your network. |
||
| Step 3 |
Run a checksum against the release upgrade pack using your own checksum verification tool or utility (either MD5 or SHA512). |
||
| Step 4 |
Review the displayed checksum verification value from your checksum verification tool or utility. If the output from your checksum verification tool or utility matches the appropriate checksum value in the Cisco notification or from the Cisco secure website, then proceed to the next step. If the output does not match the checksum value, then download the release upgrade pack and perform another checksum. If checksum verification issues persist, contact Cisco support. |
||
| Step 5 |
In the Home window, click either admin or the Settings icon (gear) at the top right corner of the screen. |
||
| Step 6 |
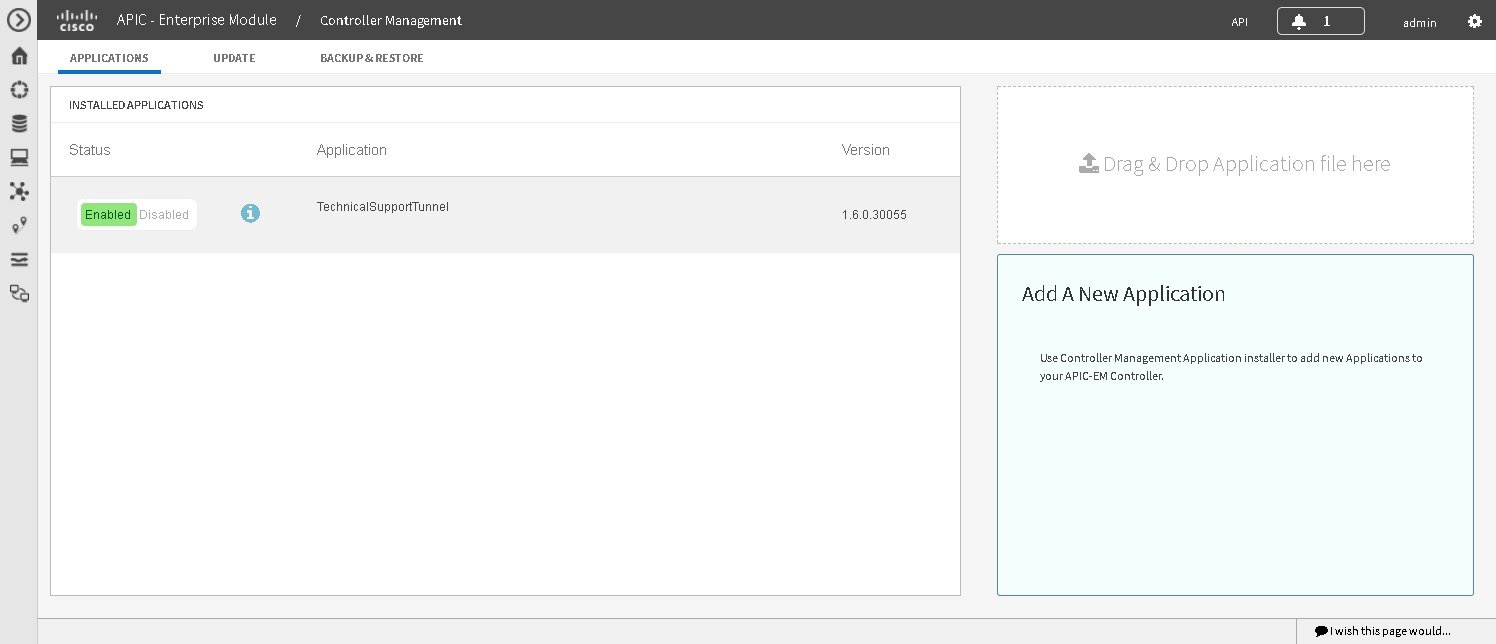
Click the App Management link from the drop-down menu.
|
||
| Step 7 |
Click the Update tab at the top of the window. |
||
| Step 8 |
If the release upgrade pack is acceptable to use for updating the controller (checksum value match in step 4), then drag and drop the release upgrade pack from the download location on your laptop or in your network onto the Manual Update field in the Update window. After dropping the release upgrade pack onto the Manual Update field, the upload process begins. The upload process may take several minutes depending upon the size of the release upgrade pack and your network connection. During the upload process, you can continue to work with the controller. Once the upload process ends and the update process begins, you will not be able to work with the controller.
|
||
| Step 9 |
Once the upload process finishes, the update process automatically begins. A message appears in the GUI stating that the update process has started and is in progress. You should refrain from working with the controller during the update process. During the update process, the controller may shut down and restart. The shut down process may last for several minutes.
|
||
| Step 10 |
Once the update process finishes, you will receive a success or failure notification. If the update was successful, you will receive a successful update notification and can then proceed working with the controller. If the update was unsuccessful, you will receive an unsuccessful update notification with suggested remedial actions to take. After the update (or attempted update), information about it will also appear in the Update History field of the Update window. The following update data is displayed in this field:
|
 Feedback