Installing Cisco Cable SDN Application
Before you begin
-
Before installing the Cisco Cable SDN application, the Cisco Open SDN Controller must be installed. For detailed information about how to install and use the Cisco Open SDN Controller, see Cisco Open SDN Controller 1.2 Installation Guide and Cisco Open SDN Controller 1.2 Administrator Guide.
-
Make sure the DNS is configured properly. Although DNS is listed as optional in the official Cisco Open SDN Controller guide, it is mandatory for the Cisco Cable SDN application installation. The DNS can be configured in two different ways:
-
During the installation of the Cisco Open SDN Controller, fill in DNS address in the Deploy OVF Template properties page:
Figure 1. Deploy OVF Template 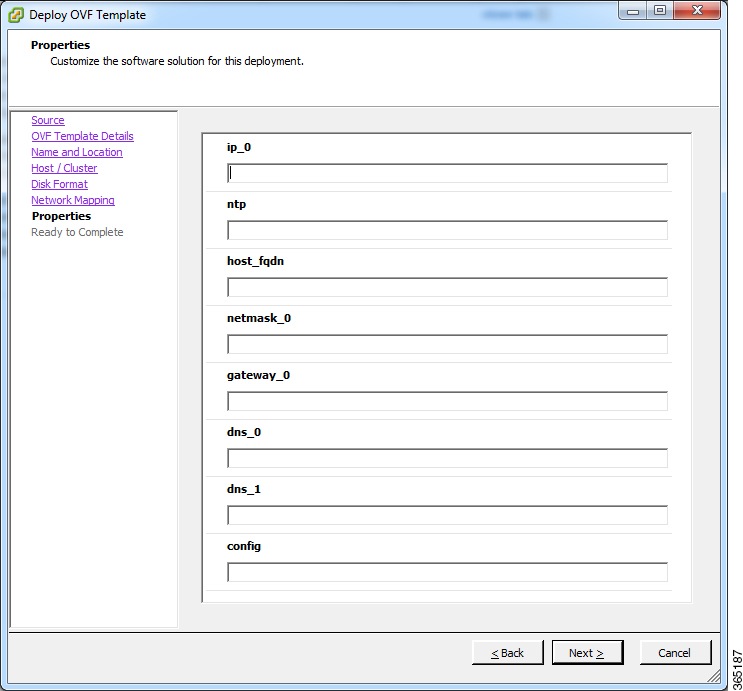
-
During the configuration of the Cisco Open SDN Controller, select Network Settings in the OS Configuration Console page, and edit the DNS entries.
Figure 2. Network Settings 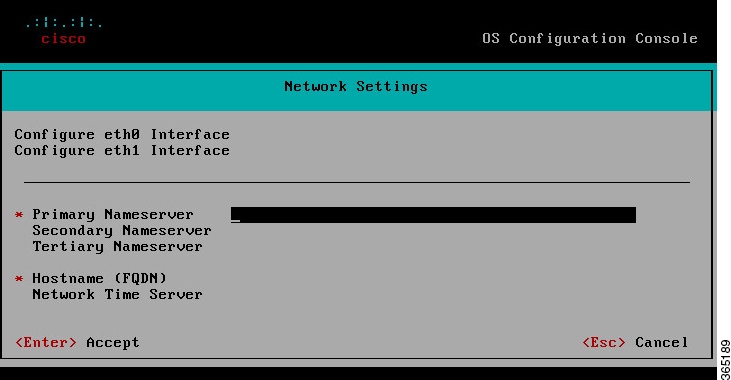
After return to the console page, select Apply Configuration.
Figure 3. OS Configuration Console 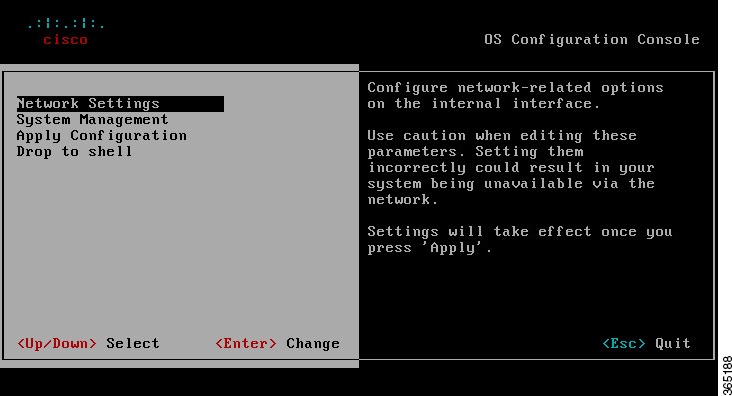
-
Procedure
| Step 1 |
Open the Cisco Open SDN Controller URL: https://controller-ip-address, the log in page is displayed: 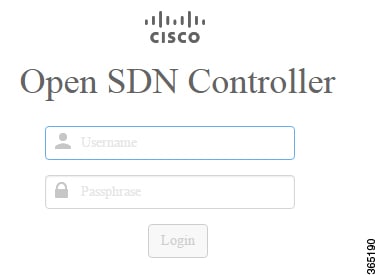 |
||||
| Step 2 |
Enter the username and password, then click Login, the following main page is displayed: 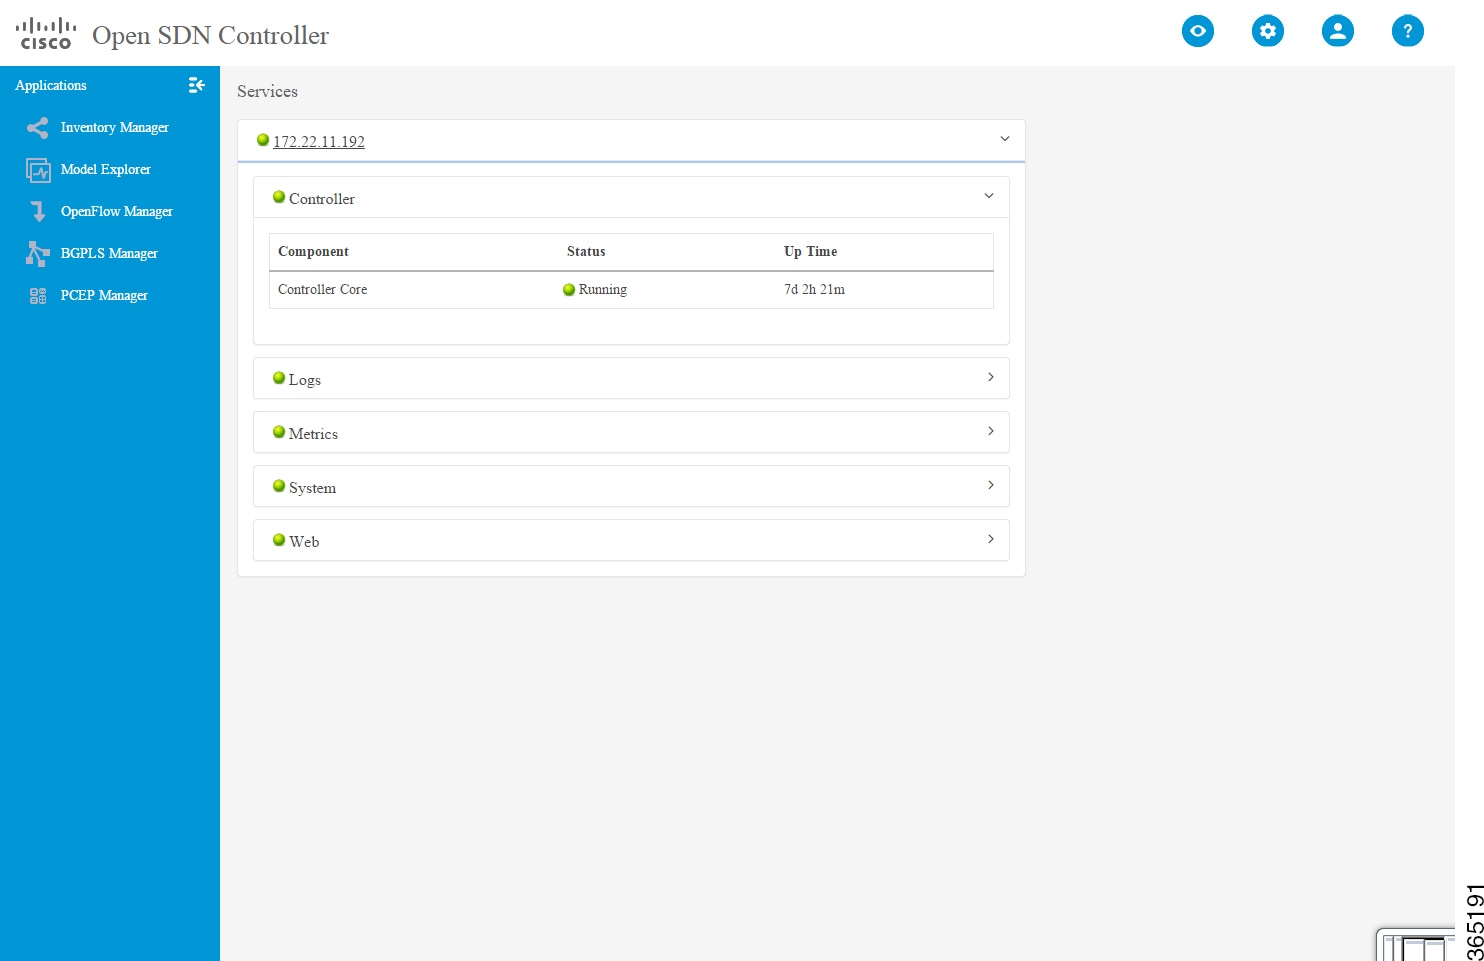 |
||||
| Step 3 |
Move the mouse over the top right gear icon, from the drop down menu, choose Features, the Features page is displayed: 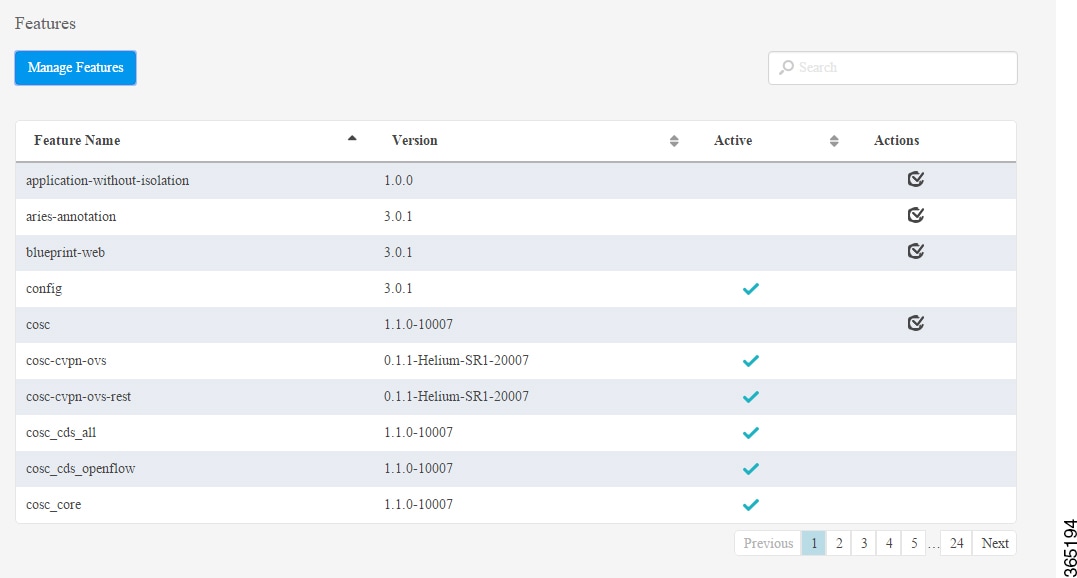 |
||||
| Step 4 |
In the Features page, click Manage Features, the Manage Features window is displayed: 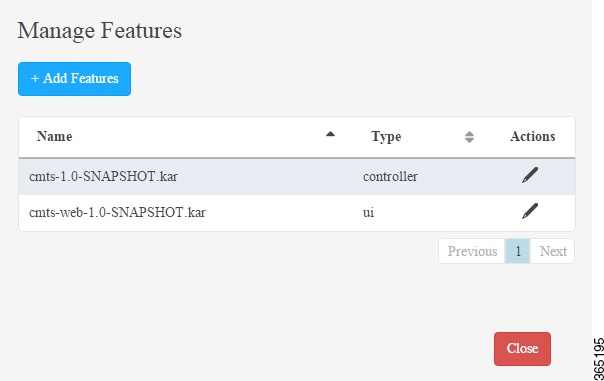 |
||||
| Step 5 |
Click Add Features in the window, a dialog box is displayed: 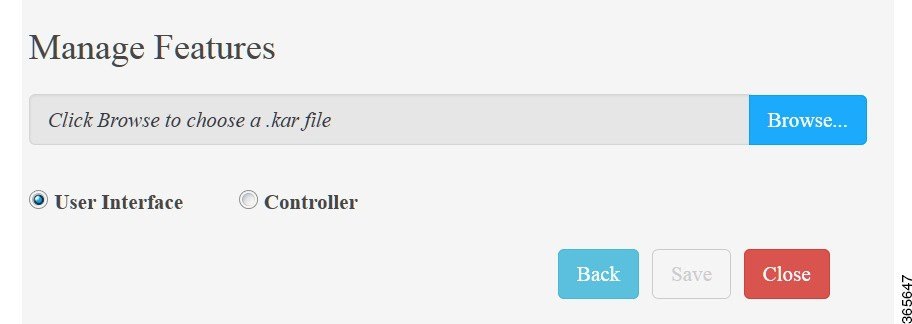 Select the package type: User Interface or Controller, then select the corresponding KAR file to install.
|
||||
| Step 6 |
After a short moment, the CMTS package is displayed as active. 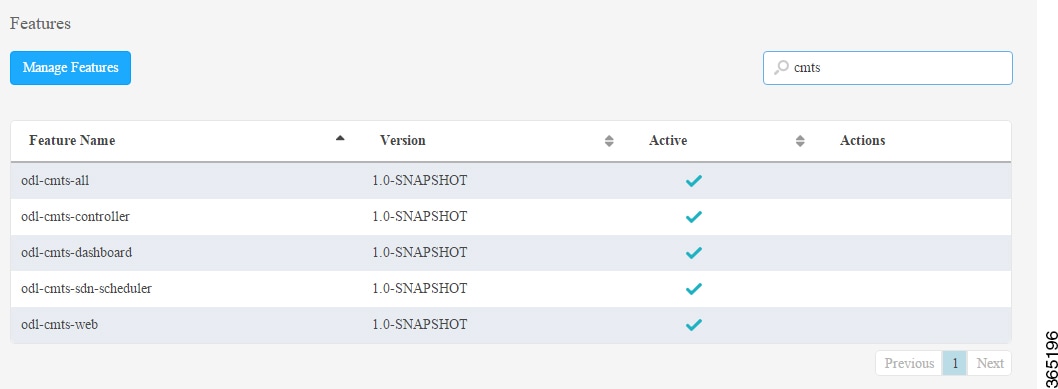 |
||||
| Step 7 |
Wait a moment and refresh the browser. The Cable tab is displayed on the navigation bar. 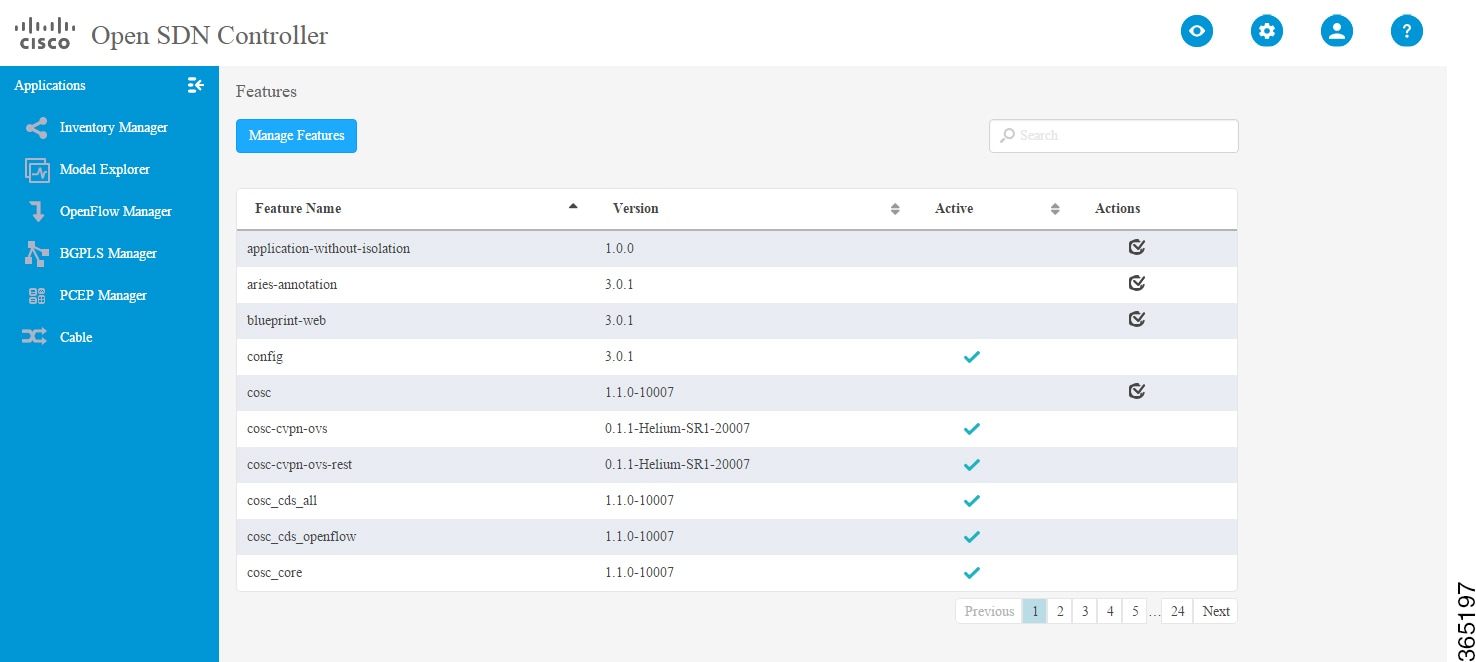 |
||||
| Step 8 |
Click the Cable tab, the landing page of the Cisco Cable SDN application is displayed as below: 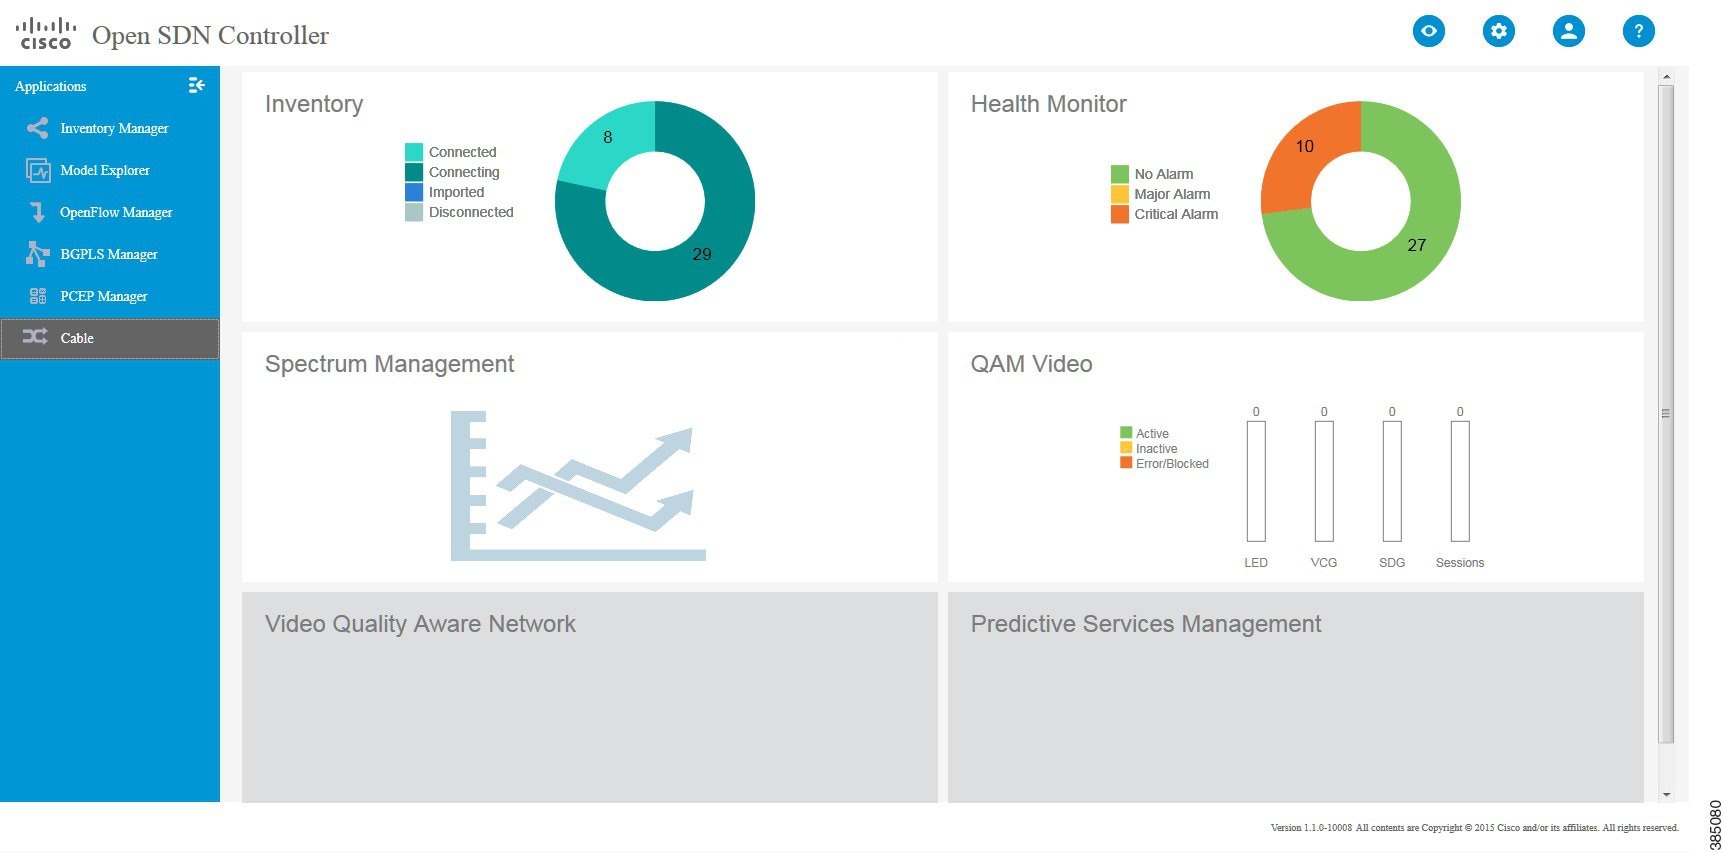 |
 Feedback