Configuration of Address Resolution Protocol (ARP) Access Control and Access Control Rules on Sx500 Series Stackable Switches
Available Languages
Objective
Address Resolution Protocol (ARP) allows you to map an IP address to a MAC address. An attacker can perform a man-in-the-middle attack on the hosts, switches, and routers that are connected to a Layer 2 network through the means of interception of the traffic directed to other hosts. This causes the traffic that flows from the device which was attacked to flow through the computer of the attacker, and then through the routers, switch and host. The attacker, who is in the middle of the communication, can read the data in the packets and then forward it to the destination. ARP Inspection is applied only on untrusted interfaces.
This article explains the steps to add entries to the ARP Inspection table in Sx500 Series Stackable Switches.
Applicable Devices
• Sx500 Series Stackable Switches
Software Version
• 1.3.0.62
Configuration of Access Control and Access Control Rules
Step 1. Log in to the web configuration utility, and choose Security > ARP Inspection > ARP Access Control. The ARP Access Control page opens:
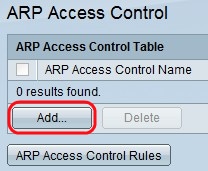
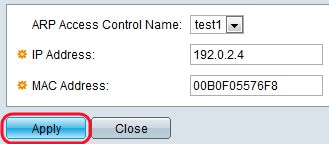
Step 2. Click Add to add an entry. The Add ARP Access Control window appears.
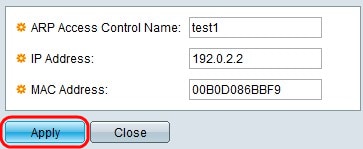
Step 3. Enter the name created by the user in the ARP Access Control Name field.
Step 4. Enter the IP address of the device in the IP Address field.
Step 5. Enter the MAC address of the device in the MAC Address field.
Step 6. Click Apply.
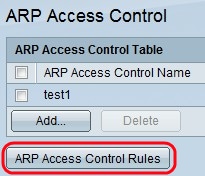
Step 7. Click the ARP Access Control Rules button. This button opens the ARP Access Control Rules page. This page shows the Access Control rules that are already configured and is used to add more rules to the previously created ARP Access Control group.
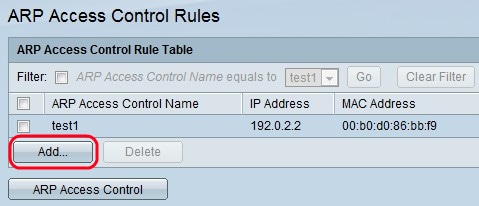
Step 8. Click Add to add more rules to the Access Control group. The Add ARP Access Control Rules window appears.
Step 9. Choose an Access Control Group from the ARP Access Control Name drop-down list.
Step 10. Enter the IP address of the packet in the IP Address field.
Step 11. Enter the MAC address of the device in the MAC Address field.
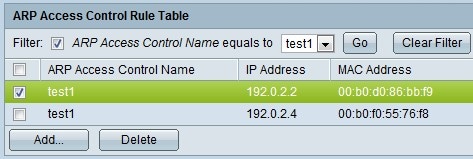
Step 12. (Optional) To delete an entry, check the desired ARP Access Control Name and click Delete.
Step 13. Click Apply to update the running configuration file.
 Feedback