-
Cisco MDS 9000 Family Fabric Manager Quick Configuration Guide
-
Index
-
Preface
-
Overview
-
Initial Switch Configuration
-
Installing Fabric Manager
-
Fabric Manager Client
-
Configuring VSANs and Interfaces
-
Configuring Zones and Zone Sets
-
Launching Fabric Manager in Cisco SAN-OS Releases Prior to 3.2(1)
-
Quick Config Wizard
-
Configuring Static Domain IDs and Persistent FC IDs
-
Configuration Files
-
 Feedback
Table Of Contents
Configuring Zones and Zone Sets
Configuring Zones and Zone Sets
Before setting up zones and zone sets make sure you have configured VSANs and interfaces. See Chapter 5, "Configuring VSANs and Interfaces."
Zoning enables you to set up access control between storage devices or user groups. If you have administrator privileges in your fabric, you can create zones to increase network security and to prevent data loss or corruption. You can configure up to 8K zones in a VSAN.
Note
Devices that do not belong to a zone follow the policy of the default zone.
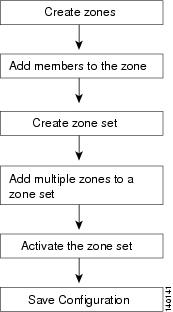
Figure 6-1 describes the steps for configuring zones and zone sets. See Appendix D, "Configuration Files," for details on saving configuration files.
Figure 6-1 Zones and Zone Sets
This chapter includes the following sections:
Configuring Zones
Zones are configured within VSANs. The Logical tab displays the VSANs configured in the currently discovered fabric. Note that zone information must always be identical for all the switches in the network fabric. You can configure up to 8K zones in a VSAN.
To configure pWWN-based zones using the Zone configuration tool, follow these steps:
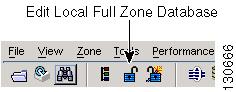
Step 1
Figure 6-2 Edit Local Full Zone Database
Note
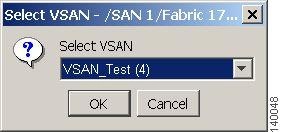
You see the Select VSAN dialog box. (See Figure 6-3.)
Figure 6-3 Select VSAN
Step 2
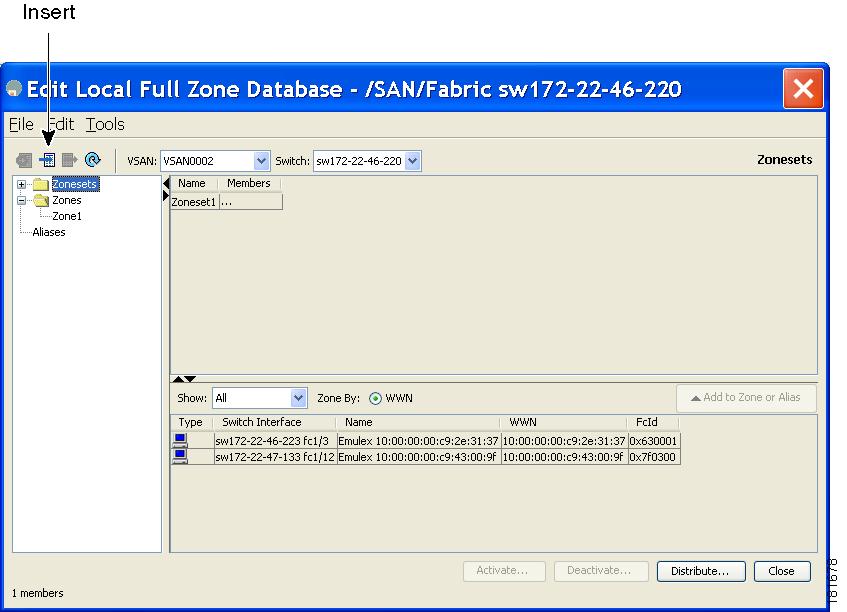
Step 3
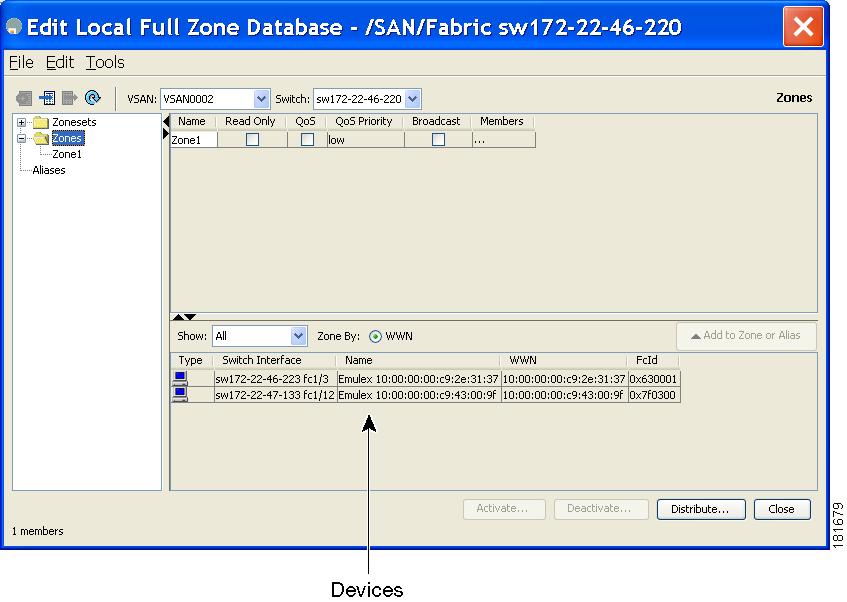
Figure 6-4 Edit Local Full Zone Database
Tip
Step 4
Figure 6-5 Adding Devices to a Zone Set
Creating Zone Sets
A zone set consists of one or more zones. A zone can be a member of more than one zone set and consists of multiple zone members. Members in a zone can access each other; members in different zones cannot access each other. Devices can belong to more than one zone.
A zone set can be activated or deactivated as a single entity across all switches in the fabric. Only one zone set can be activated at any time. If zoning is not activated, all devices are members of the default zone. If zoning is activated, any device that is not in an active zone (a zone that is part of an active zone set) is a member of the default zone.
Zoning can be administered from any switch in the fabric. When you activate a zone (from any switch), all switches in the fabric receive the active zone set. Additionally, full zone sets are distributed to all switches in the fabric if this feature is enabled in the source switch.
Tip
To create zone sets, follow these steps:
Step 1
Step 2
You see the VSAN you selected in the Edit Local Full Zone Database window.
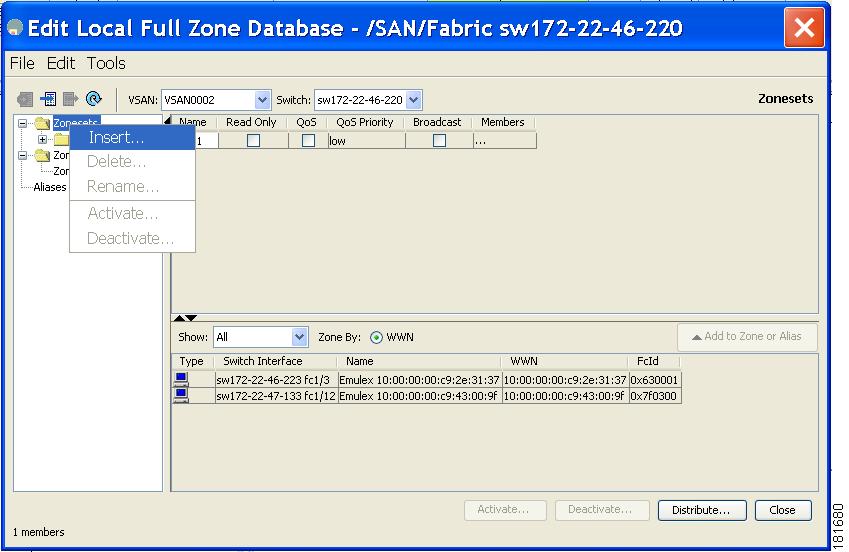
Step 3
Figure 6-6 Insert a new zone set
Step 4
Step 5
Step 6
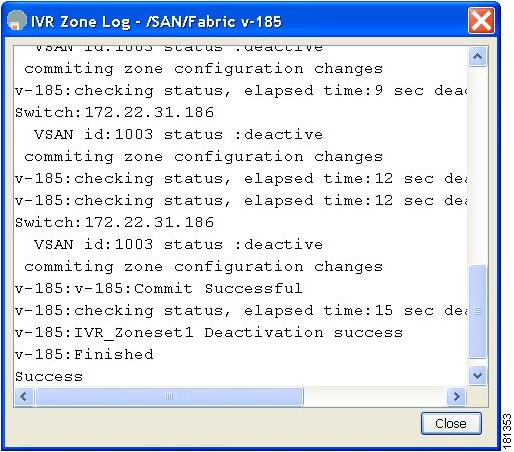
Note
You see a dialog box that shows whether the zone set activation or deactivation was successful (see Figure 6-7).
Figure 6-7 Zone Set Activation/Deactivation
Step 7
Step 8
What's Next?
After completing the procedures in this book, your Cisco MDS 9000 Family switch can provide the basic, minimal Fibre Channel services necessary to enable hosts to access their storage. Beyond this, you will want to set up security, management, and monitoring for your network. These tasks are beyond the scope of this document. However, the following tasks should be performed to leverage the full abilities of the MDS switch.
Security
•
•
•
•
•
Management
•
•
•
•
Monitoring
•
•