
 Feedback
Contents
- Cisco IOS SSL VPN Smart Tunnels Support
- Finding Feature Information
- Prerequisites for Cisco IOS SSL VPN Smart Tunnels Support
- Restrictions for Cisco IOS SSL VPN Smart Tunnels Support
- Information About Cisco IOS SSL VPN Smart Tunnels Support
- SSL VPN Overview
- SSL VPN Smart Tunnels Support Overview
- How to Configure Cisco IOS SSL VPN Smart Tunnels Support
- Configuring a Smart Tunnel List and Adding Applications
- What to Do Next
- Configuring a Group Policy for Smart Tunnels Support
- Troubleshooting Tips
- What to Do Next
- Enabling a Smart Tunnel with the Client Web Browser
- Smart Tunnel Application Statistics Display
- Troubleshooting Tips
- Configuration Examples for Cisco IOS SSL VPN Smart Tunnels Support
- Example Configuring a Smart Tunnel List and Adding Applications
- Example Configuring a Group Policy for Smart Tunnels Support
- Example Verifying the Smart Tunnel Configuration
- Additional References
- Feature Information for Cisco IOS SSL VPN Smart Tunnels Support
Cisco IOS SSL VPN Smart Tunnels Support
Smart Tunnels Support is a Secure Socket Layer (SSL) VPN feature used to instruct TCP-based client applications that use the winsock library to direct all traffic through the SSL tunnel established between a local relay process and the SSL VPN gateway. The SSL VPN is also known as WebVPN.
- Finding Feature Information
- Prerequisites for Cisco IOS SSL VPN Smart Tunnels Support
- Restrictions for Cisco IOS SSL VPN Smart Tunnels Support
- Information About Cisco IOS SSL VPN Smart Tunnels Support
- How to Configure Cisco IOS SSL VPN Smart Tunnels Support
- Configuration Examples for Cisco IOS SSL VPN Smart Tunnels Support
- Additional References
- Feature Information for Cisco IOS SSL VPN Smart Tunnels Support
Finding Feature Information
Your software release may not support all the features documented in this module. For the latest caveats and feature information, see Bug Search Tool and the release notes for your platform and software release. To find information about the features documented in this module, and to see a list of the releases in which each feature is supported, see the feature information table at the end of this module.
Use Cisco Feature Navigator to find information about platform support and Cisco software image support. To access Cisco Feature Navigator, go to www.cisco.com/go/cfn. An account on Cisco.com is not required.
Prerequisites for Cisco IOS SSL VPN Smart Tunnels Support
- The operating system of the host must be a 32-bit version of Microsoft Windows Vista or Windows XP or Windows 2000.
- The web browser must be enabled with ActiveX or Javascript.
- A headend gateway address must be added in the Trusted Site Zone for Microsoft Windows Vista users with smart tunnel or port forwarding.
- The Messaging Application Programming Interface (MAPI) protocol must be used for Microsoft Outlook Exchange communication and an AnyConnect VPN client for remote users.
- Administrative privileges are required to configure the Smart Tunnels Support feature on the router in thin-client access mode.
Restrictions for Cisco IOS SSL VPN Smart Tunnels Support
- Smart tunnels do not support split tunneling, Cisco Secure Desktop, private socket libraries, and MAPI proxy.
- Smart tunnels must not be started in two different web browsers simultaneously.
- Applications only with the winsock dll library such as Remote Desktop, VNCviewer, Outlook Express, Outlook Web Access (OWA), Secure Shell (SSH) using Putty, Telnet, FTP, and others are supported.
Information About Cisco IOS SSL VPN Smart Tunnels Support
SSL VPN Overview
Cisco IOS SSL VPN provides SSL VPN remote-access connectivity for any internet web browser that supports SSL encryption. The SSL VPN feature extends secure enterprise network access to any authorized user by providing remote-access connectivity to corporate resources from any location with internet service.
Cisco IOS SSL VPN also provides remote-access connectivity from noncorporate-owned machines such as home computers and internet kiosks.
SSL VPN delivers the following three modes of SSL VPN access:
- Clientless--Clientless mode provides secure access to private web resources and web content. This mode is useful for accessing content found in web browsers, databases, and online tools that employ a web interface.
- Thin-client (port-forwarding Java applet)--Thin-client mode extends the capability of the cryptographic functions of the web browser to enable remote access to TCP-based applications such as Post Office Protocol version 3 (POP3), Simple Mail Transfer Protocol (SMTP), Internet Message Access Protocol (IMAP), Telnet, and SSH.
- Full tunnel client--Full tunnel client mode offers extensive application support through its dynamically downloaded Cisco AnyConnect VPN Client (next-generation SSL VPN Client) for SSL VPN. Full tunnel client mode delivers a lightweight, centrally configured, and easy-to-support SSL VPN tunneling client that provides network layer access to any application virtually.
For more information about SSL VPN, see the Cisco IOS SSL VPN Configuration Guide.
SSL VPN Smart Tunnels Support Overview
A smart tunnel is a connection between a TCP-based application and a private site using a clientless (browser based) SSL VPN session, where the SSL VPN gateway works as a pathway and as a proxy server. The Smart Tunnels Support feature is based on the method of modifying an existing default behavior of a TCP-based application that accesses internal resources using SSL VPN.
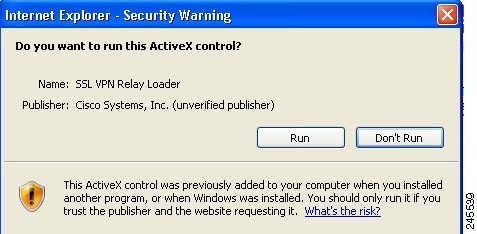
Unlike port forwarding, a smart tunnel does not require a user connection to the local application and the local port. Instead, the SSL VPN Smart Tunnels Support package is delivered and deployed on the client using ActiveX and Java applets. When you launch the Smart Tunnels Support feature on the browser, the ActiveX or Java applet stored on the SSL VPN headend gateway is delivered to the client through HTTP. The client web browser launches the applet and installs the smart tunnel library. This process results in starting the smart tunnel session to relay application data.
If an application is configured with the Smart Tunnels Support feature, all new instances of the application are hooked and the traffic passes through the SSL VPN gateway. By default, the browser launching the smart tunnel is hooked automatically. The Smart Tunnels Support feature provides better performance than plug-ins.
How to Configure Cisco IOS SSL VPN Smart Tunnels Support
- Configuring a Smart Tunnel List and Adding Applications
- Configuring a Group Policy for Smart Tunnels Support
- Enabling a Smart Tunnel with the Client Web Browser
Configuring a Smart Tunnel List and Adding Applications
Configuring the smart tunnel list and adding the applications to the list on the router with administrative privileges creates a tunnel with the listed applications.
Before you can configure the SSL VPN Smart Tunnels Support feature, the virtual gateway must be configured and enabled. This gateway configuration specifies the IP address, port number, and trustpoint for the SSL VPN. Enabling the virtual gateway enables the SSL VPN service.
An SSL VPN virtual context must be configured to associate the virtual SSL VPN gateway with the configured features. For more information on SSL VPN gateway configuration and associating the context, see the Cisco IOS SSL VPN Configuration Guide.
DETAILED STEPS
Configuring a Group Policy for Smart Tunnels Support
The group policy configuration with administrative privileges on a router defines the group policy, associates the gateway, and enables the context to the smart tunnel list defined in the WebVPN context configuration mode.
DETAILED STEPS
What to Do Next
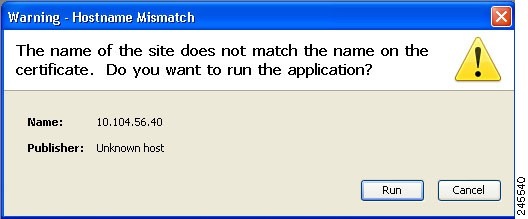
Configuring the Smart Tunnels Support on the router ends the configuration activity of an administrator. Once the client logs in to the SSL VPN enabled web browser after a router is configured with a smart tunnel, the user must enable smart tunneling by installing ActiveX or Java applet with settings. Proceed to the Enabling a Smart Tunnel with the Client Web Browser for more information.
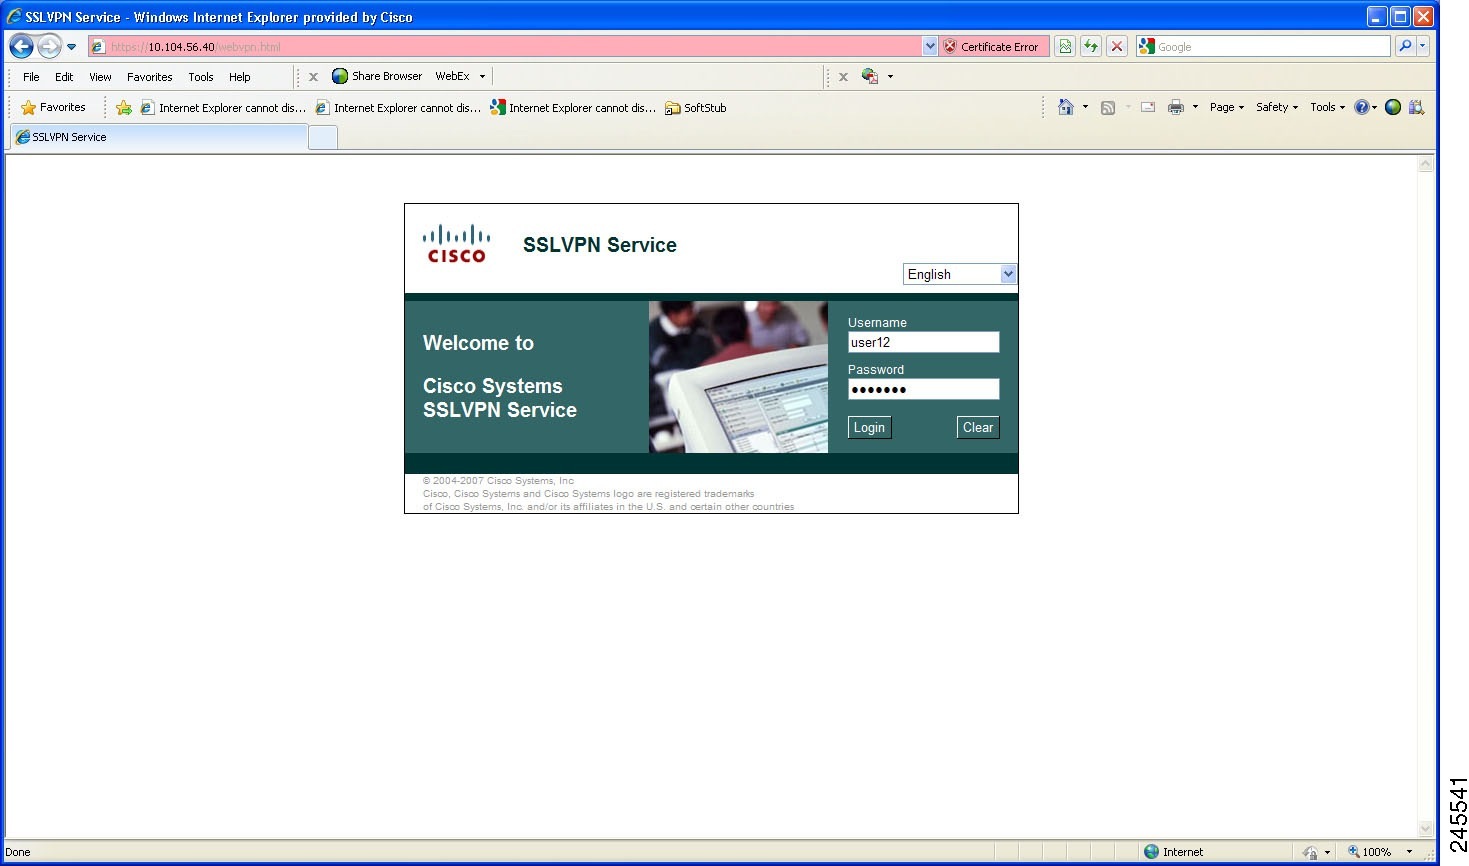
Enabling a Smart Tunnel with the Client Web Browser
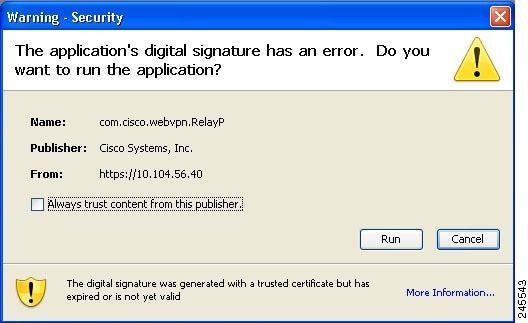
An SSL VPN enabled client web browser automatically launches the ActiveX or Java applet to install the smart tunnel. This process enables the smart tunnel session to relay data.
Smart tunnels support must be configured on the router before enabling it on the client's web browser.
DETAILED STEPS
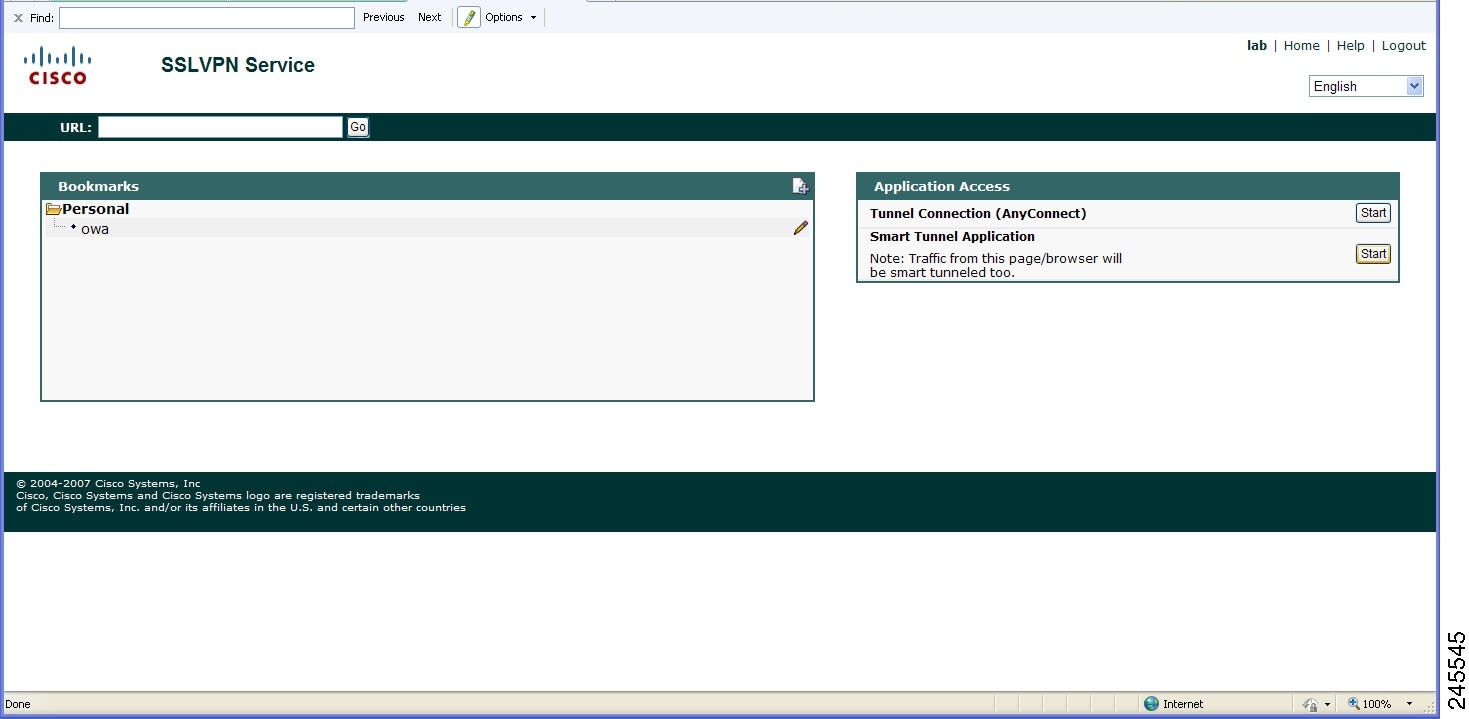


Smart Tunnel Application Statistics Display
The statistics of the applications that are tunneled through the Smart Tunnel application are also displayed. The figure below shows a typical web browser with smart tunnel statistics.
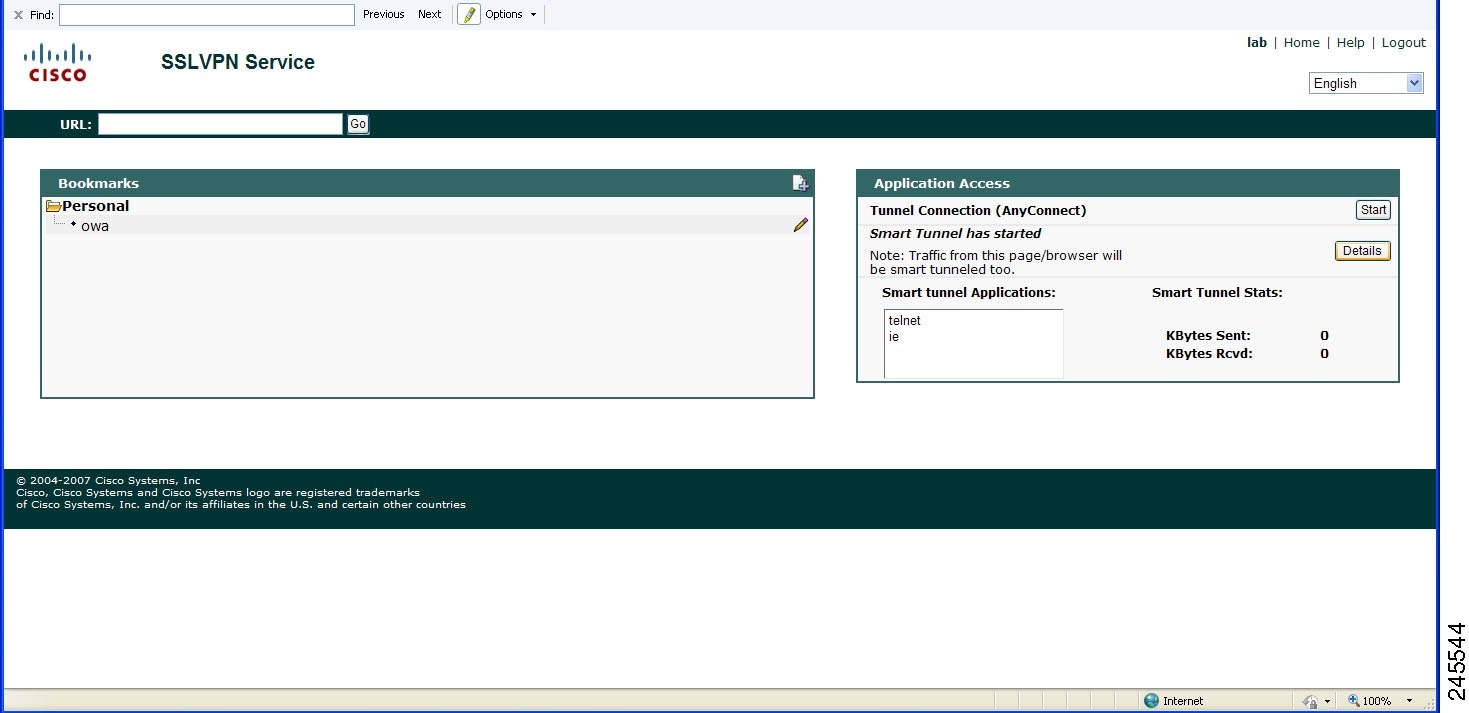
 Note | The statistics displayed for the Smart Tunnel application on the web browser and the statistics displayed on the router for the show webvpn smart-tunnel stats command are always different. |
Always log out of the SSL VPN Smart Tunnel Support enabled browser after performing the required tasks to avoid problems in accessing the application in the future.
Configuration Examples for Cisco IOS SSL VPN Smart Tunnels Support
- Example Configuring a Smart Tunnel List and Adding Applications
- Example Configuring a Group Policy for Smart Tunnels Support
- Example Verifying the Smart Tunnel Configuration
Example Verifying the Smart Tunnel Configuration
The following is sample output from the show webvpn policycommand that can be used to verify smart tunnel list configuration:
Router# show webvp policy group new context sslgw

WV: group policy = new ; context = sslgw
      idle timeout = 2100 sec
      session timeout = Disabled
      port forward name = "pflist"
      smart tunnel list name = "stlist"
      functions =
      citrix disabled
      dpd client timeout = 300 sec
      dpd gateway timeout = 300 sec
      keepalive interval = 30 sec
      SSLVPN Full Tunnel mtu size = 1406 bytes
      keep sslvpn client installed = disabled
      rekey interval = 3600 sec
      rekey method =
      lease duration = 43200 sec
The following sample output from the show webvpn stats command with the smart-tunnel and context keywords displays smart tunnel statistics:
Router# show webvpn stats smart-tunnel context name
WebVPN context name : manmeet
Smart tunnel statistics:
  Client                                Server
    proc pkts               : 0          proc pkts                 : 0
    proc bytes             : 0          proc bytes                : 0
    cef pkts                 : 0          cef pkts                  : 0
    cef bytes               : 0          cef bytes                 : 0
Additional References
Related Documents
MIBs
Technical Assistance
|
Description |
Link |
|---|---|
|
The Cisco Support and Documentation website provides online resources to download documentation, software, and tools. Use these resources to install and configure the software and to troubleshoot and resolve technical issues with Cisco products and technologies. Access to most tools on the Cisco Support and Documentation website requires a Cisco.com user ID and password. |
Feature Information for Cisco IOS SSL VPN Smart Tunnels Support
The following table provides release information about the feature or features described in this module. This table lists only the software release that introduced support for a given feature in a given software release train. Unless noted otherwise, subsequent releases of that software release train also support that feature.
Use Cisco Feature Navigator to find information about platform support and Cisco software image support. To access Cisco Feature Navigator, go to www.cisco.com/go/cfn. An account on Cisco.com is not required.
| Table 1 | Feature Information for Cisco IOS SSL VPN Smart Tunnels Support |
|
Feature Name |
Releases |
Feature Information |
|---|---|---|
|
Cisco IOS SSL VPN Smart Tunnels Support |
15.1(3)T |
Smart Tunnels Support is an SSL VPN related feature used to instruct TCP-based client applications to direct all traffic through the SSL tunnel established between a local relay process and the SSL VPN gateway. In Cisco IOS Release 15.1(3)T, this feature was introduced. The following commands were introduced or modified: appl(webvpn), smart-tunnel list. |
Cisco and the Cisco logo are trademarks or registered trademarks of Cisco and/or its affiliates in the U.S. and other countries. To view a list of Cisco trademarks, go to this URL: www.cisco.com/go/trademarks. Third-party trademarks mentioned are the property of their respective owners. The use of the word partner does not imply a partnership relationship between Cisco and any other company. (1110R)
Any Internet Protocol (IP) addresses and phone numbers used in this document are not intended to be actual addresses and phone numbers. Any examples, command display output, network topology diagrams, and other figures included in the document are shown for illustrative purposes only. Any use of actual IP addresses or phone numbers in illustrative content is unintentional and coincidental.