- Preface
- Chapter 1 - Product Overview and Installation
- Chapter 2 - Configuring Wireless Profiles
- Chapter 3 - Configuring EAP Types
- Chapter 4 - Performing Administrative Tasks
- Chapter 5 - Routine Procedures
- Chapter 6 - Troubleshooting and Diagnostics
- Appendix A - EAP Messages
- Appendix B - Technical Specifications
- Appendix C - Translated Safety Warnings
- Appendix D - Declarations of Conformity and Regulatory Information
- Appendix E - Channels, Power Levels, and Antenna Gains
- Appendix F - Acknowledgments and Licensing
- Appendix G - Abbreviations
Cisco Aironet 802.11a/b/g Wireless LAN Client Adapters (CB21AG and PI21AG) Installation and Configuration Guide for Windows Vista, Release 1.0
Bias-Free Language
The documentation set for this product strives to use bias-free language. For the purposes of this documentation set, bias-free is defined as language that does not imply discrimination based on age, disability, gender, racial identity, ethnic identity, sexual orientation, socioeconomic status, and intersectionality. Exceptions may be present in the documentation due to language that is hardcoded in the user interfaces of the product software, language used based on RFP documentation, or language that is used by a referenced third-party product. Learn more about how Cisco is using Inclusive Language.
- Updated:
- May 19, 2008
Chapter: Chapter 6 - Troubleshooting and Diagnostics
Troubleshooting and Diagnostics
This chapter provides information about diagnosing problems that might occur when you try to operate the client adapter.
The following topics are covered in this chapter:
•![]() Troubleshooting with Cisco Aironet Client Diagnostics
Troubleshooting with Cisco Aironet Client Diagnostics
Troubleshooting with Cisco Aironet Client Diagnostics
Cisco Aironet Client Diagnostics is a mode that identifies communication problems between the client adapter and a wireless LAN infrastructure device. When in this mode, the client adapter and the infrastructure device proceed through a defined set of tests. The results of these tests can assist in isolating conditions that require troubleshooting.
Cisco Aironet Client Diagnostics can only be started manually. To start this mode, follow these steps:
Step 1 ![]() Verify that the client adapter radio is enabled. If the radio is not enabled, enable it.
Verify that the client adapter radio is enabled. If the radio is not enabled, enable it.
Step 2 ![]() Choose Start > Control Panel > Network and Sharing Center. The Network and Sharing Center window opens (see Figure 6-1).
Choose Start > Control Panel > Network and Sharing Center. The Network and Sharing Center window opens (see Figure 6-1).
Figure 6-1 Network and Sharing Center Window

Step 3 ![]() Click Cisco Aironet Client Diagnostics. The Cisco Aironet Client Diagnostics dialog box appears (see Figure 6-2).
Click Cisco Aironet Client Diagnostics. The Cisco Aironet Client Diagnostics dialog box appears (see Figure 6-2).
Figure 6-2 Cisco Aironet Client Diagnostics Dialog Box
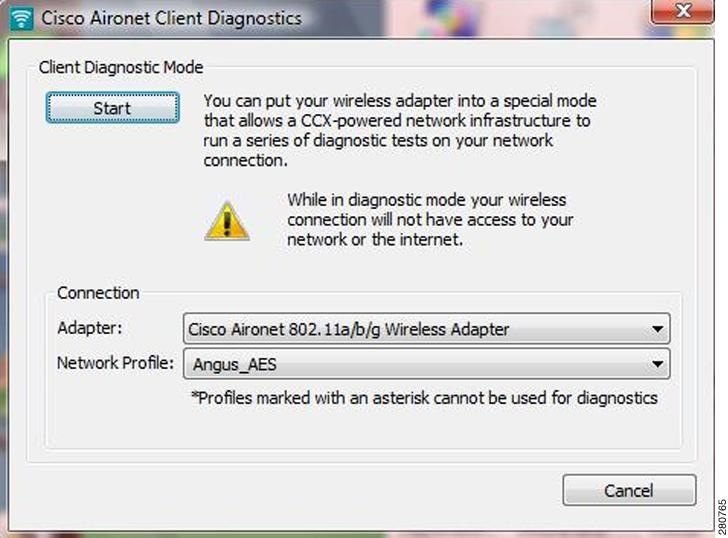
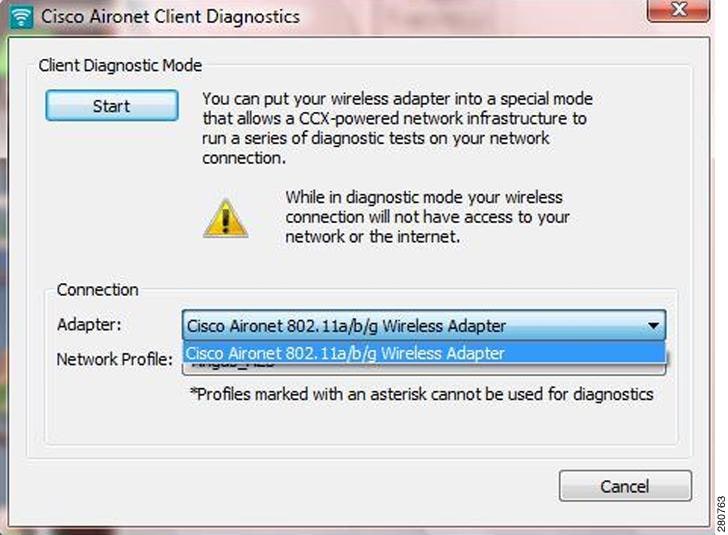
Step 4 ![]() In the Cisco Aironet Client Diagnostics dialog box, choose Cisco Aironet 80.211a/b/g Wireless Adapter in the Adapter field (see Figure 6-3).
In the Cisco Aironet Client Diagnostics dialog box, choose Cisco Aironet 80.211a/b/g Wireless Adapter in the Adapter field (see Figure 6-3).
Figure 6-3 Cisco Aironet Client Diagnostics Dialog Box—Choose Adapter
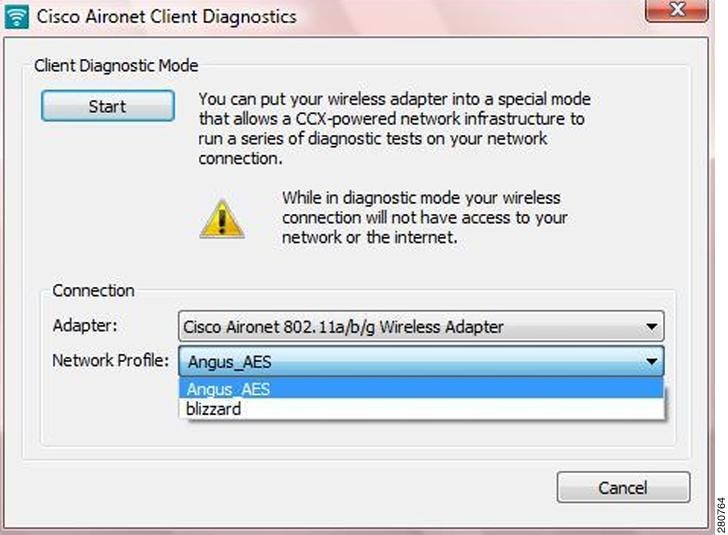
Step 5 ![]() Choose the profile for diagnostics testing in the Network Profile filed (see Figure 6-4).
Choose the profile for diagnostics testing in the Network Profile filed (see Figure 6-4).
Figure 6-4 Cisco Aironet Client Diagnostics Dialog Box—Choose Network Profile
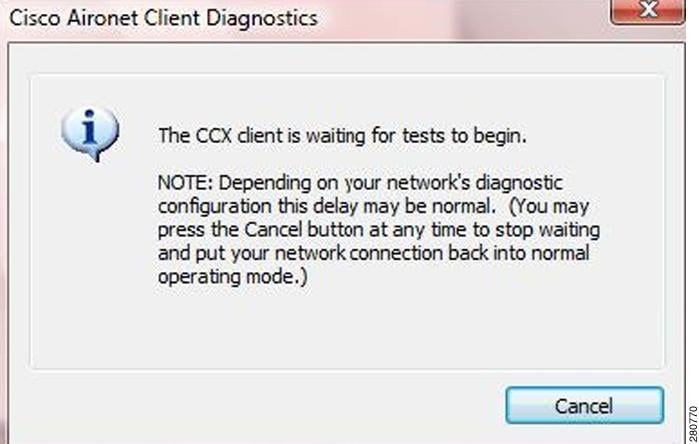
Step 6 ![]() Click Start to run the diagnostics. If testing does not begin immediately, a message appears to explain the delay (see Figure 6-5).
Click Start to run the diagnostics. If testing does not begin immediately, a message appears to explain the delay (see Figure 6-5).
Figure 6-5 Cisco Aironet Client Diagnostics Dialog Box—Testing Delay
Step 7 ![]() Monitor the status of diagnostics testing in the Cisco Aironet Client Diagnostics Test Window (see Figure 6-6).
Monitor the status of diagnostics testing in the Cisco Aironet Client Diagnostics Test Window (see Figure 6-6).
Figure 6-6 Cisco Aironet Client Diagnostics Dialog Box—Test Window
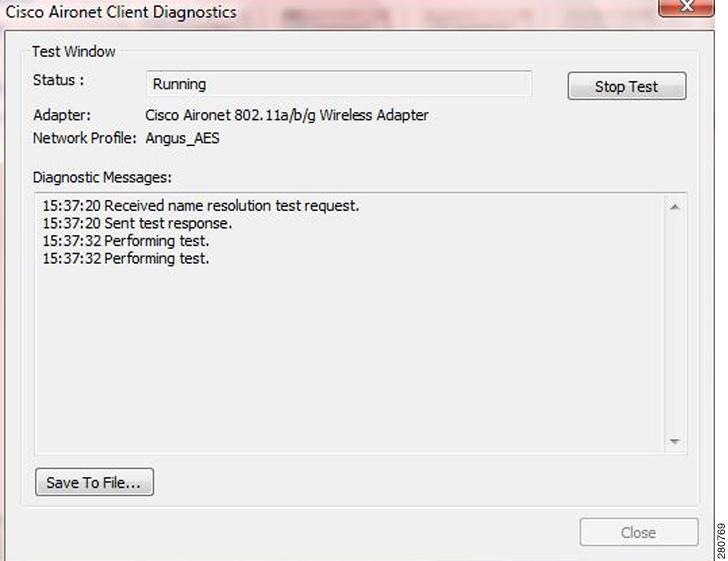
You can stop diagnostics testing at any time by clicking on the Stop Test button.
While the client is in diagnostics testing mode, if you click on the Close button, an Aironet Desktop Utility window appears to confirm that you want to stop running in DC mode (see Figure 6-7).
Figure 6-7 Aironet Desktop Utility—Stop Running Diagnostics
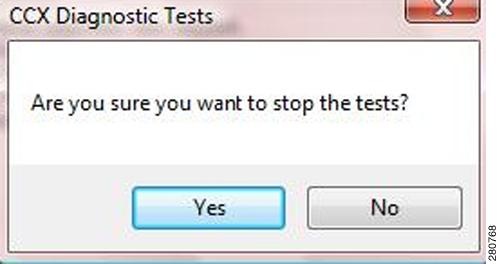
Click the Yes button to disconnect, or click the No button to continue.
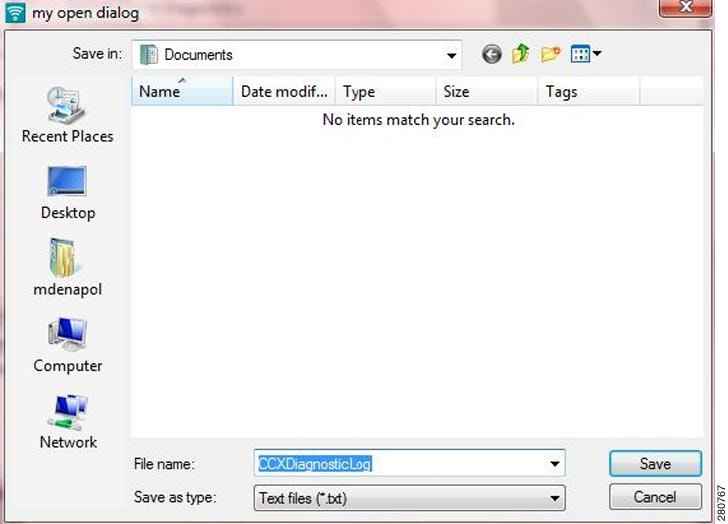
Step 8 ![]() When diagnostic testing is complete, you can click the Save To File button to save the test results. Clicking this button generates a text file that contains the results. You can save this file to the desired folder on your PC (see Figure 6-8). Your network administrator can then use the test results in this report to troubleshoot any issues between the client adapter and the infrastructure device.
When diagnostic testing is complete, you can click the Save To File button to save the test results. Clicking this button generates a text file that contains the results. You can save this file to the desired folder on your PC (see Figure 6-8). Your network administrator can then use the test results in this report to troubleshoot any issues between the client adapter and the infrastructure device.
Figure 6-8 Saving Diagnostics Testing Report—Documents Window
Enabling Client Reporting
A network administrator must enable a profile for client reporting so that the profile can participate in Cisco Aironet Client Diagnostics.
To enable a profile for client reporting, follow these steps:
Step 1 ![]() With the Microsoft Group Policy Object Editor, locate the XML portion of the profile that is related to client reporting. Here is a sample CCX profile section that shows the XML element for client reporting:
With the Microsoft Group Policy Object Editor, locate the XML portion of the profile that is related to client reporting. Here is a sample CCX profile section that shows the XML element for client reporting:
<Diagnostics>
<AuthorizedProfile>true</AuthorizedProfile>
<Channel>
<EnableClientReporting>true</EnableClientReporting>
</Channel>
</Diagnostics>
Step 2 ![]() For the EnableClientReporting XML element, change the value to true to enable client reporting. Change the value to false to disable client reporting.
For the EnableClientReporting XML element, change the value to true to enable client reporting. Change the value to false to disable client reporting.
For more information about Microsoft Group Policy Objects, see the "Using Microsoft Tools to Perform Administrative Tasks" section of Chapter 4, "Performing Administrative Tasks."
 Feedback