Configuring Web Proxy Devices
Available Languages
Table Of Contents
Network Appliance NetCache Generic
Configure NetCache to Send Syslog to MARS
Add and Configure NetCache in MARS
Configuring Web Proxy Devices
Web proxy devices provide MARS with additional data surrounding user requests of network services, such as HTTP, FTP, NNTP, and DNS. These device cache data and provide additional services around requests for that data. These additional services provide MARS with data about session requests, including authentication logs, denied session requests based on ACLs enforced by the web proxy device, and traffic logs.
This chapter contains the following section:
•
Network Appliance NetCache Generic
Network Appliance NetCache Generic
This section contains the following topics:
•
•
Configure NetCache to Send Syslog to MARS
Synchronize clocks of the NetCache device and the MARS to make sure times match between them.

Note
To configure NetCache to send syslog to MARS, follow these steps:
Step 1
Step 2
Step 3
Step 4
Step 5
•
•
•
•
Step 6
Step 7
Step 8
Step 9
Note
Step 10
Step 11
Step 12
Step 13
Step 14
Step 15
Step 16
Step 17
Step 18
Step 19
http://MARS_HOST/upload/UploadWebLogServletReplace MARS_HOST with the hostname or IP address of the MARS Appliance.
Step 20
Step 21
Step 22
Step 23
Add and Configure NetCache in MARS
To add the NetCache device in MARS, follow these steps:
Step 1
Step 2
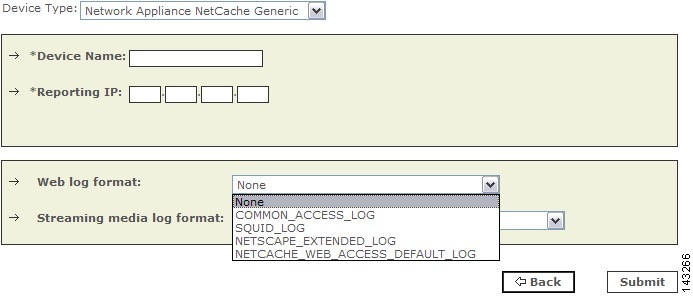
Step 3
Step 4
Step 5
Step 6
 Feedback